I’m enjoying this block-of-the-month by Natalie Bird but I am finding it a little harder to keep my motivation up due to the time delay getting the magazine to the UK. The magazine is published every two months in Australia but then takes about six weeks to swim up here!!! Unfortunately this means that by the time I’ve received the pattern I’m way behind everyone else in the facebook group…and I know it’s not a race, it’s just the way my mind works, I’m much better with a deadline, like knowing when the next patterns will be arriving.
Anyway, I’ve worked out that I should be doing at least one a week, so sharing three with you at these HQAL posts, ideally four so I start to catch up…well I’ve not got that but I have made progress.
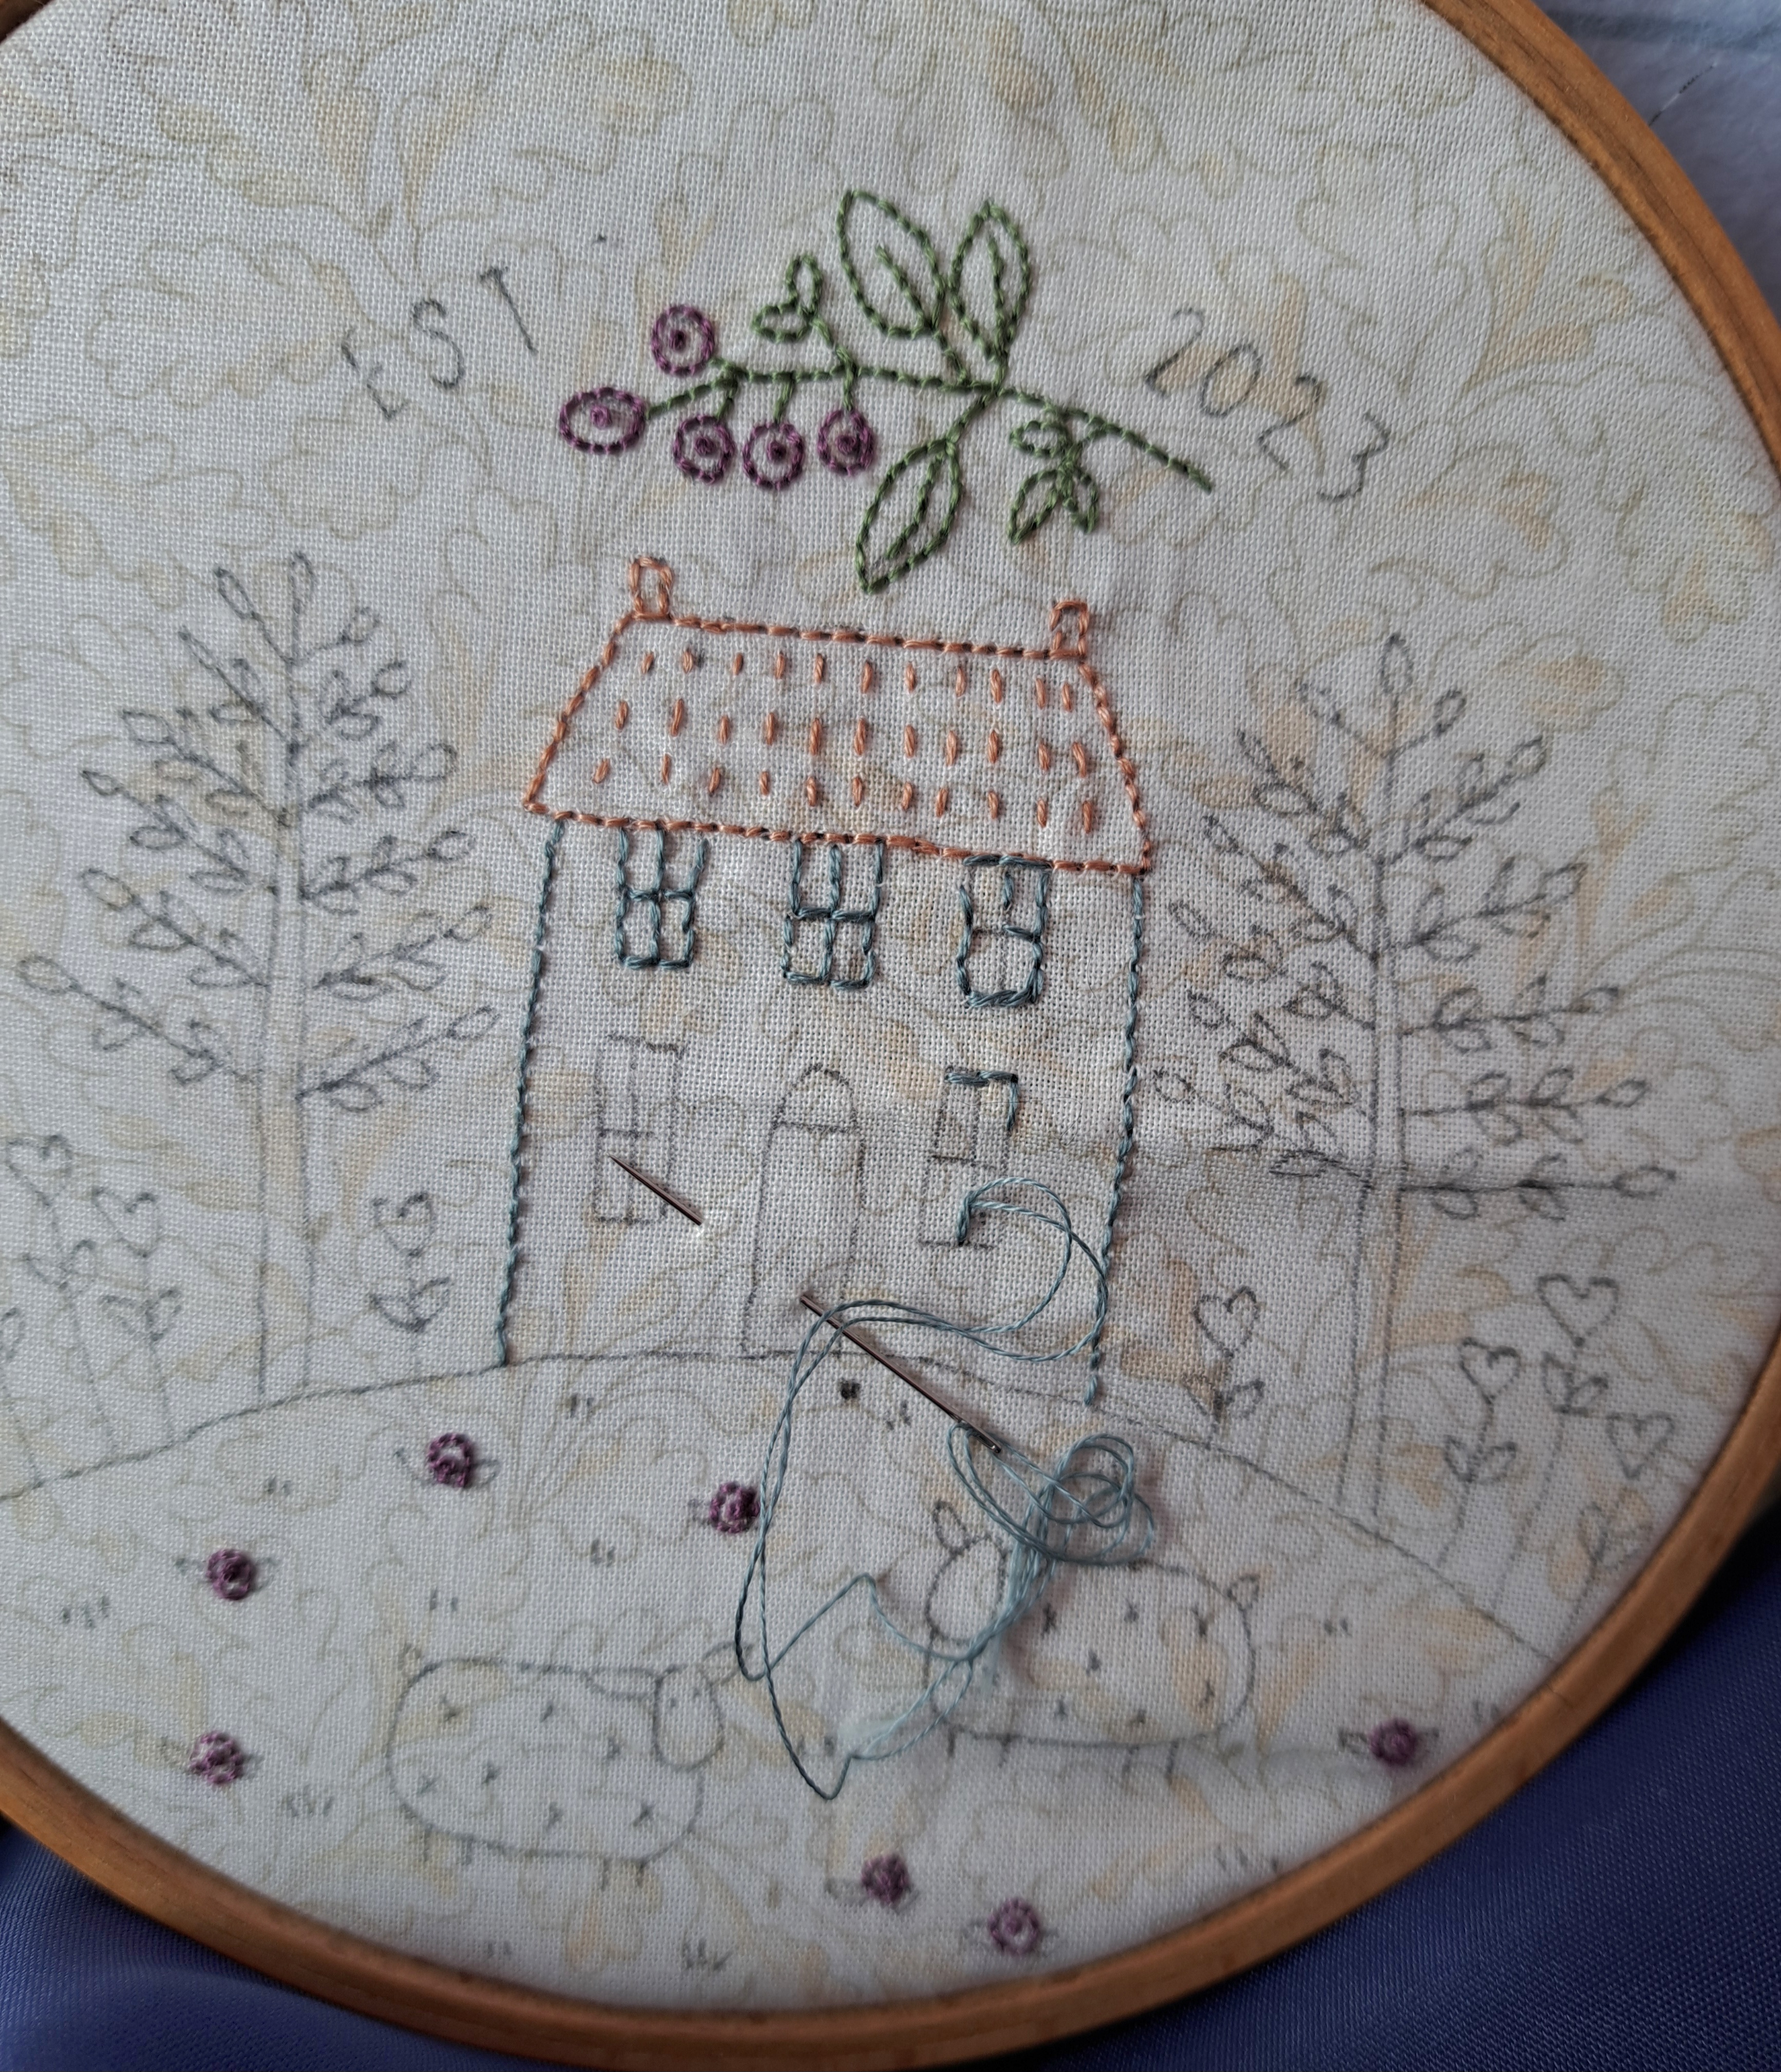
Three weeks ago I’d one block almost finished and another embroidery just started…

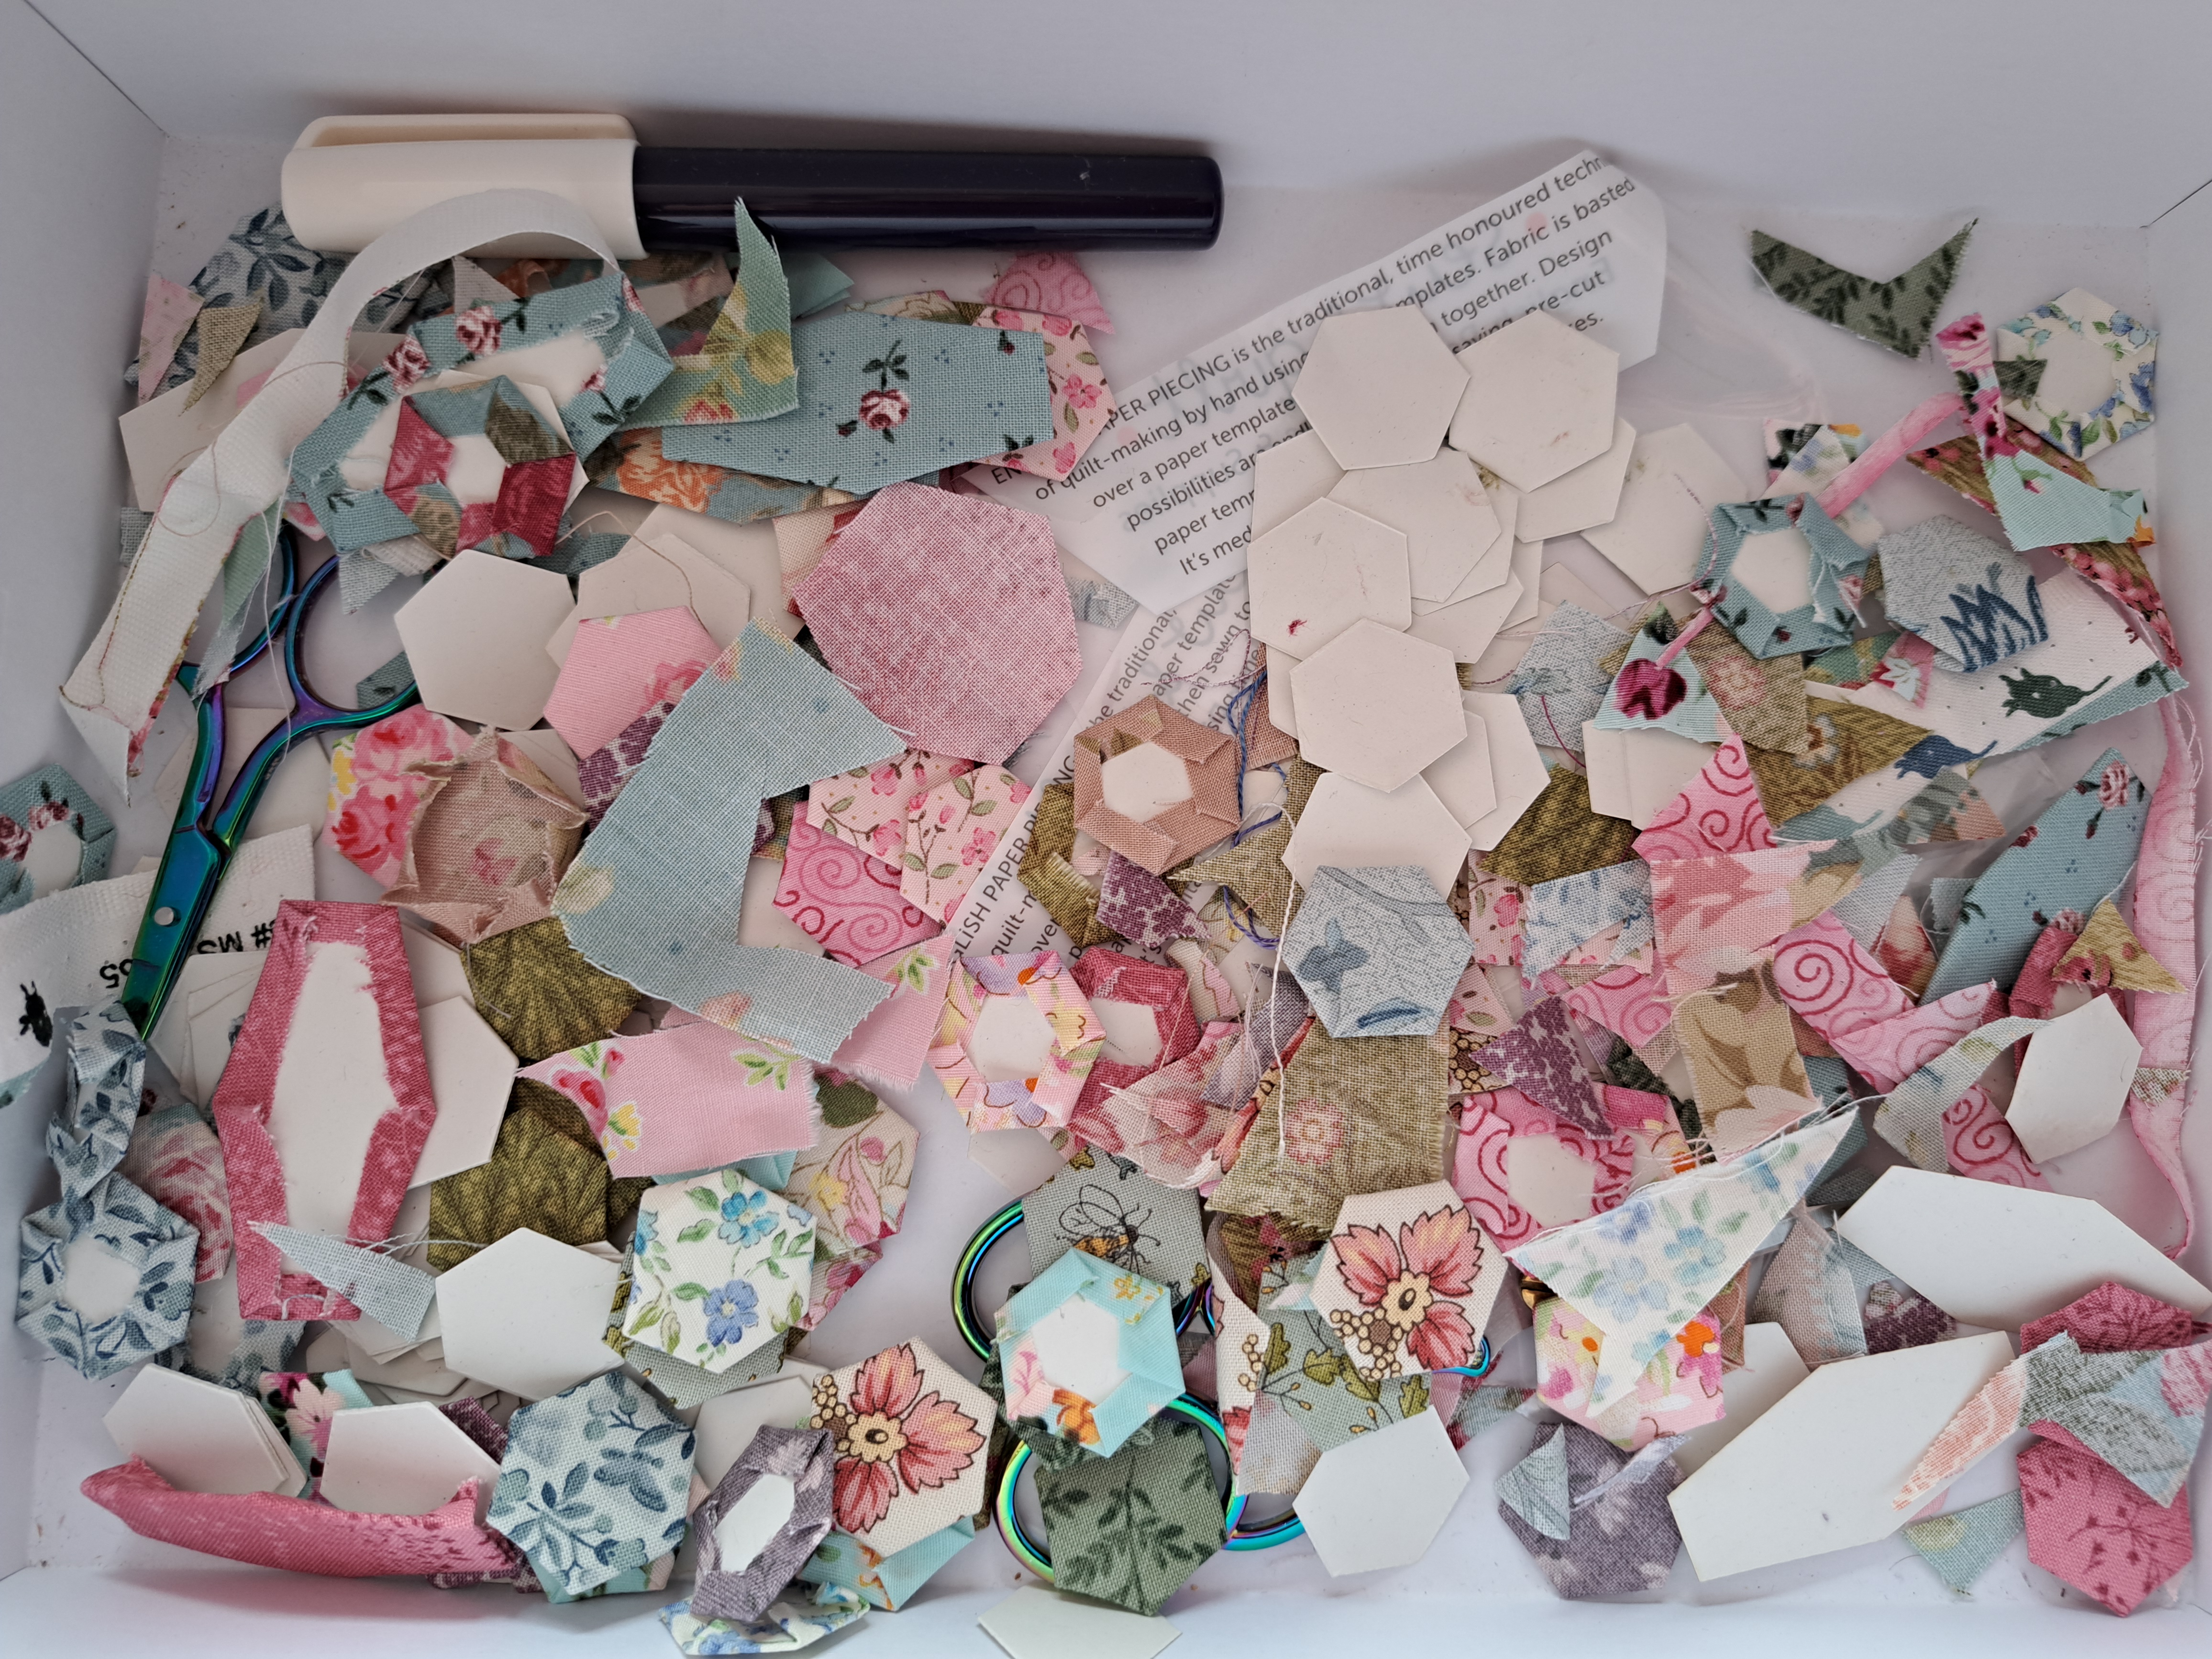
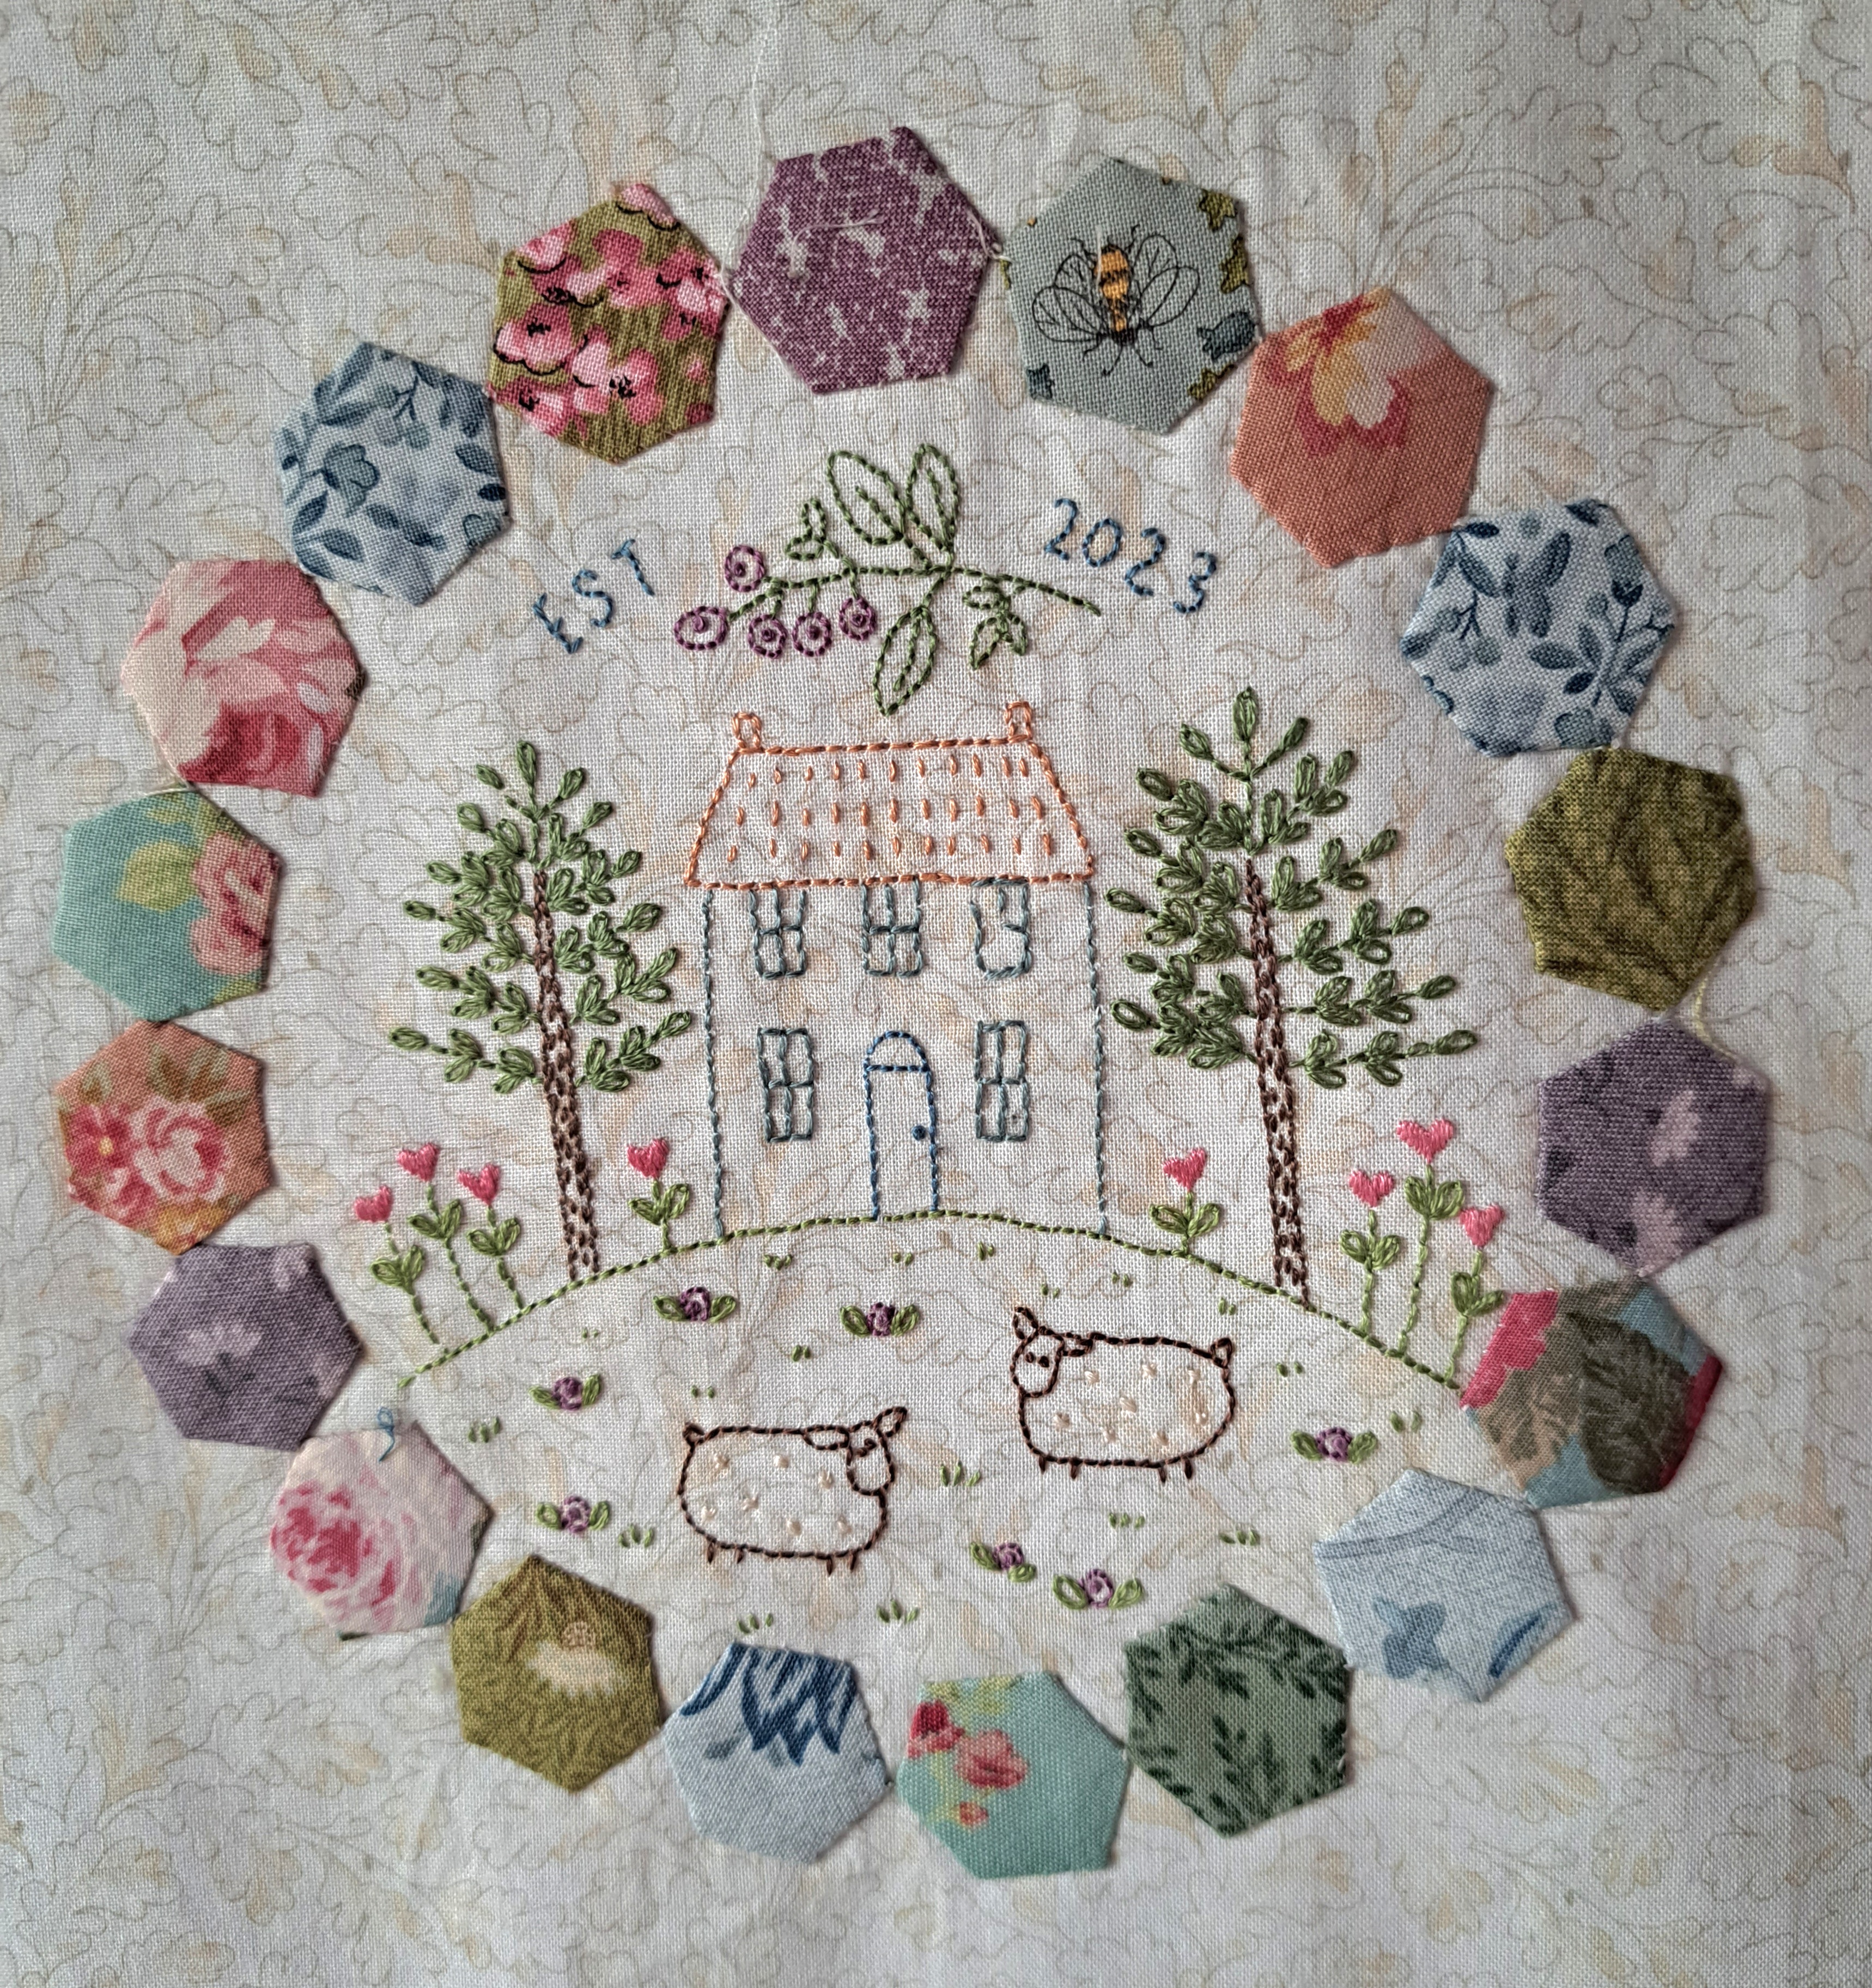
I’ve finished stitching all the hexagons on, I’ve also discovered a quicker way of stitching them on, I was stitching these in two’s, going right round a hexagon and then straight onto the next in like a figure of eight. I have since found it’s much quicker and easier to firstly tack all the hexagons on so my thread doesn’t constantly catch on pins, and secondly, to stitch round the three outer edges of all the hexagons as one continuous line and then stitch the inside edges…it just flows better.

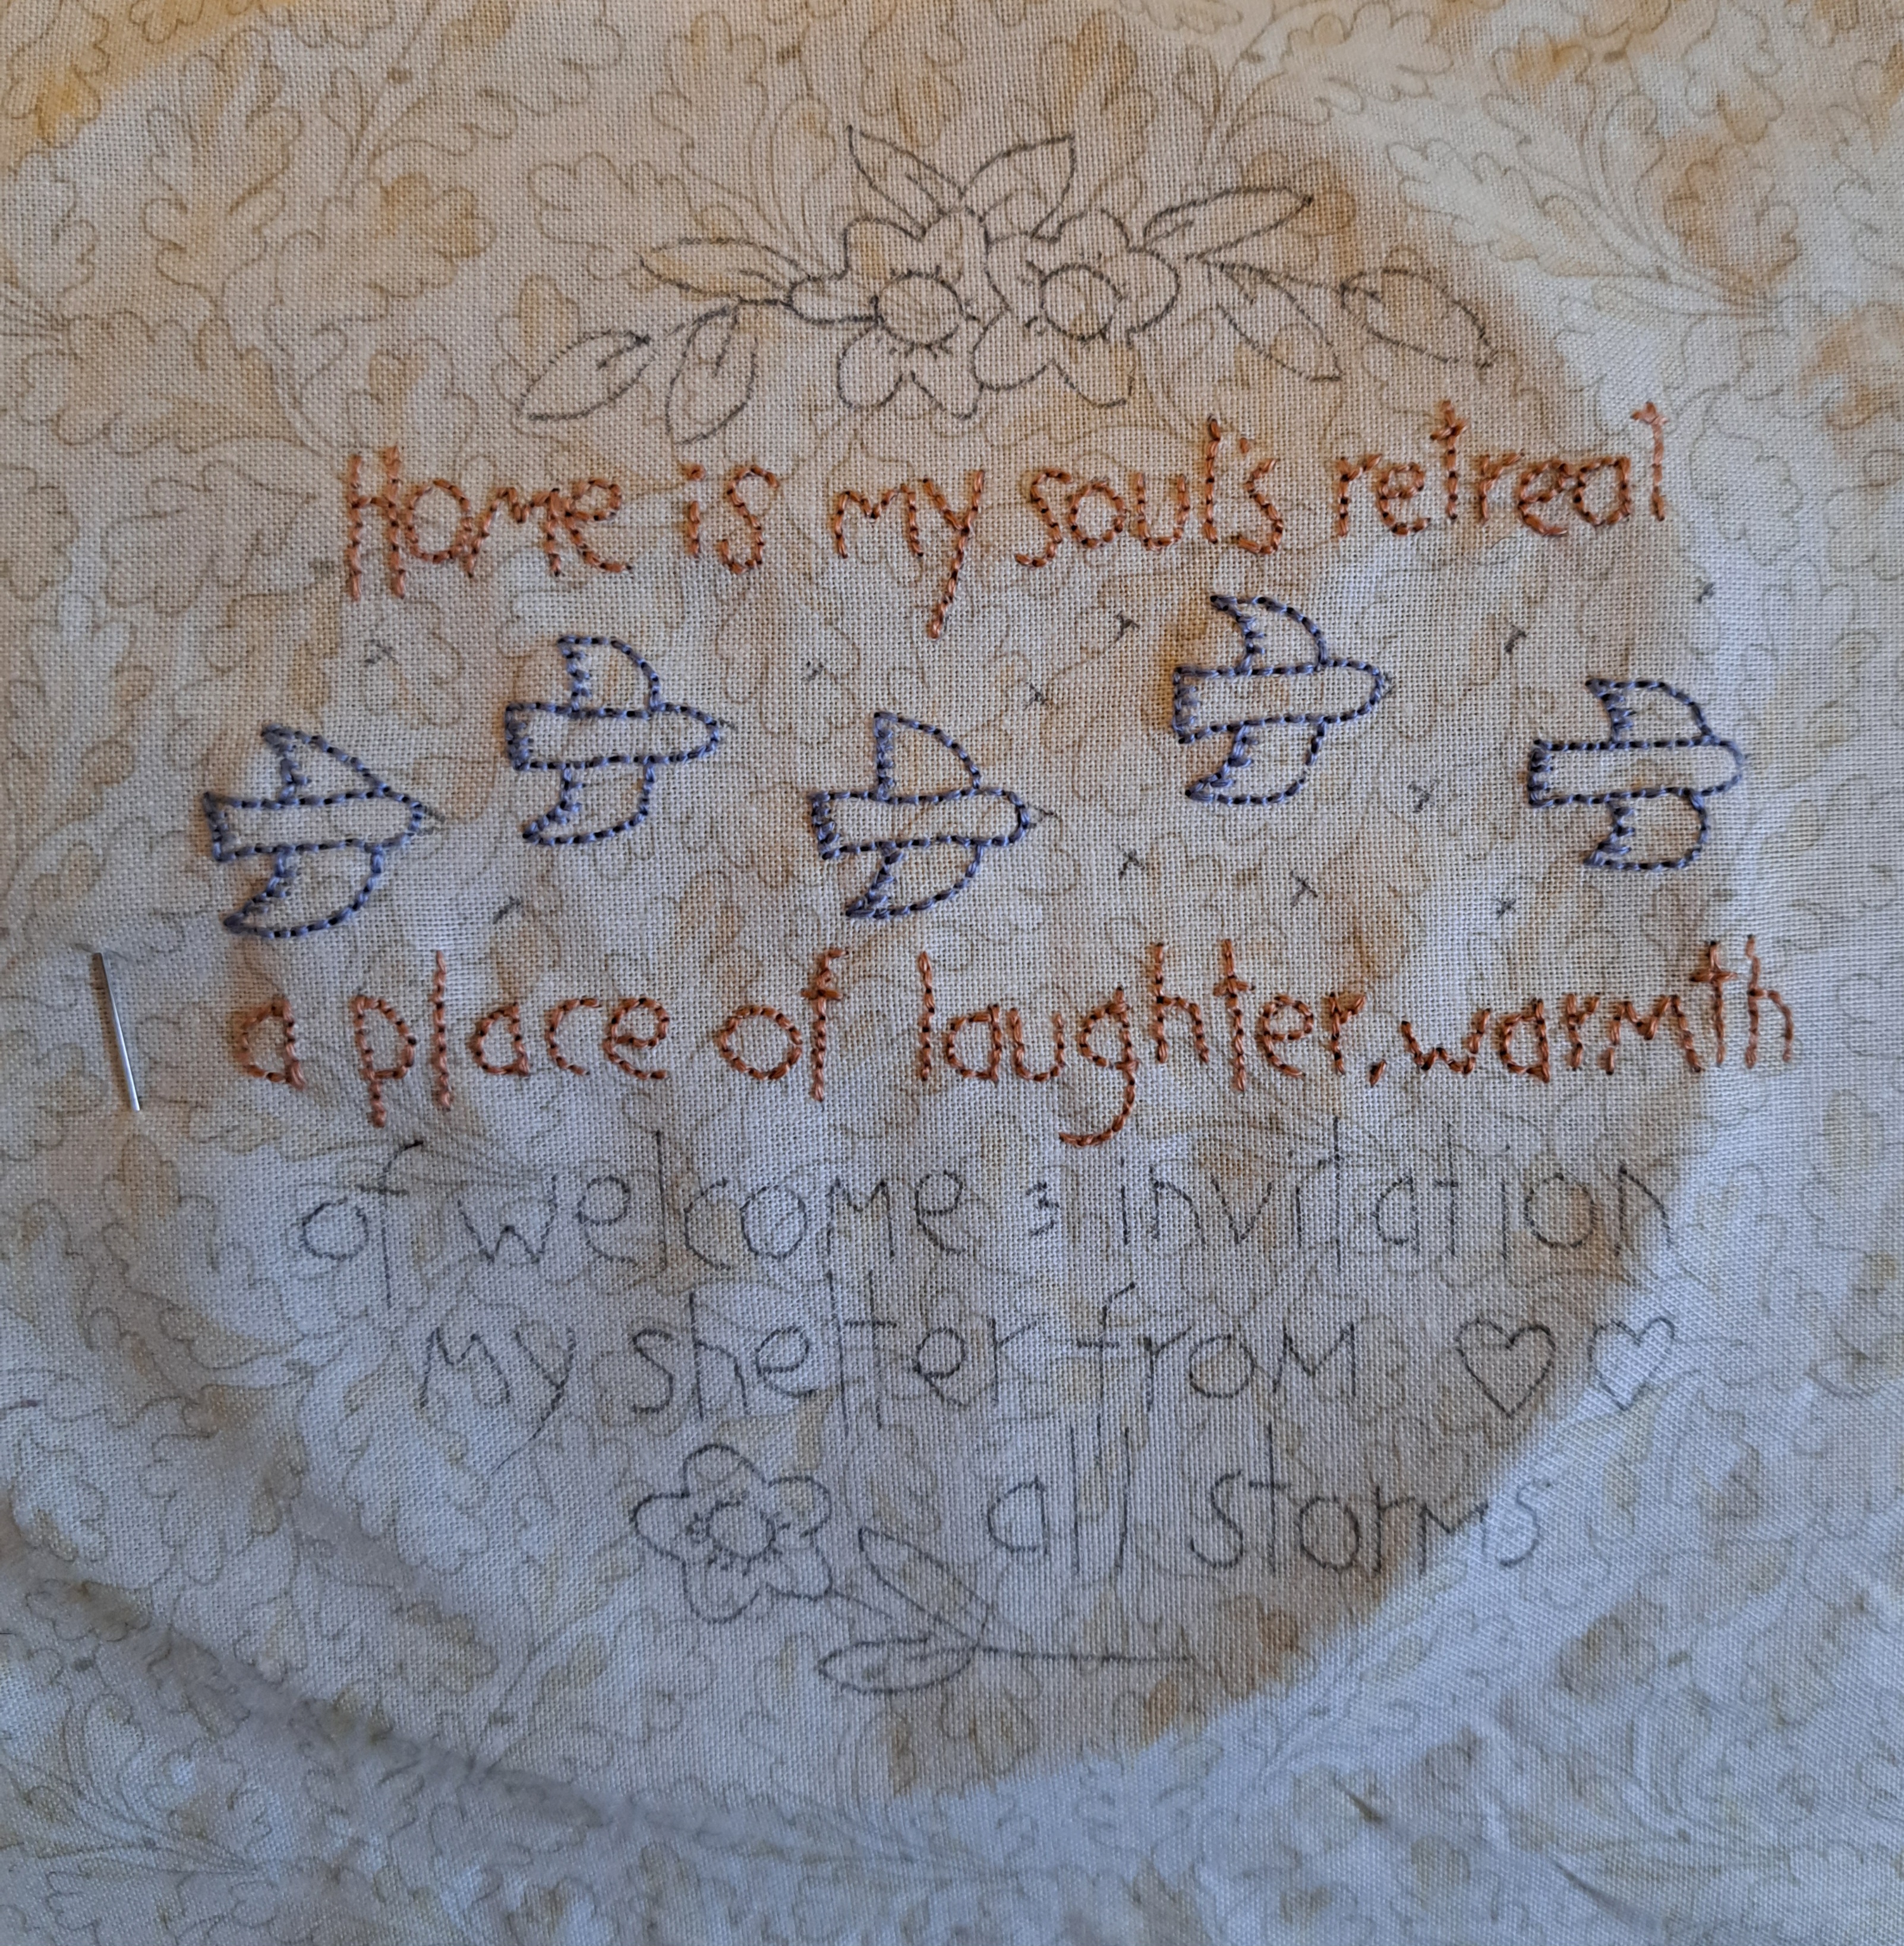
I’ve finished the embroidery of the house, there is a lot of stitching in these blocks so they do take quite a while to do. I’ve also stitched all the hexagons on – with my easier method!
The next block I tackled is made of unfortunately named ‘coffin’ blocks, it took me a while to get going with these mainly as I was having difficulty seeing how the colours would work out. I’ve made quite a few coffin blocks so I can see how the colours work together. The first one contains the pink ones which didn’t work in the embroidered blocks…
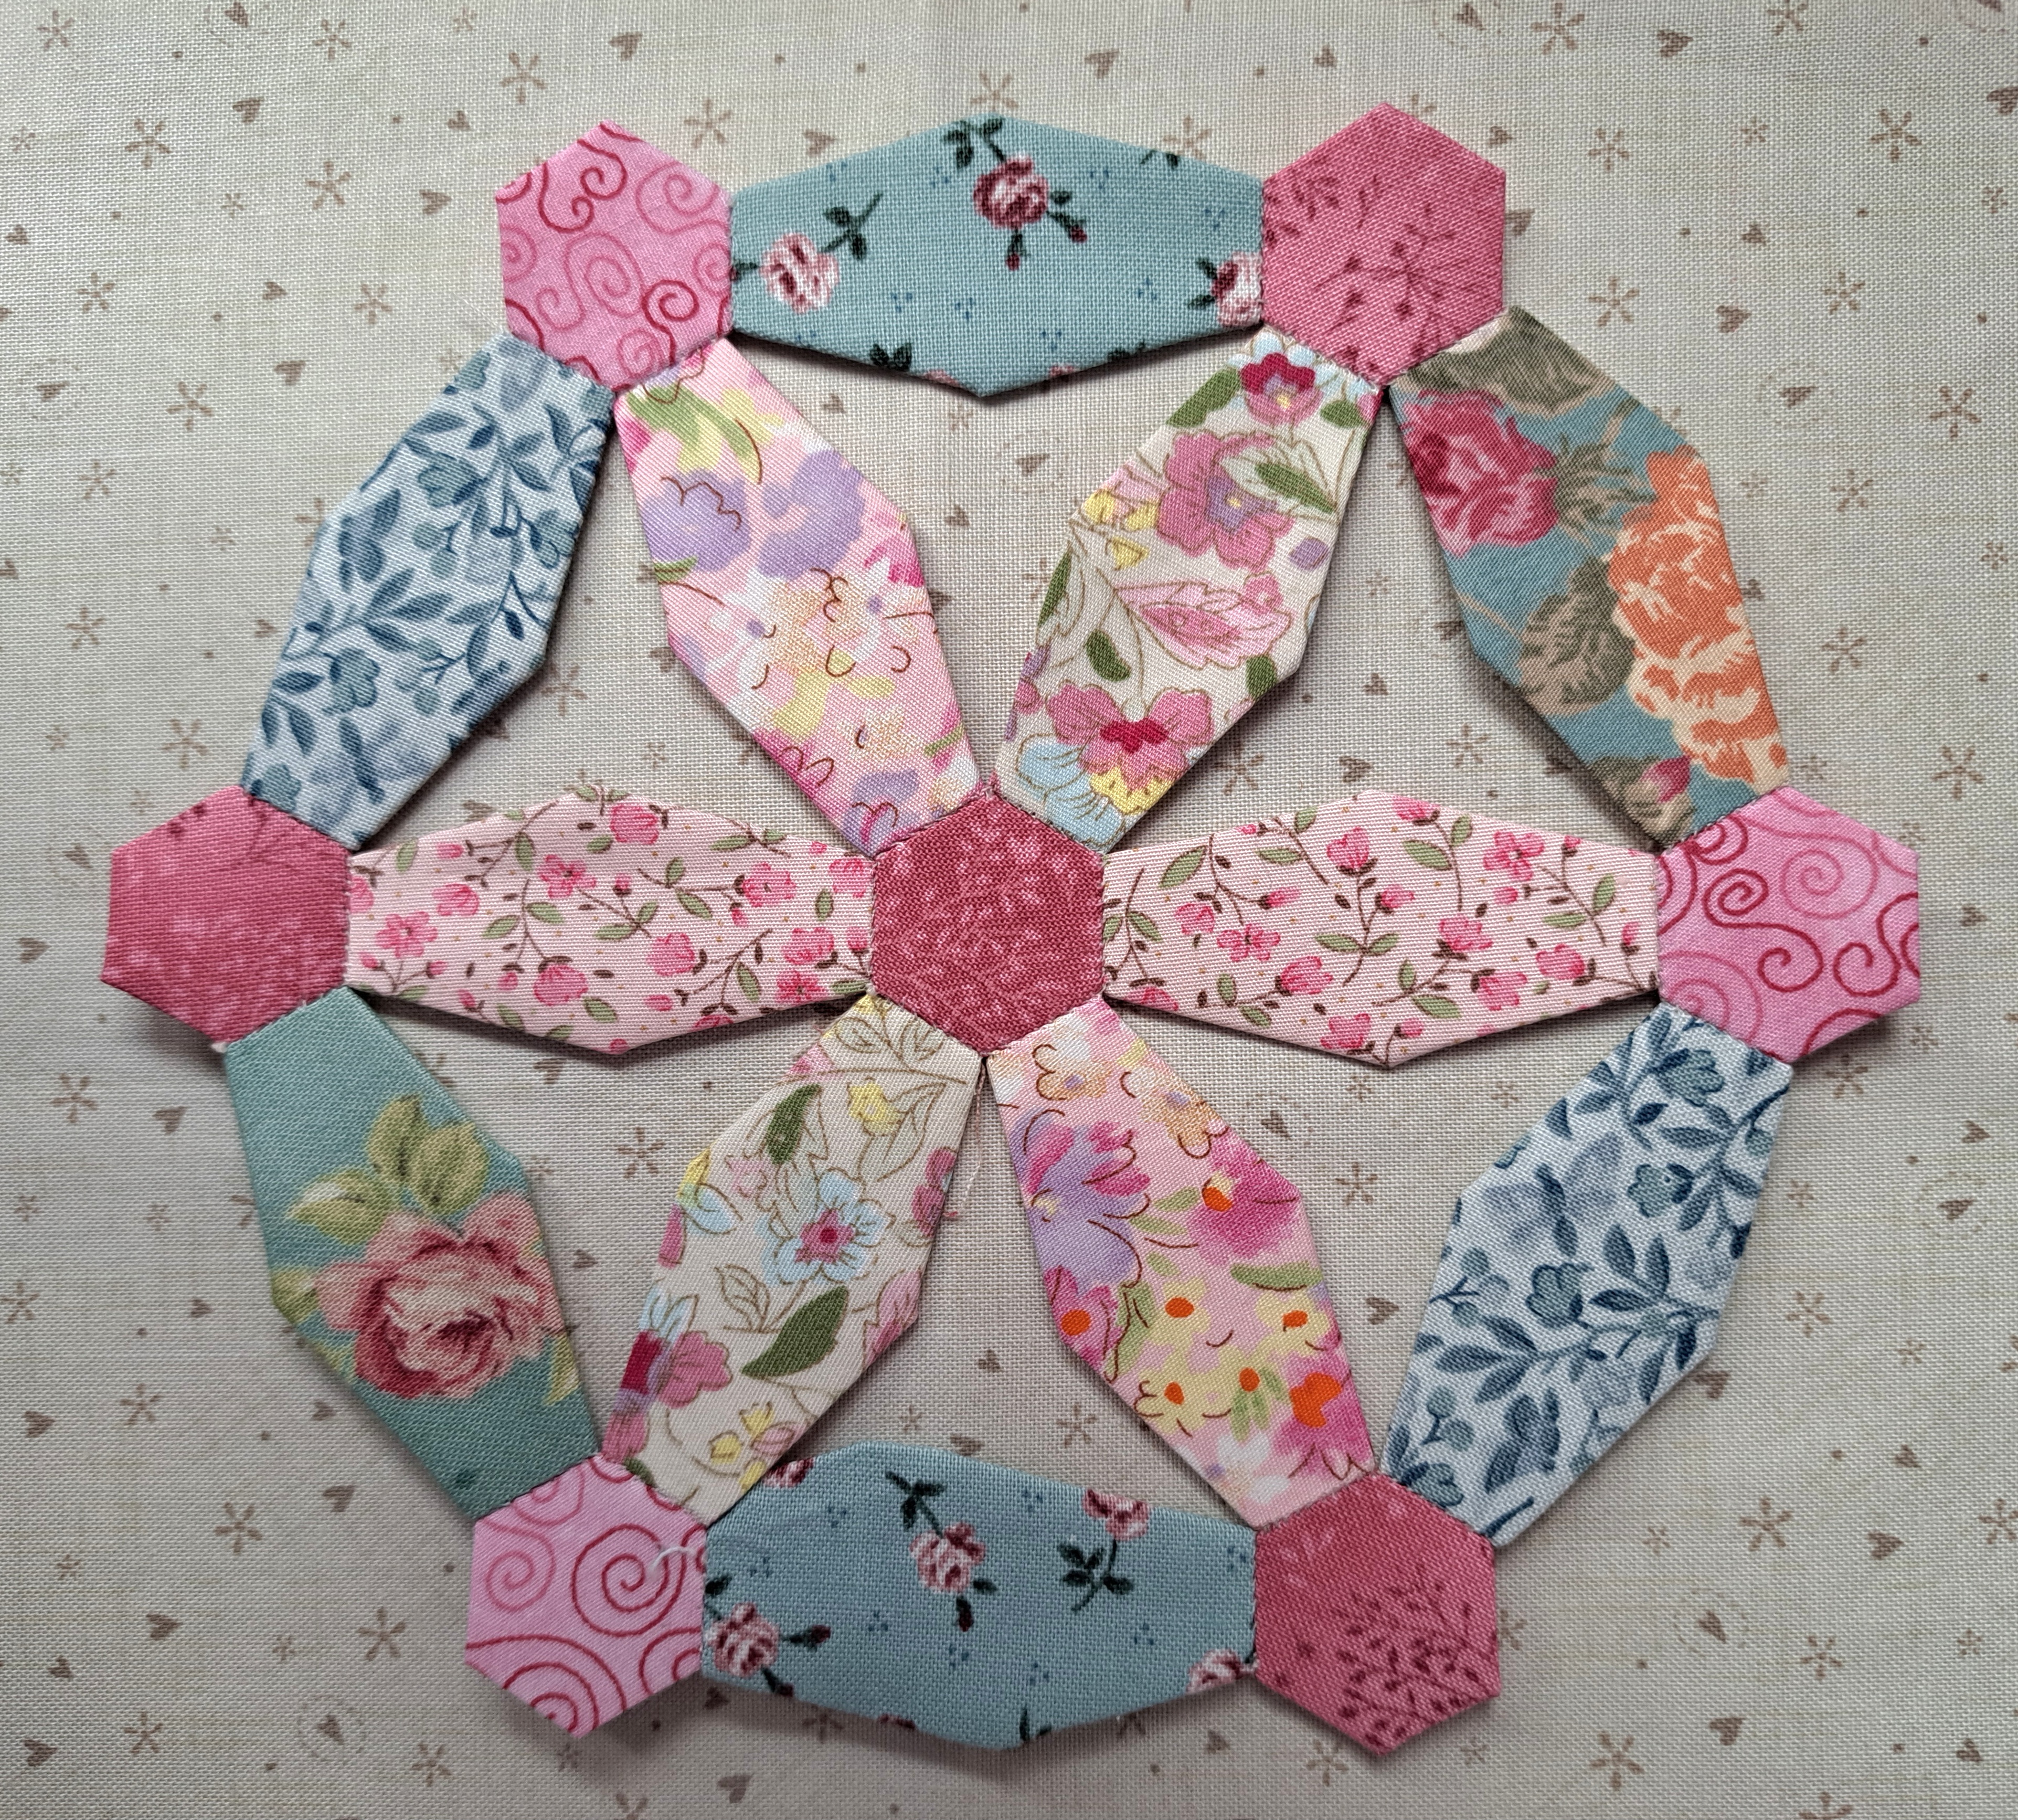
I now need to choose a background fabric and stitch them down. I’m actually thinking of prepping quite a few like this as I’ve got a few days away in Cornwall coming up so I can stitch them down in the evenings. I’ve to make four like this, I think I need to stop overthinking the fabric choices and just make them! If I include the next magazine there’s another three English paper pieced sets of blocks to do so if I get myself organised…
Hand Quilt Along Links
This Hand Quilt Along is an opportunity for hand quilters and piecers to share and motivate one another. We post every three weeks, to show our progress and encourage one another. If you have a hand quilting project and would like to join our group contact Kathy at the link below.
Kathy, Margaret, Deb, Nanette, Sharon, Karrin, Daisy, and Connie
I’ll also be linking up with Kathy’s Quilts for Slow Stitching Sunday, please follow the links to see what everyone has been stitching.