I’ve been busy decorating our spare bedroom for the last couple of weekends, what else do you do when it’s scorching outside! I did however manage a day in the garden when my friend came round to help.
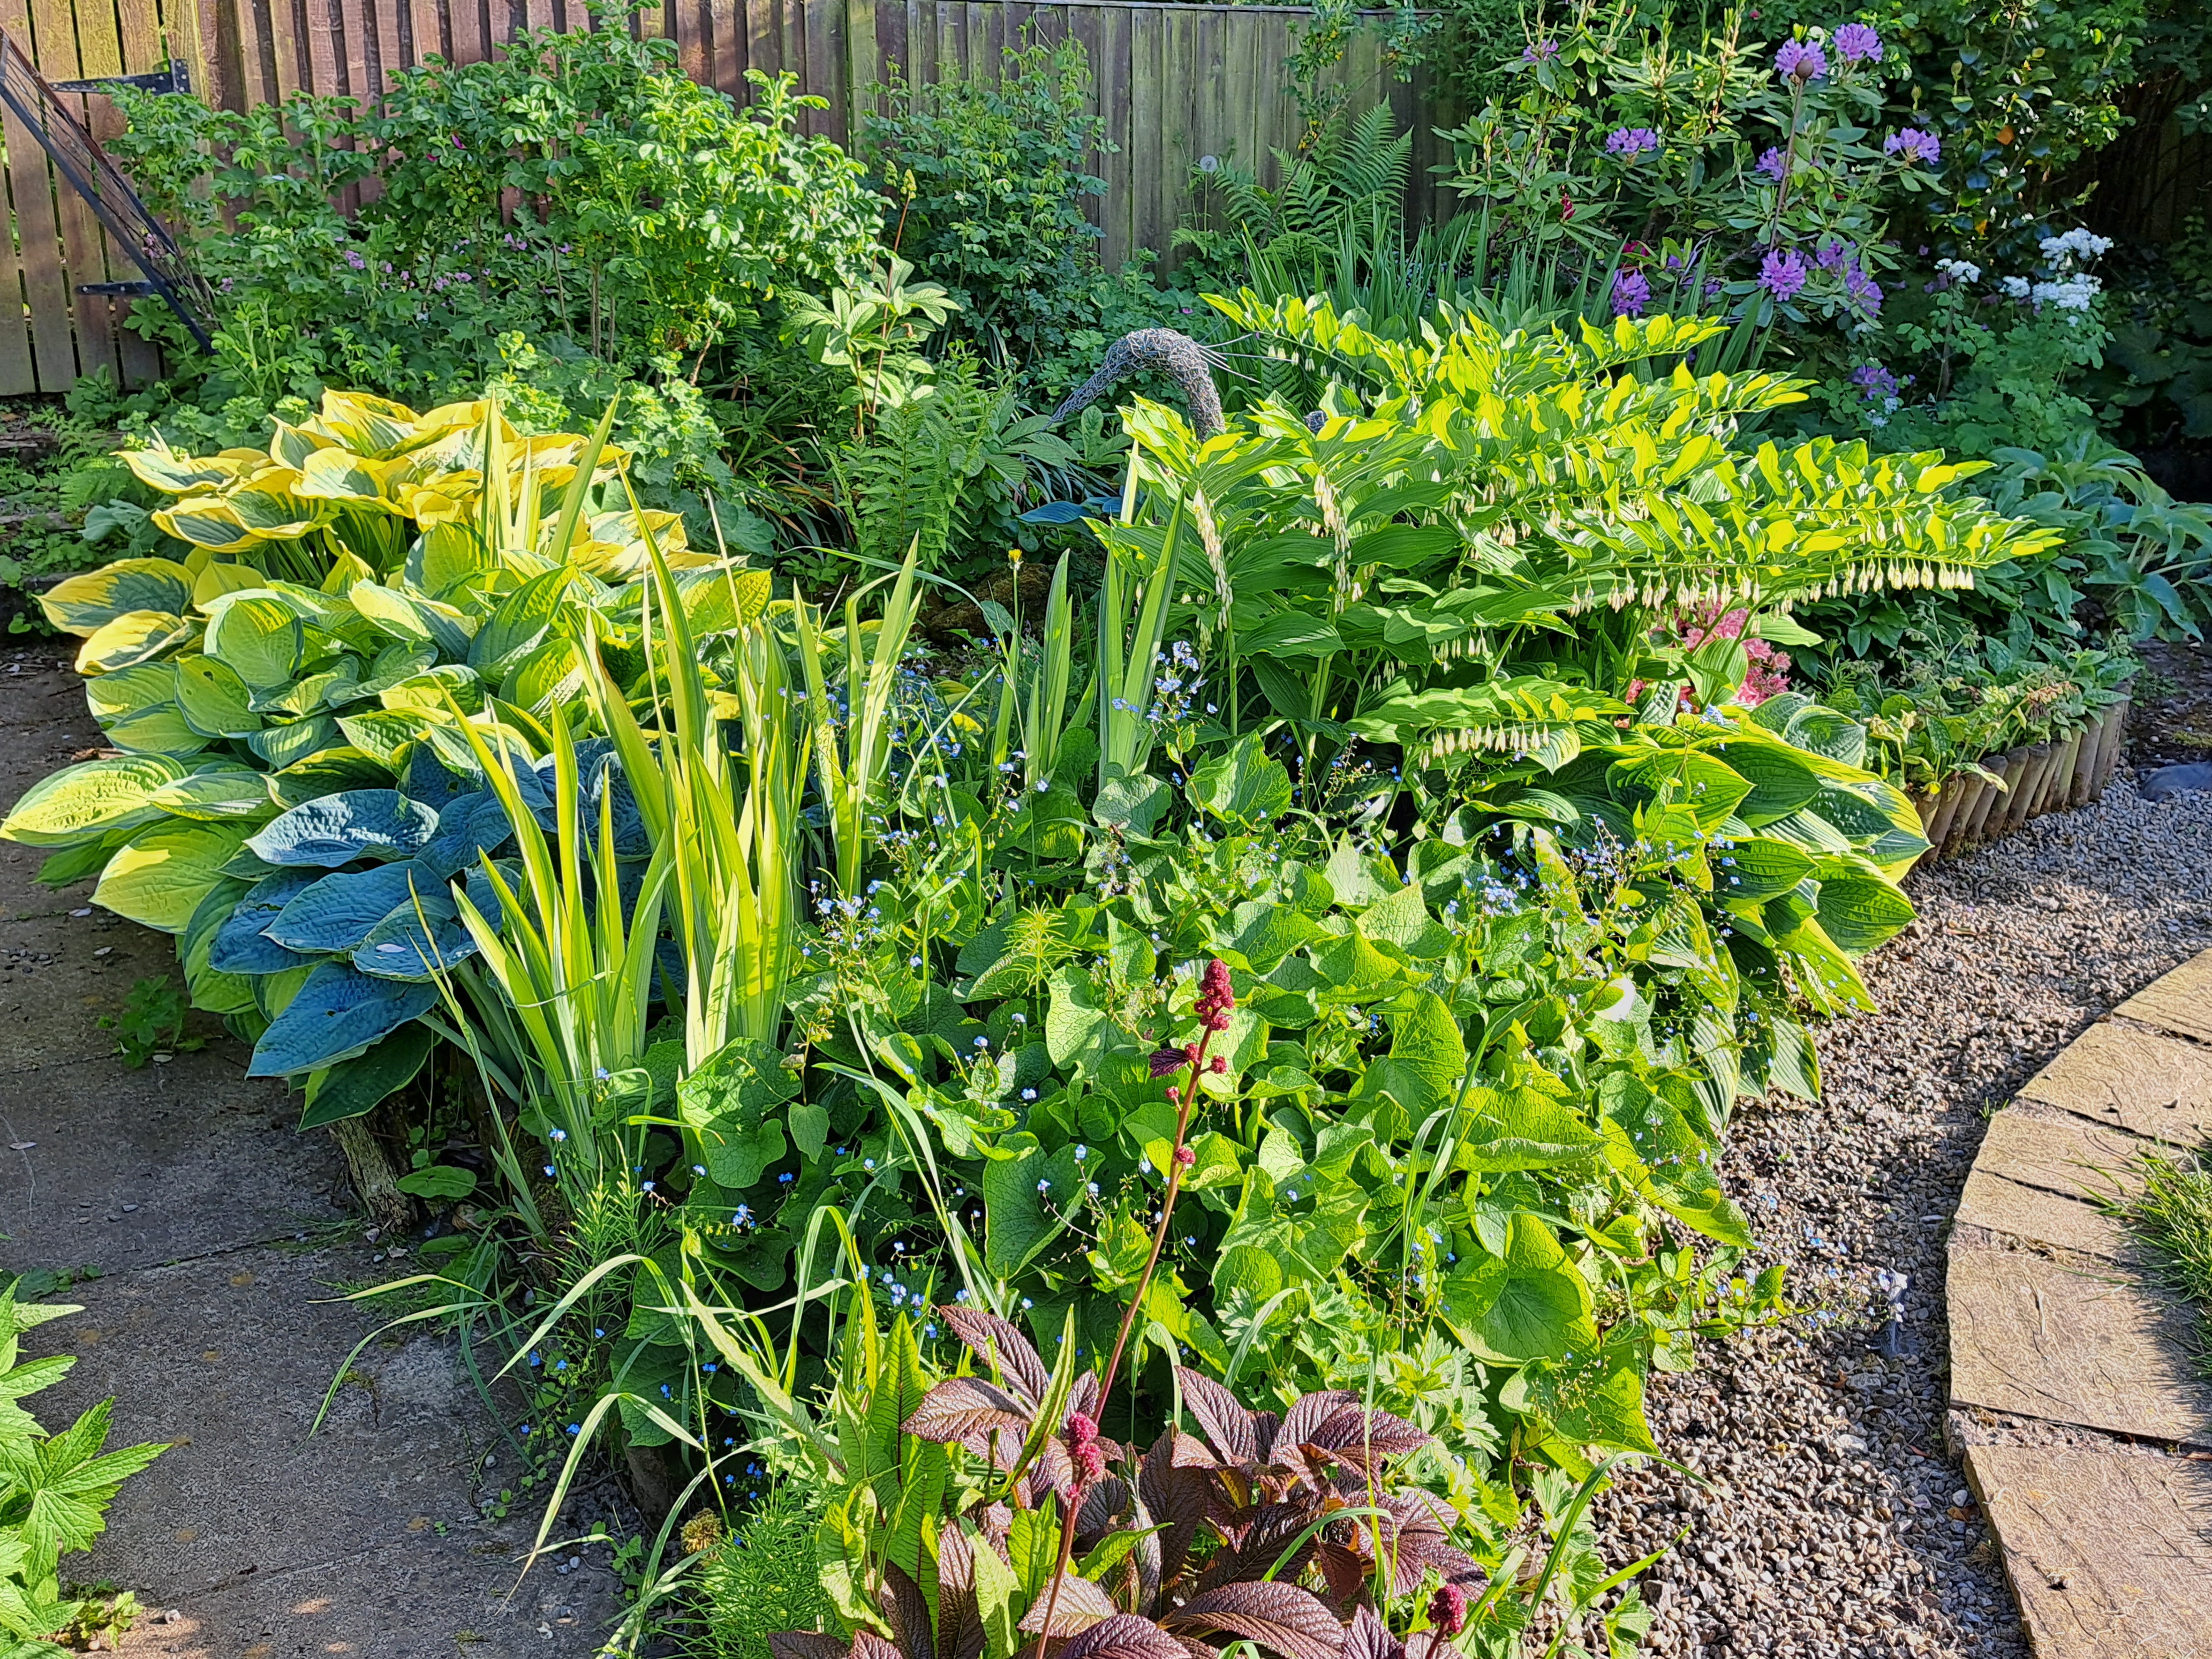
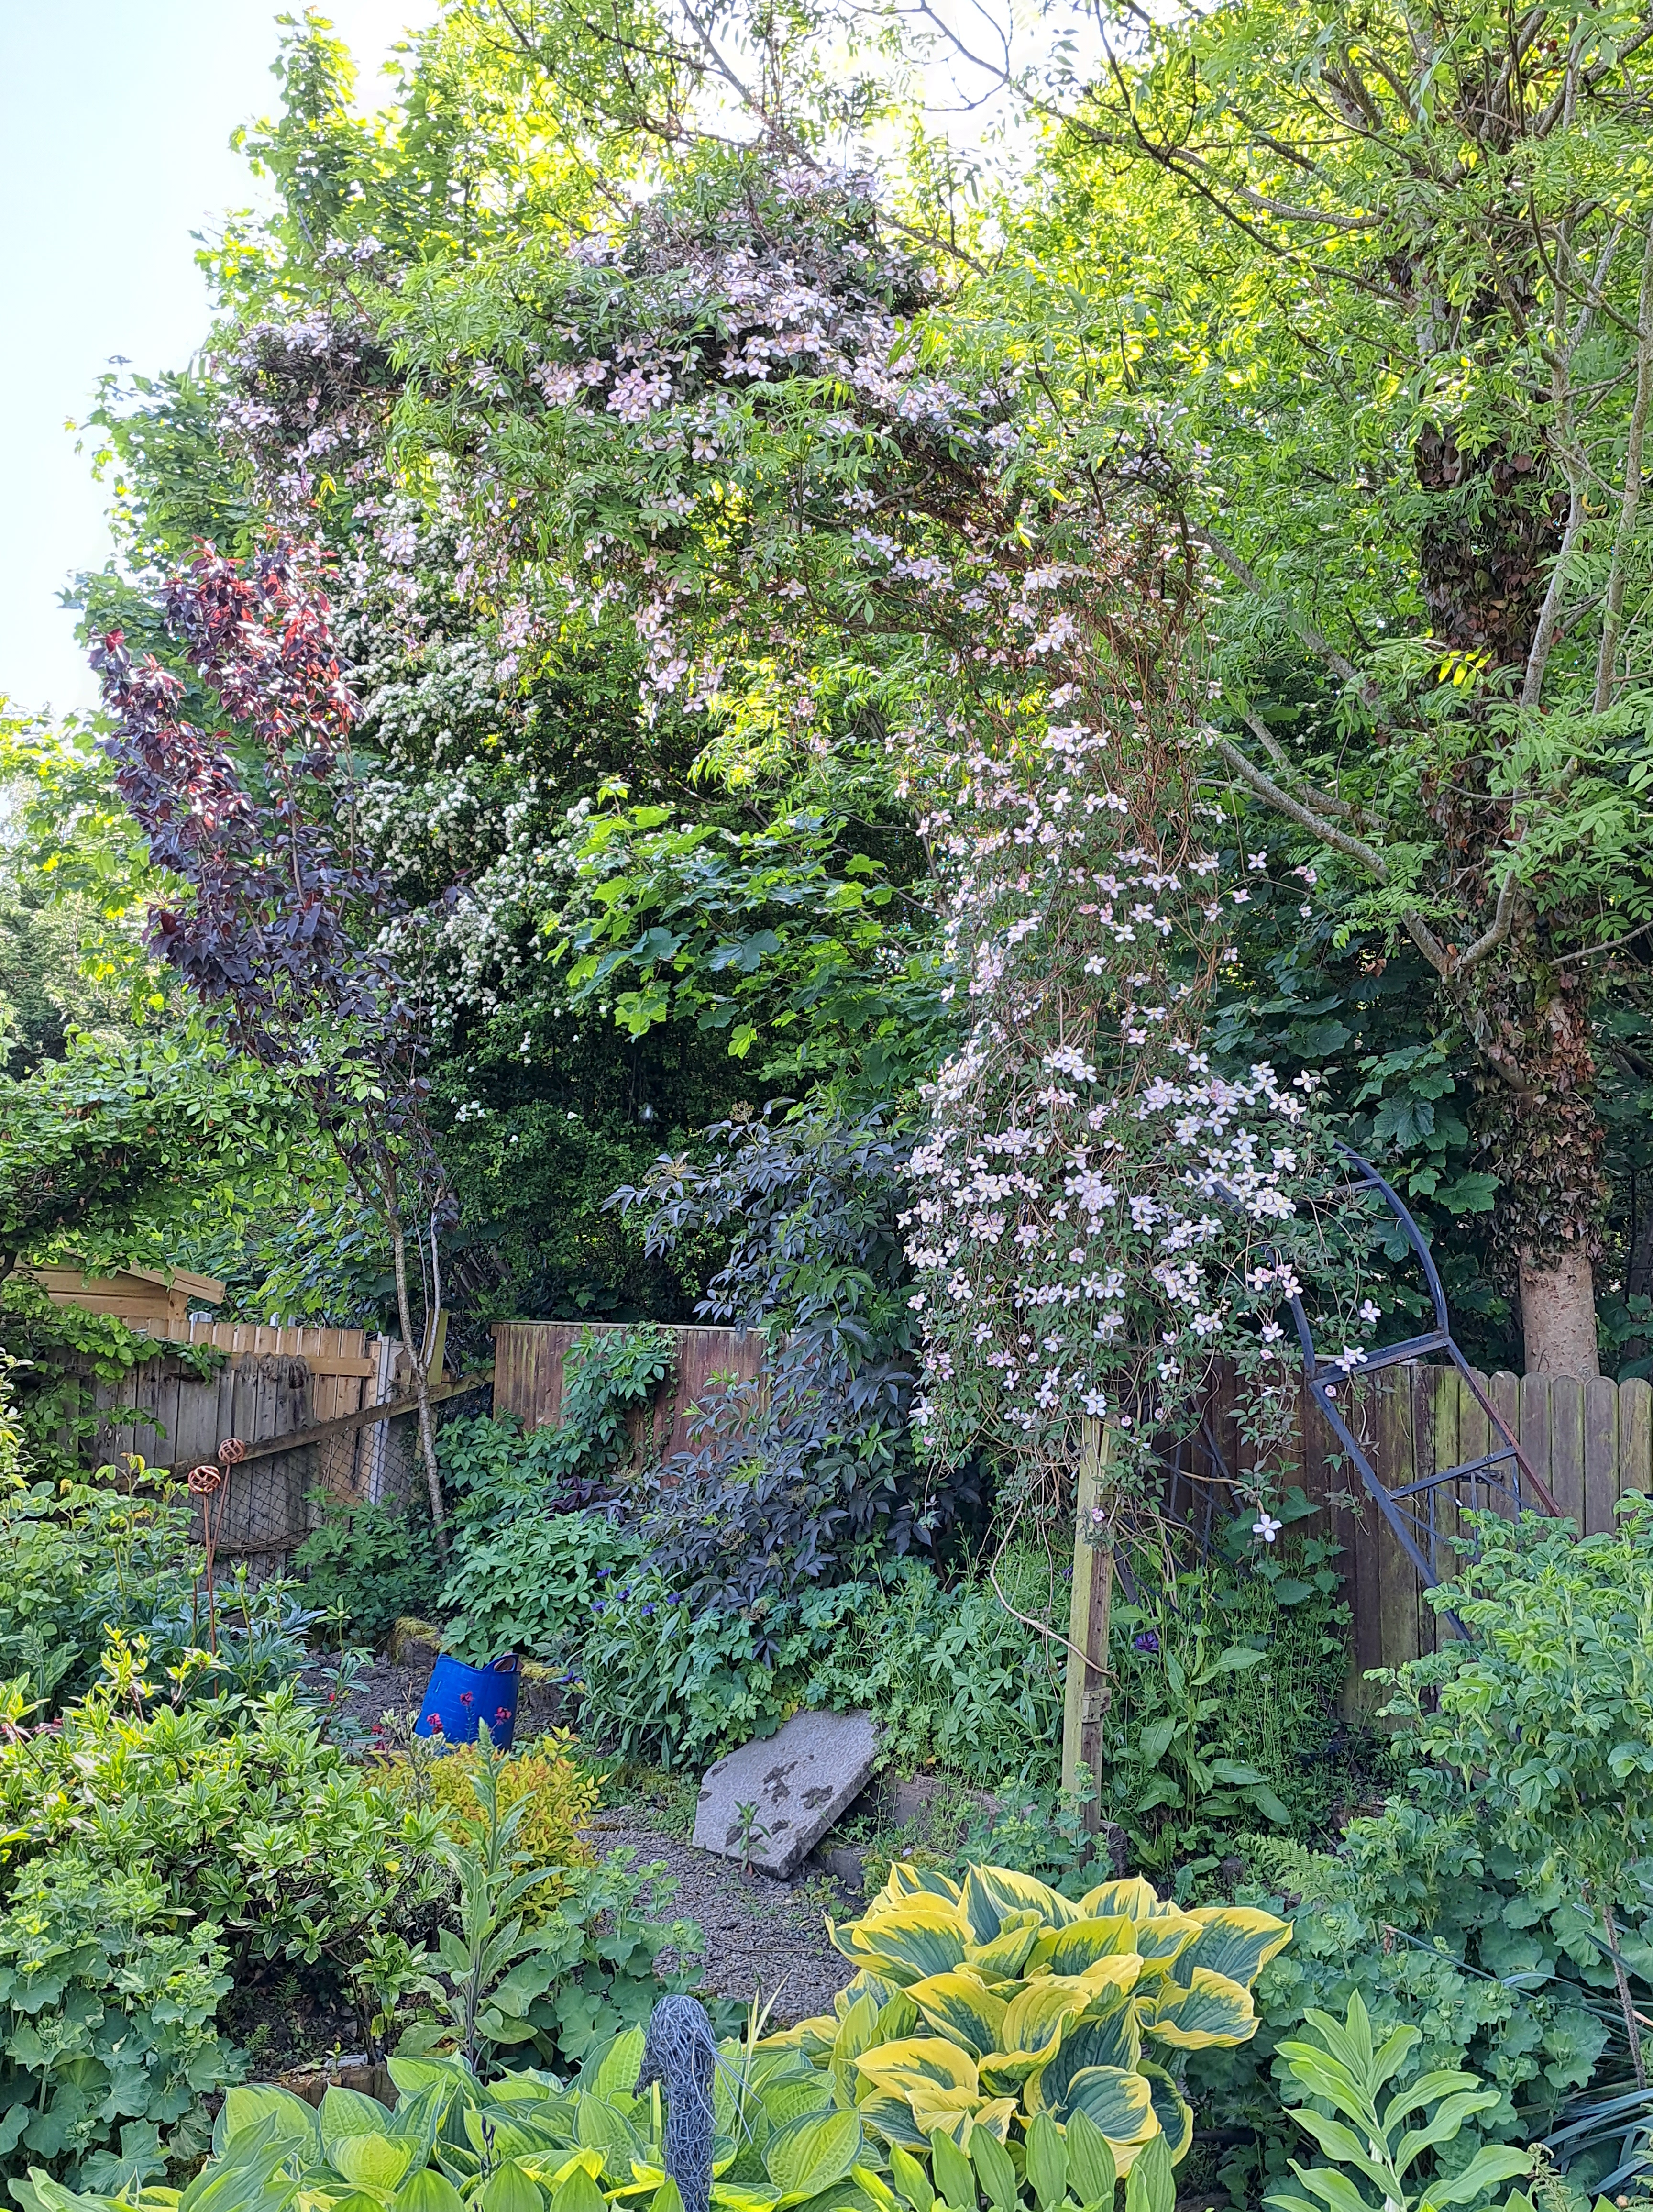
I had a lovely morning fishing in our pond! Officially I was cleaning it out as it’s full of duckweed and it turns out, lots of rotting sycamore leaves too. The first scoop with a fishing net caught four newts!! I quickly put them back and consulted my friend! I knew last time I cleared the pond out I found two newts but that must be well over five years ago and I’ve not seen any since, not that I’ve furtled round in the depths of our pond much! Anyway, my friend said to put them in a bucket of pondwater, continue clearing the pond and then return them afterwards. Well I stopped counting at twelve, there must be well over twenty, especially as that’s just the ones I caught, I was pretty excited, to me it makes it a proper wildlife pond! I still only saw one frog though. I scooped out half a trug full of duckweed, pondweed and dead leaves, I left it on it’s side next to the pond so any little critters I’d missed could find their way back. I’ve since been topping up the water level, we haven’t had rain for weeks but it’s not good to just add tap water due to the chlorine levels in it, however leave it for a day or two and it’s OK, so I’ve been filling the watering can and tipping it in a couple of days later. I’ve a bit more duckweed to fish out but it looks so much better…

The hostas are looking good around the pond as you can see, they give some useful shade to the pond too. That’s a fine specimen of marestail on the left too!!!
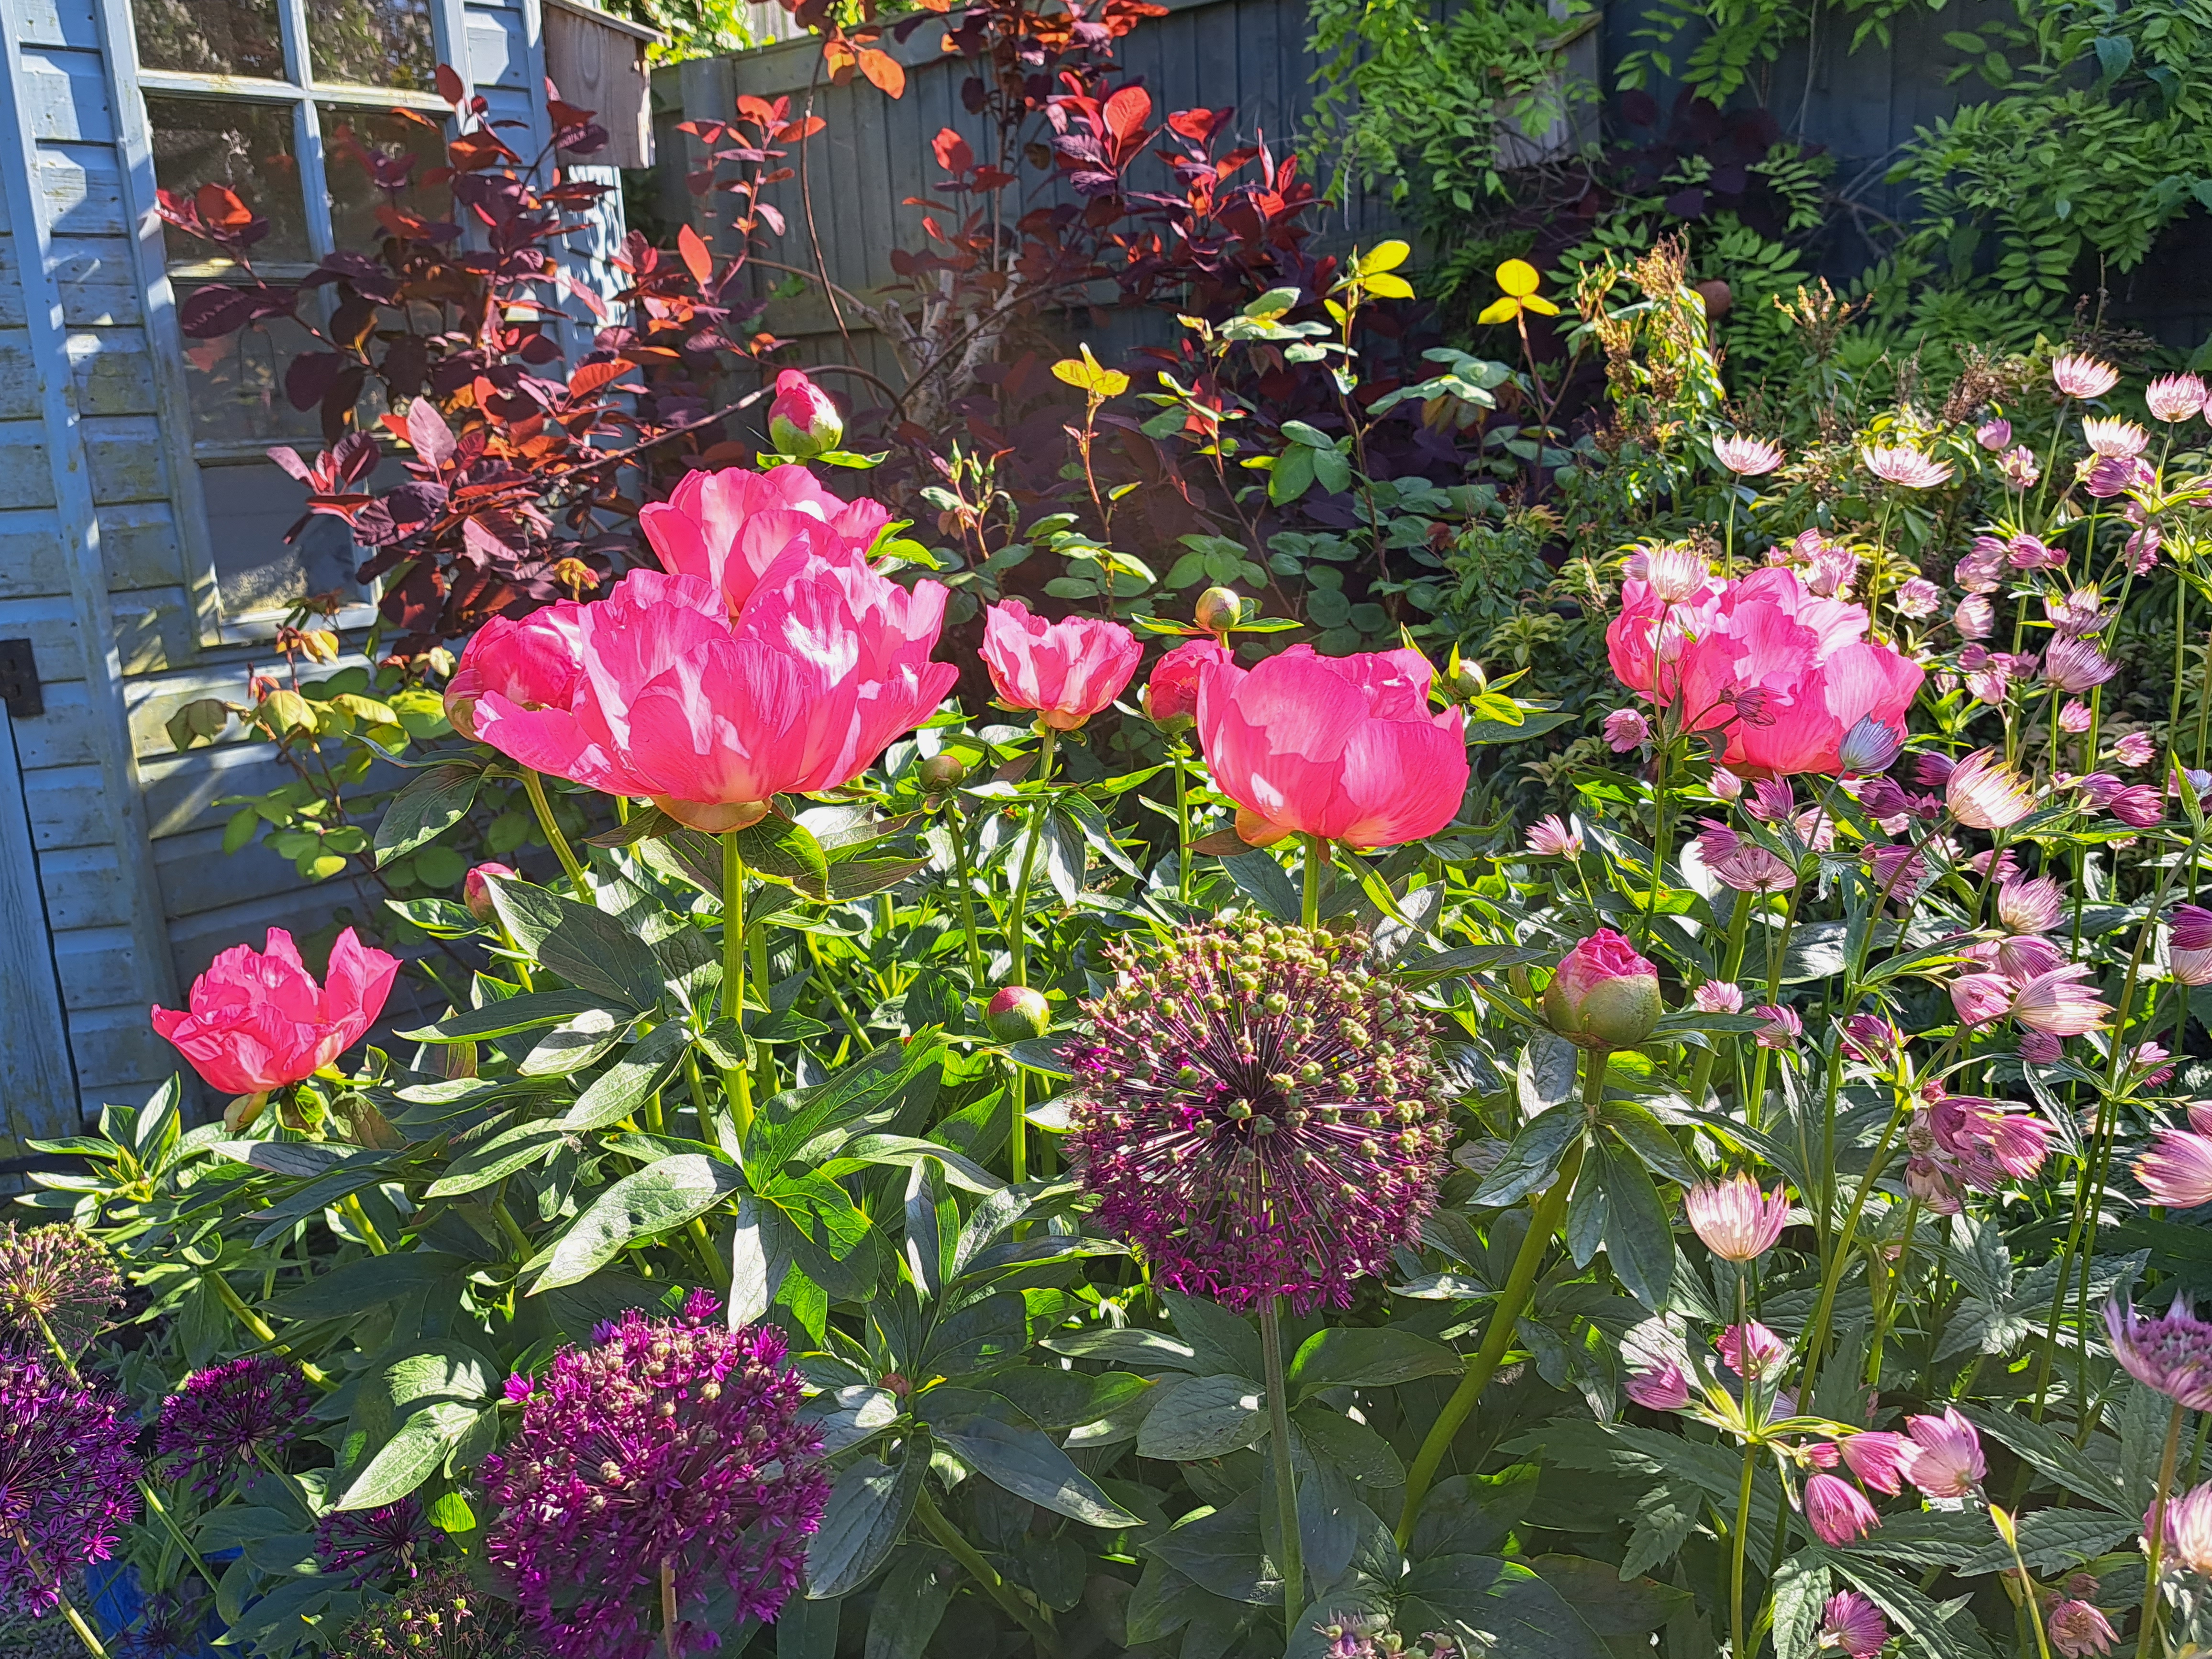
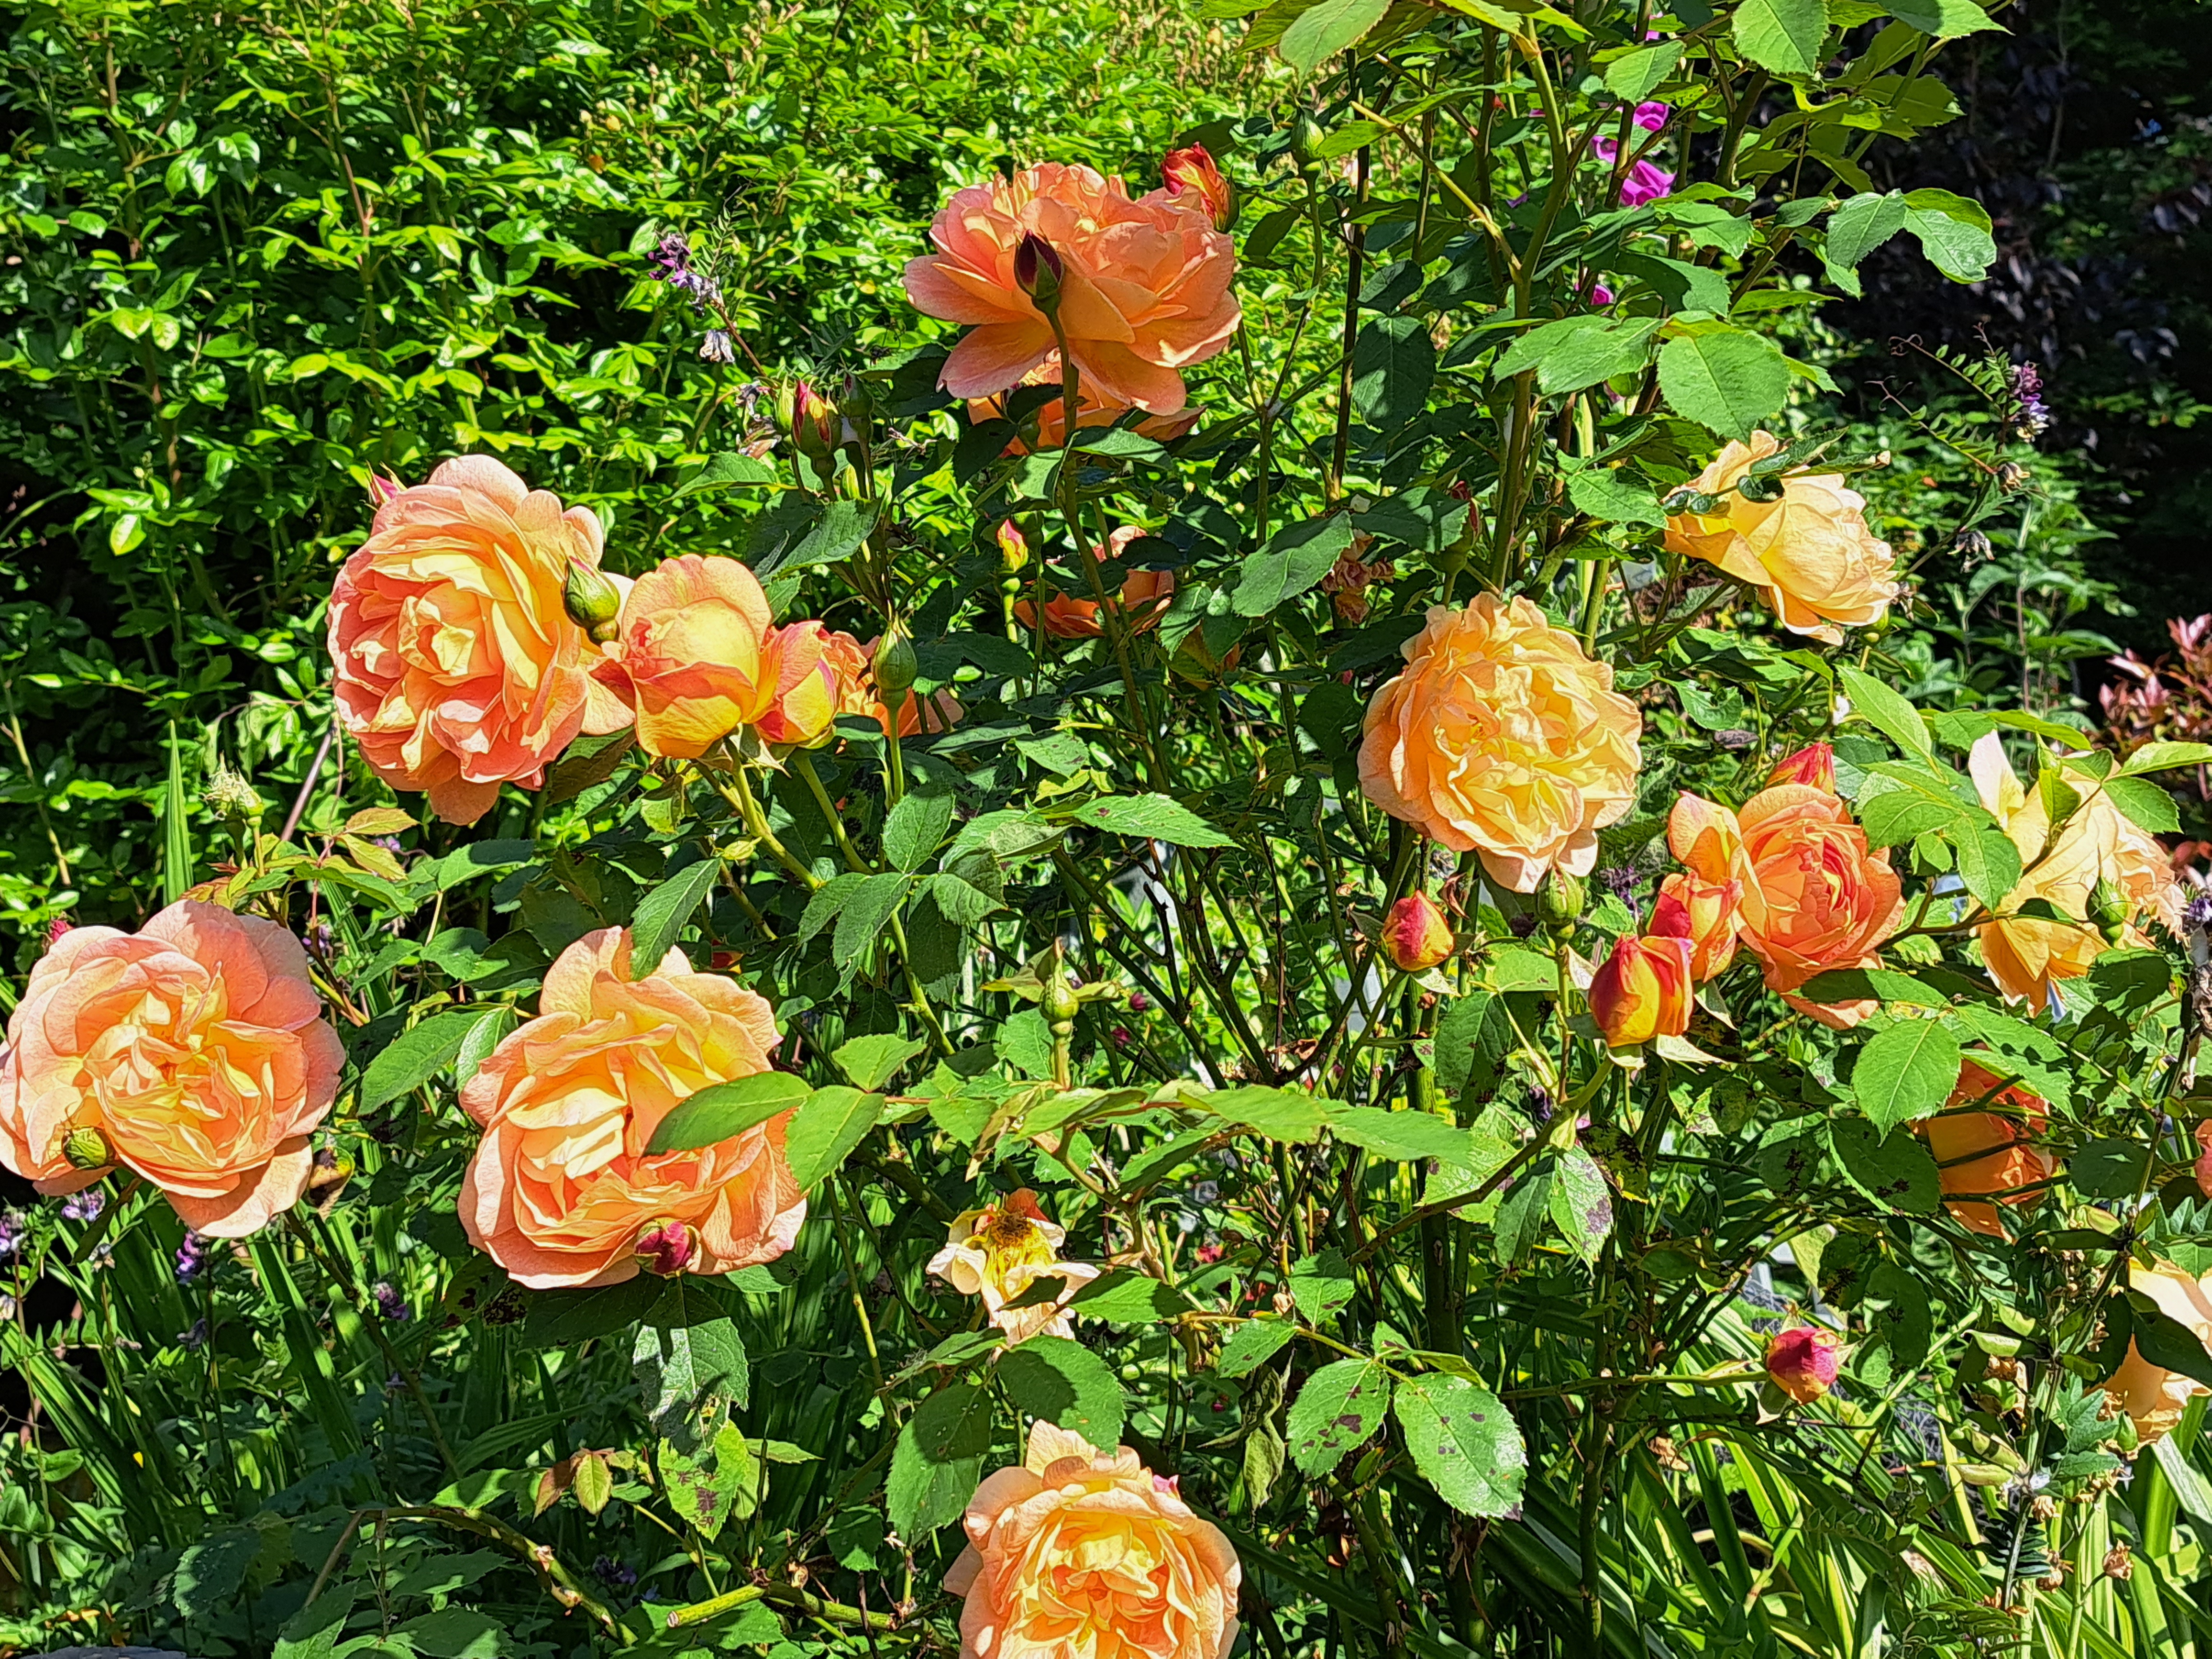
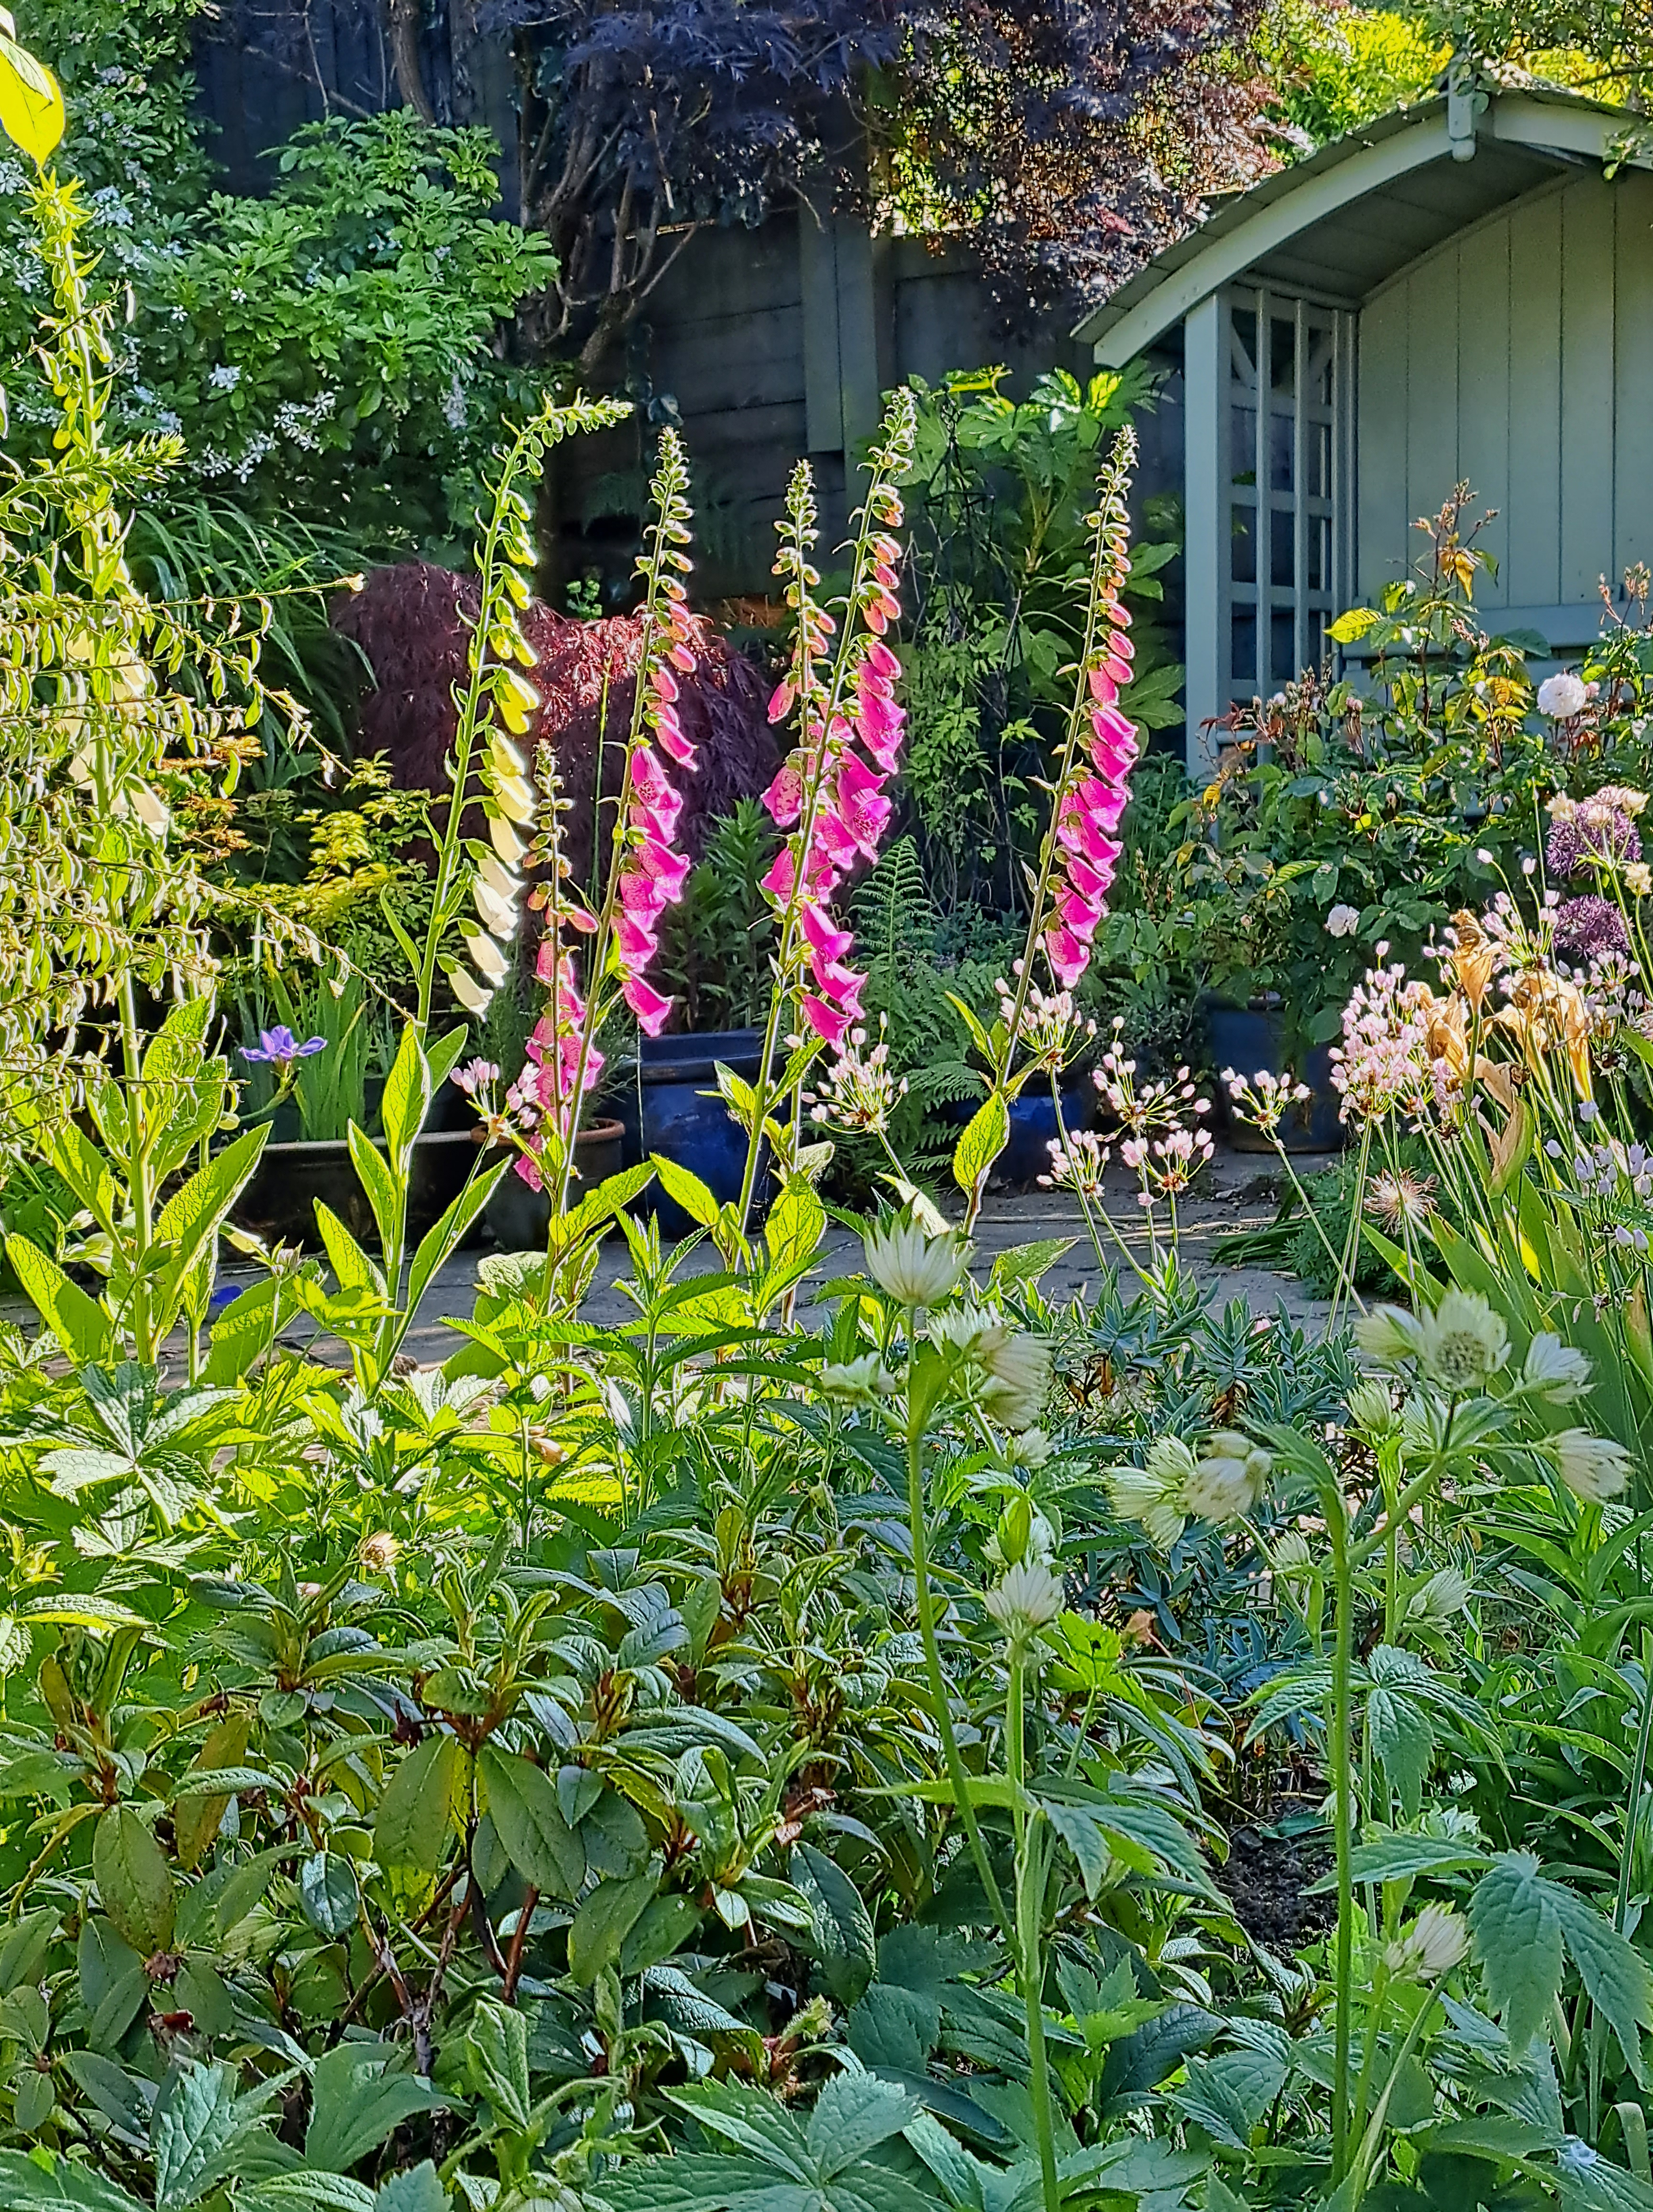
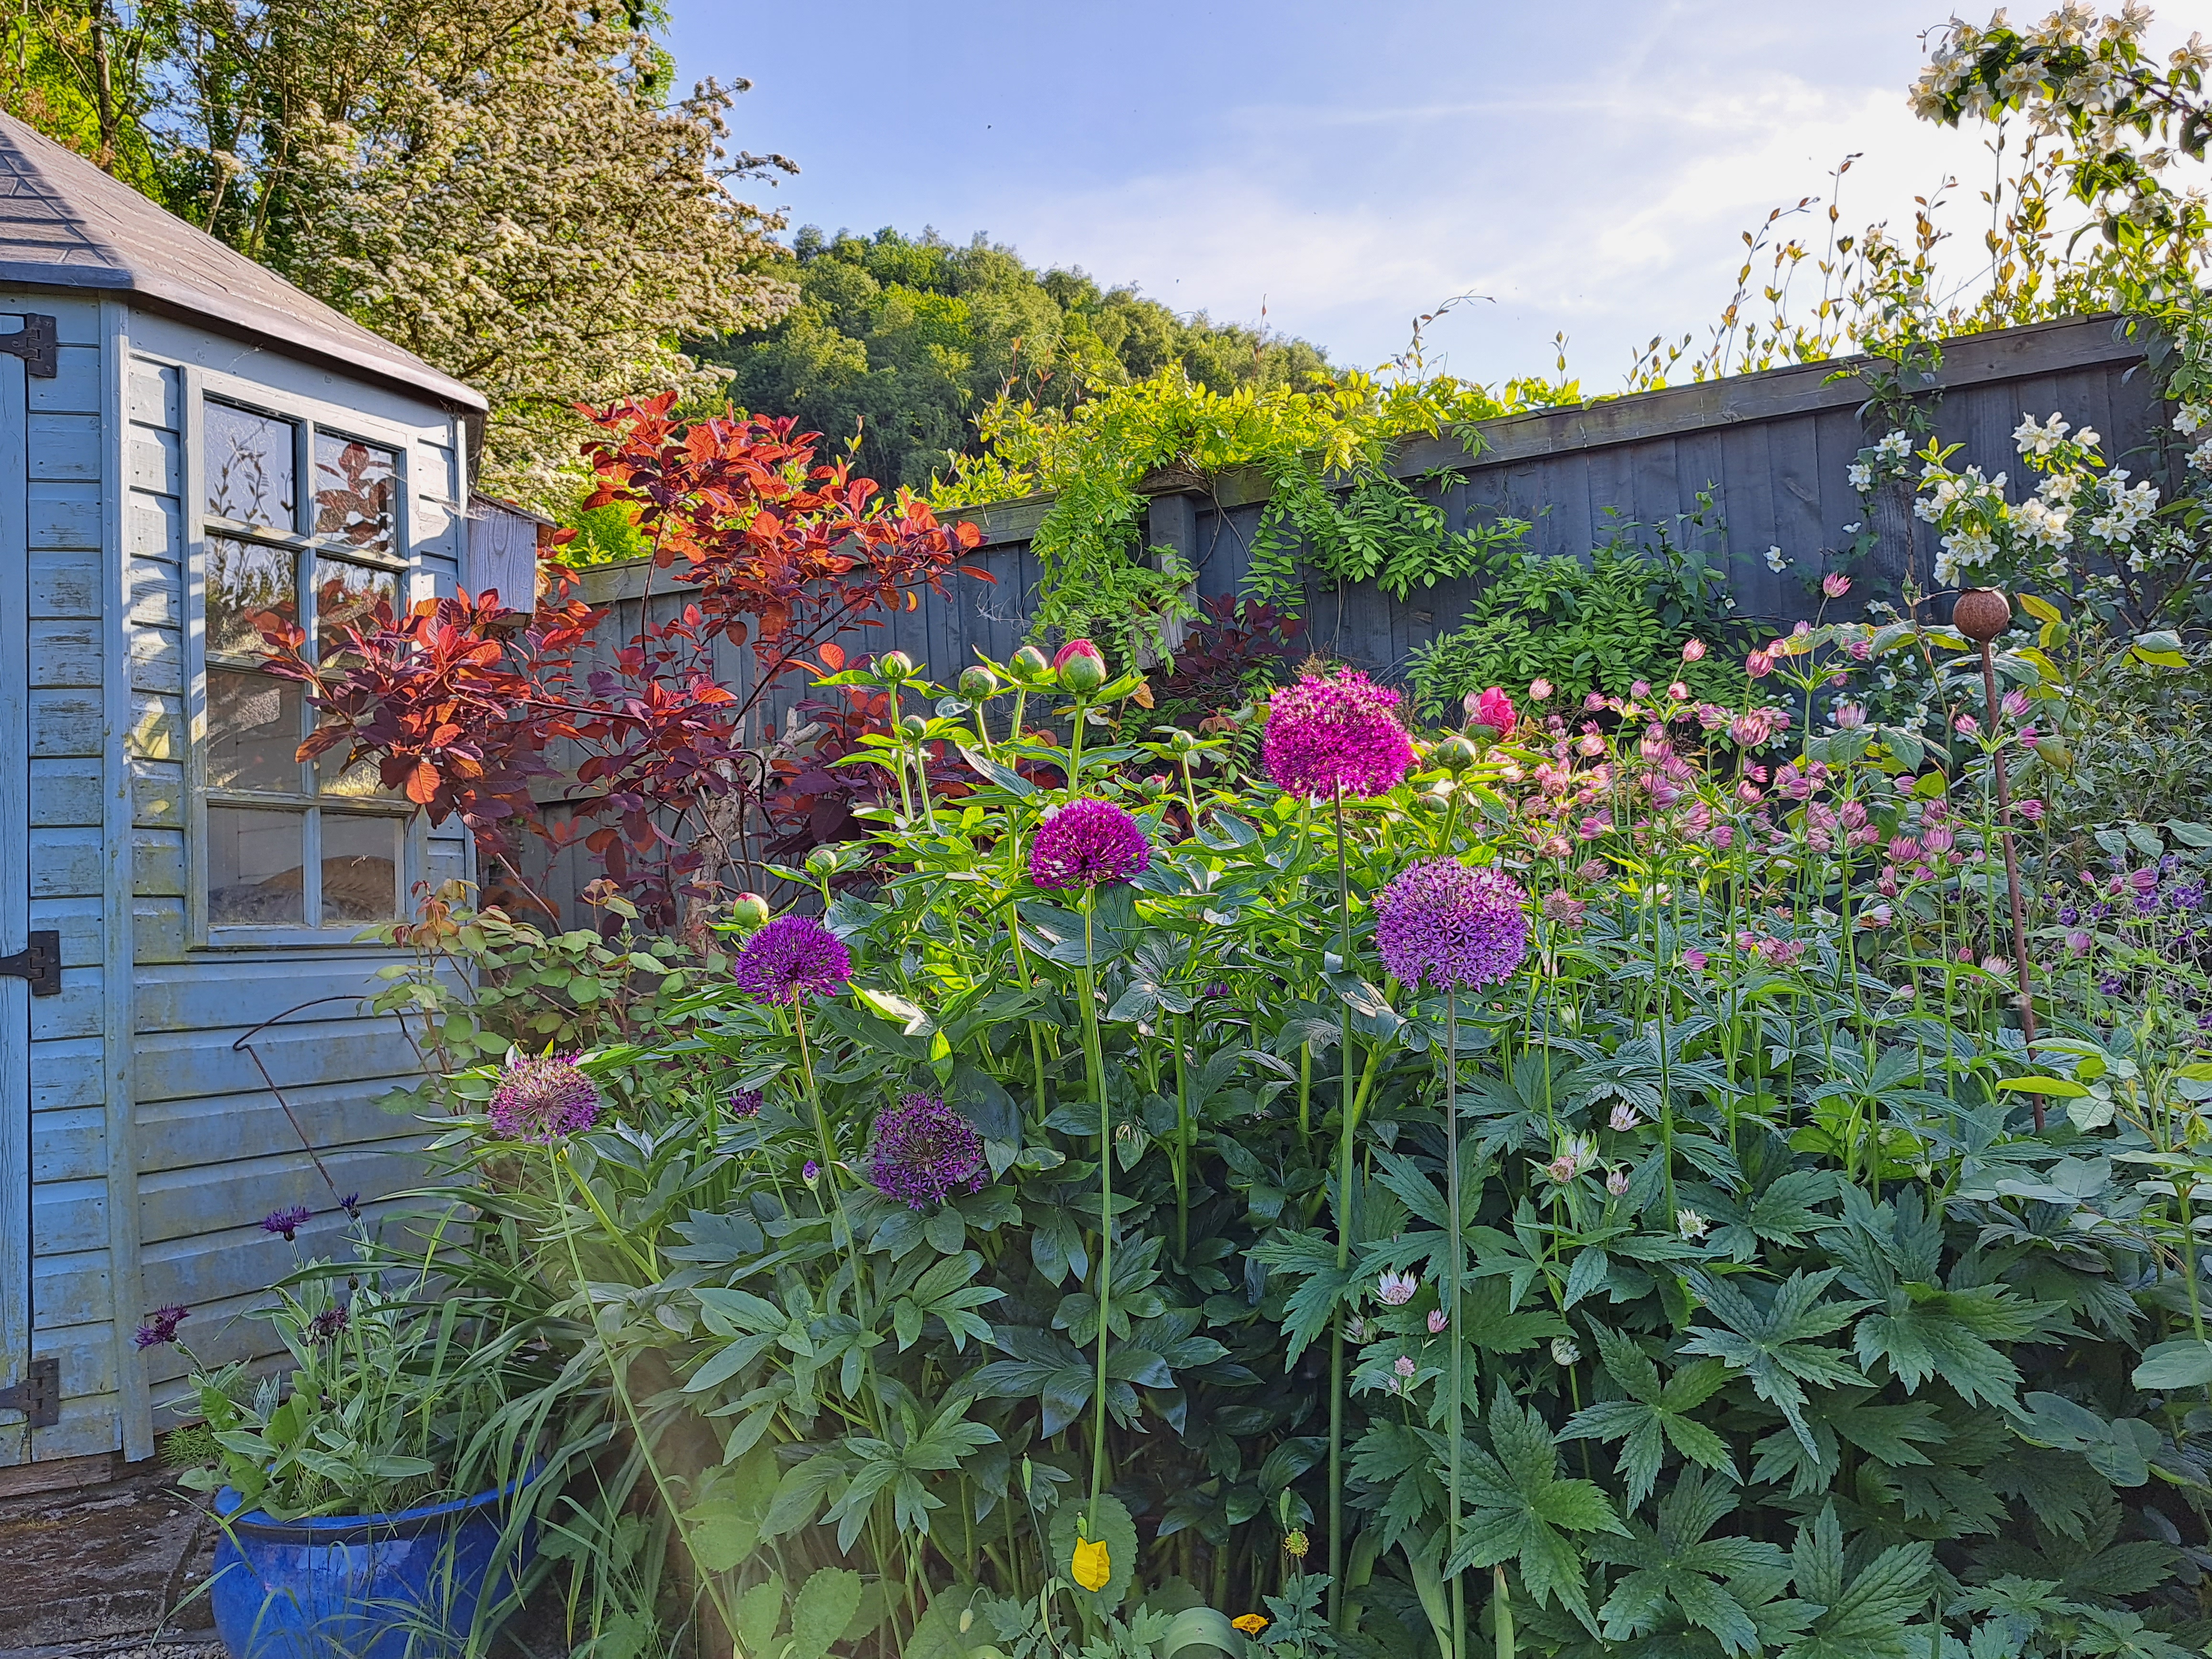
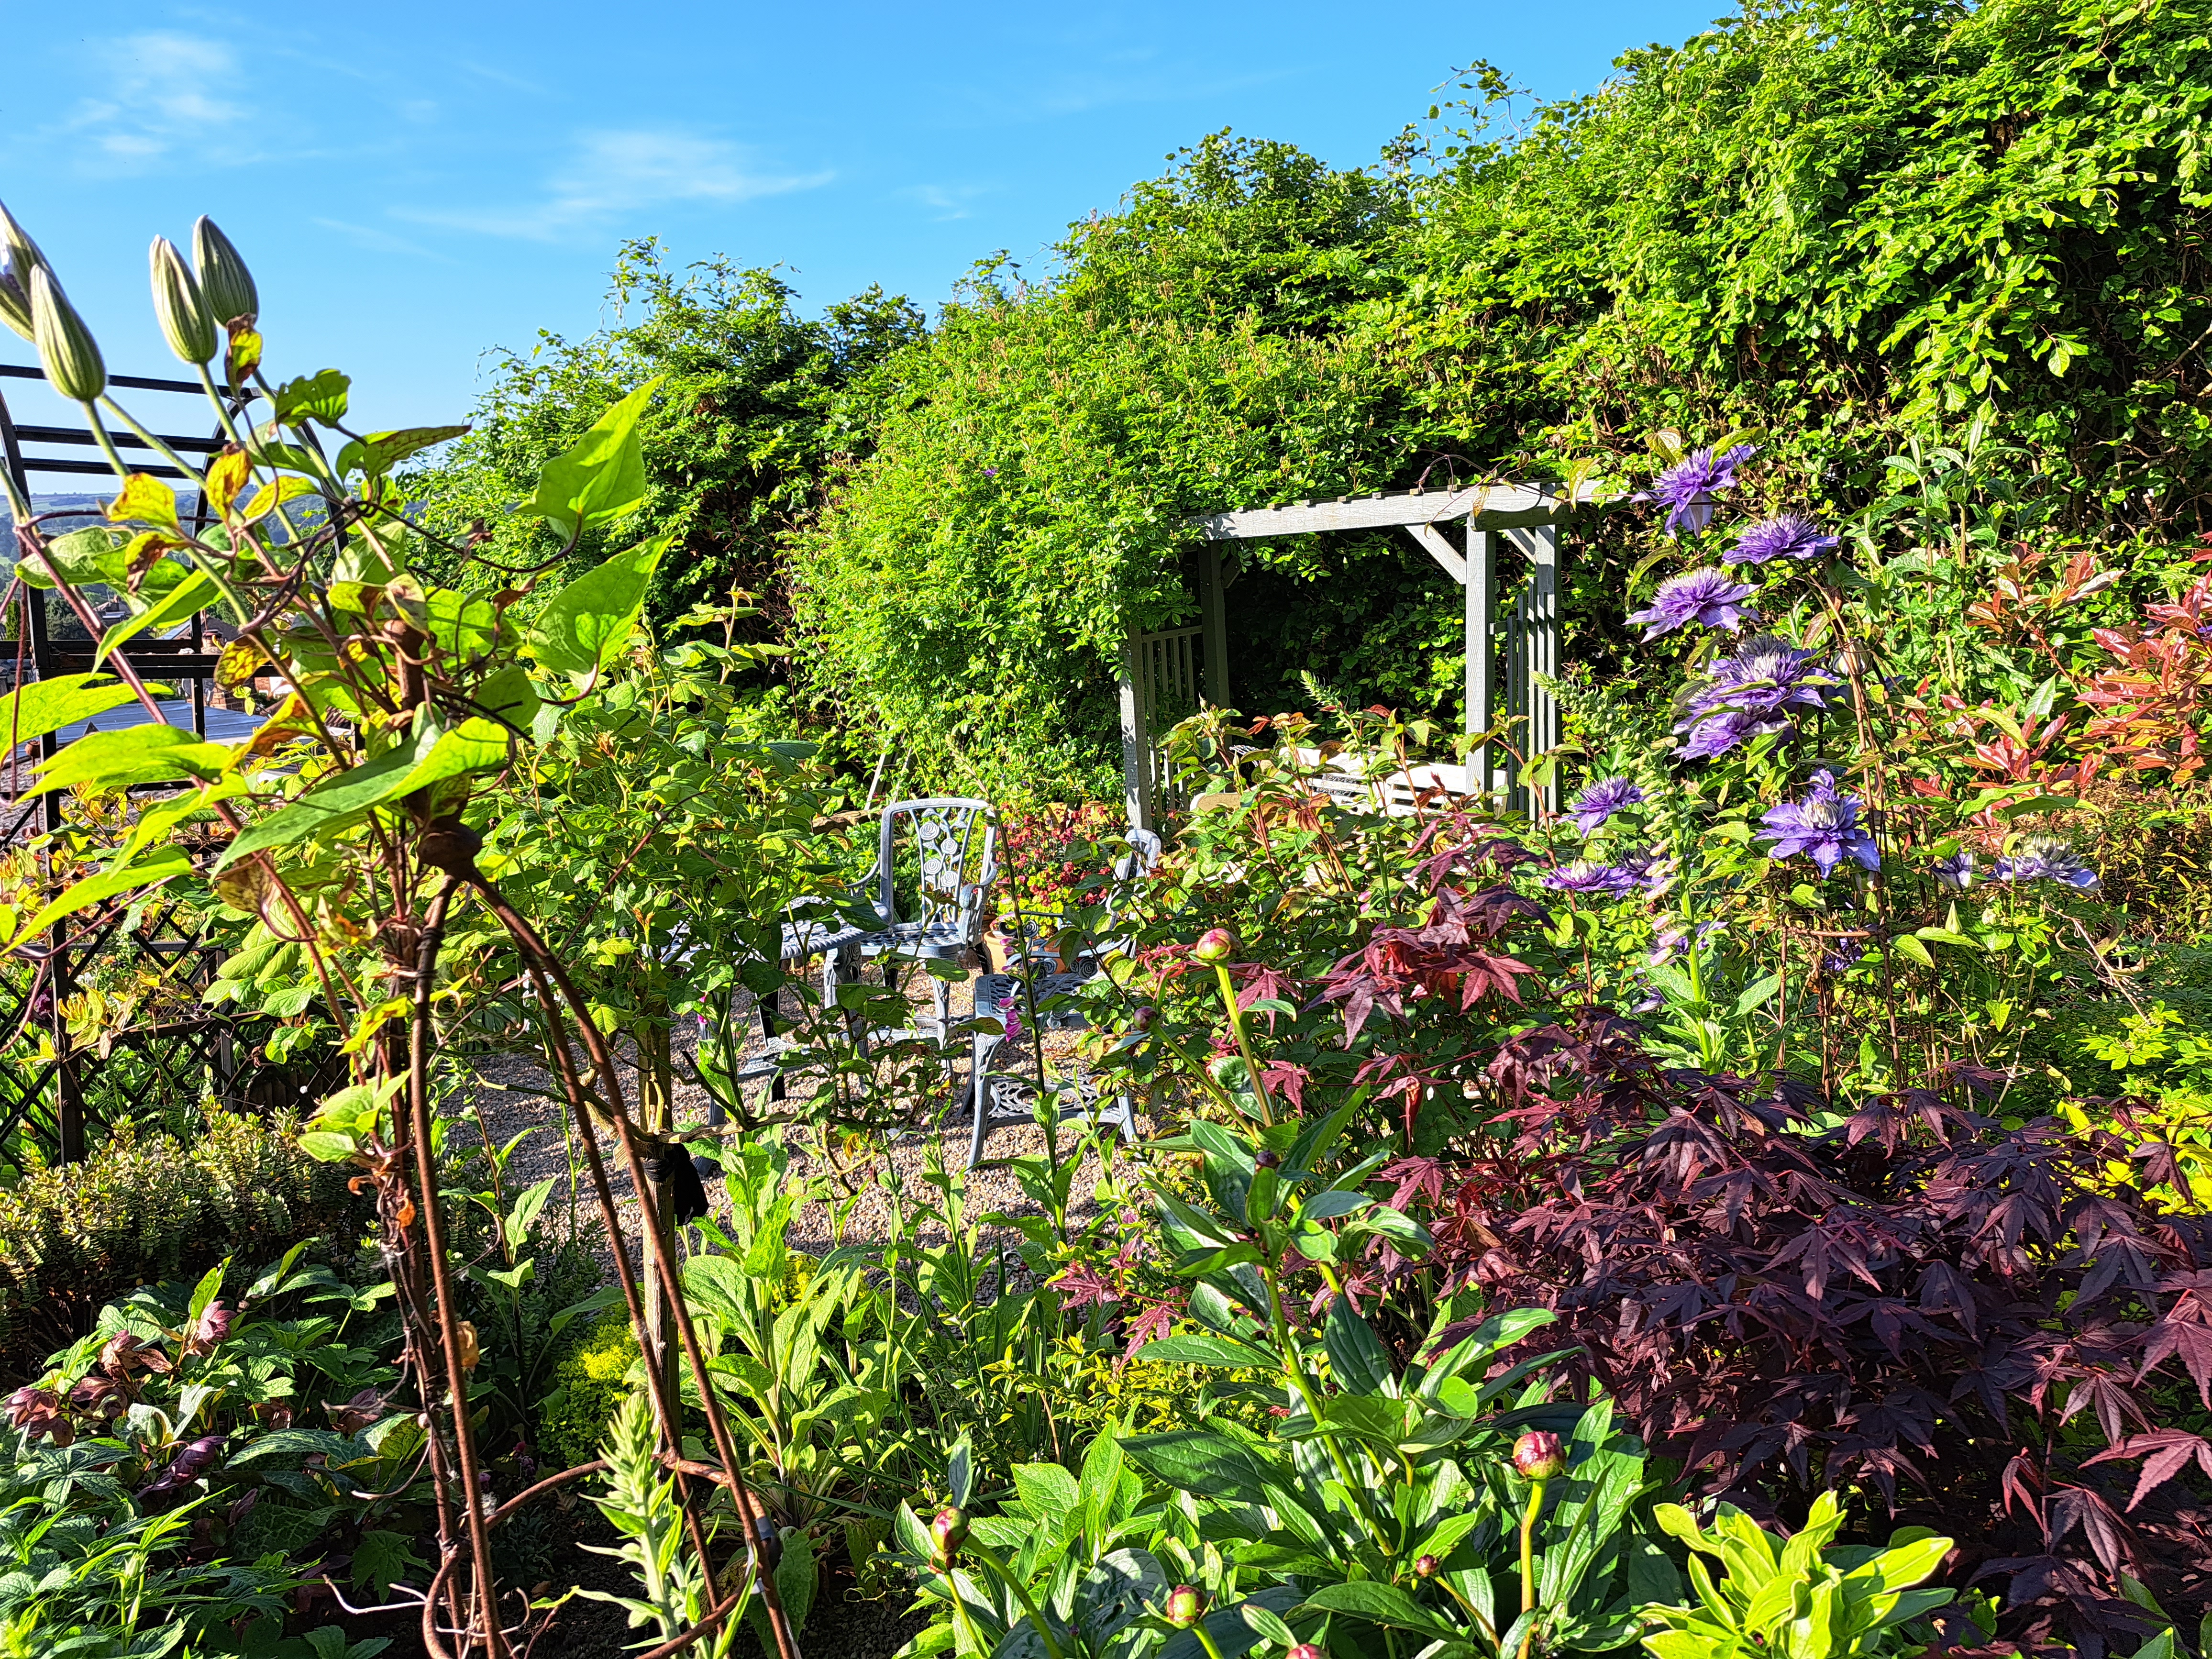
The top border which is officially called the autumn border has lots of colour for the summer too. I let the foxgloves self seed as you can see, I only thin them if they are getting a bit much, they add a bit of height and colour and the bees love them. The rose over the arbour is starting to flower, it’s a rambling rose rather than a climber and it’s been much easier to train over the arbour, just needing a bit of gentle guidance and it’s already over half way across. It’s a lovely place to sit on an evening.

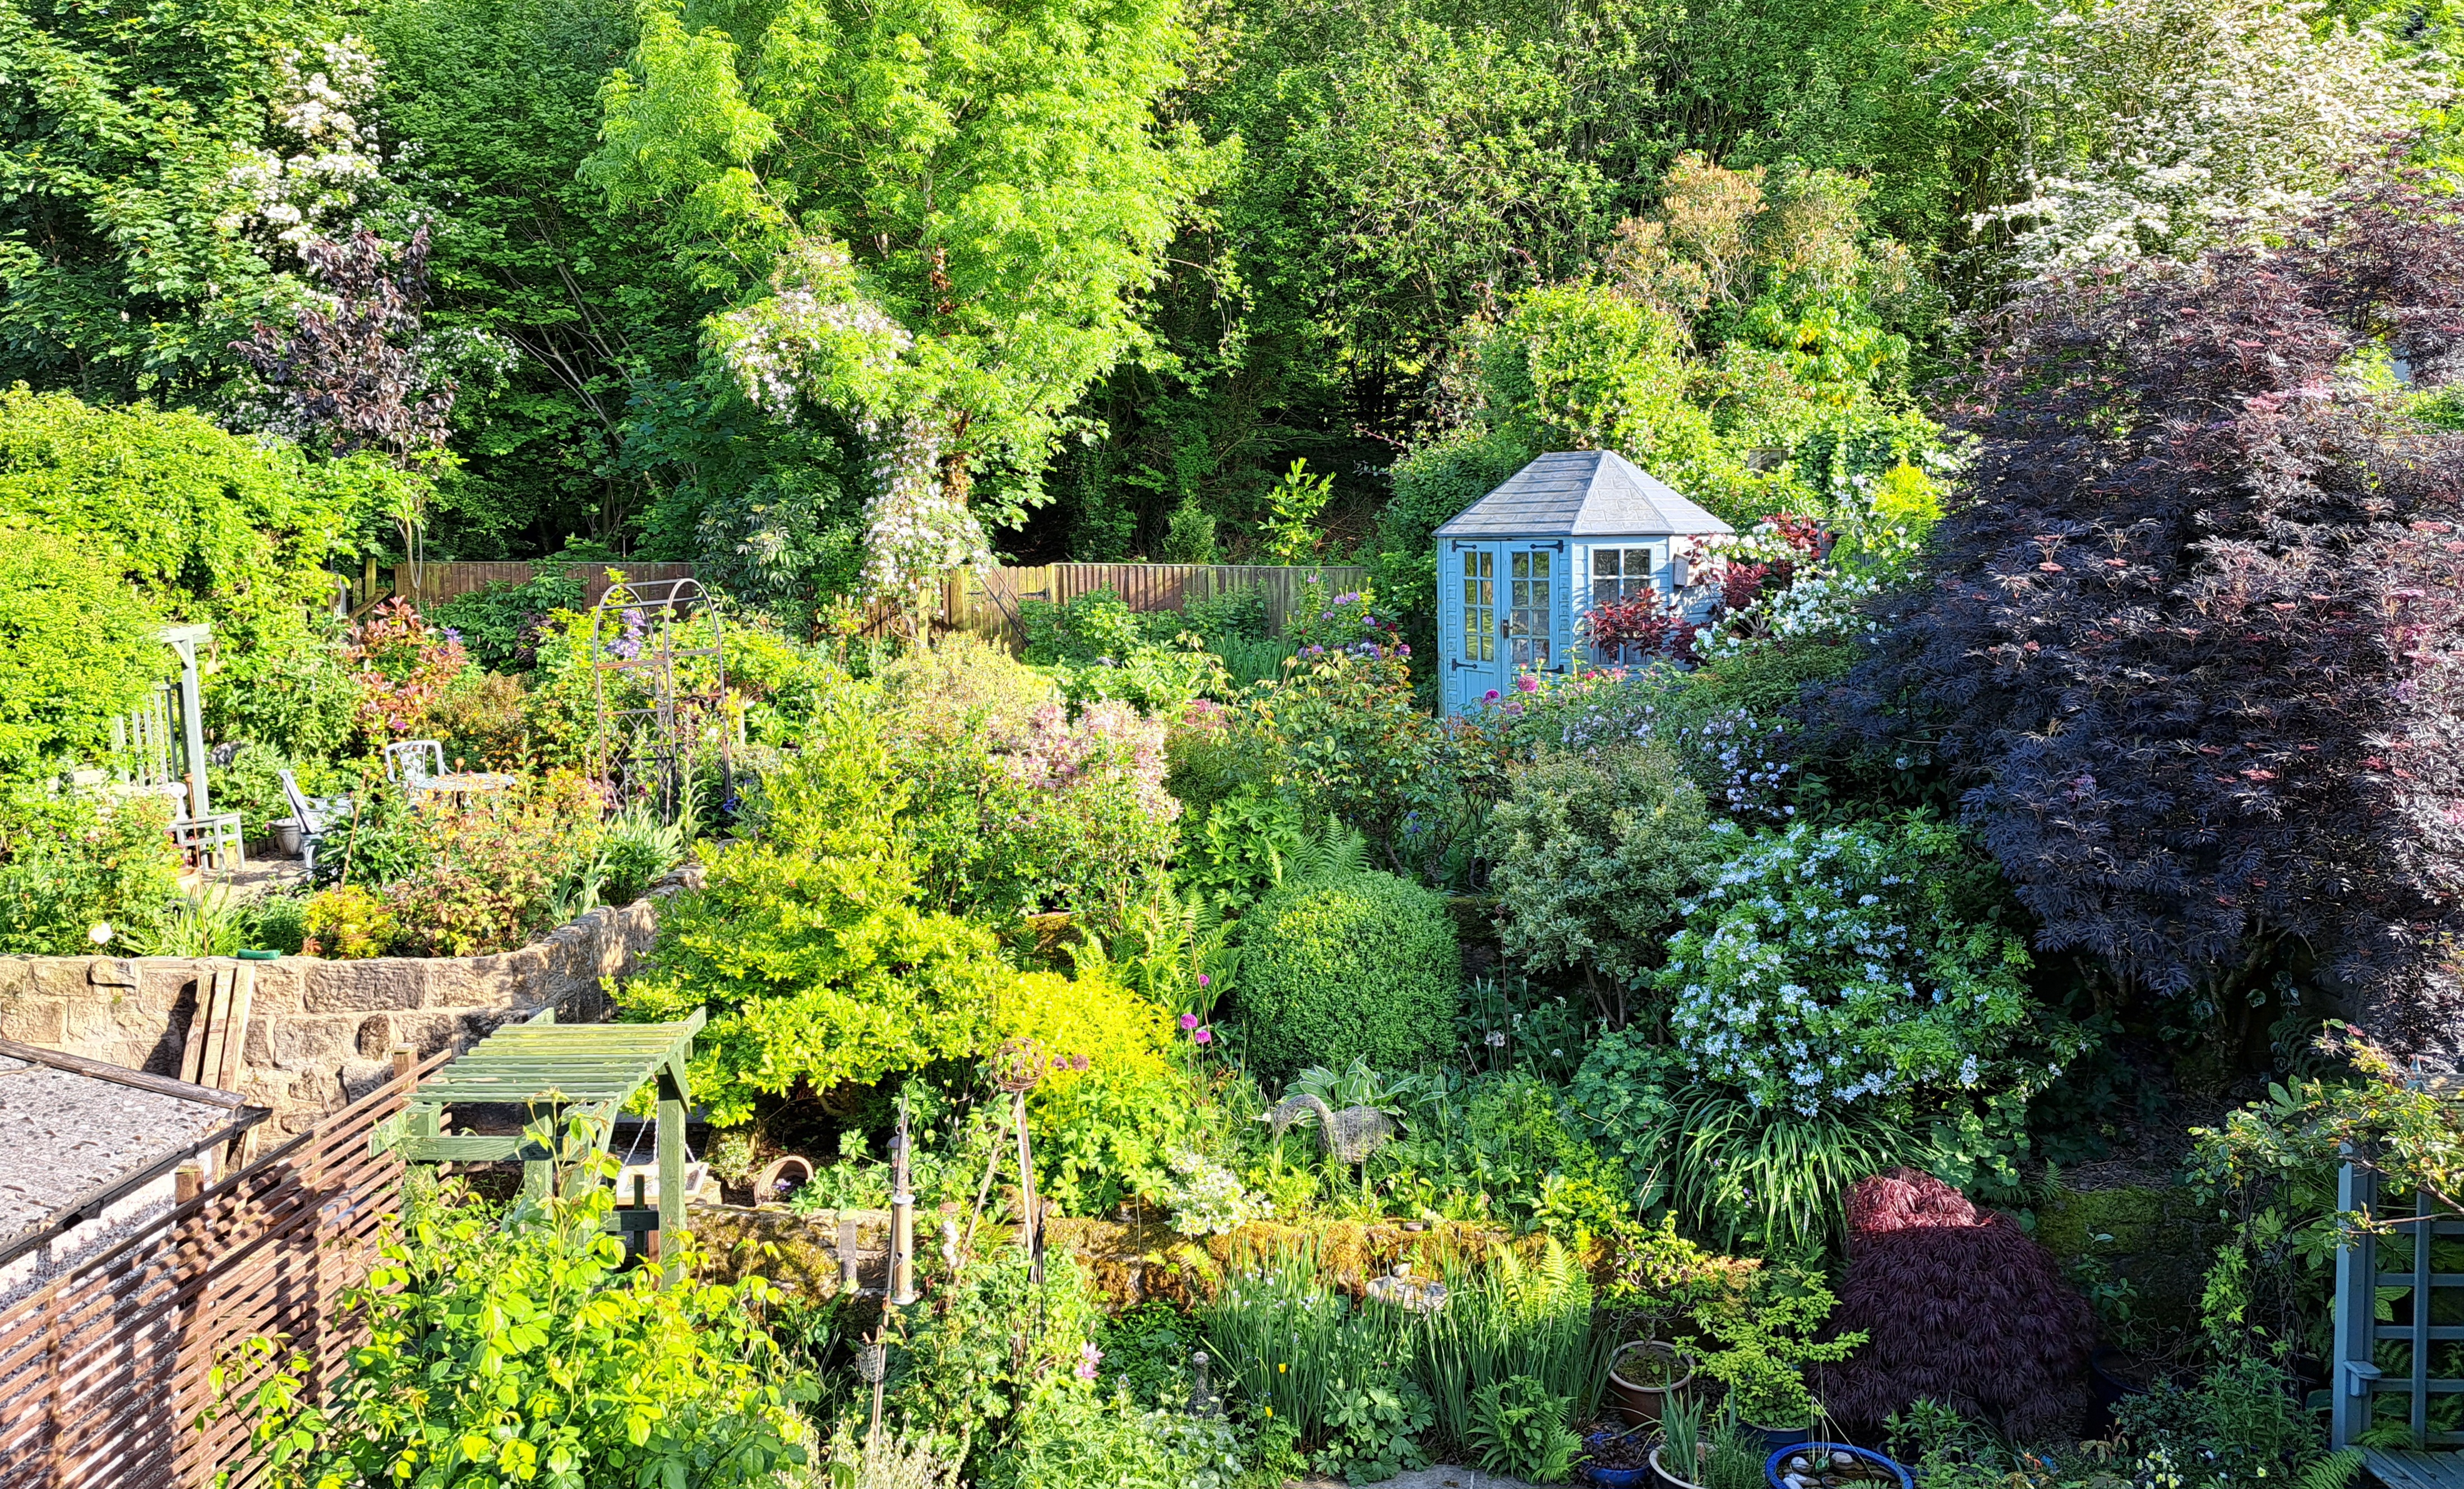
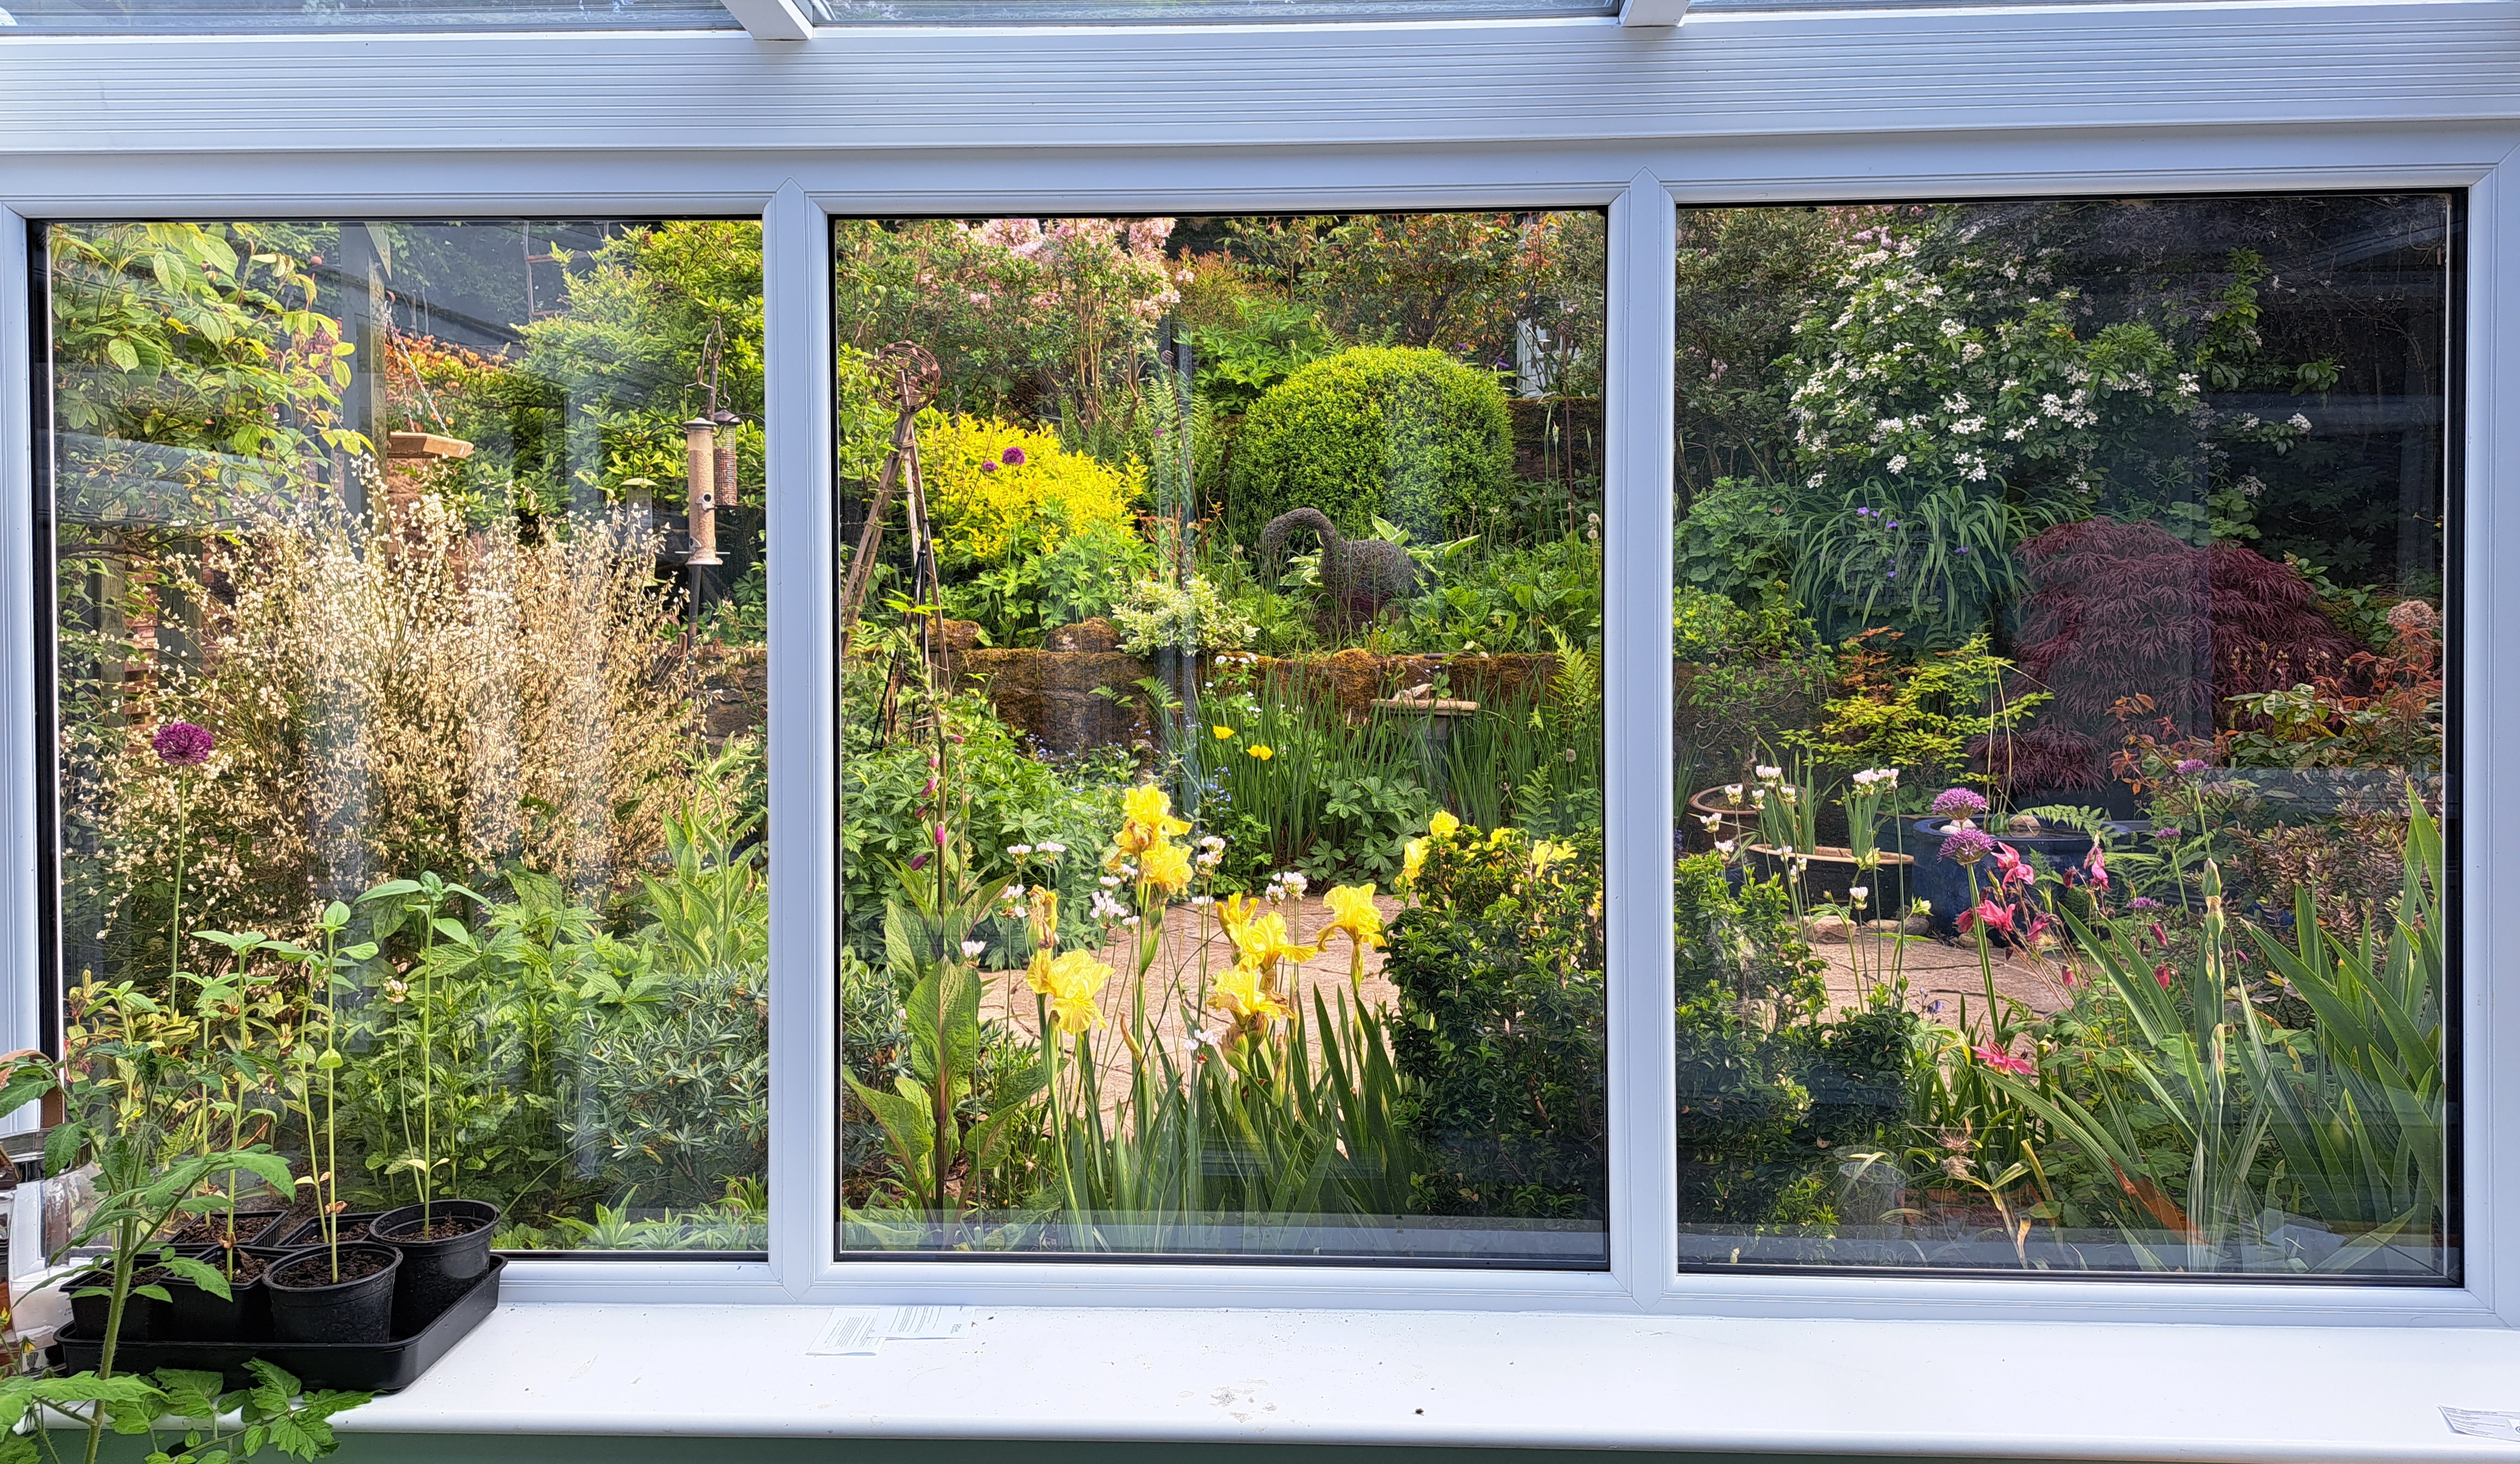
The patio garden is looking very peaceful, I am trying to keep the colours more calming here, it’s where I sit for my morning coffee, or if the sun is getting a bit much there is always shade under this arbour. In amongst the pots I have a large blue cceramic pot full of pebbles and water, I made it last year as a birdbath but I rarely saw a bird in it. At this years Harrogate show there was a pond nursery and I bought some spiky reed and a mini waterlily. Since those appeared the birds seem to have twigged on that there os water there, the blackbird bathes in it, the goldfinches and the robins stop by for a drink, I’ve even spotted damselflies on the reeds.

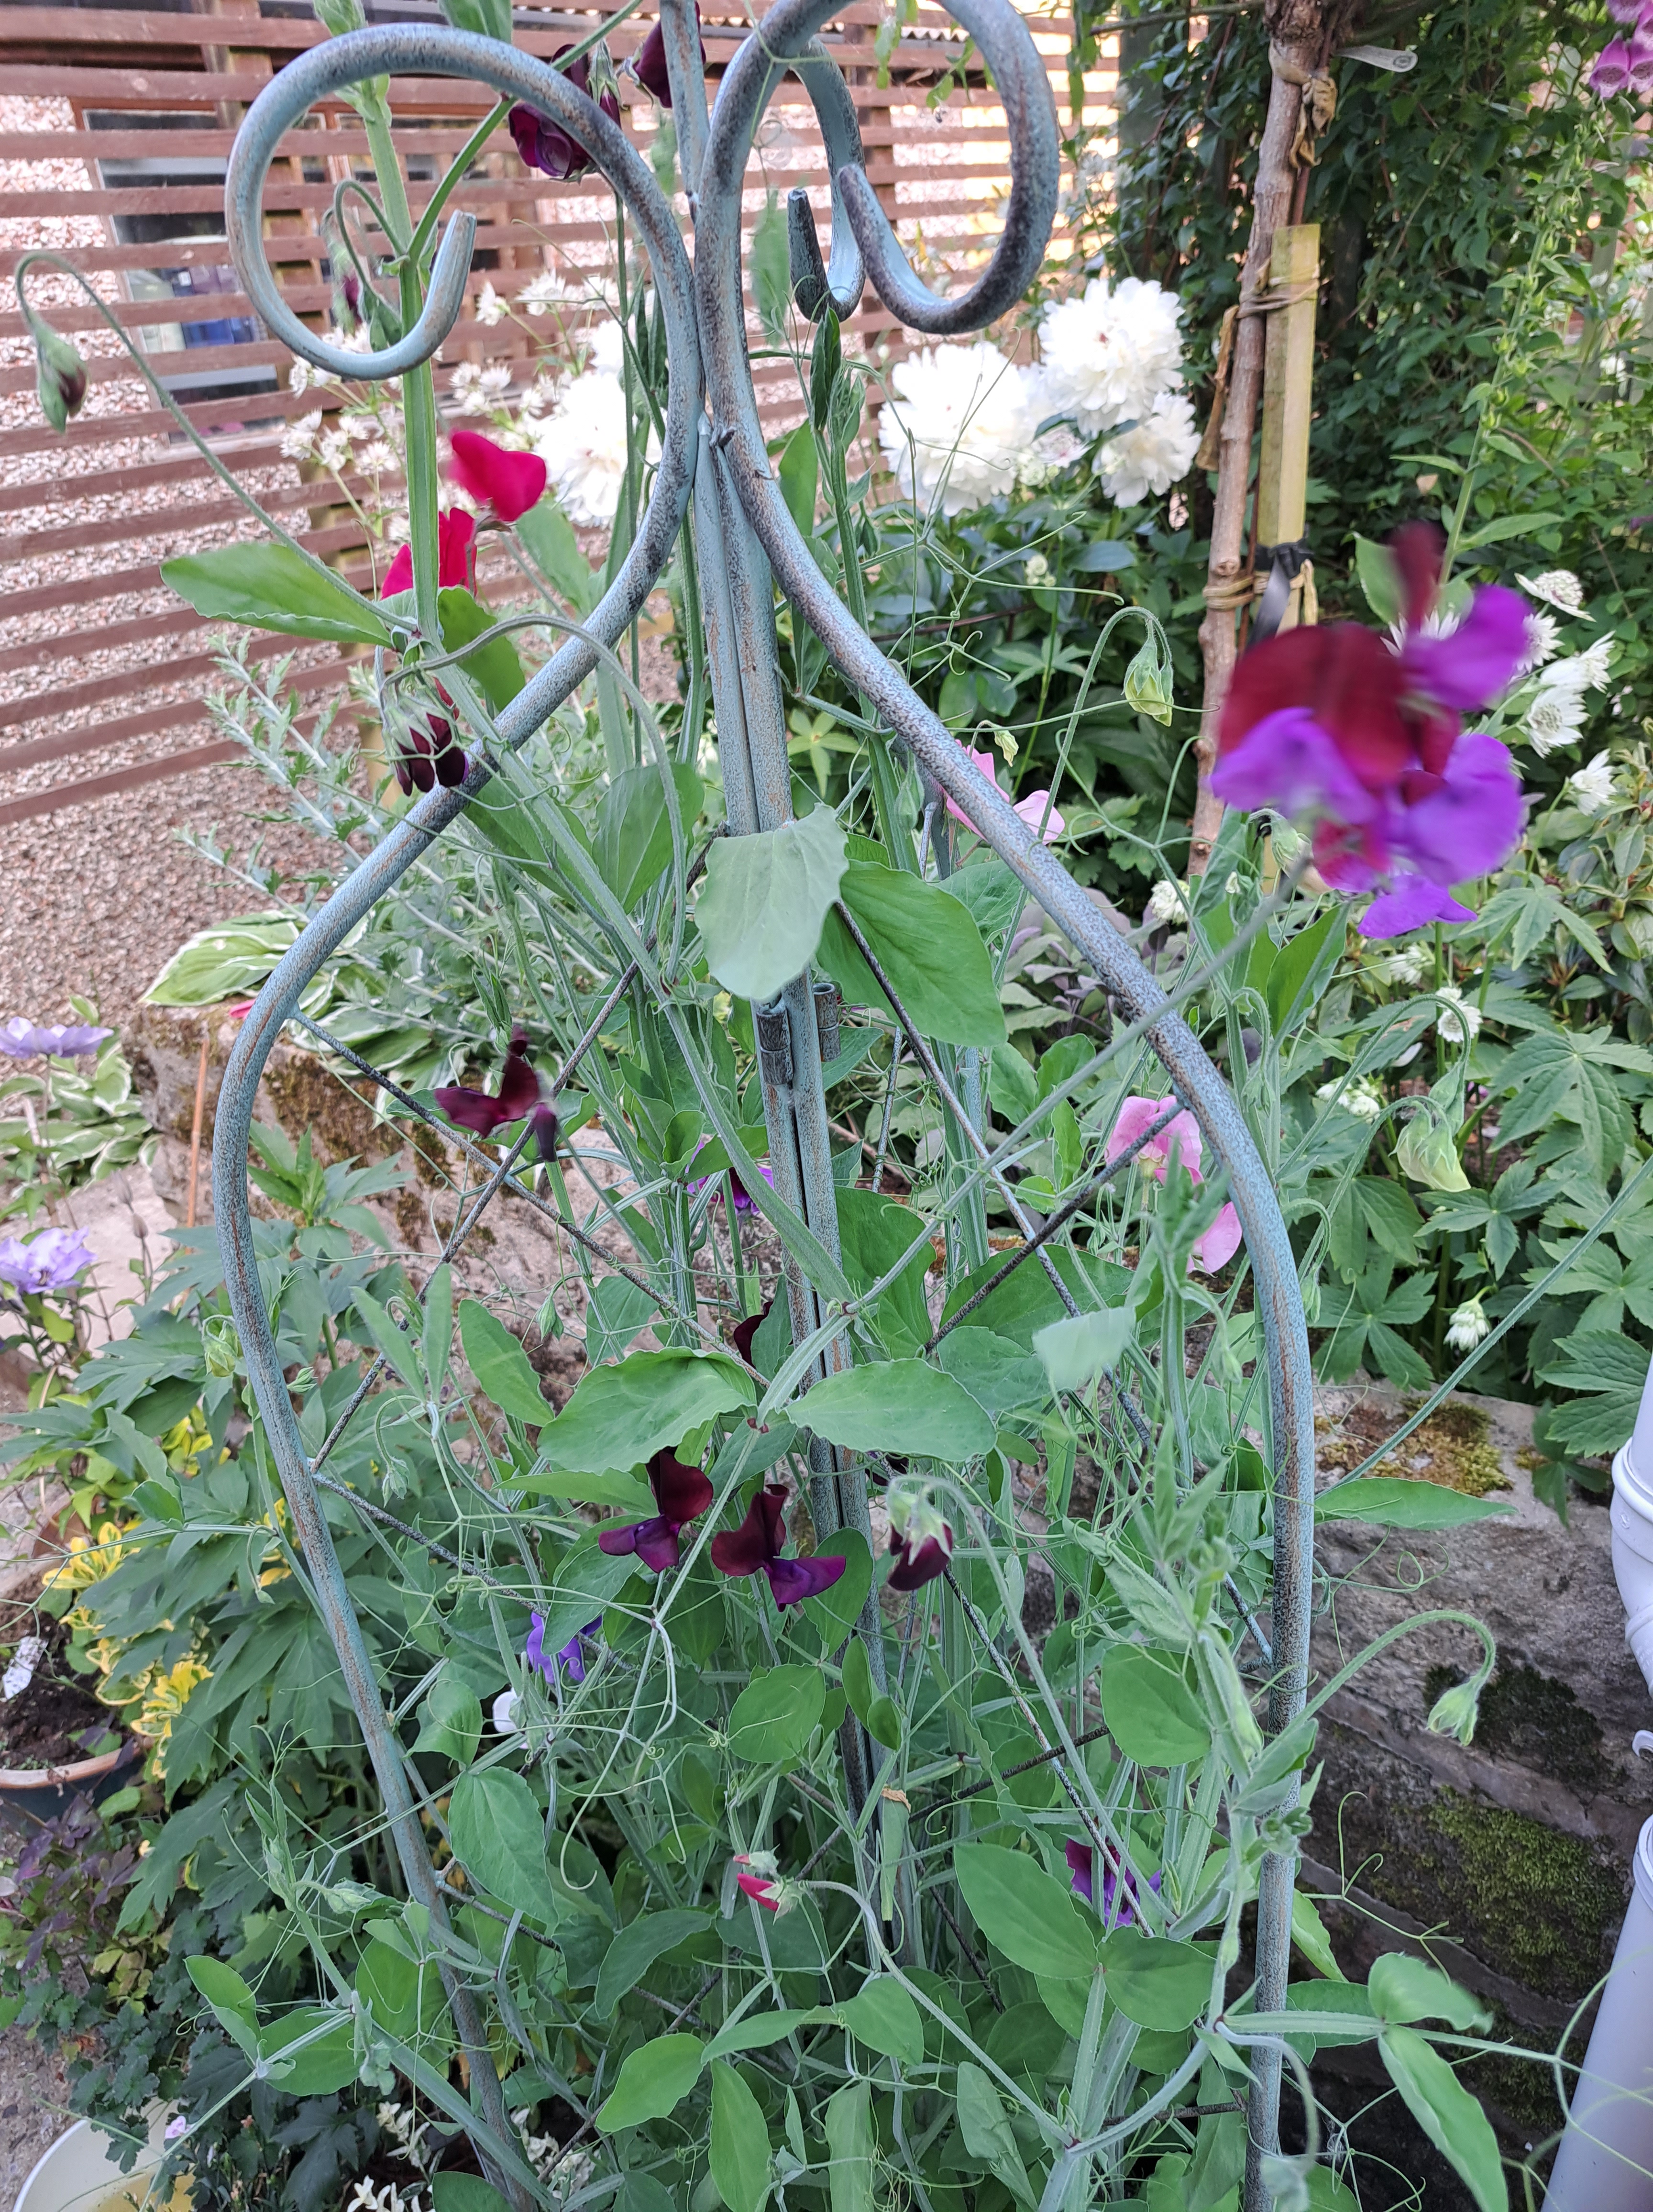
This year I’ve had quite a good start with sweet peas, I’ve bought them before but they always seem to have ended up in a heap and never found their way up. This time I bought a pot of mixed Spencer sweet peas and planted them up initially in individual pots in the conservatory and then I bought a large plastic container inside and planted them up. I didn’t move the planter outside until the risk of frost had gone, then I gave them a helping hand up a new plant support and they’ve done really well. What’s nice with sweet peas is that you have to keep picking them or they stop flowering, so I have a lovely jug of scented flowers in the kitchen.
There’s no rain forecast here for another week, I could really do with some as the ground is cracking it’s so dry and I’ve a few plants in pots waiting to be planted. We’re going away for a few days soon so I could really do with planting them out first. Fingers crossed for a thunderstorm!!