Yesterday I finished my blue quilt, I think that’s the quickest I’ve ever made a quilt, helped of course by the 12″ blocks being already made, even so a few days round working is pretty quick for me!
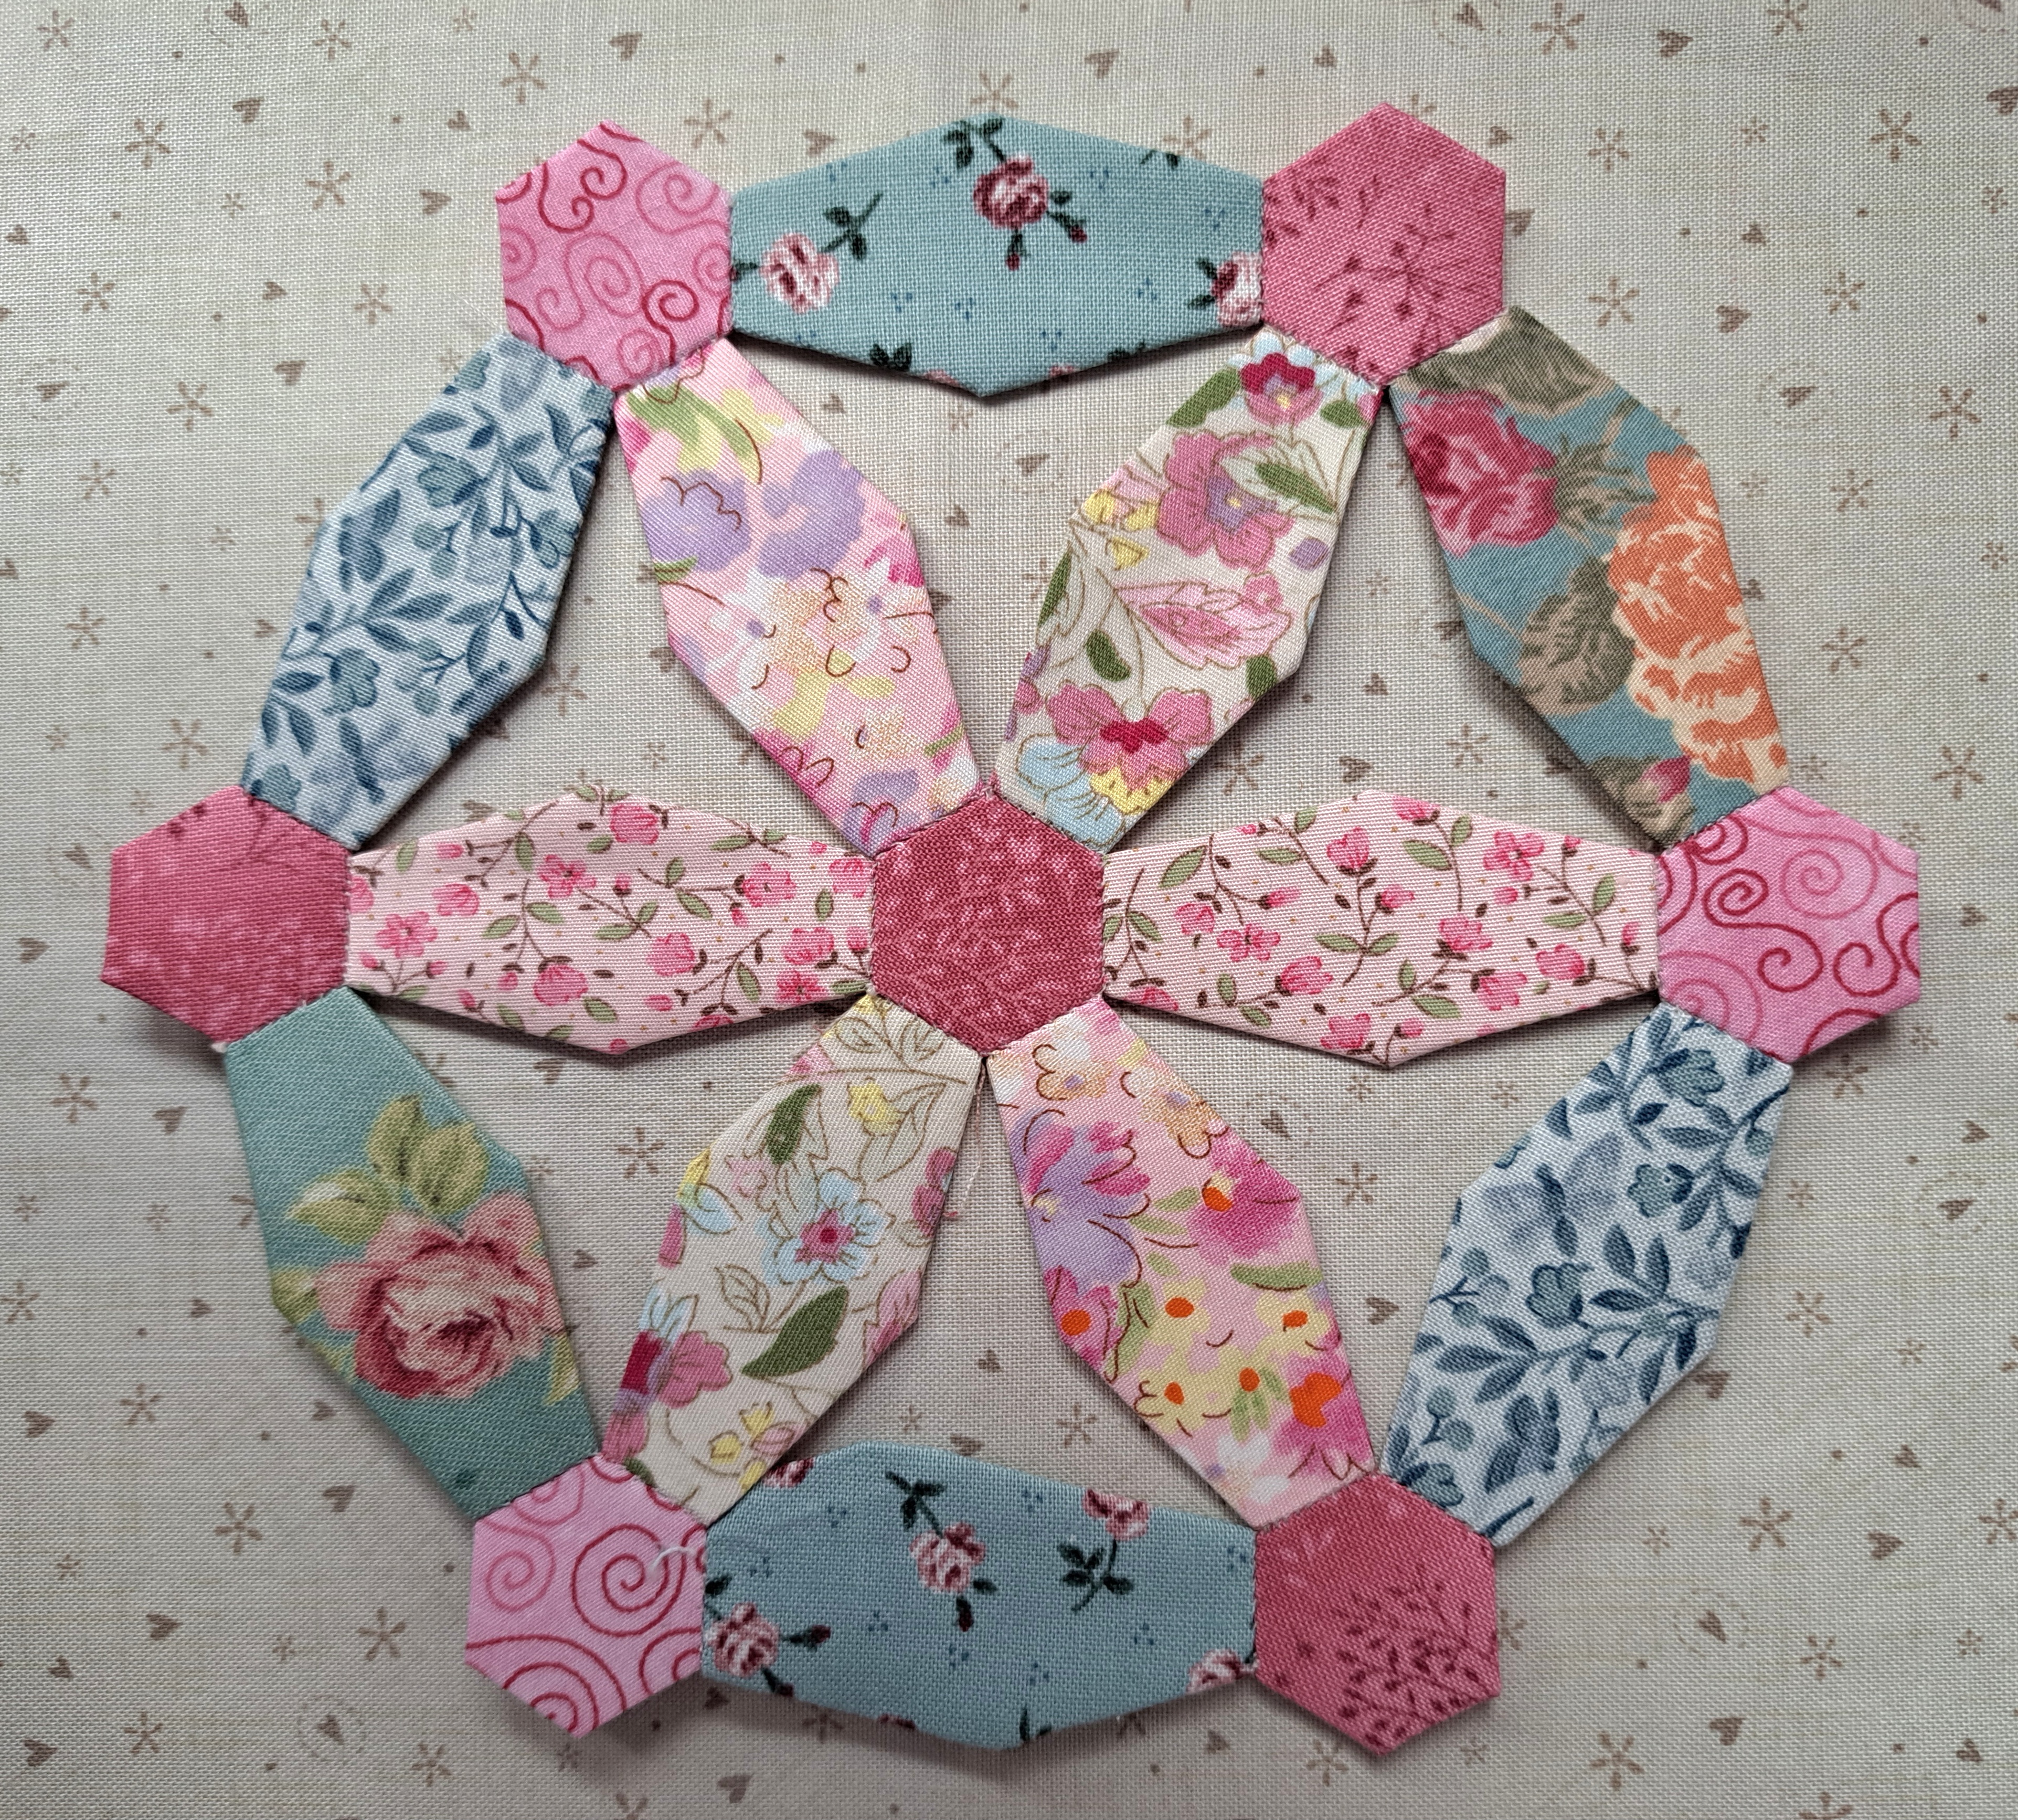
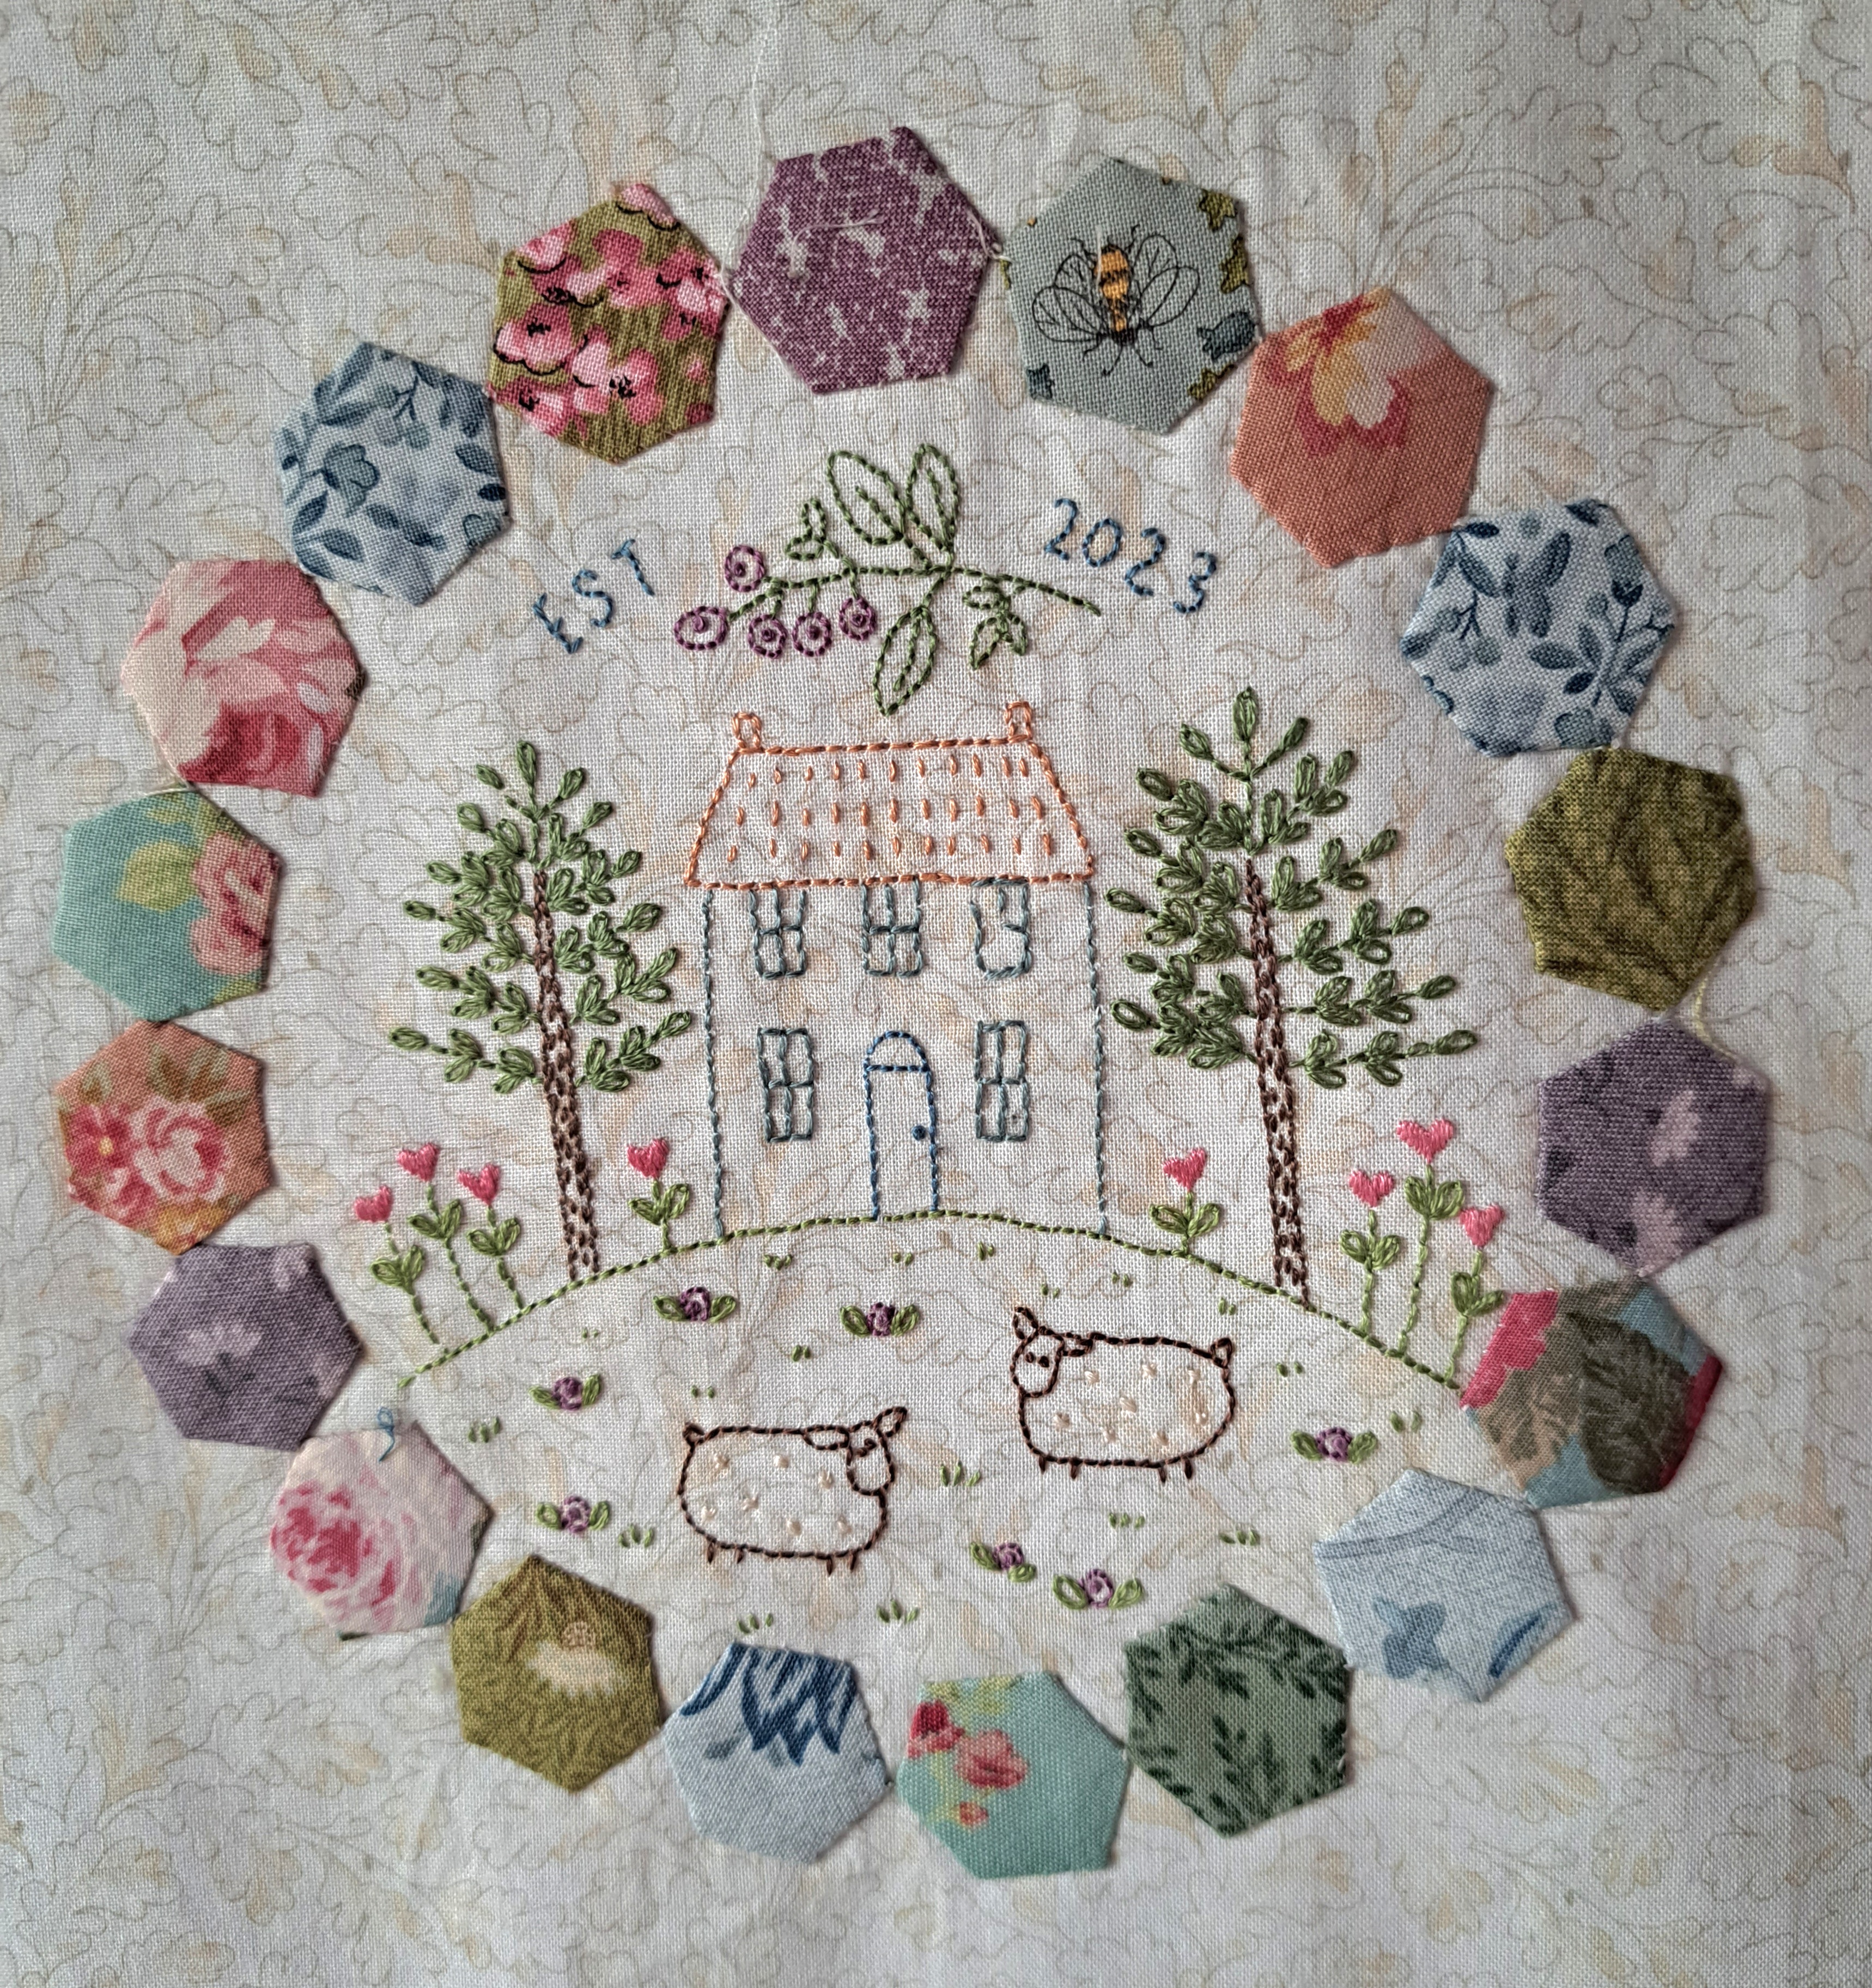
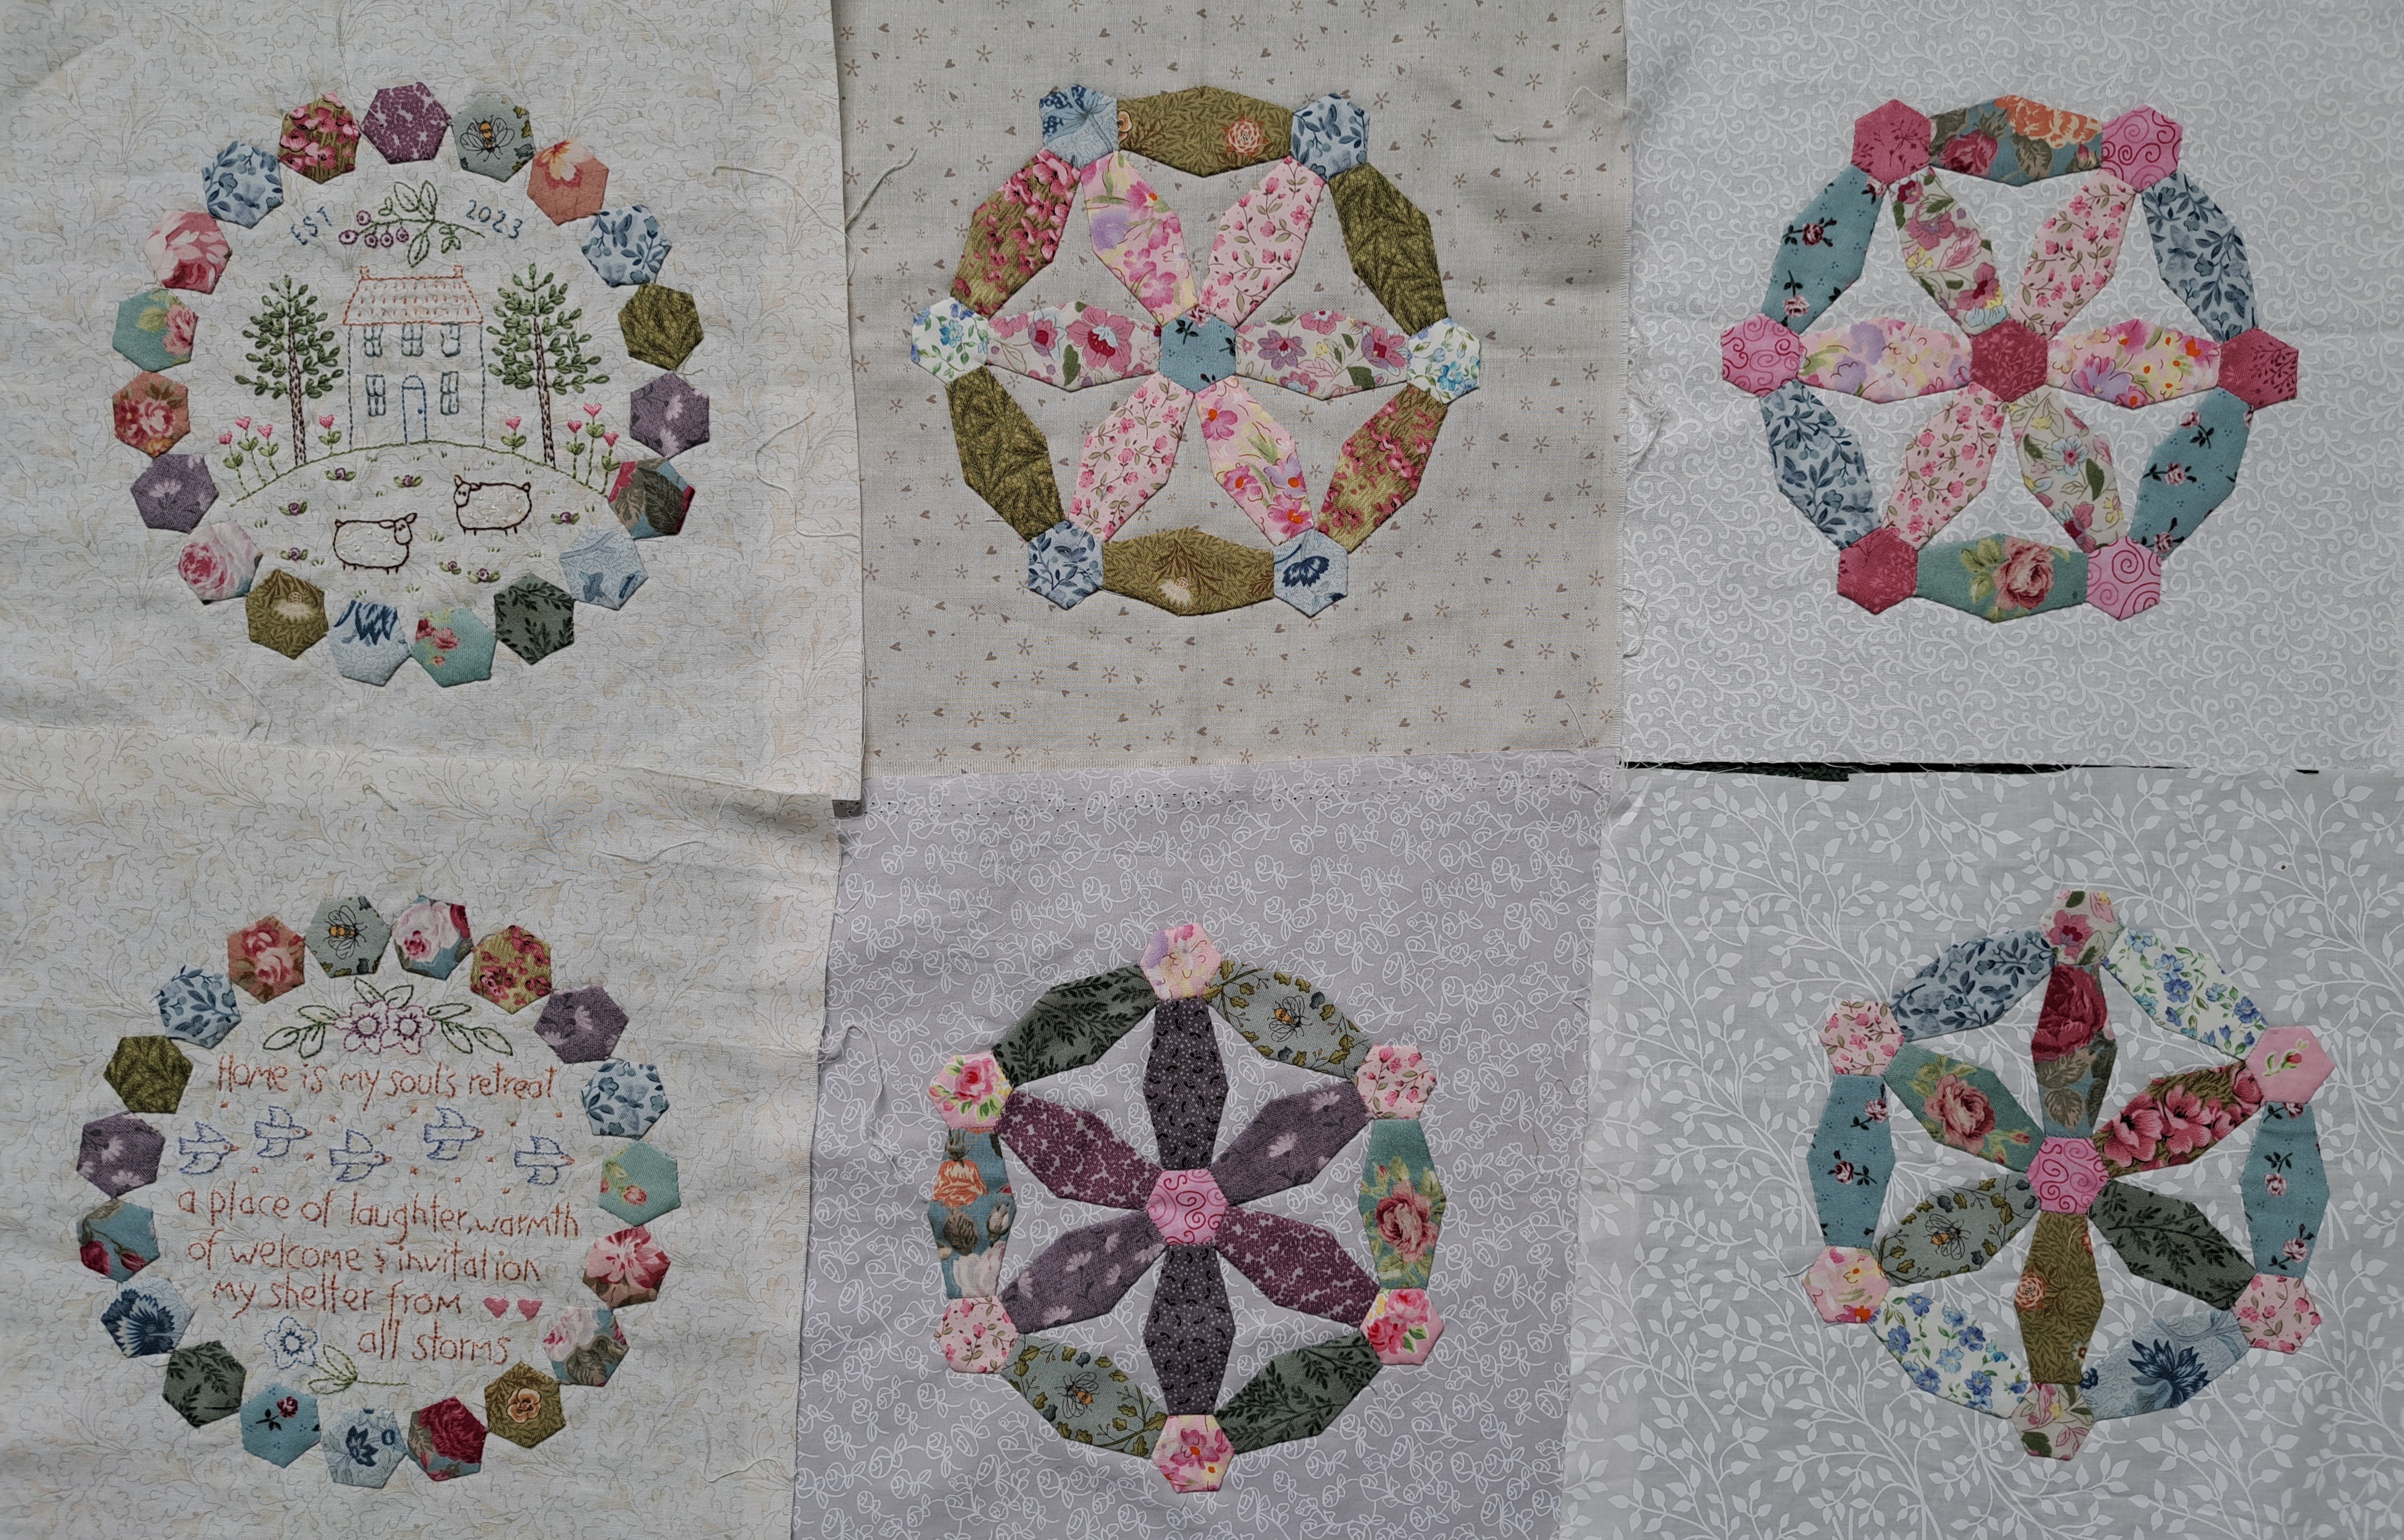
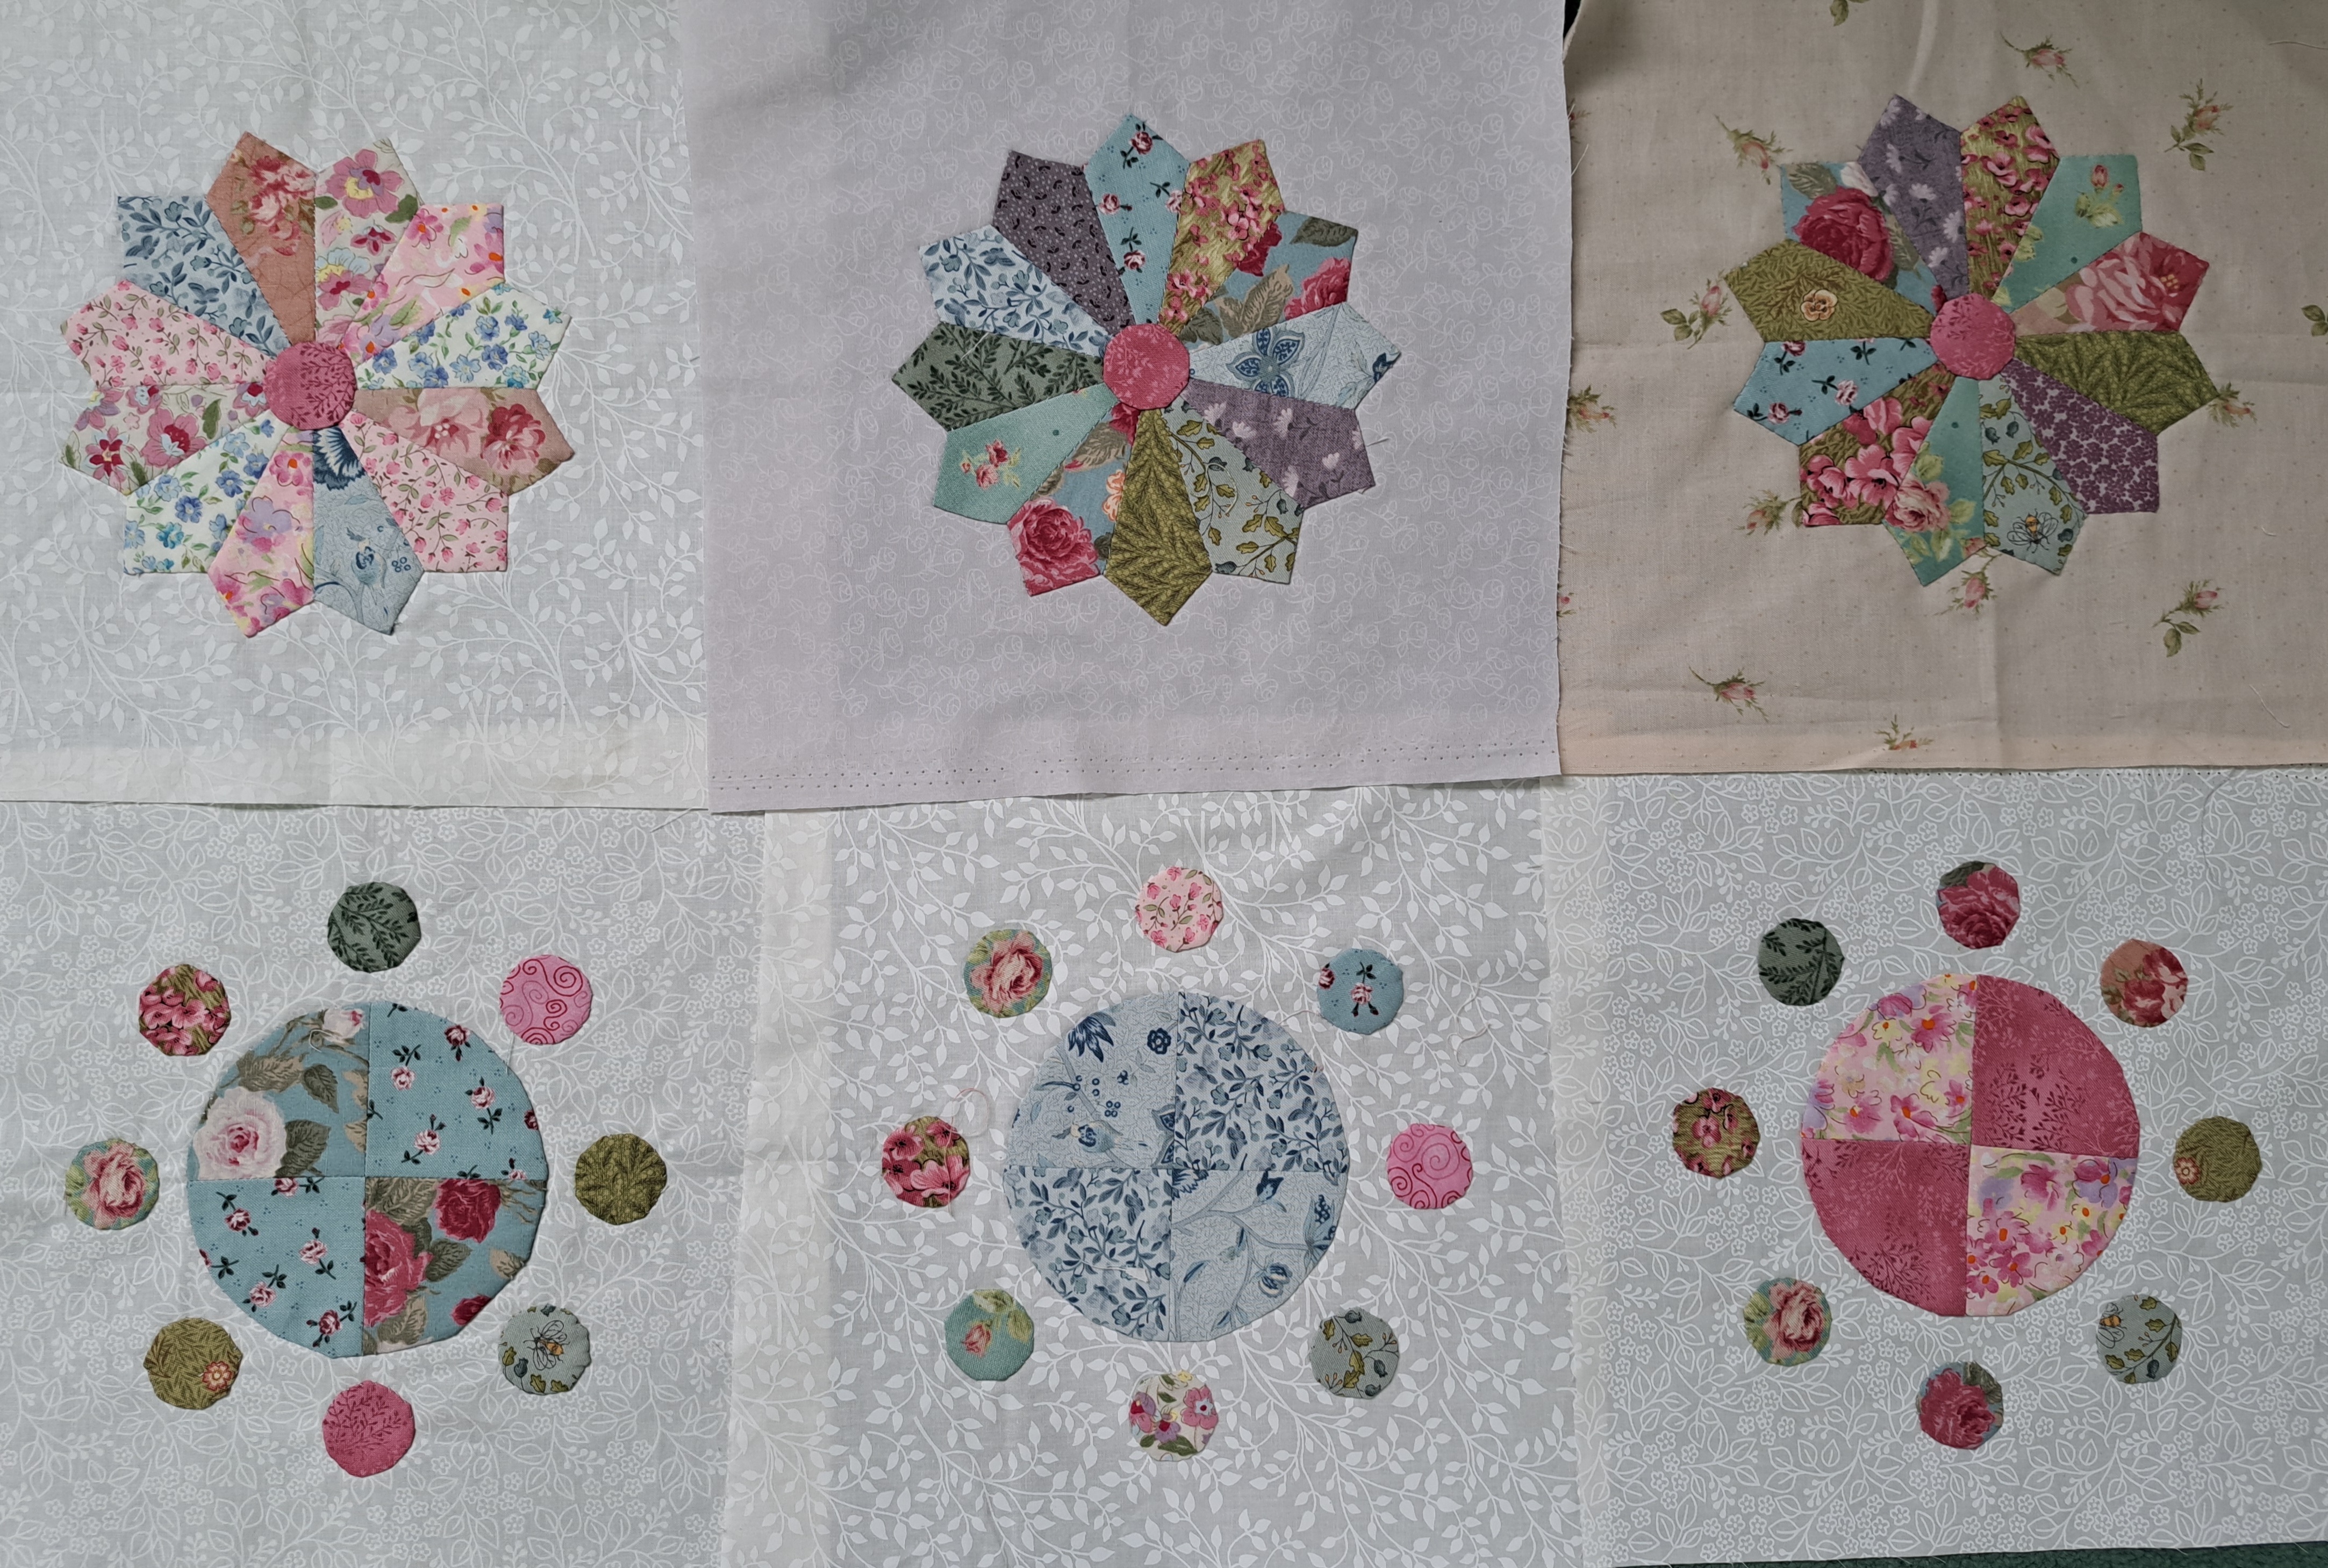
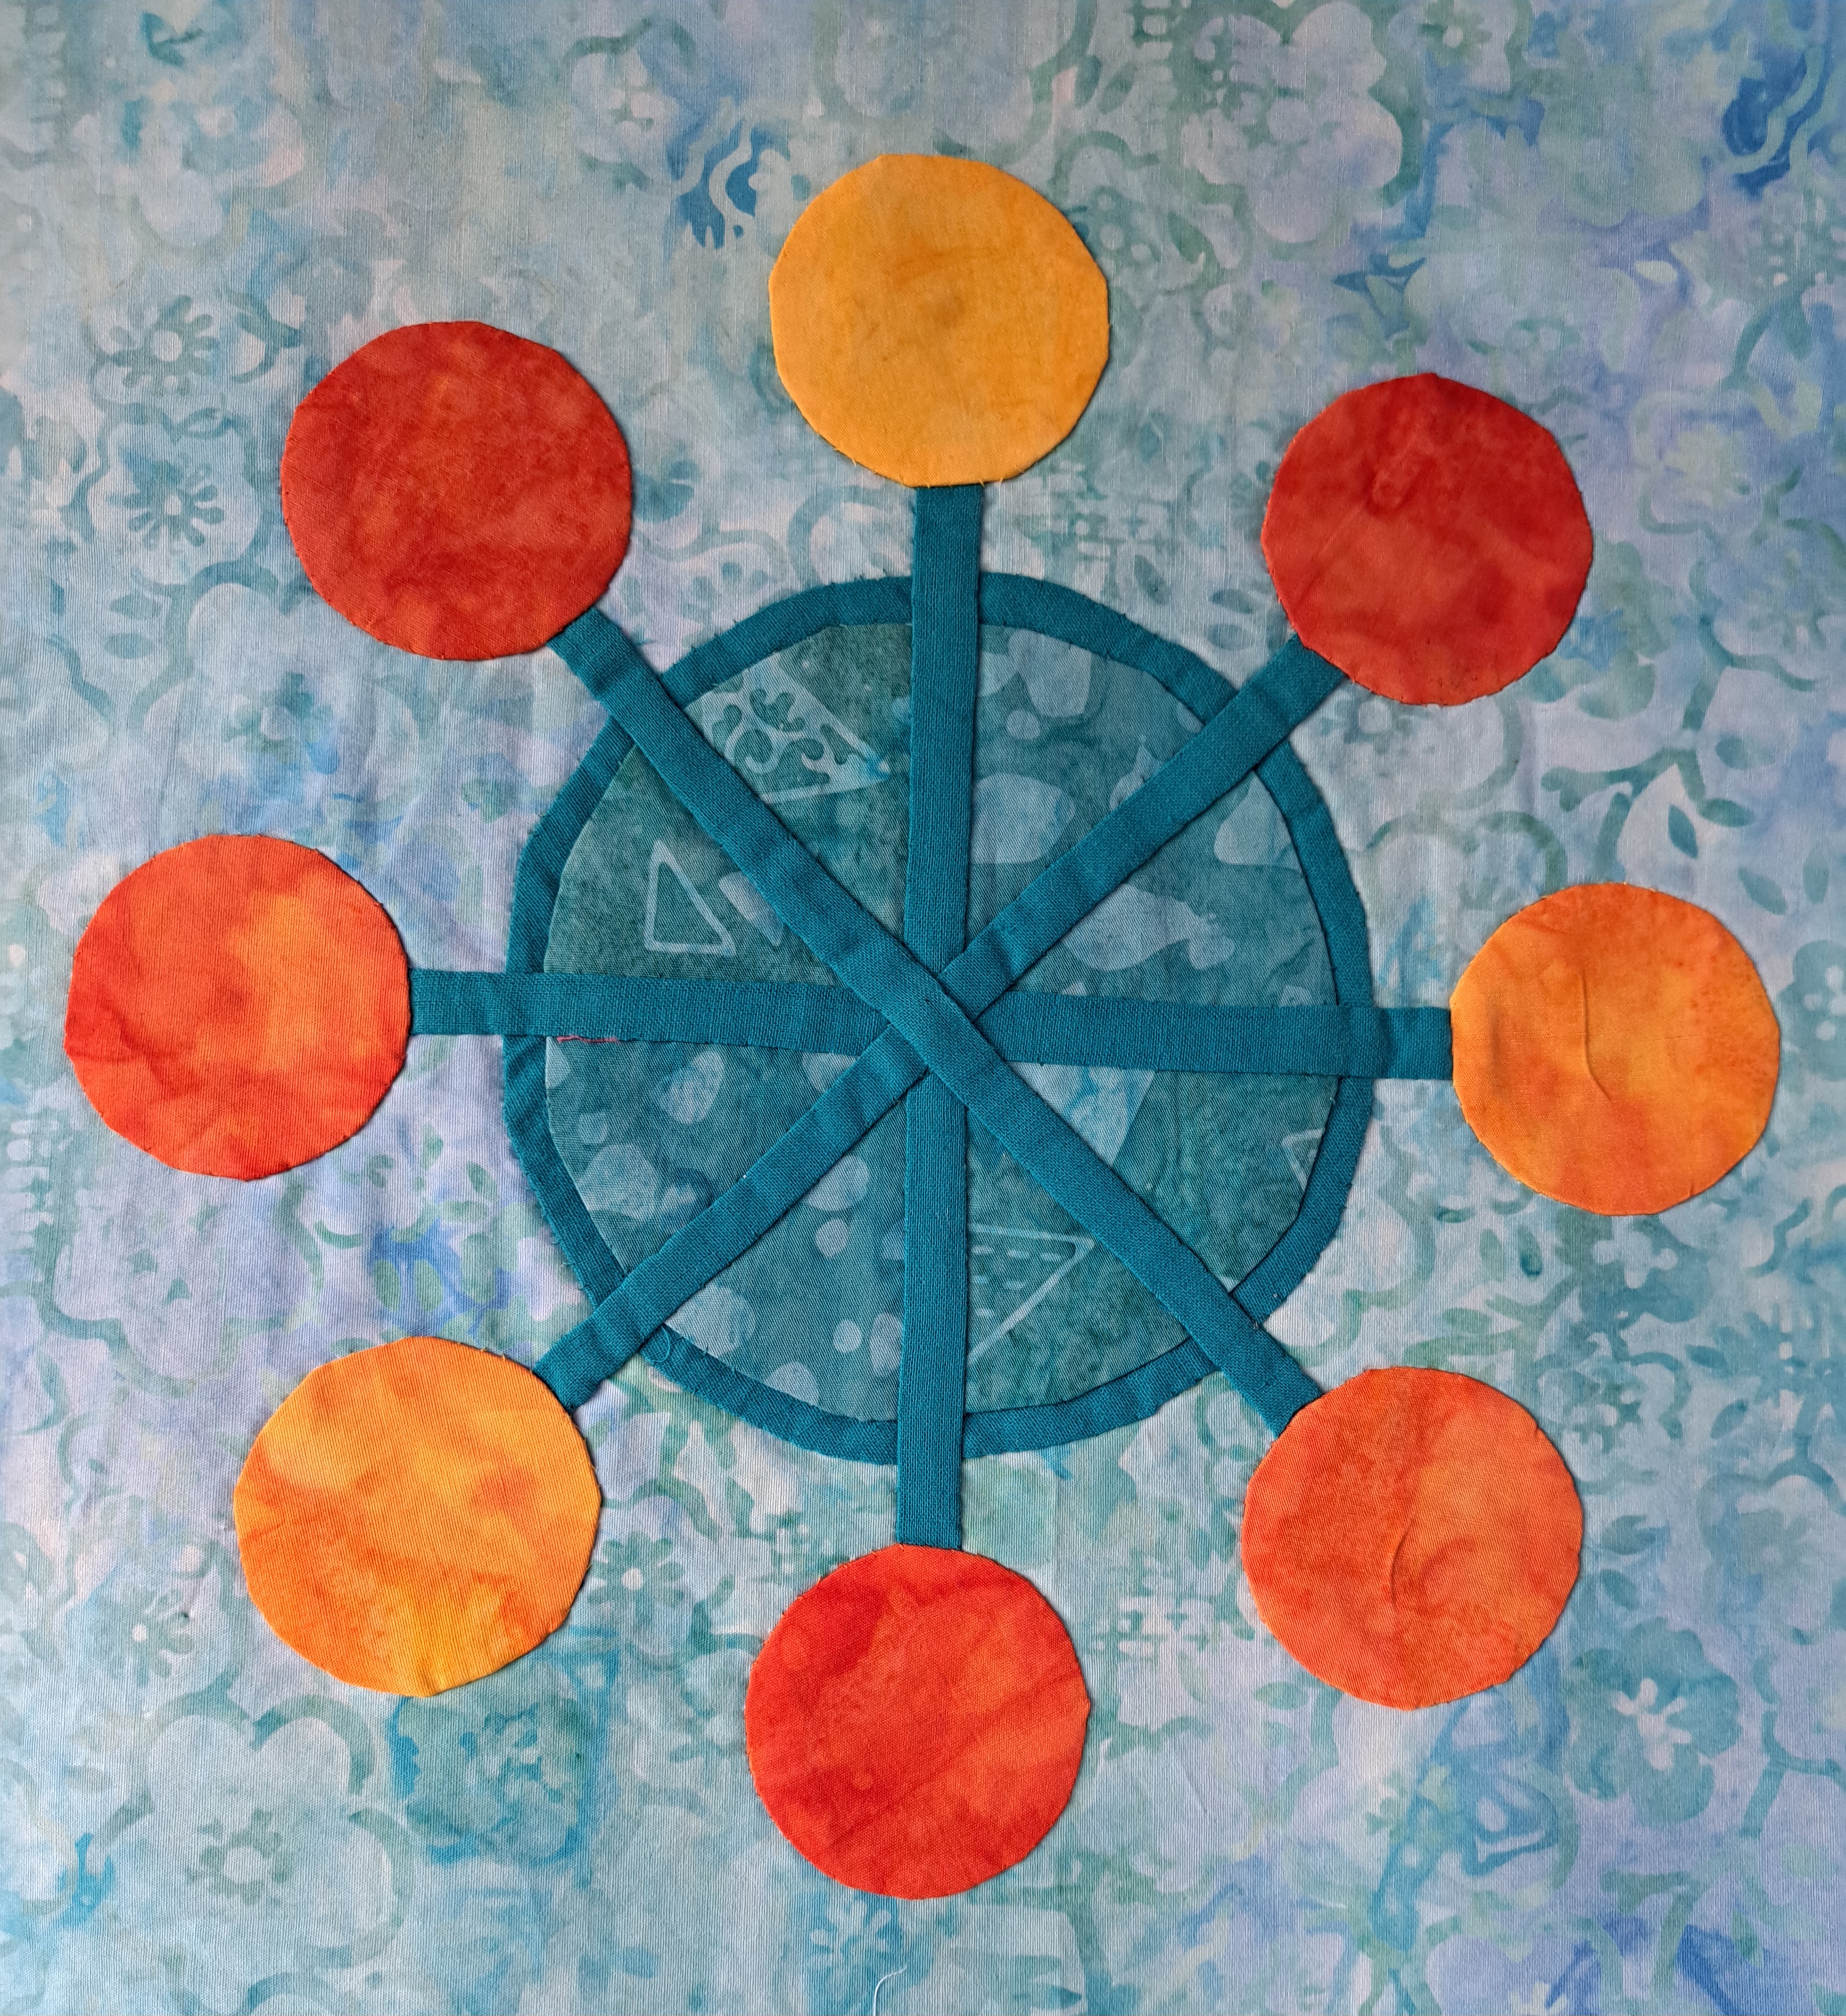
I wanted to make a quilt for my aunt, she’s just had to go into a care home at the grand age of 101 (or it may even be 102!) so using ready prepared blocks was perfect. These are blocks made for me by quilters around the world taking part in the Footsquare Freestyle swap back in 2020, organised for several years by Kate from Tall Tales from Chiconia.
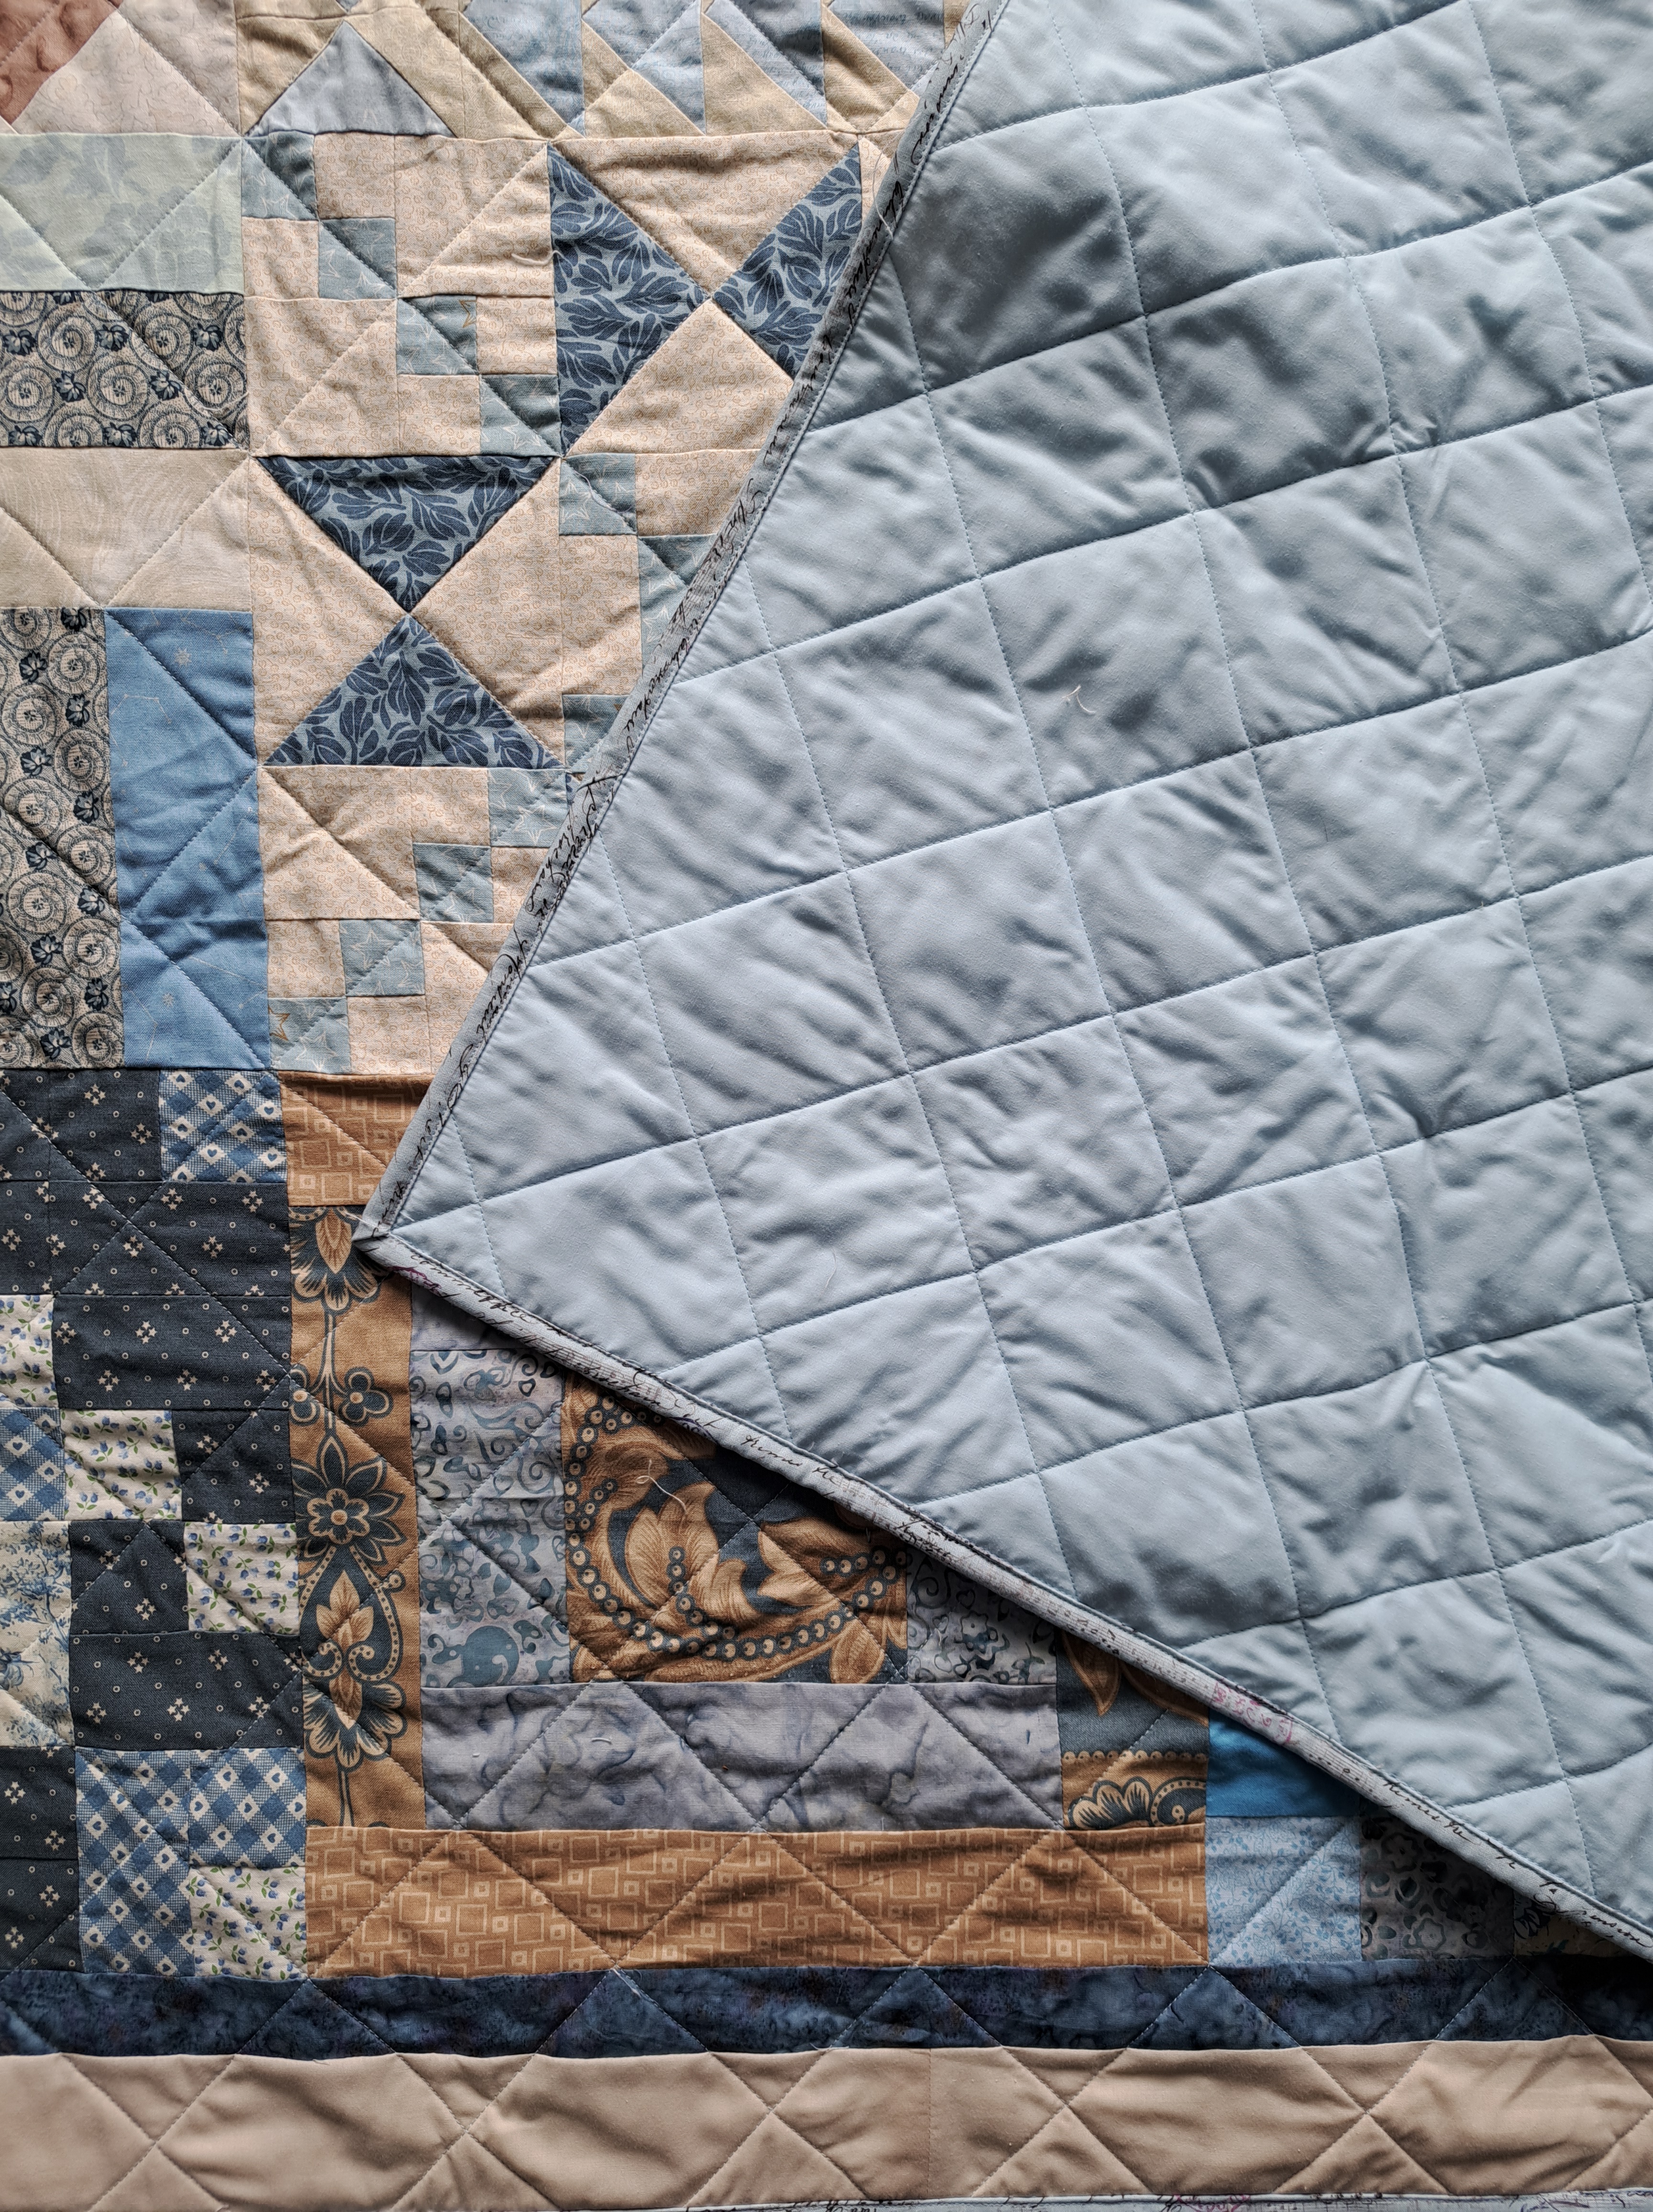
I used 25 of the blocks to make a square quilt, put a couple of borders around it so its about 66″ square. Here it is as a flimsy last week…

I decided to cross-hatch it to keep it simple. I drew the lines on with a Frixion pen as I knew otherwise my lines would be no where near straight! I checked on the UK quilters facebook page for advice on the direction to stitch in and the consensus was to stitch the lines in the same direction in order to avoid the herringbone effect. I quilted in a pale blue which has worked well and matched the backing too. I was pleased to see even on the back I’d not got any tucks in the cross-hatching, concentrating on holding the quilt smooth round the needle clearly did the trick.

I bound it with a pale blue cotton with a script and music design, it’s subtle enough to blend in nicely.
I had a bit of a lightbulb moment when I was stitching the binding on…one of those lightbulbs which you think really shouldn’t have take so long to work out!!! I thought I’d share it here in case anyone is as dim as me :-D…
I’ve mainly hand-stitched bindings down after a couple of early attempts to machine stitch it as I could never get it neat. I was stitching in the ditch at the front so it would catch down the back, invariably bits missed or the line was no where near straight on the back…and that’s where I was going wrong, I was stitching from the front, thinking I wanted that neat. This time I stitched from the back. I realised that if I lined up the fold with the stitching line and stitched just inside, then on the front it would be just inside too. And it worked!! It’s not 100% perfect, but for a quick finish or a quilt that needs to be particularly durable, like a kids quilt, I would certainly do it again.
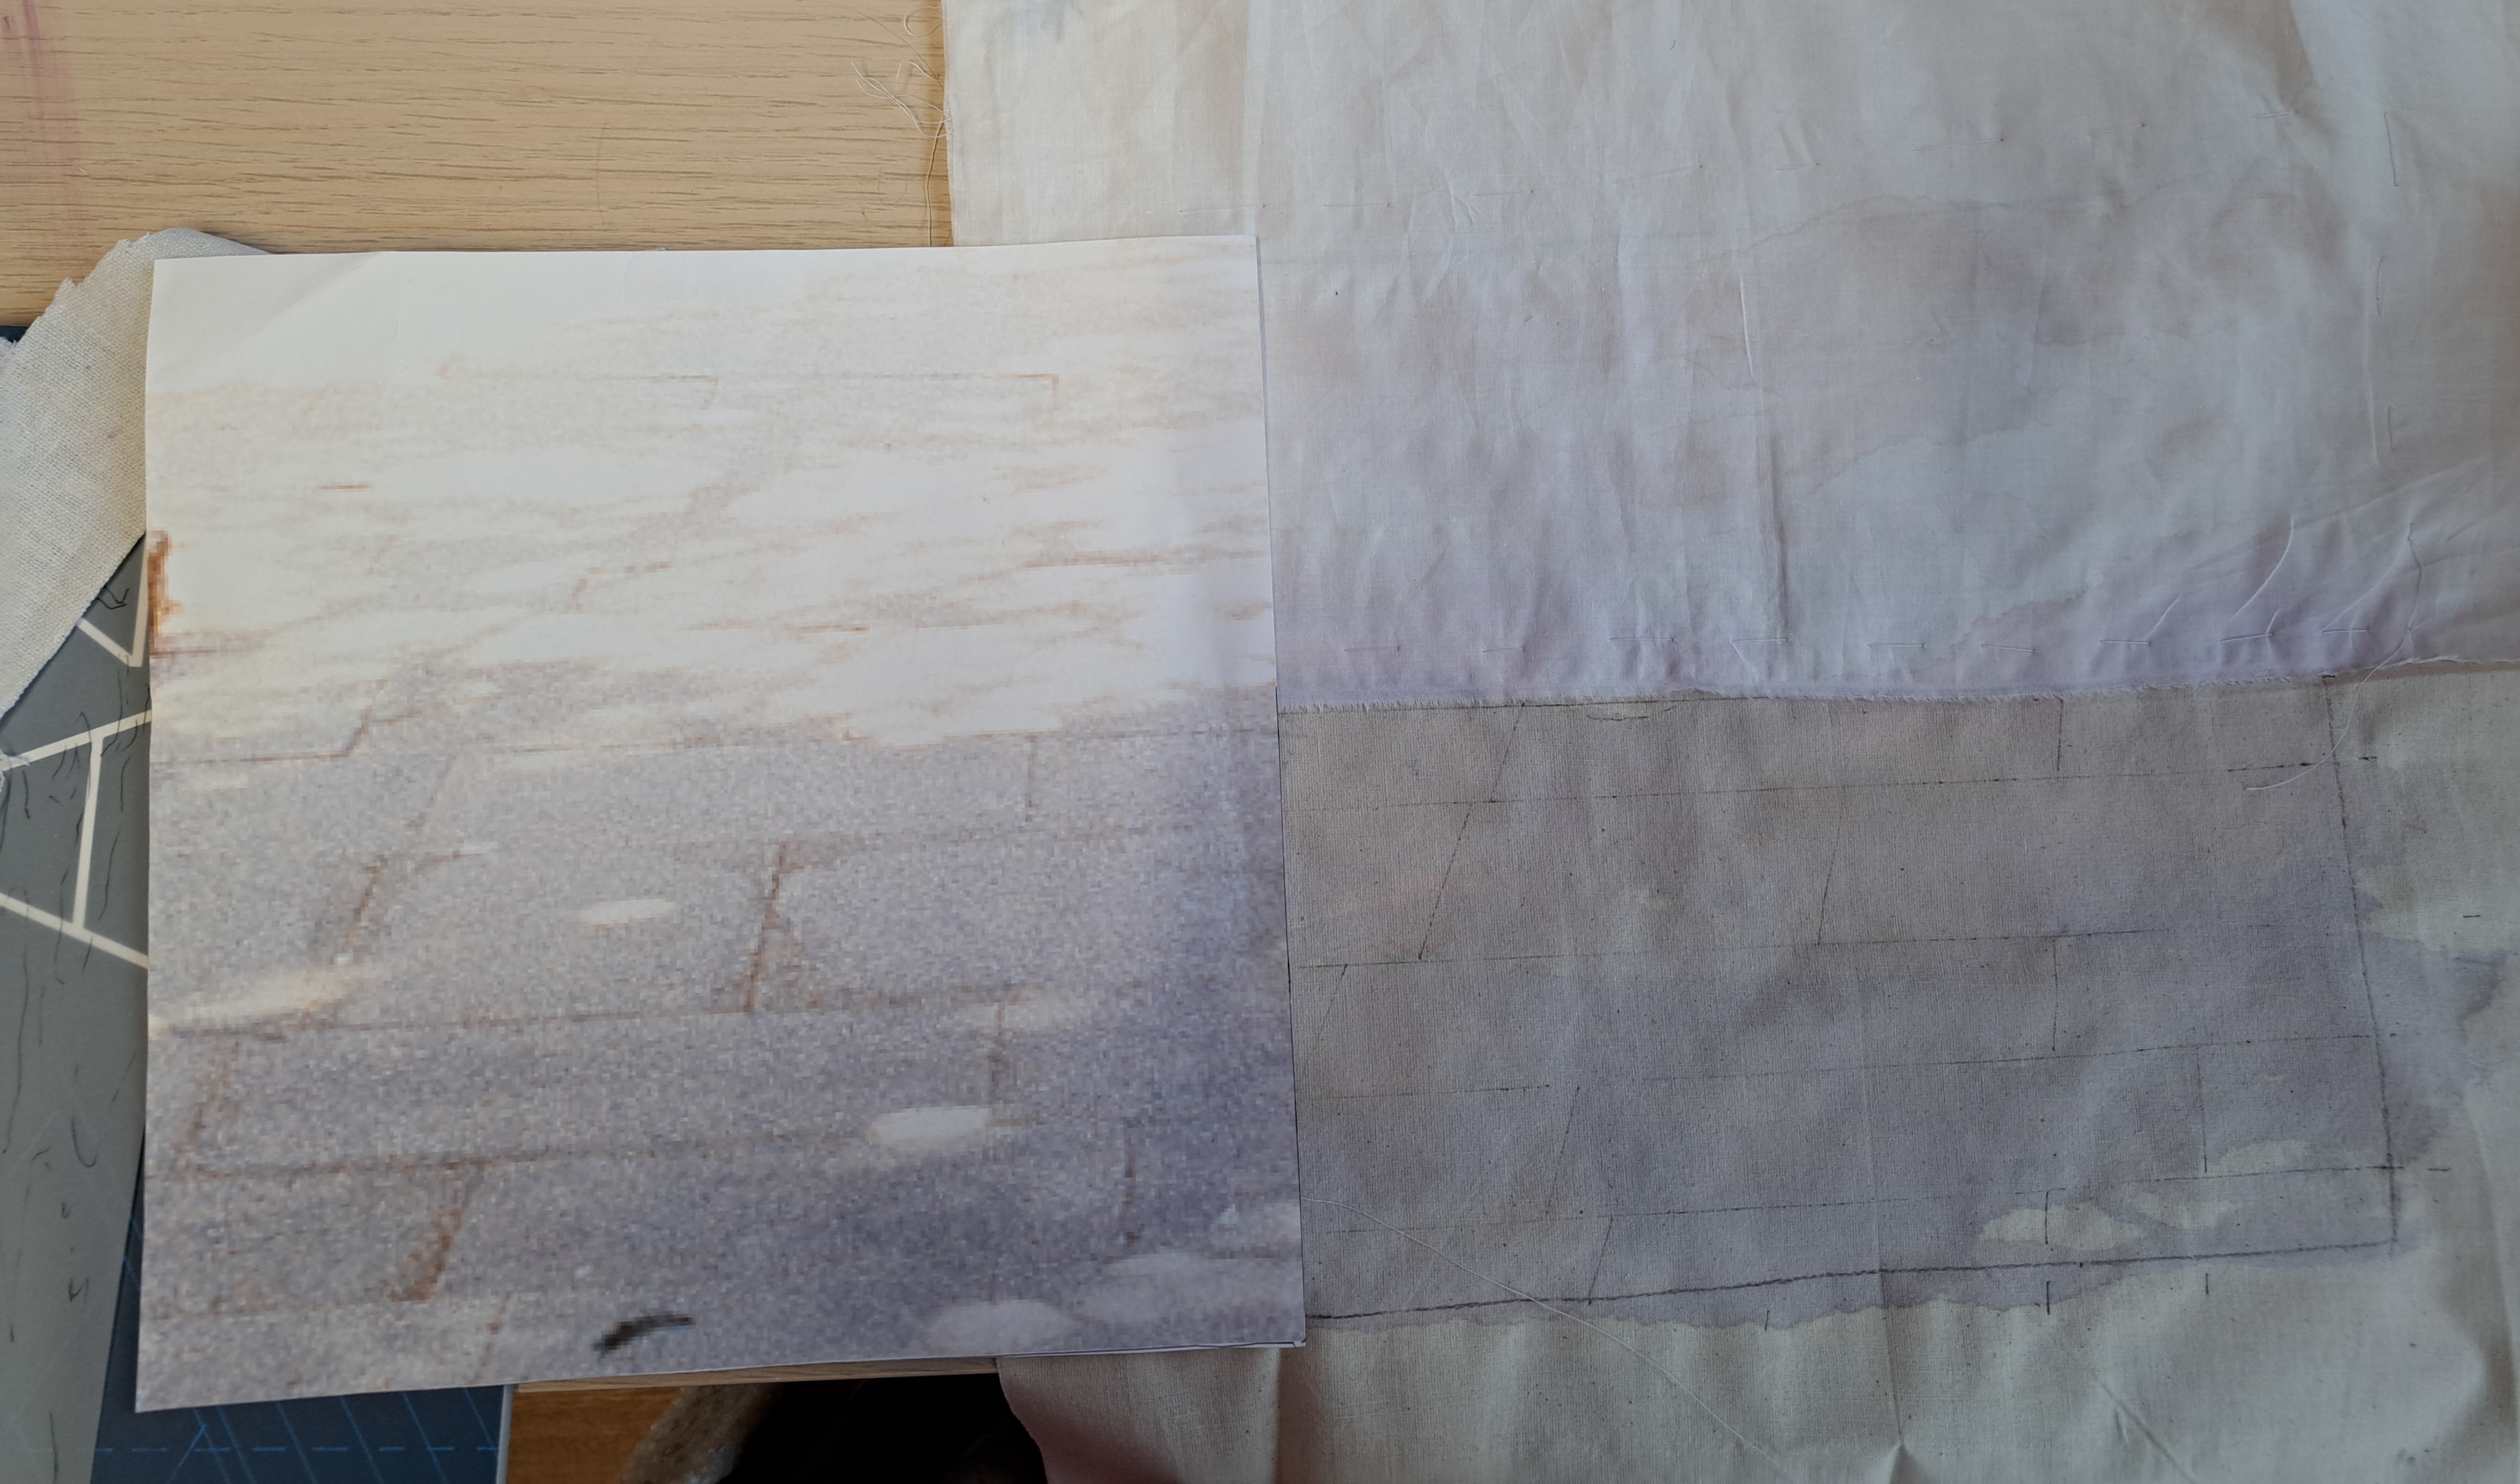
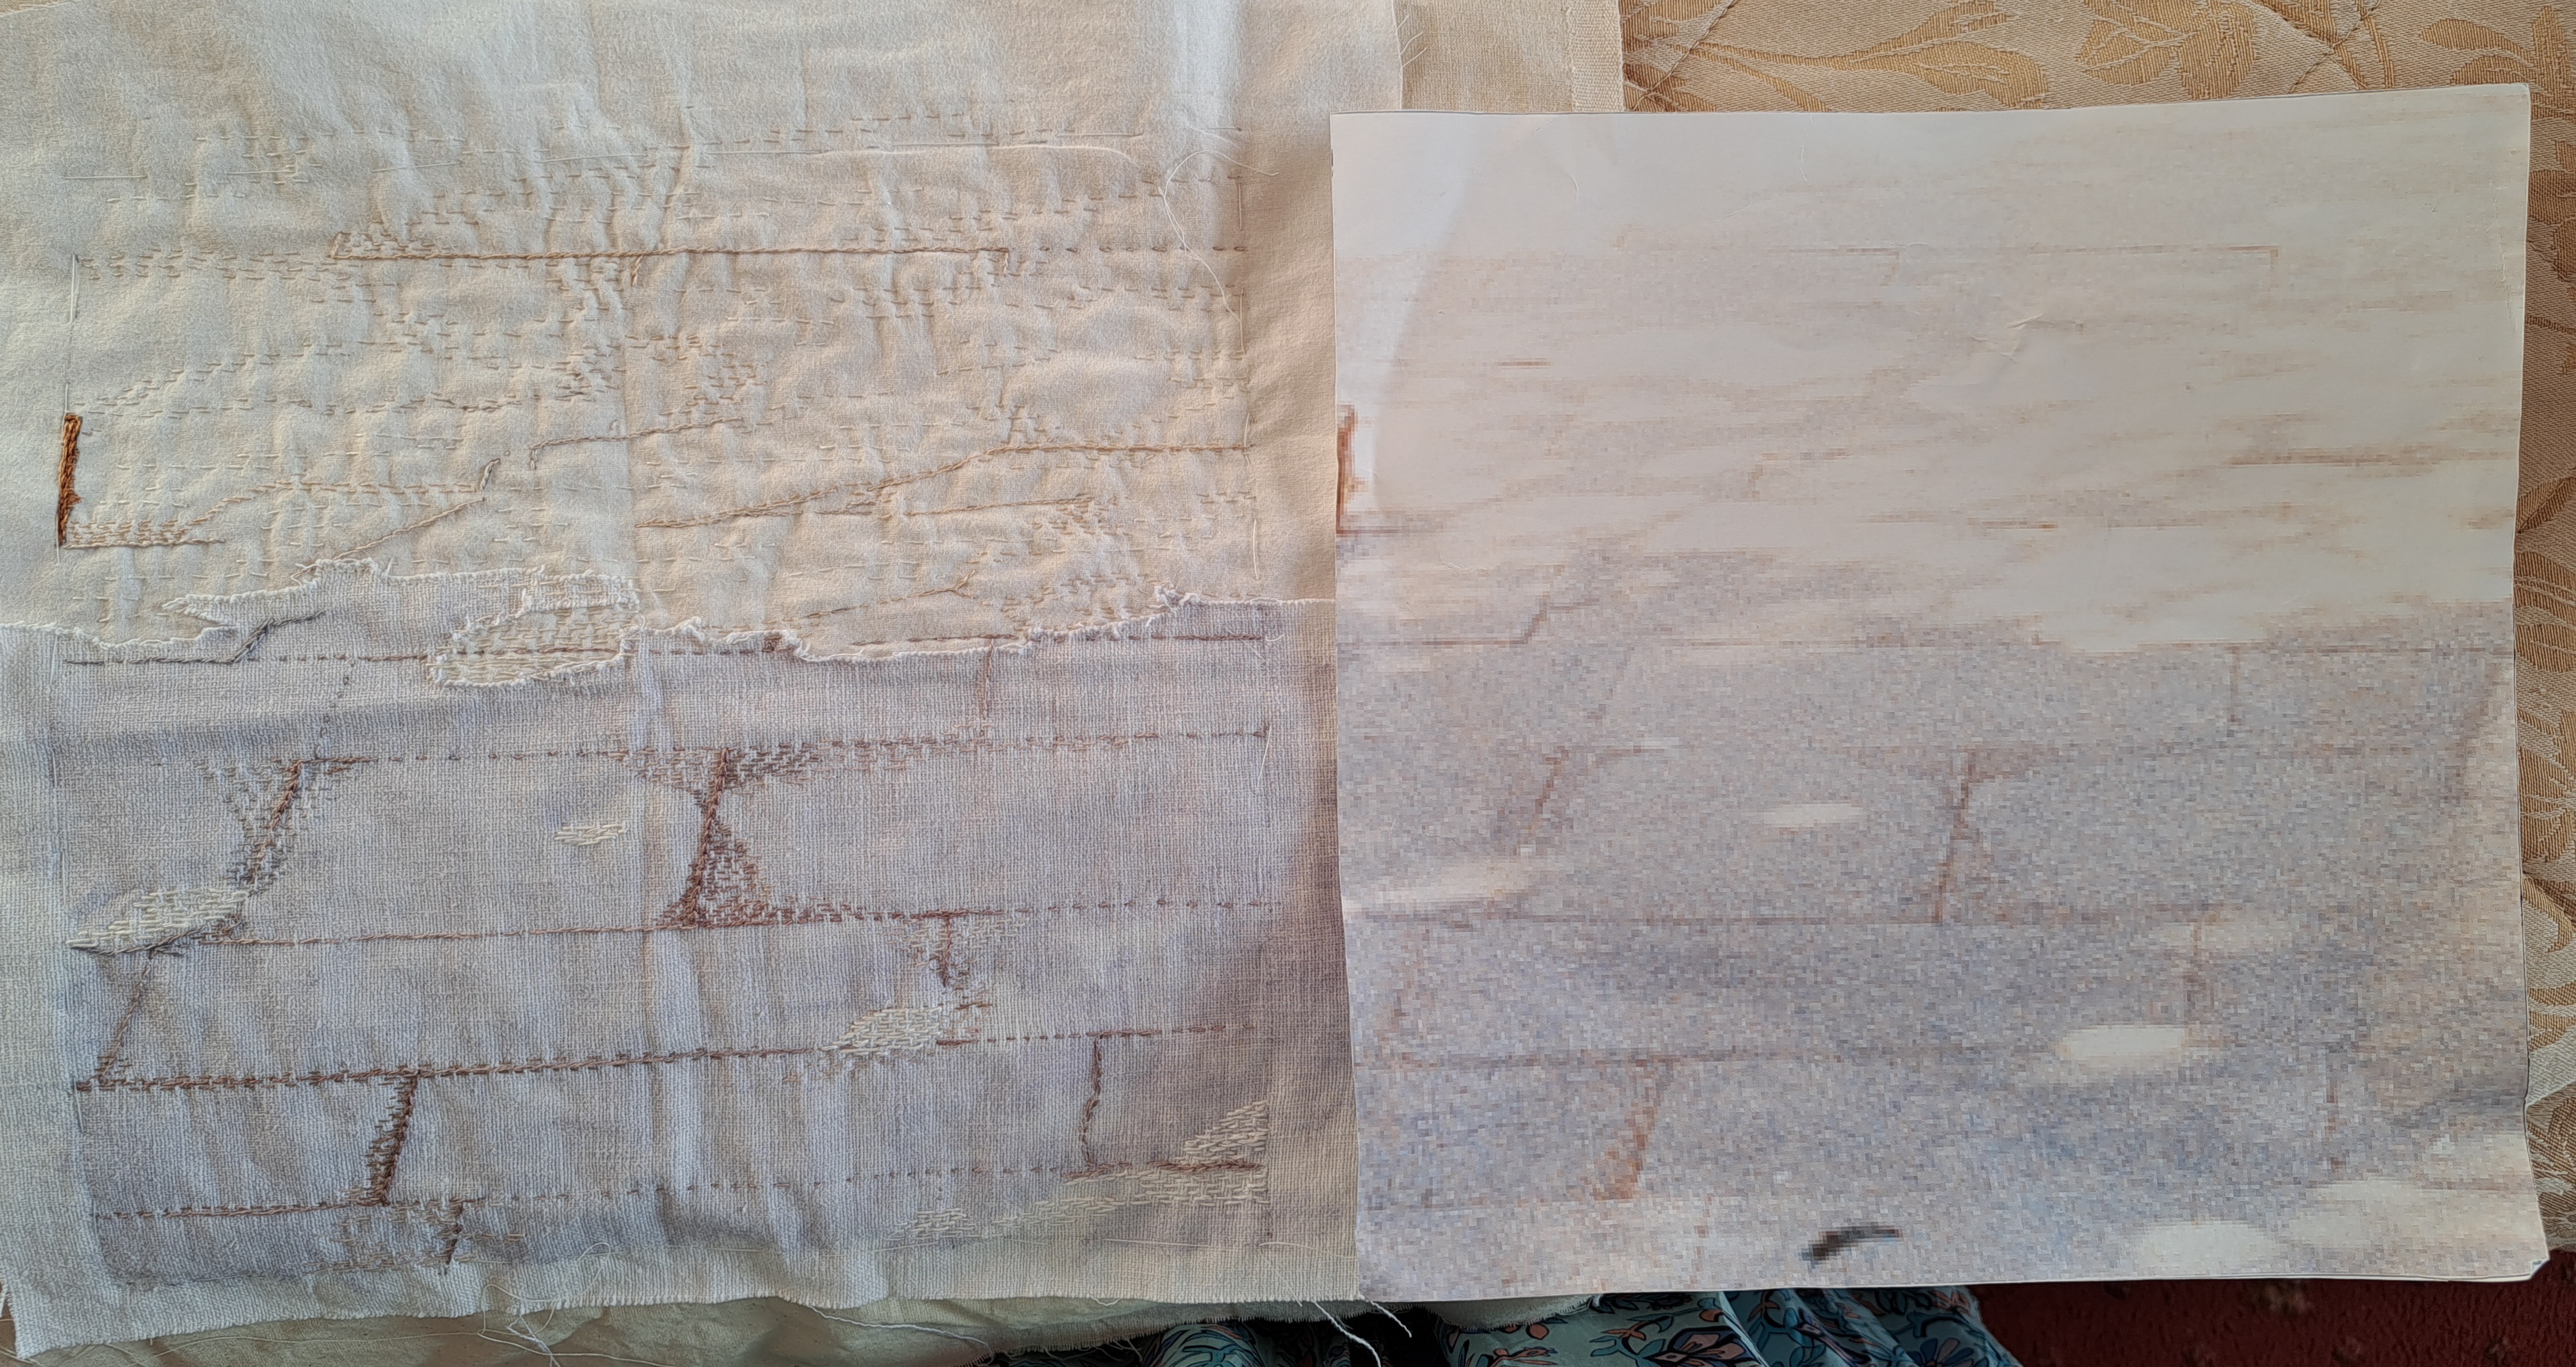
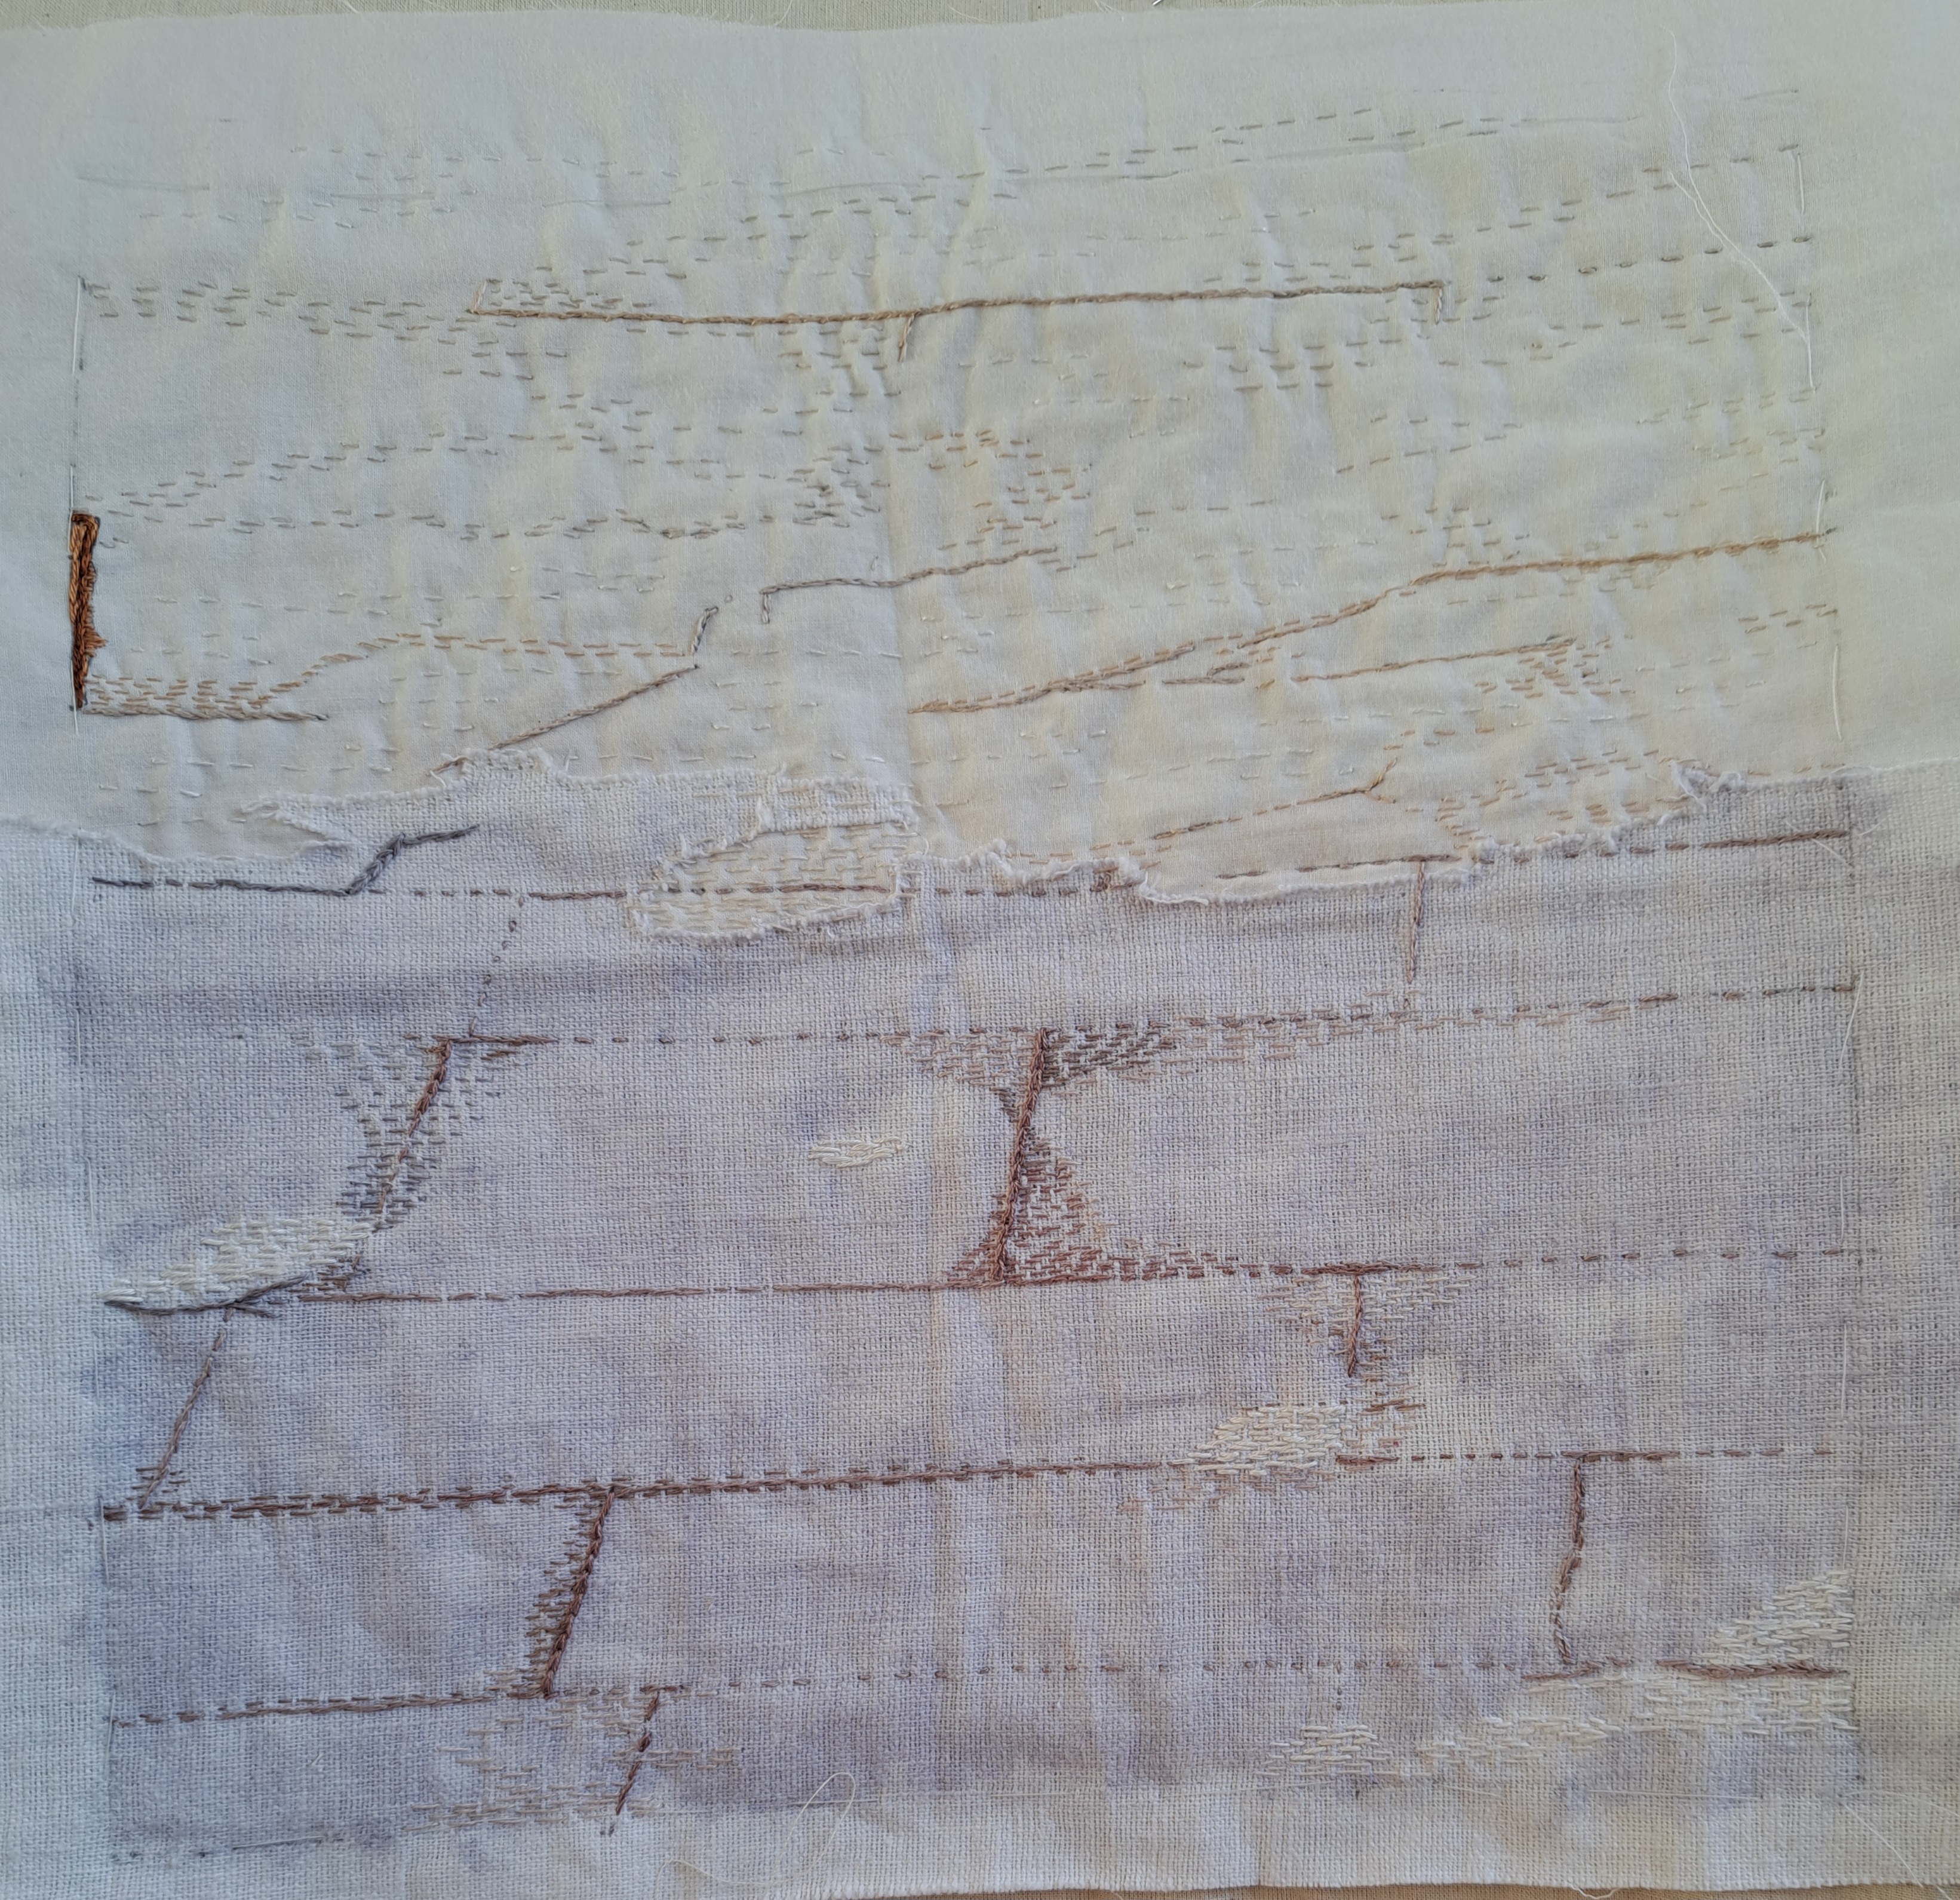
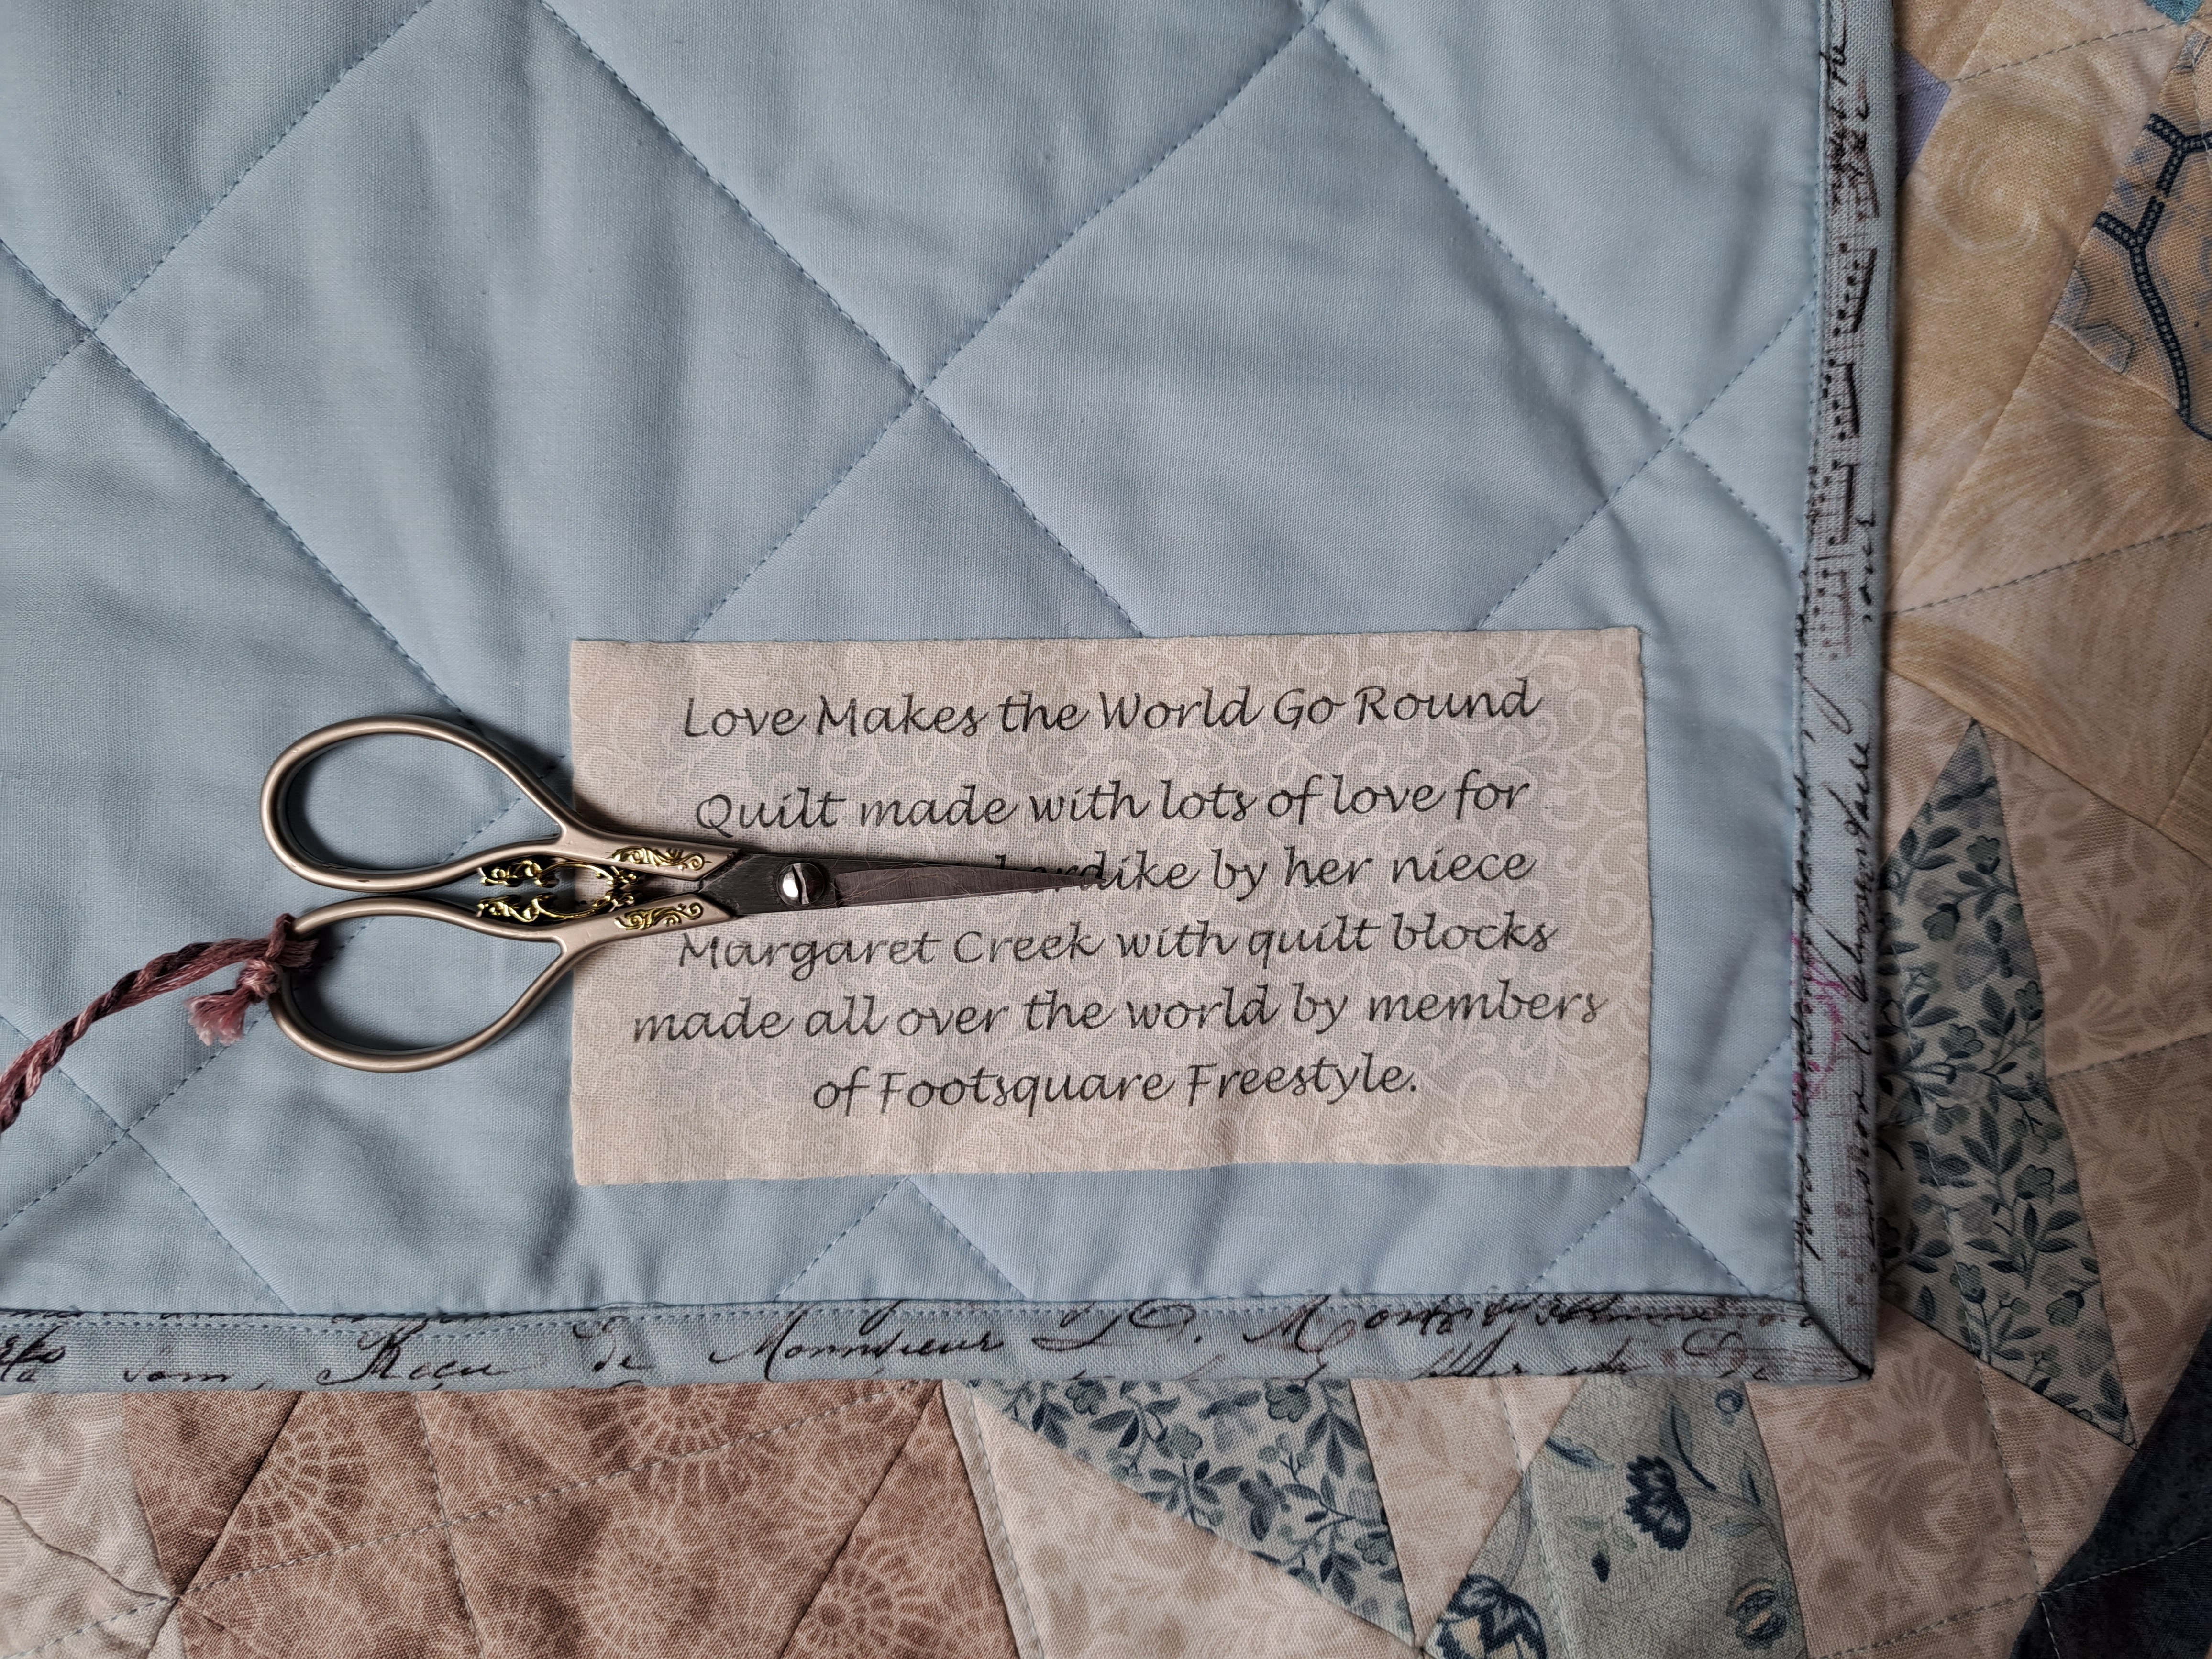
All that was left was a label. I usually embroider a label straight onto the back of a quilt, but I knew with this one that would take too long. I decided to pluck up courage to print one using freezer paper to stiffen the fabric so it would go through (my husbands!!) inkjet printer. It worked fine, though my OH tried to put it through a second time (other way up) to see if it would print a little straighter but it then got lost somewhere in the depths of the printer. Luckily it was still OK. I stitched it on the back and the quilt is complete.
I’ll pop it in the post on Wednesday, hoping it fits in nicely in her room.