I’m a bit behind with my posts at the moment, various reasons, sometimes life just gets in the way!
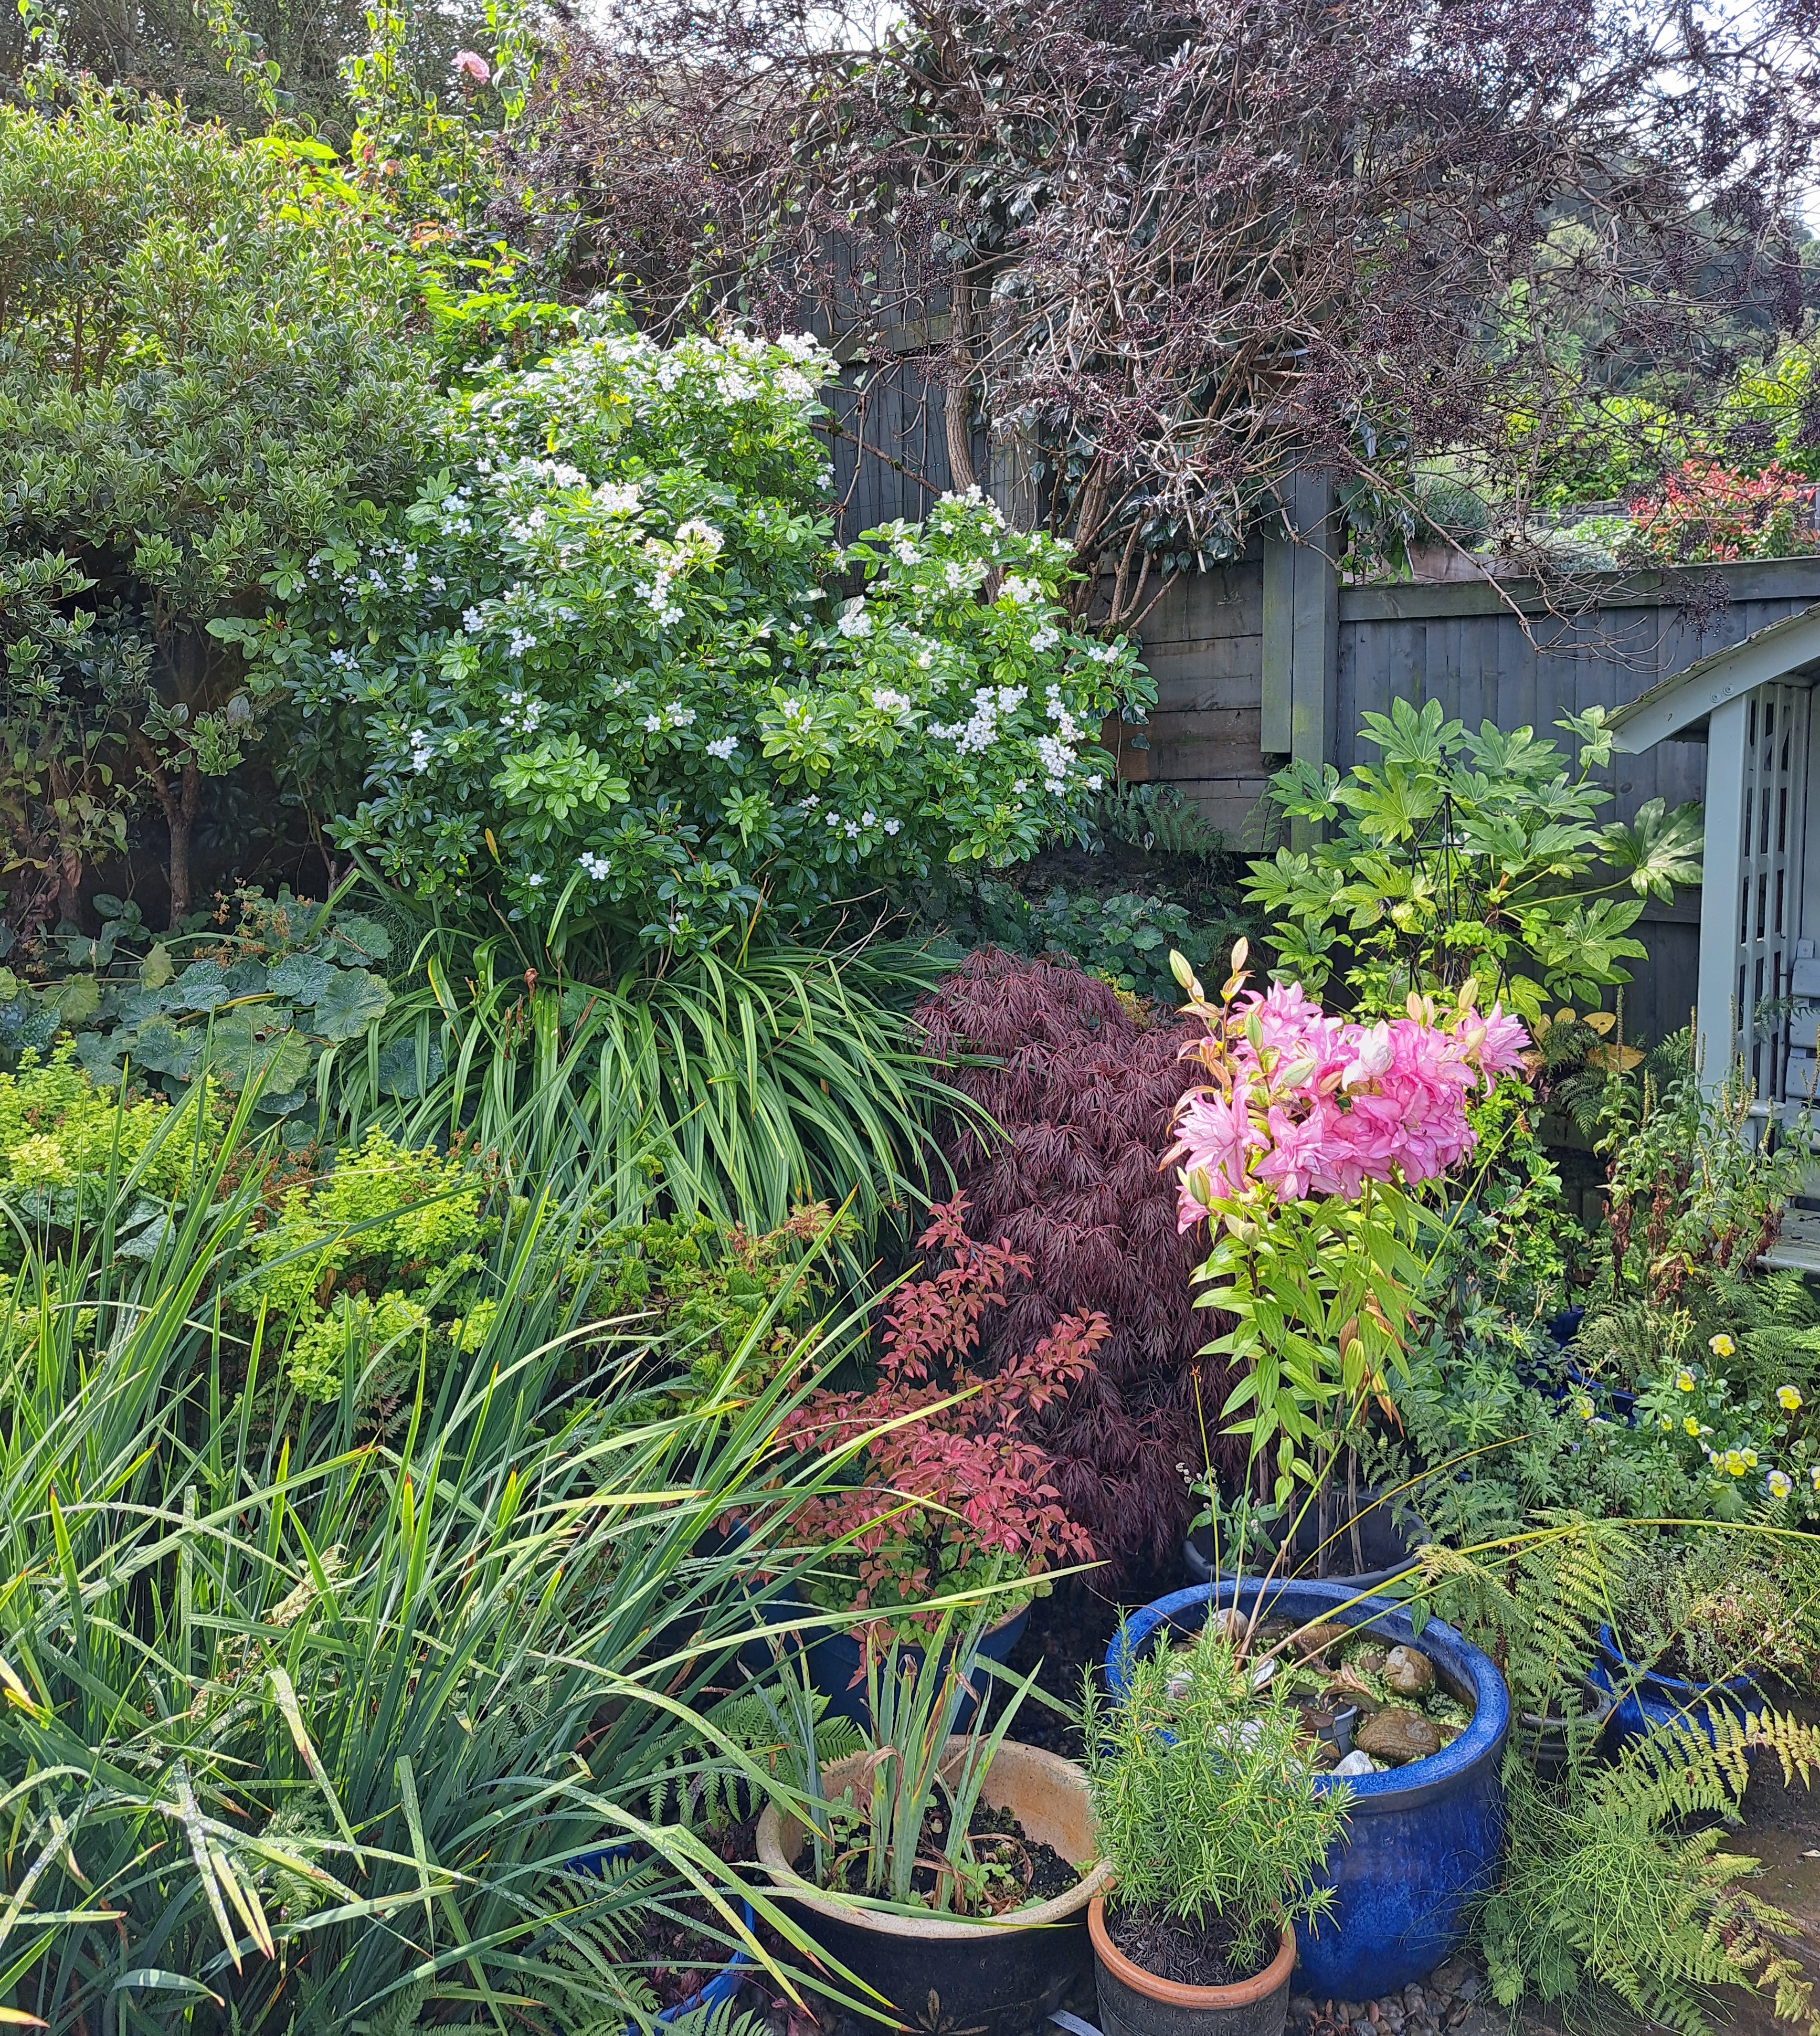
We had a couple of days away this weekend and when I came back, a lily had come into flower. It’s one I got at the Harrogate show this year, I think they’re called rose lilies as they have so many petals. I was beginning to wonder when it was going to flower, August/September is pretty late for a lily and it’s had buds for weeks. Anyway it was worth the wait, isn’t it gorgeous…

It’s in a pot at the moment, but I’m tempted to plant this one in a border as they don’t seem to last long in pots and this one is so pretty.
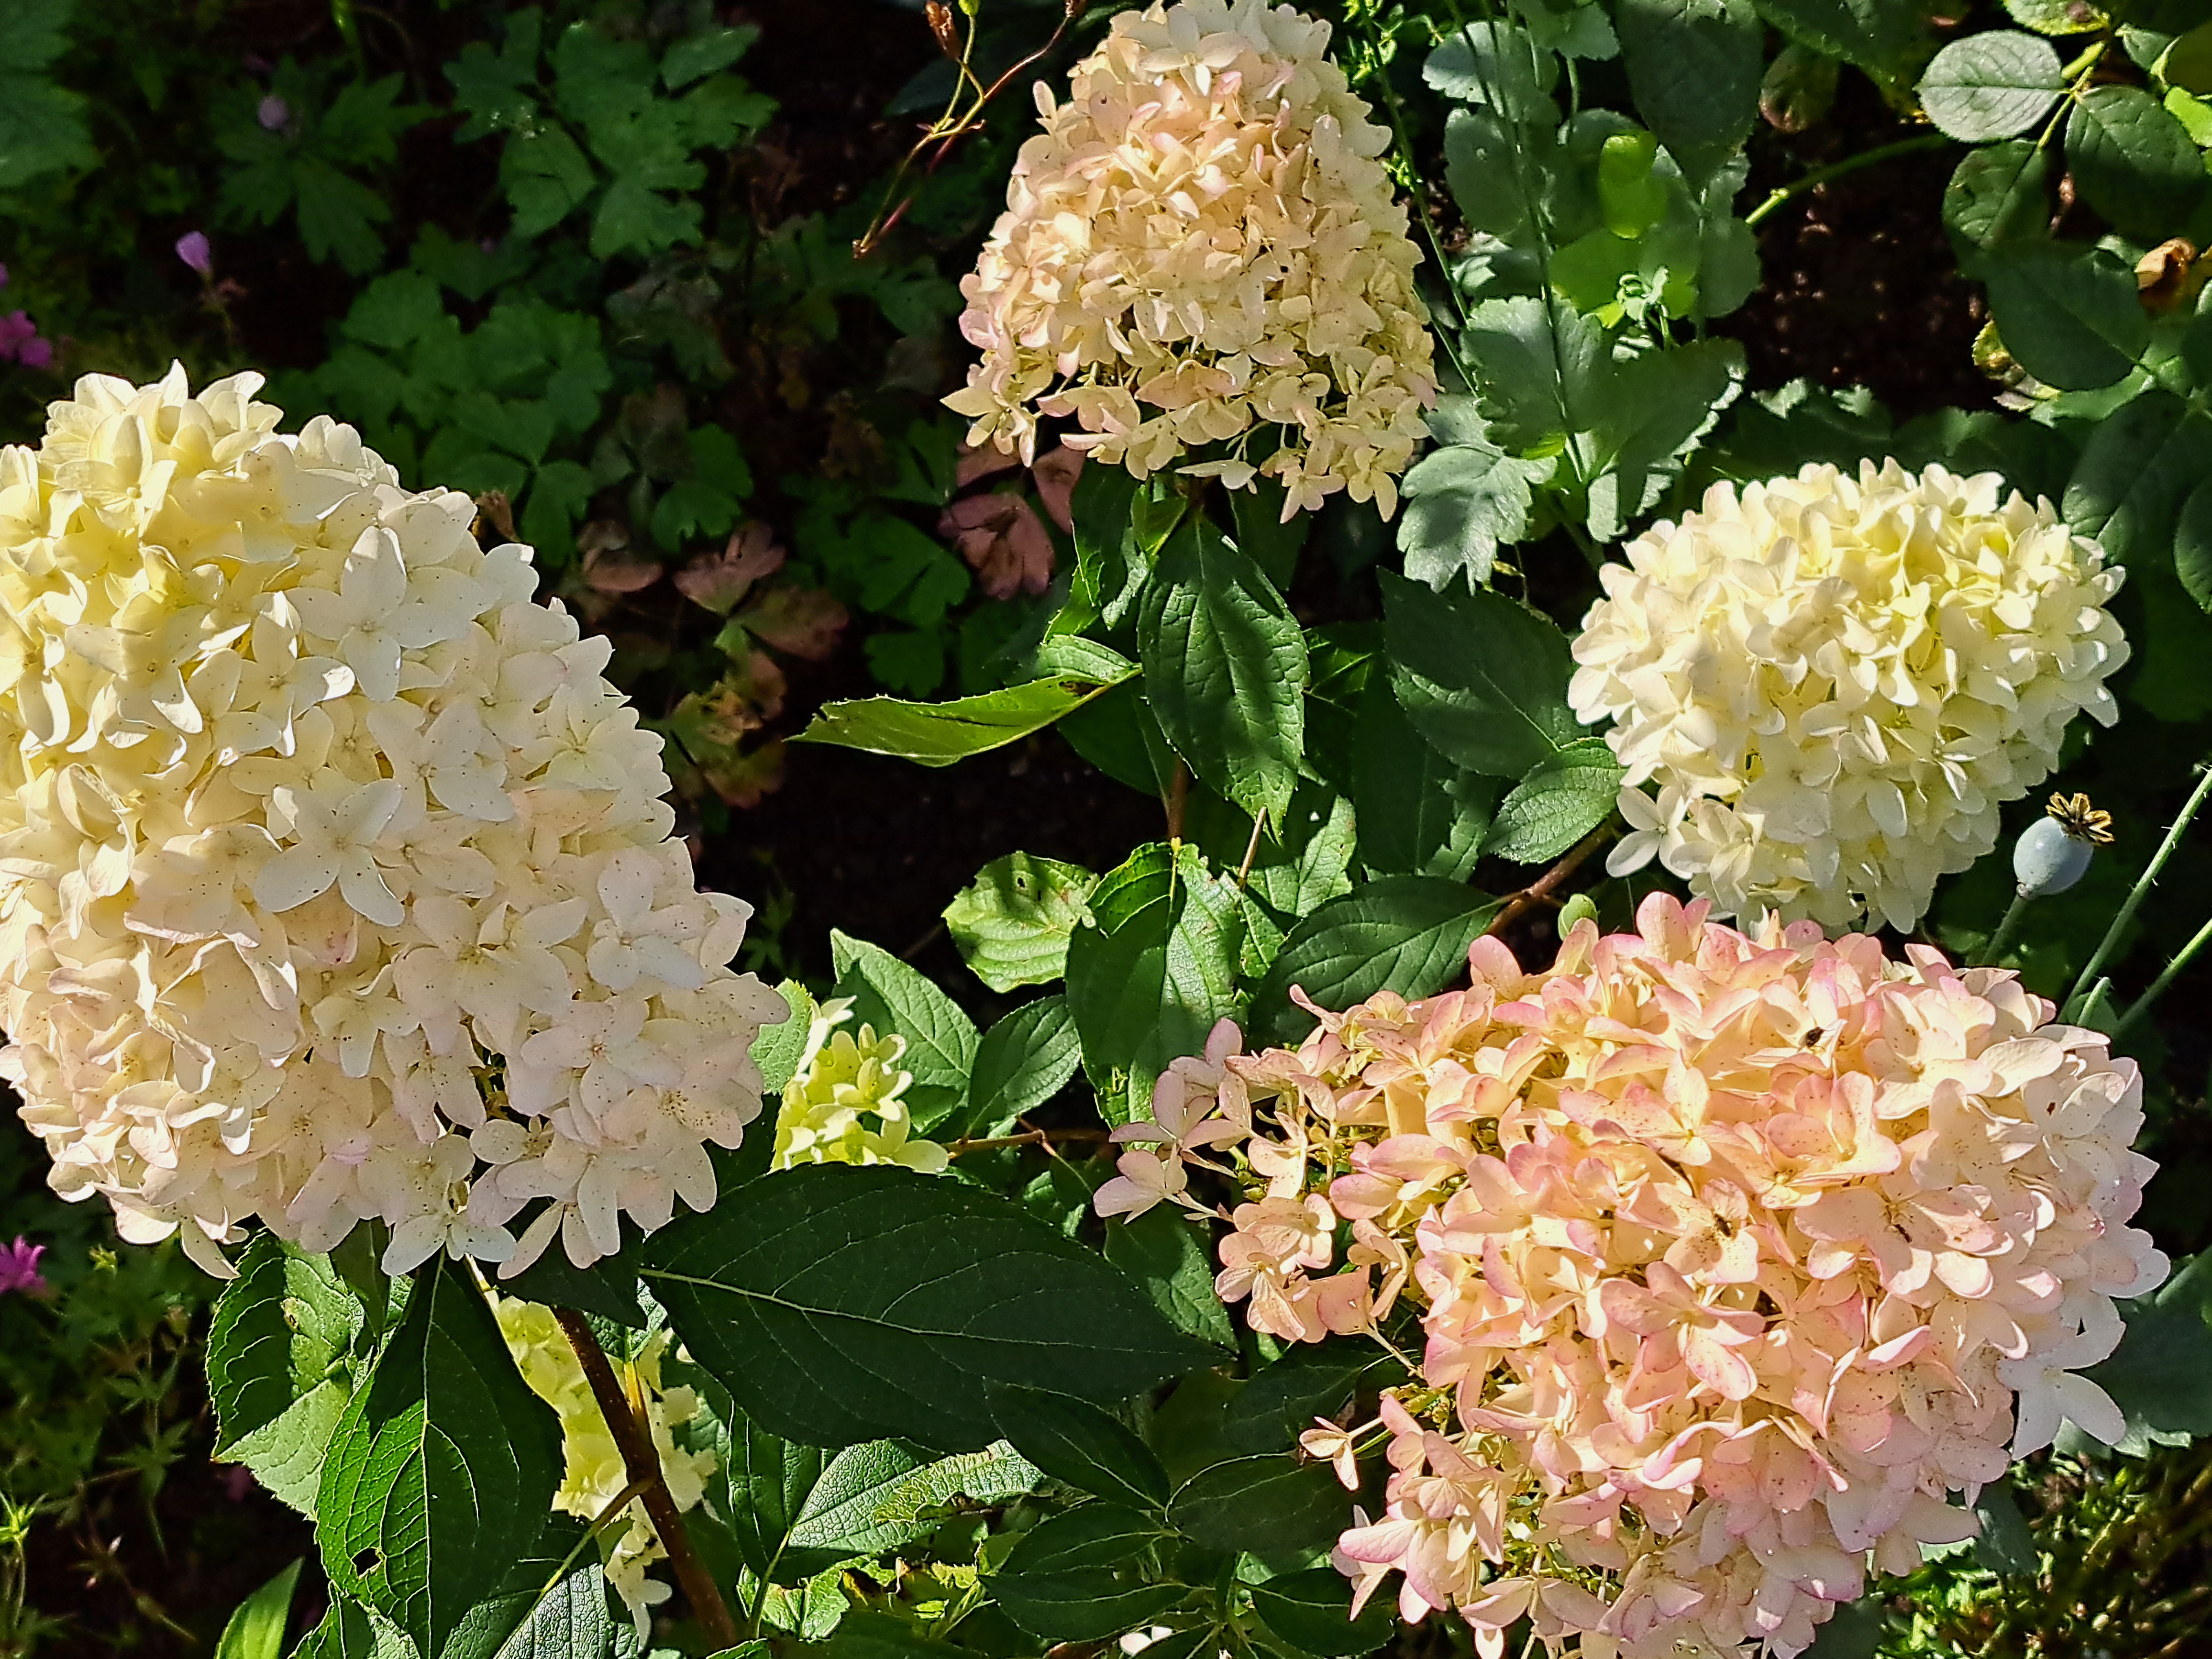
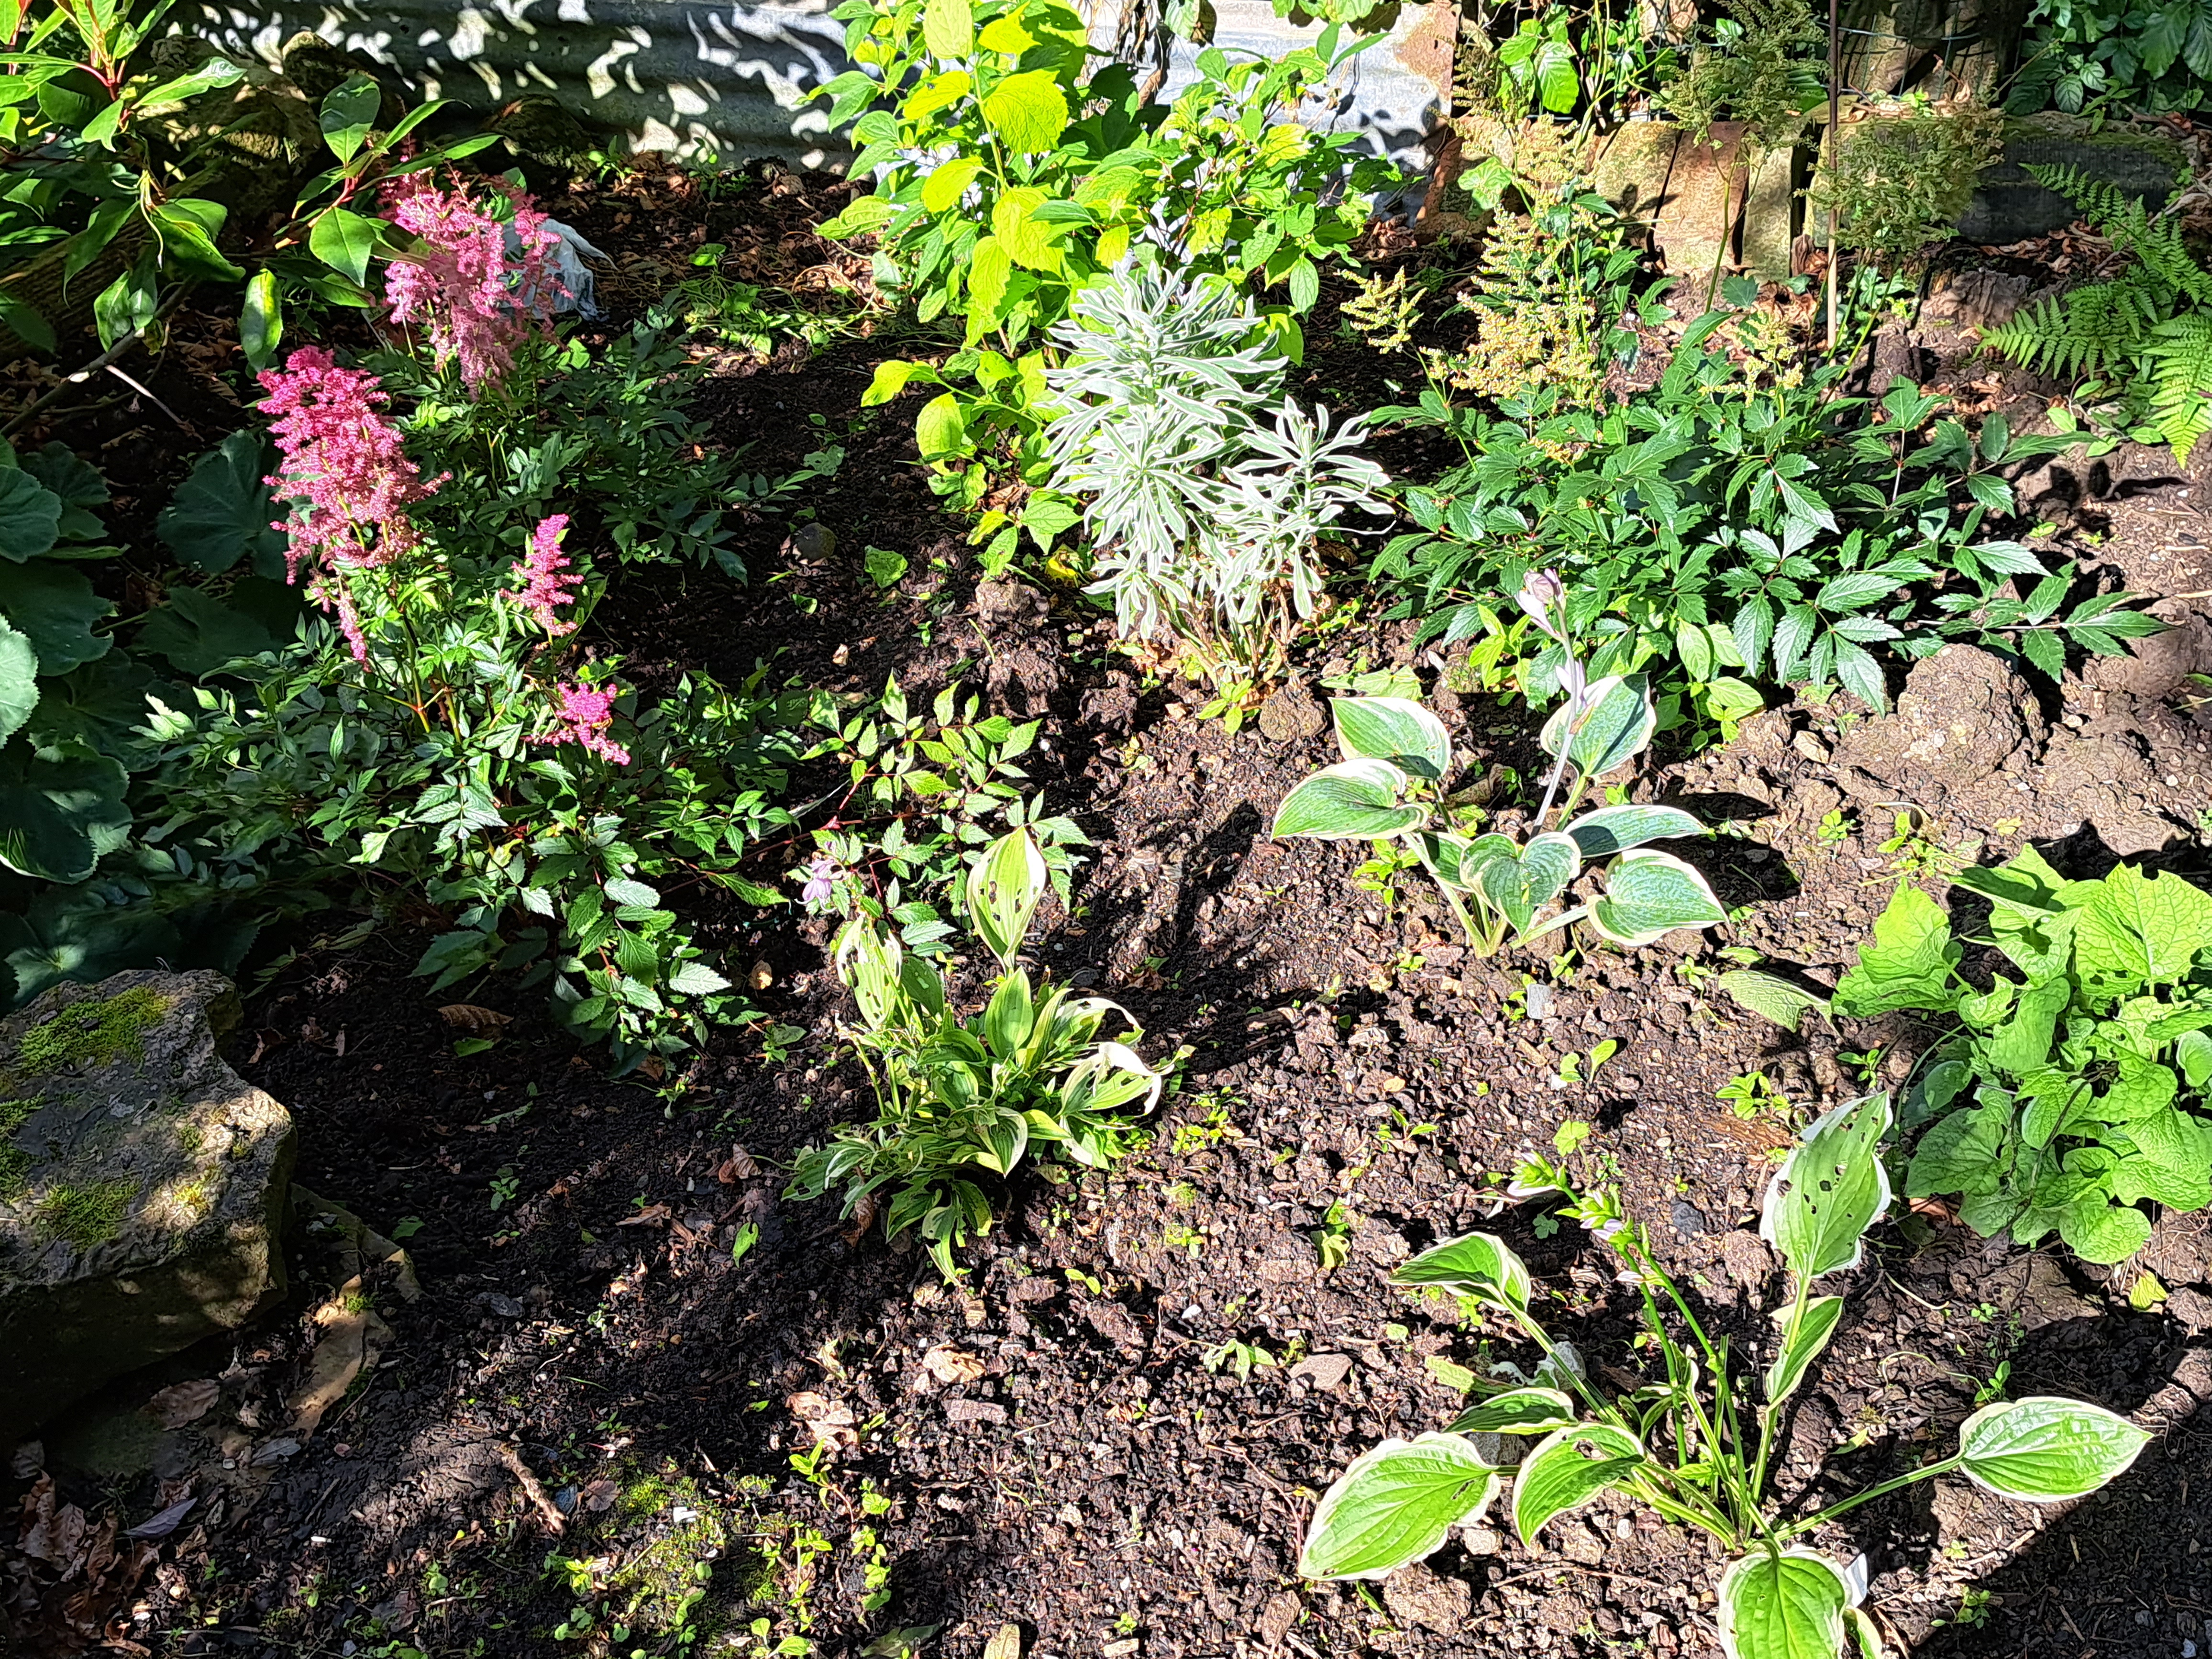
Just nearby to the big showy lilies is this little pot of violas, easy to miss but worth a peek. I gave them a good trim a few weeks back as they were looking very straggly and they’ve rewarded me with a few more flowers. It’s quite a shady spot but I’ve managed to get plenty of interest with different foliage and textures. The fern is self-seeded in the gravel, there’s a geranium and a diascia on the left. you can just see a cream hydrangea flower at the back, and a little azalea next to it.

The choisya shrub was pruned lightly after flowering in the spring, and that has also put on a second flush of flowers. The miniature cherry is turning a lovely shade of red, though it seems a bit early for autumn colour!
I did a lot of dead-heading a couple of weeks ago, especially roses, long overdue I have to admit, but a few are still flowering. This one is called Golden Celebration, it’s in the Amber and Amethyst garden, the flowers are a gorgeous coppery orange colour, my daughter bought me this one in memory of Rosie, our beautiful golden retriever.

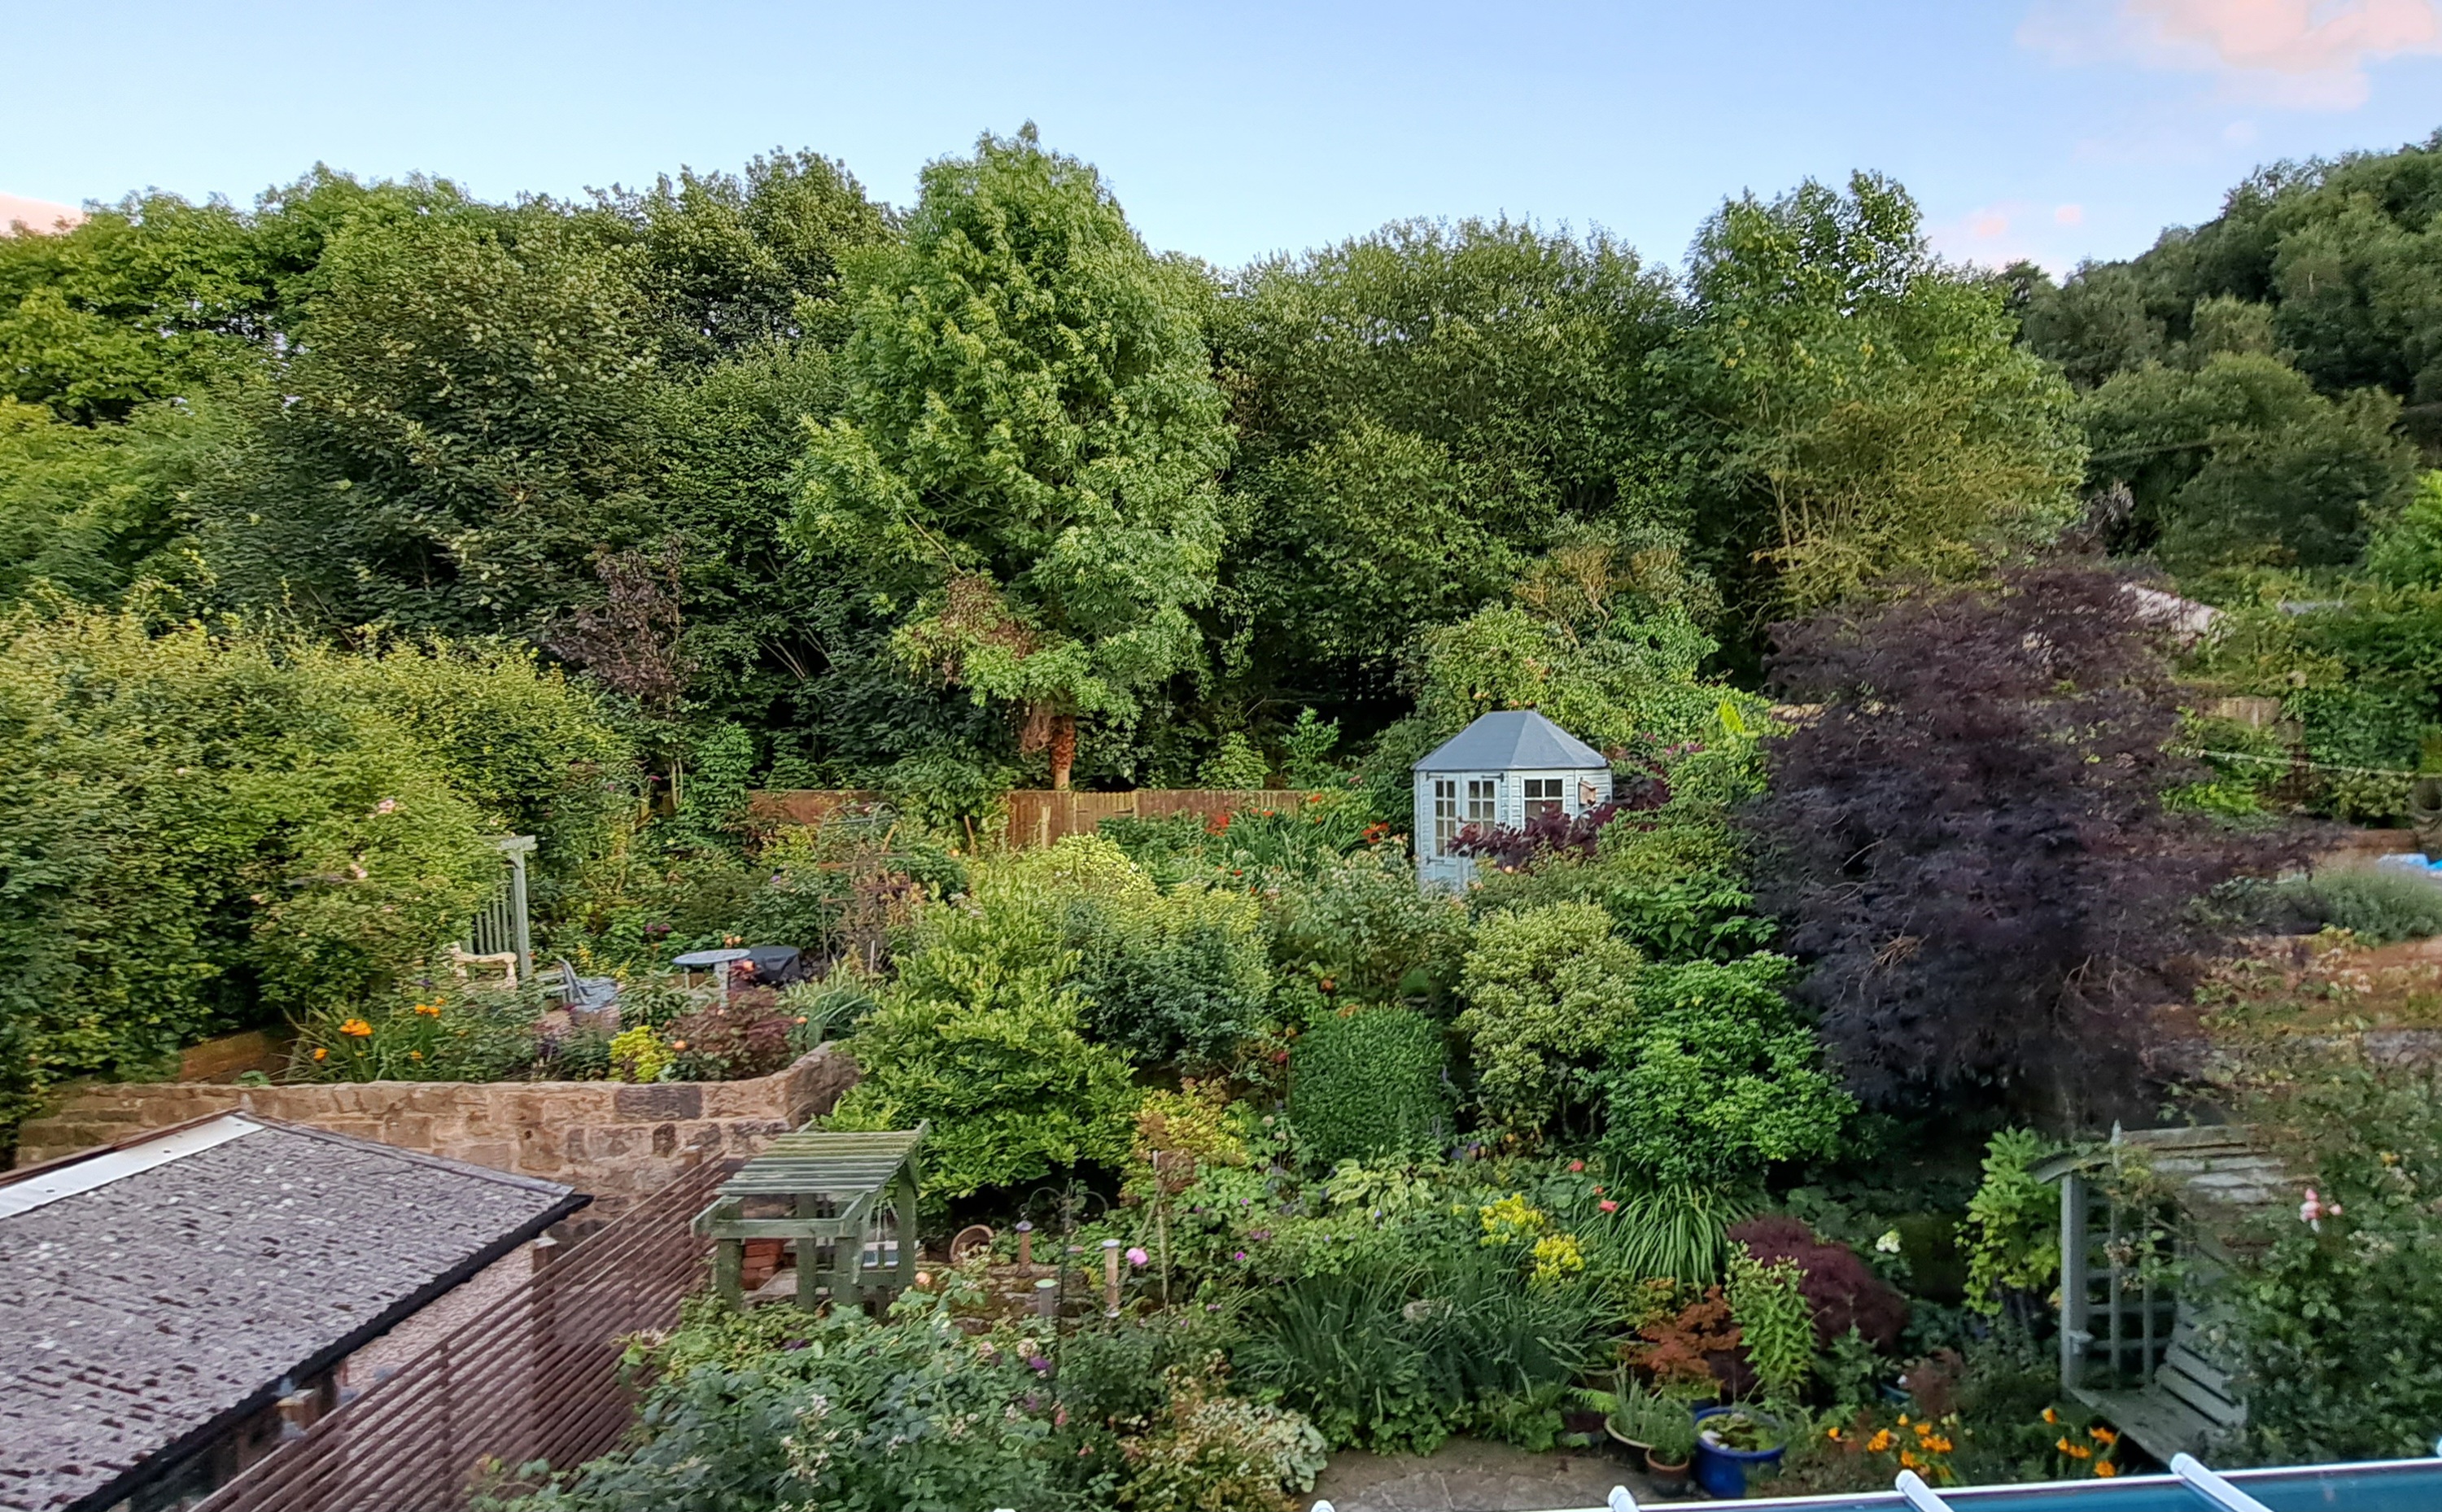
The border by the big fence is in dire need of a hard cut back, I started with the dead heading last week but I really need to start sorting this area out properly as I’m sure there are shrubs getting swamped by bigger ones under there. It doesn’t help that everything has grown so much that it’s hard to get in to do stuff!

I’ve not managed to get out in the garden much this summer, whenever I’ve been free it’s been raining – we’ve had a very wet summer here in Yorkshire!I think I’ll be starting the autumn tidy-up early! I’ve already been making a mental list of plants that need dividing or moving, so I think I’ll be pretty busy.