
I’m having my first foray into eco-dying…
This morning I finished stitching my fabric book from the Deb Cooper workshop at my last Skipton Stitchers meeting. I was waiting for some Bondaweb to arrive and as soon as the postman came this morning I set about finishing my book.
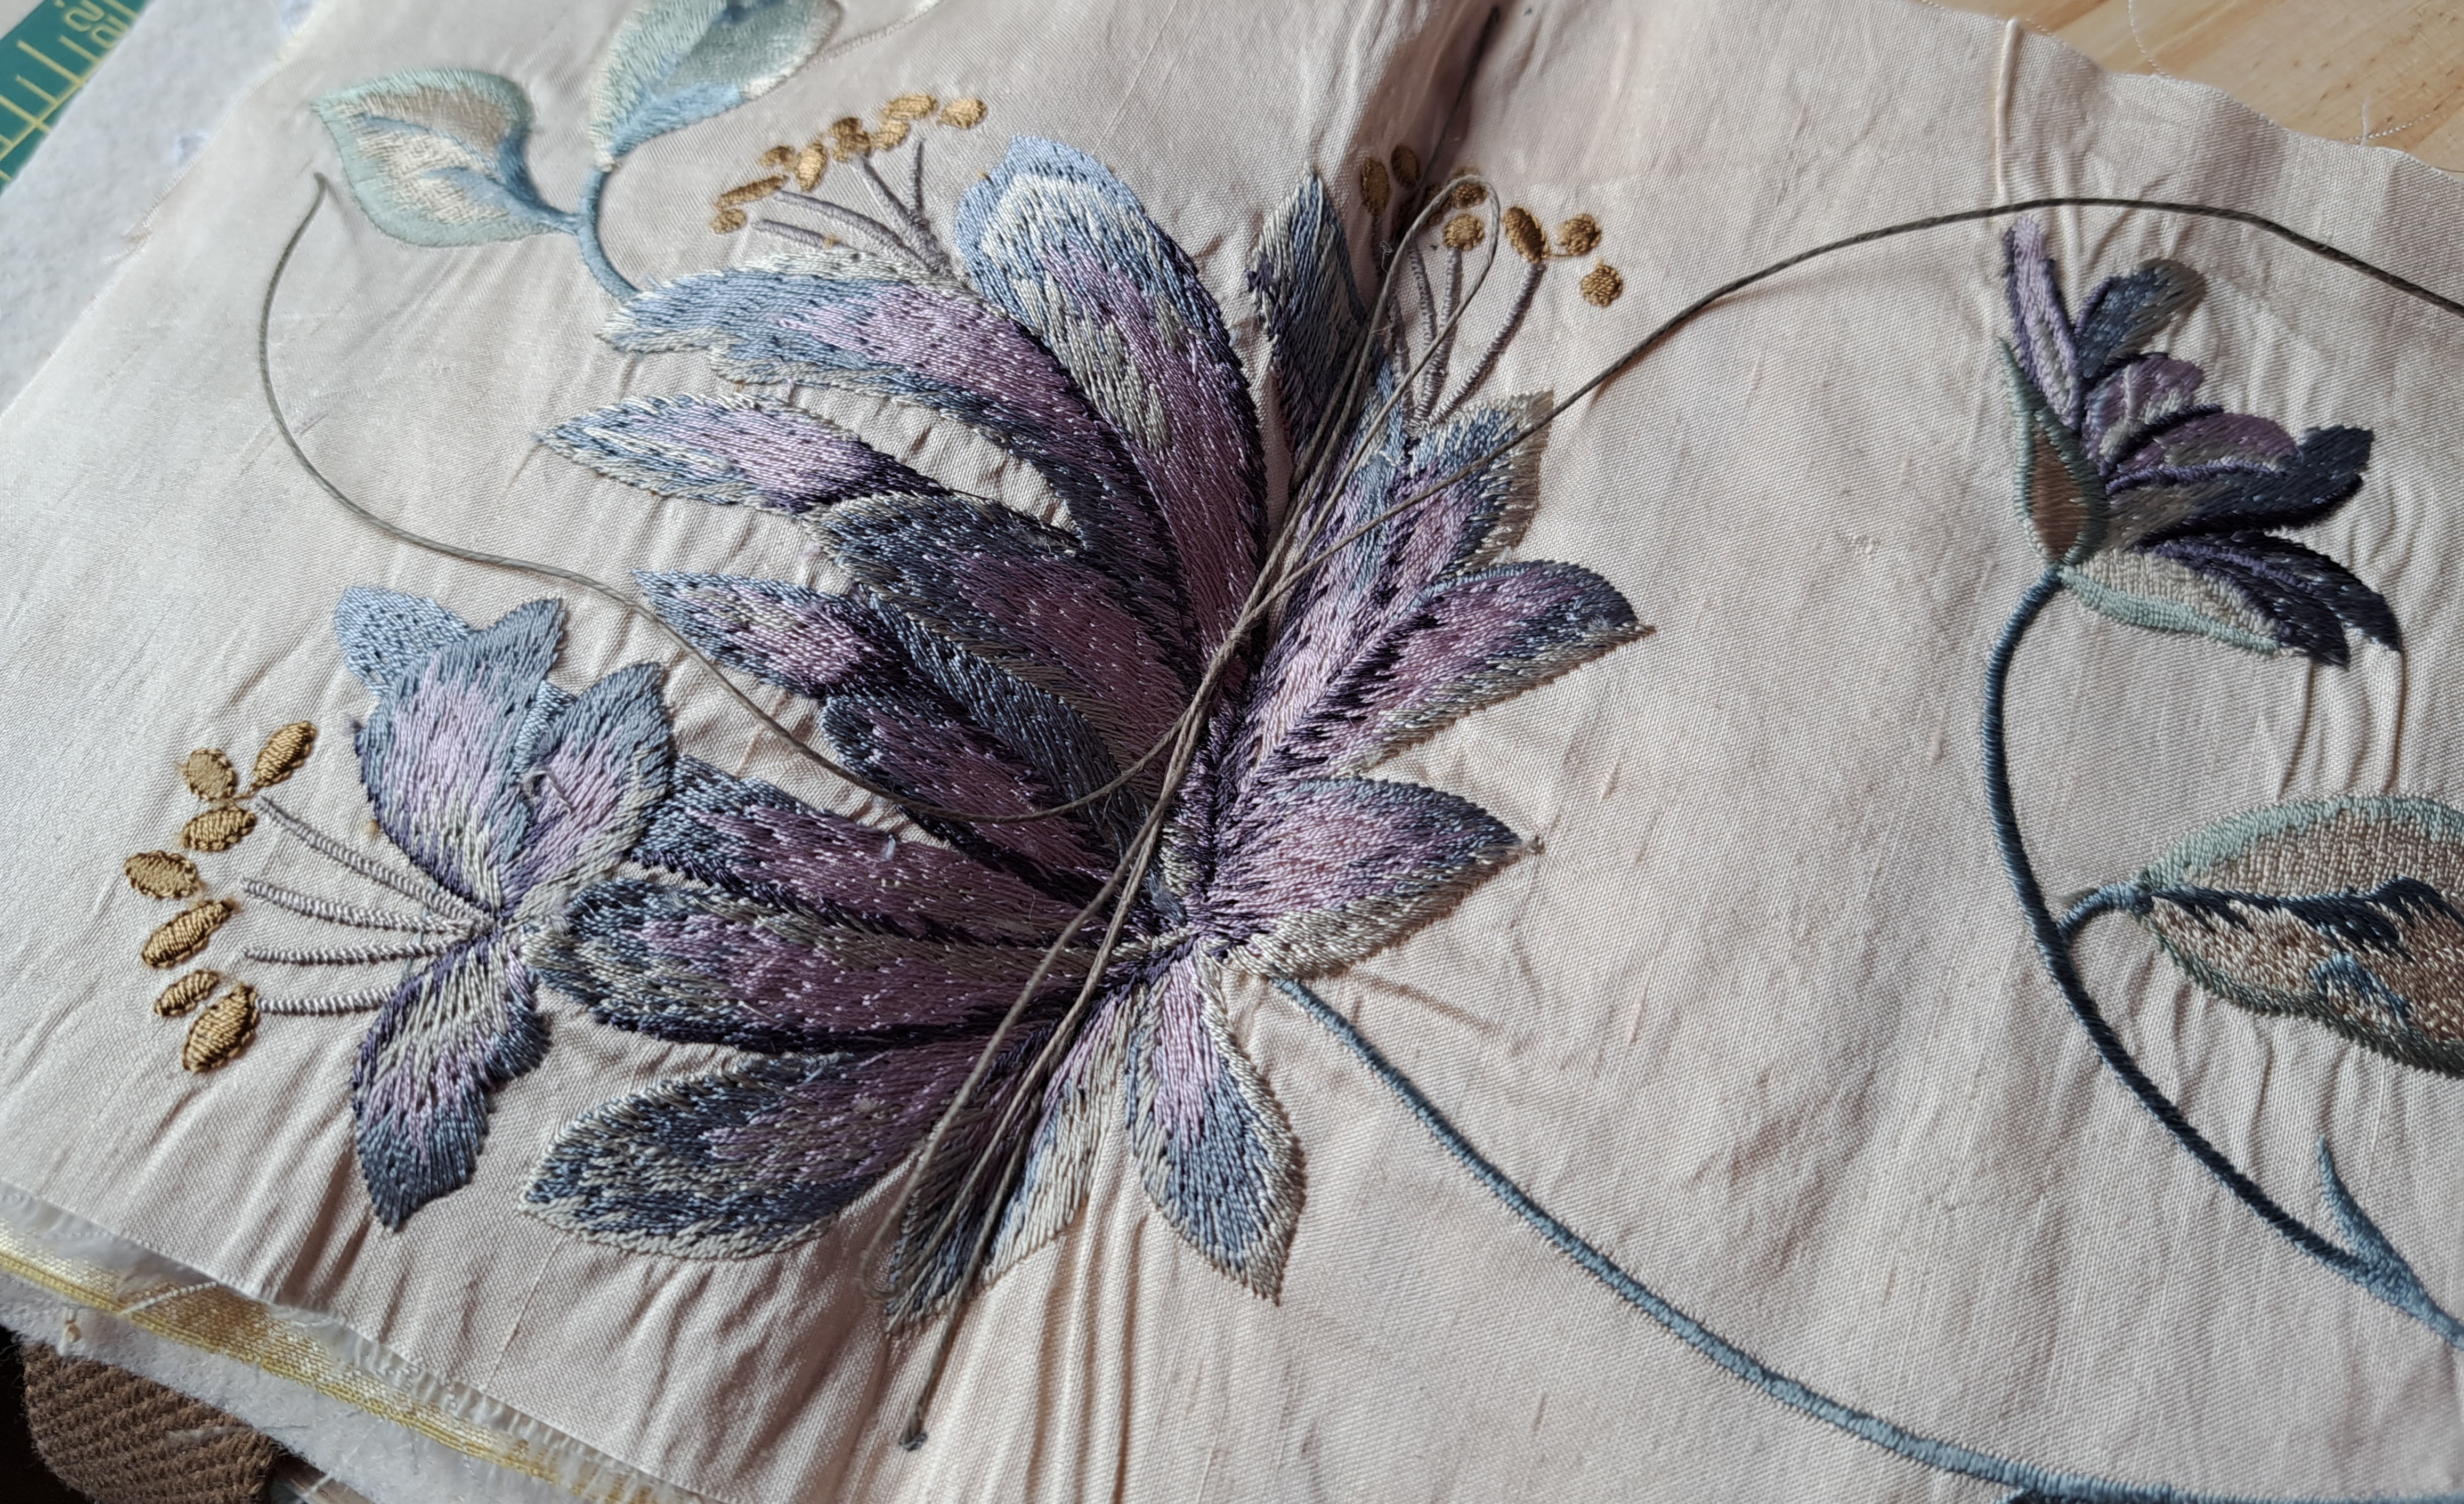
I wanted to put a ring around the round window both to help reinforce it and to cover up the knots on the back. I used a beautiful duchesse silk satin, I just have a small piece left from a wedding dress I made over 25 years ago. It’s got a pattern in the weave so it will be interesting to see what the eco-dying does to it.
At the workshop Deb showed us two or three ways of stitching the book together, I liked the back-stitched effect one best, so that is what I’ve done. I measured the spine of the book and marked on a piece of paper where I wanted my holes to go, Deb suggested marking both the centre inner fold and the outer back and I found that really helpful. I marked the holes with a Frixion pen, spacing them 3/4″ apart, I didn’t have a central hole which I wasn’t sure about at first but it worked out well. I wanted a strong, natural thread and I remembered some linen thread left over from my upholstery days. I pulled a long length off to make sure I had enough.
Deb’s method was to start at the centre (or next to it if you haven’t got a middle hole) then running stitch to the top edge, I took my time to check the needle was going through the ‘dot’ top and bottom each time. Then coming back the running stitch is the other way round to give the appearance of back-stitch you continue to the bottom edge then reverse again back up to the middle. It is then secured by tying tightly in a bow in the middle of the inside. It made a pretty neat spine.
I wanted to use green tea to dye it as it’s meant to be more green/grey colour that standard tea. I also decided to try adding a few leaves and flowers into my book, see if they’ll leave an imprint. I’ve nothing to lose really, if it doesn’t work then I’ve just got a lacy pretty book. I had a wander round the garden and picked a few leaves and flowers. Those of you who do eco-dying can probably tell I’m winging it! I just went for pretty ones or ones that had some texture, a complete mix…

As I was dying a book I had to find some way of binding it flat, tightly. I couldn’t think of anything at home to use. I then had the idea of buying an inexpensive flower press. There were the usual traditional ones with a bolt and butterfly nut at each corner, what concerned me with that was having the nuts seize up after two weeks in the damp. I saw one that was basically two pieces of wood with webbing straps around it. I ordered it and it came this morning.
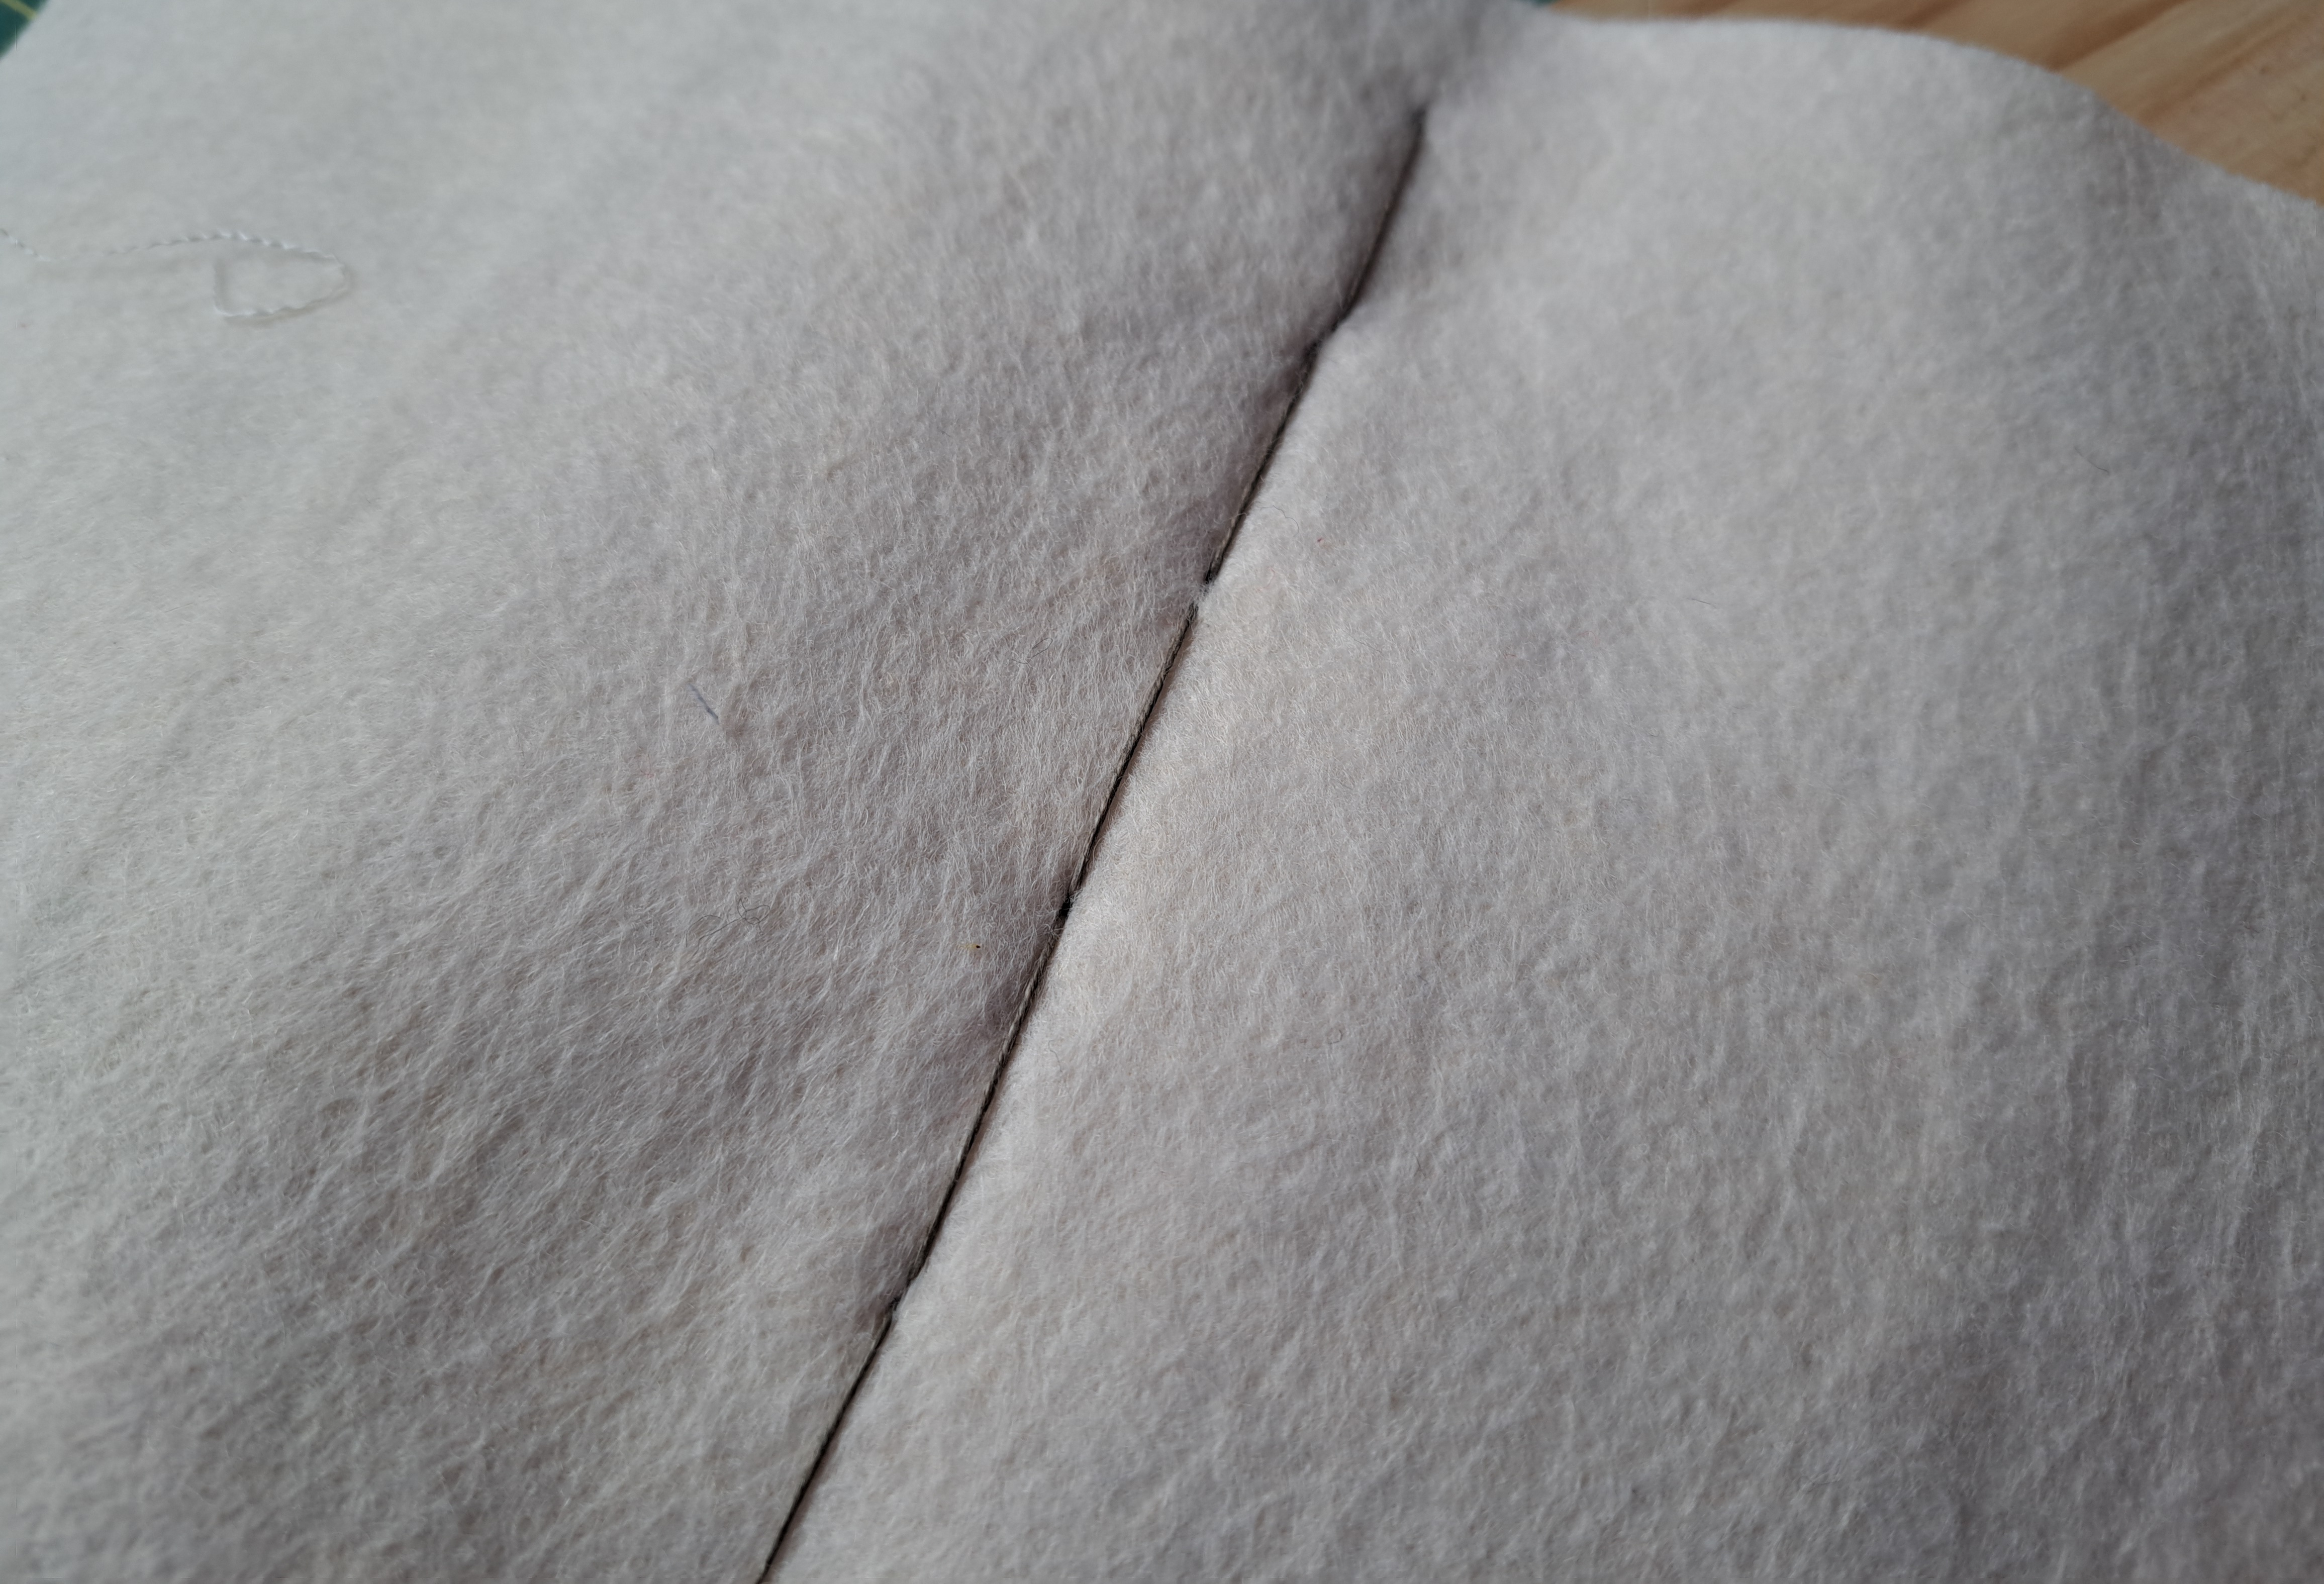
I arranged the flowers and leaves throughout the book and I also sprinkled some iron finings throughout the book to help with the fixing of the dye. I put the folded book in the press. I did have alarm bells jingling a little when I realised the wood wasn’t solid, there was a join down the middle. My original plan had been to seal the wood in two plastic bags to protect it, however the webbing was firmly attached to the bottom piece so I decided to just use it and see what happened.
I tightened the webbing and then added some seam binding to tighten it further. By now I had a nice little parcel…

I needed my big jam pan to be able to soak the parcel in tea. I added about 15 green tea bags to some boiling water, (well it started off with 8 and gradually got increased!) added a little vinegar in case I needed it as a mordant and let it simmer for about 10 minutes. I then added my bundle, holding it under until the air bubbles stopped escaping. I simmered it for another 30 minutes then left it to stew for another hour.
I finally fished it out. I’ve put it in a sealable plastic bag with some of the tea mixture. It’s sitting in a plastic tray with my spare sewing machine balanced on top to add to the pressure of the binding. My alarm bells were correct, one piece of the wood had split within 30 minutes, so it’s bound, just not as flat, hence the sewing machine!
I’ve now got to leave it for a week, then I take it out of the bath and leave it to dry for a week, before the great unwrapping….time will tell!


Very interesting. It is intriguing what colours will happen in a couple of weeks time
LikeLiked by 1 person
I think it’s one of those things where anything could happen!!
LikeLike
Sounds like you’re definitely feeling better, too!
LikeLiked by 1 person
I’m getting there thanks 🙂
LikeLiked by 1 person
how exciting!
LikeLiked by 1 person
Looking forward to your unwrapping! I ecodye between some wall tiles. They don’t warp.
LikeLiked by 1 person
Ooh that’s a good idea, my son is a plumber so I might ask him for a couple of spares!
LikeLike