I’m making steady progress with my Staying Home Quilt, which is lucky as at 4am one morning after my op I couldn’t sleep, perused somewhere on social media and found myself pressing ‘buy now’ for a Block of the Month’ quilt starting in March or April! More of that later!
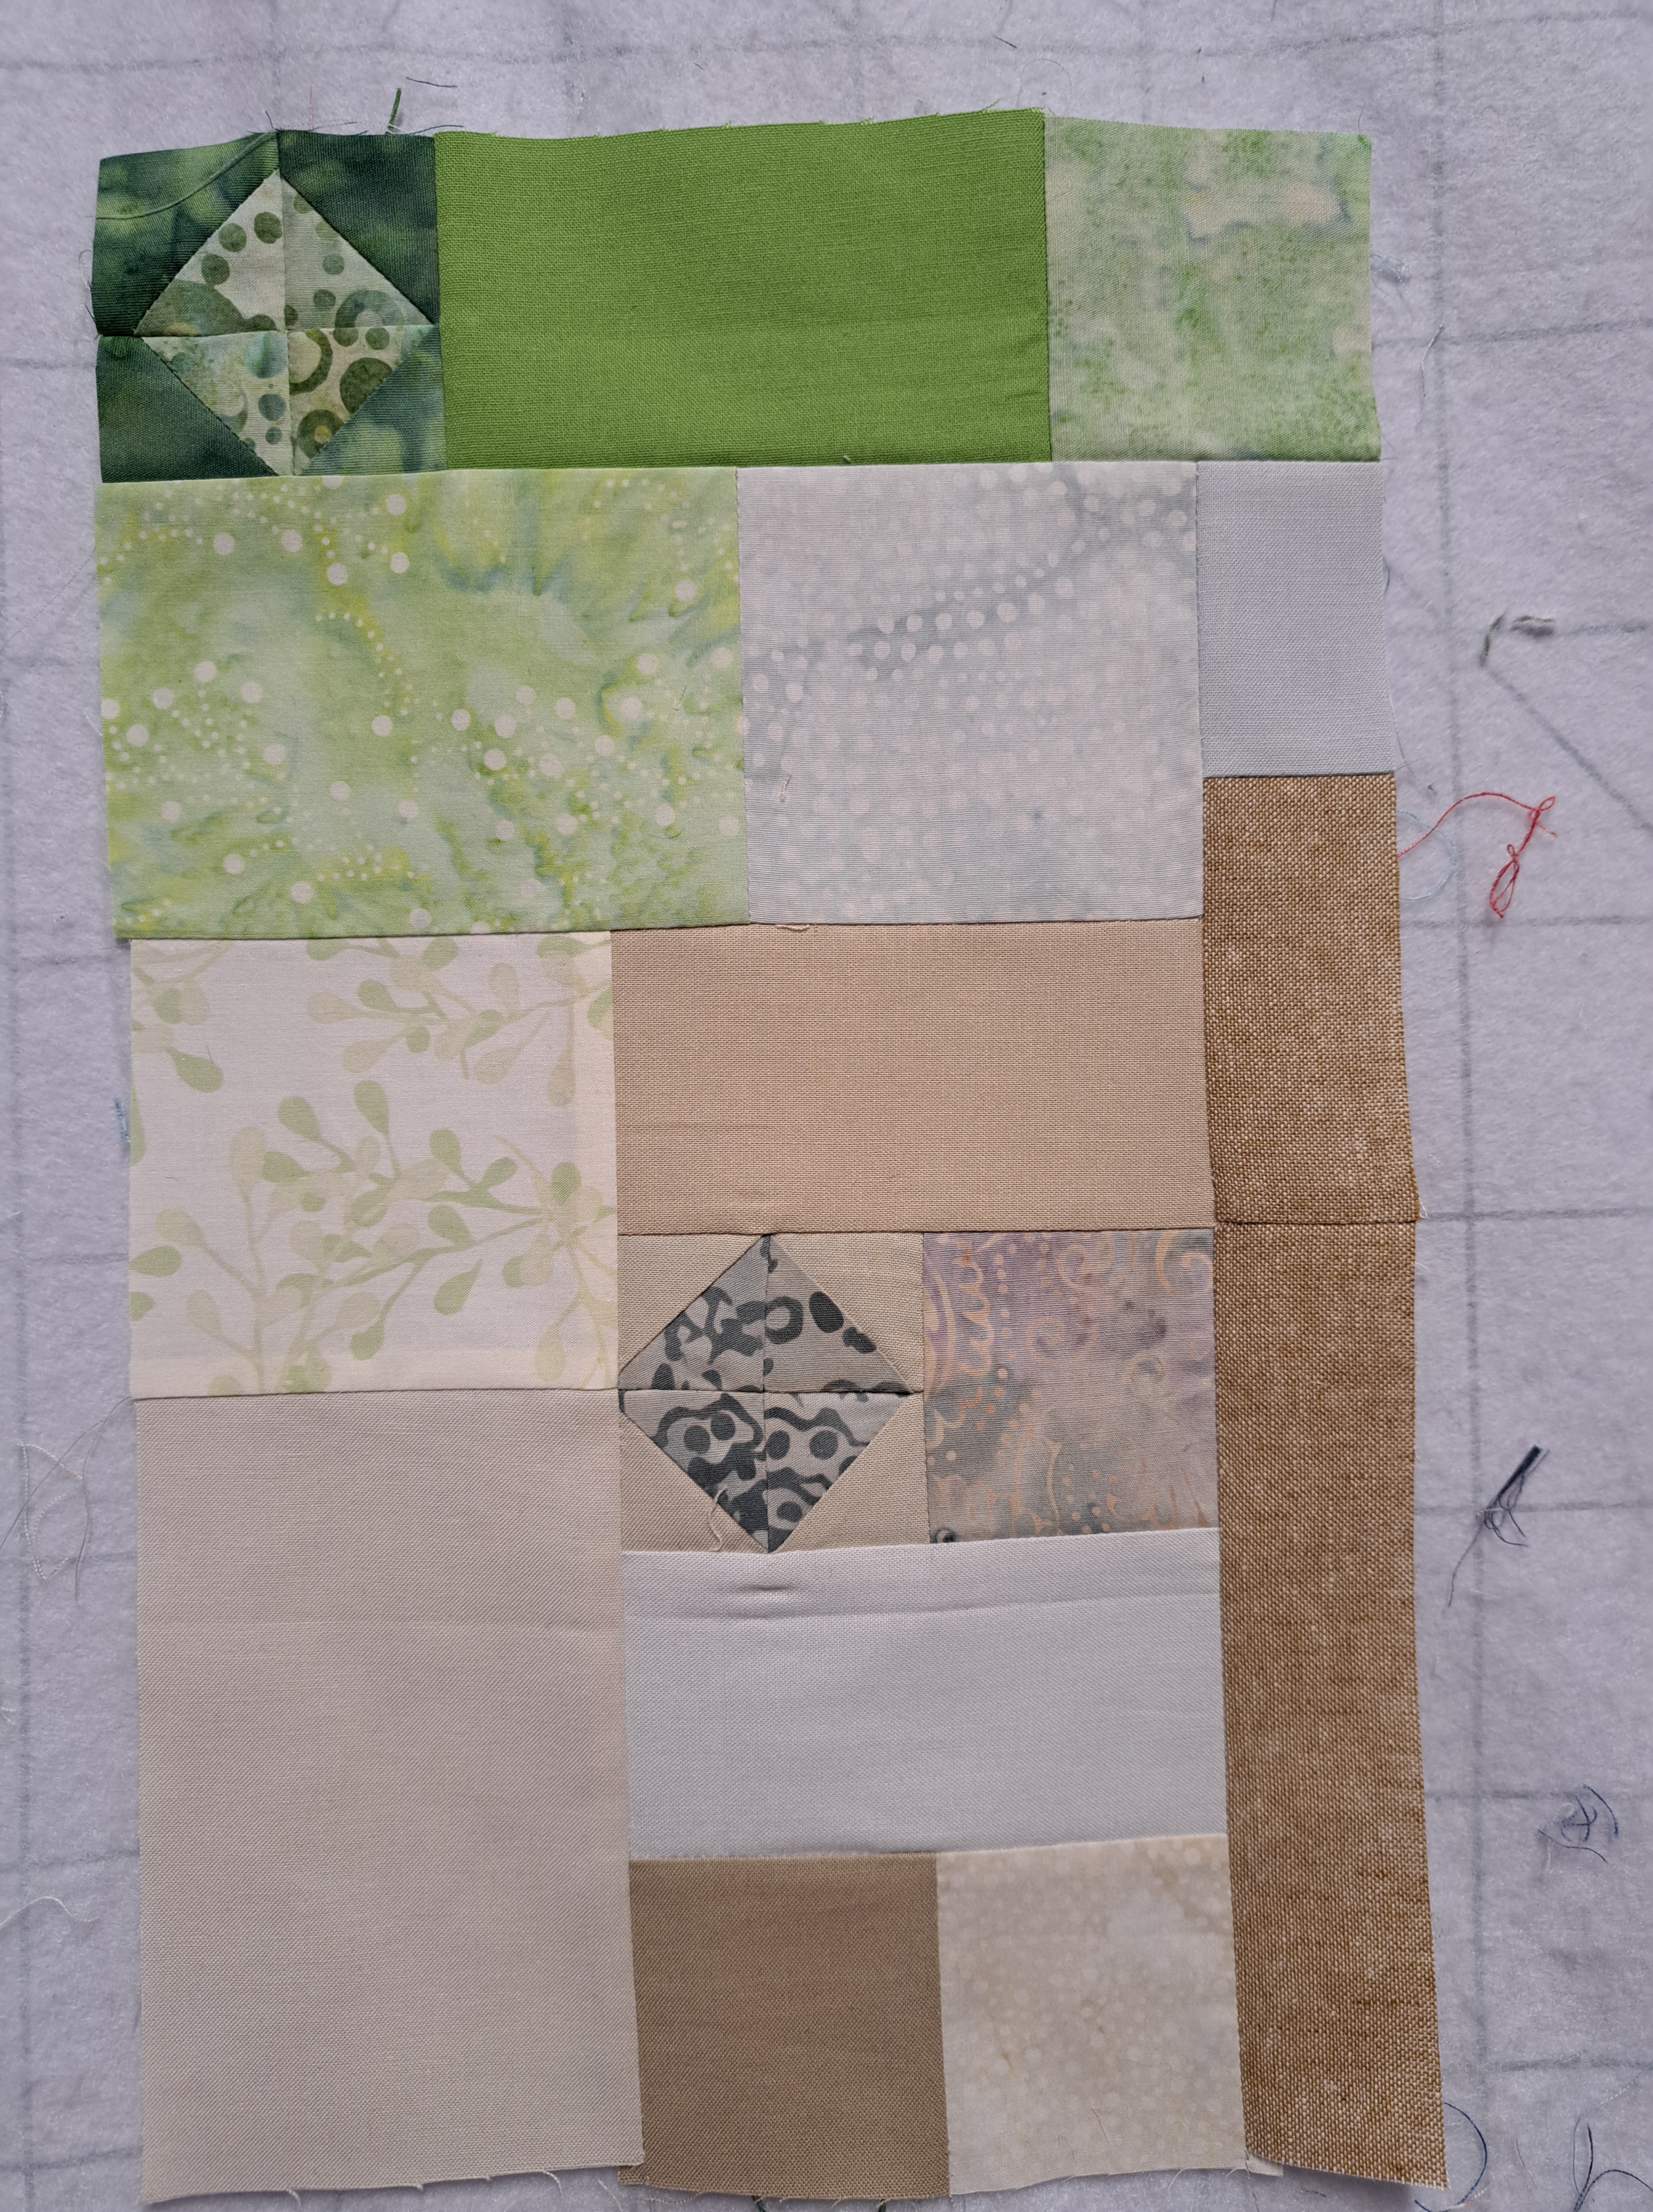
Anyway, three weeks ago I had just started the fourth row of blocks…

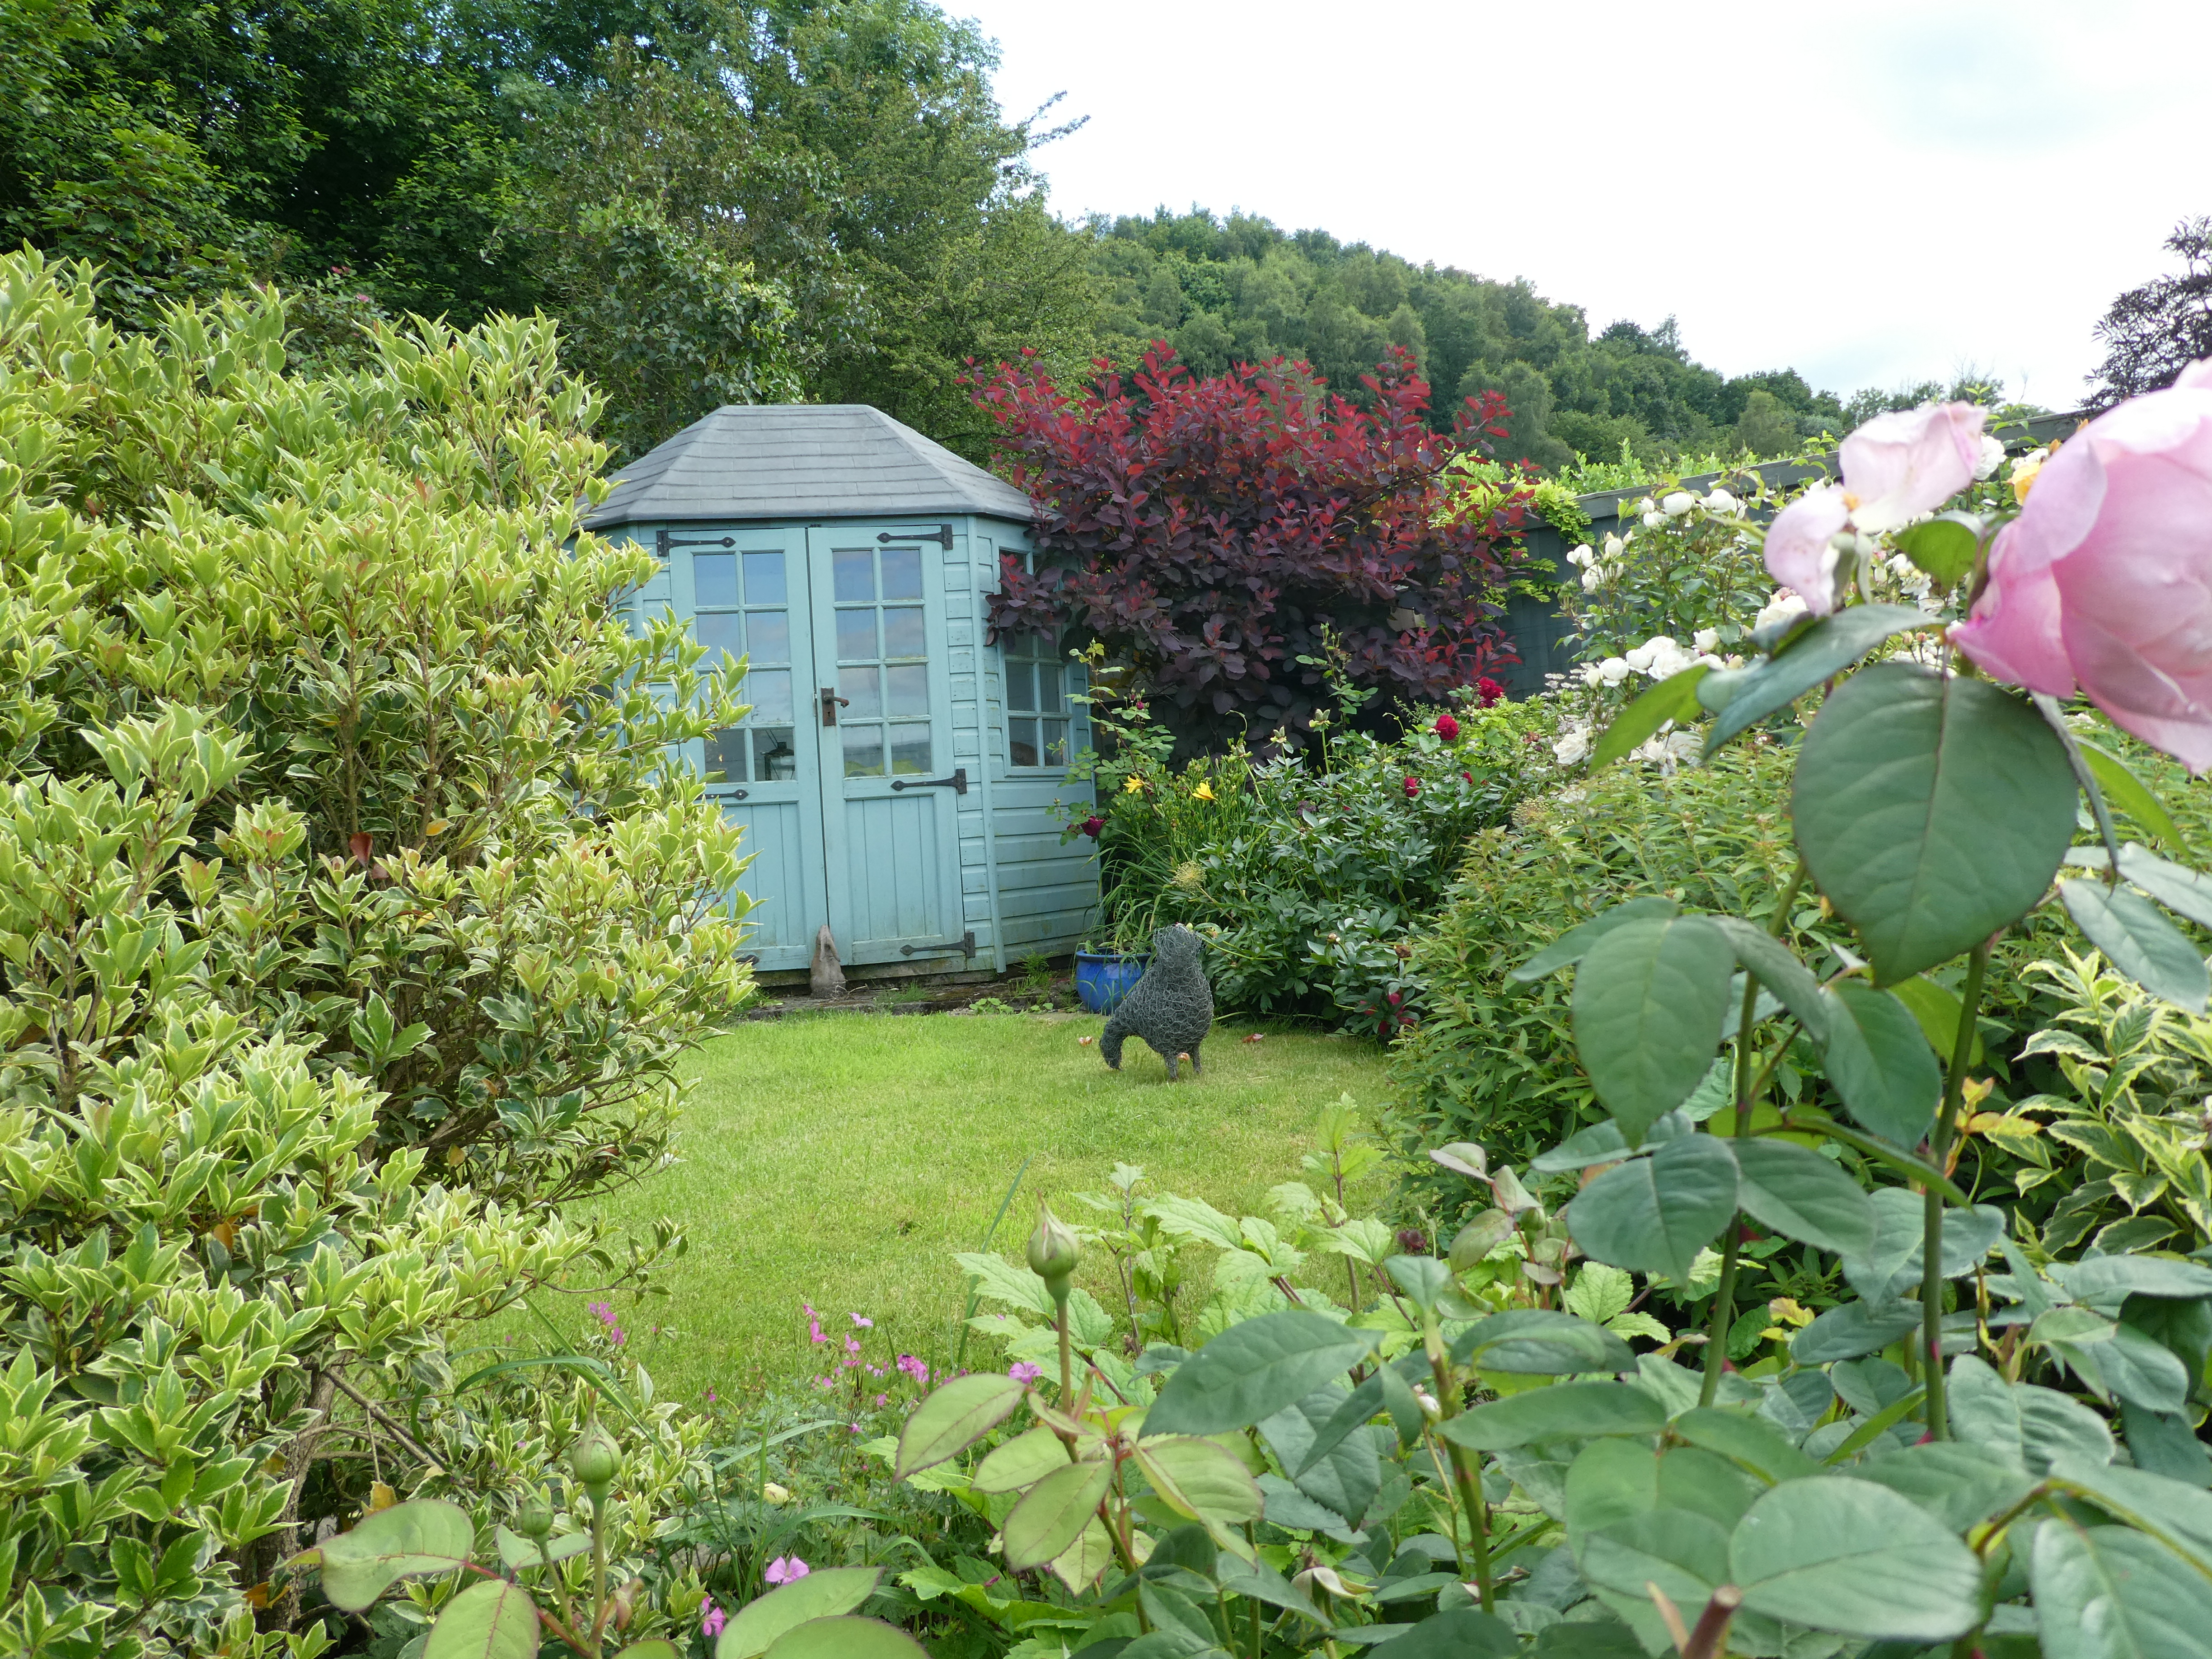
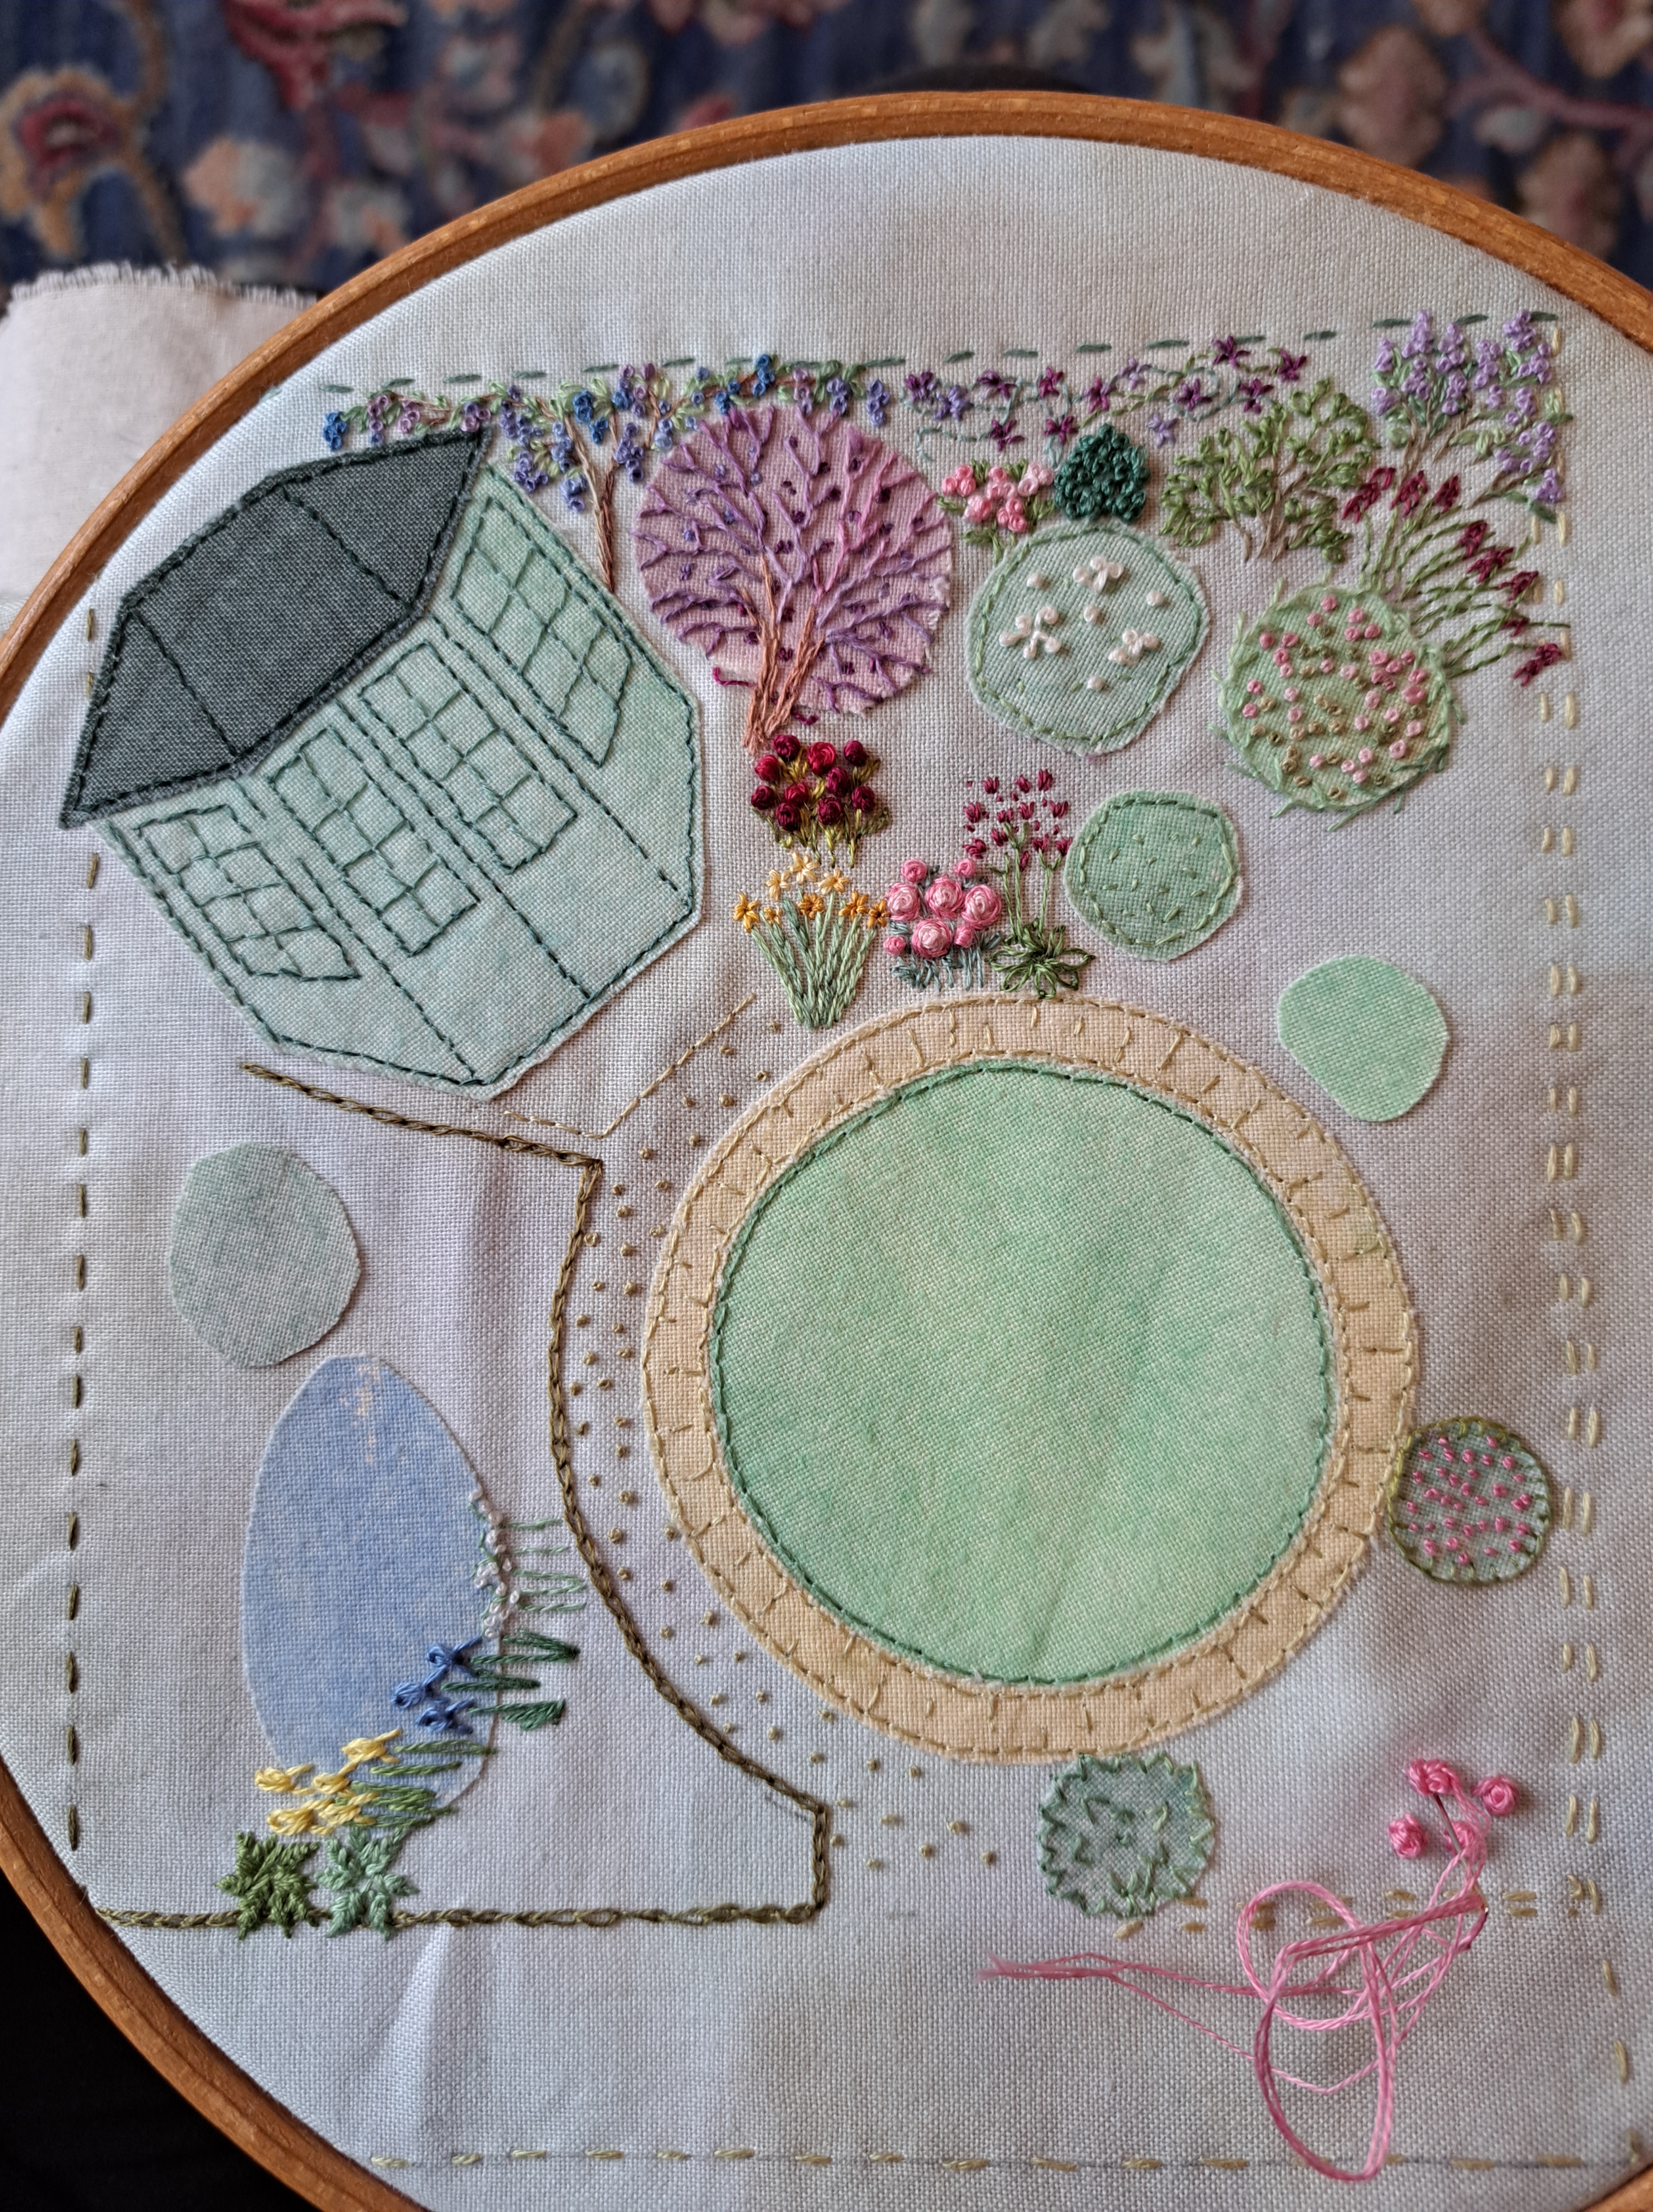
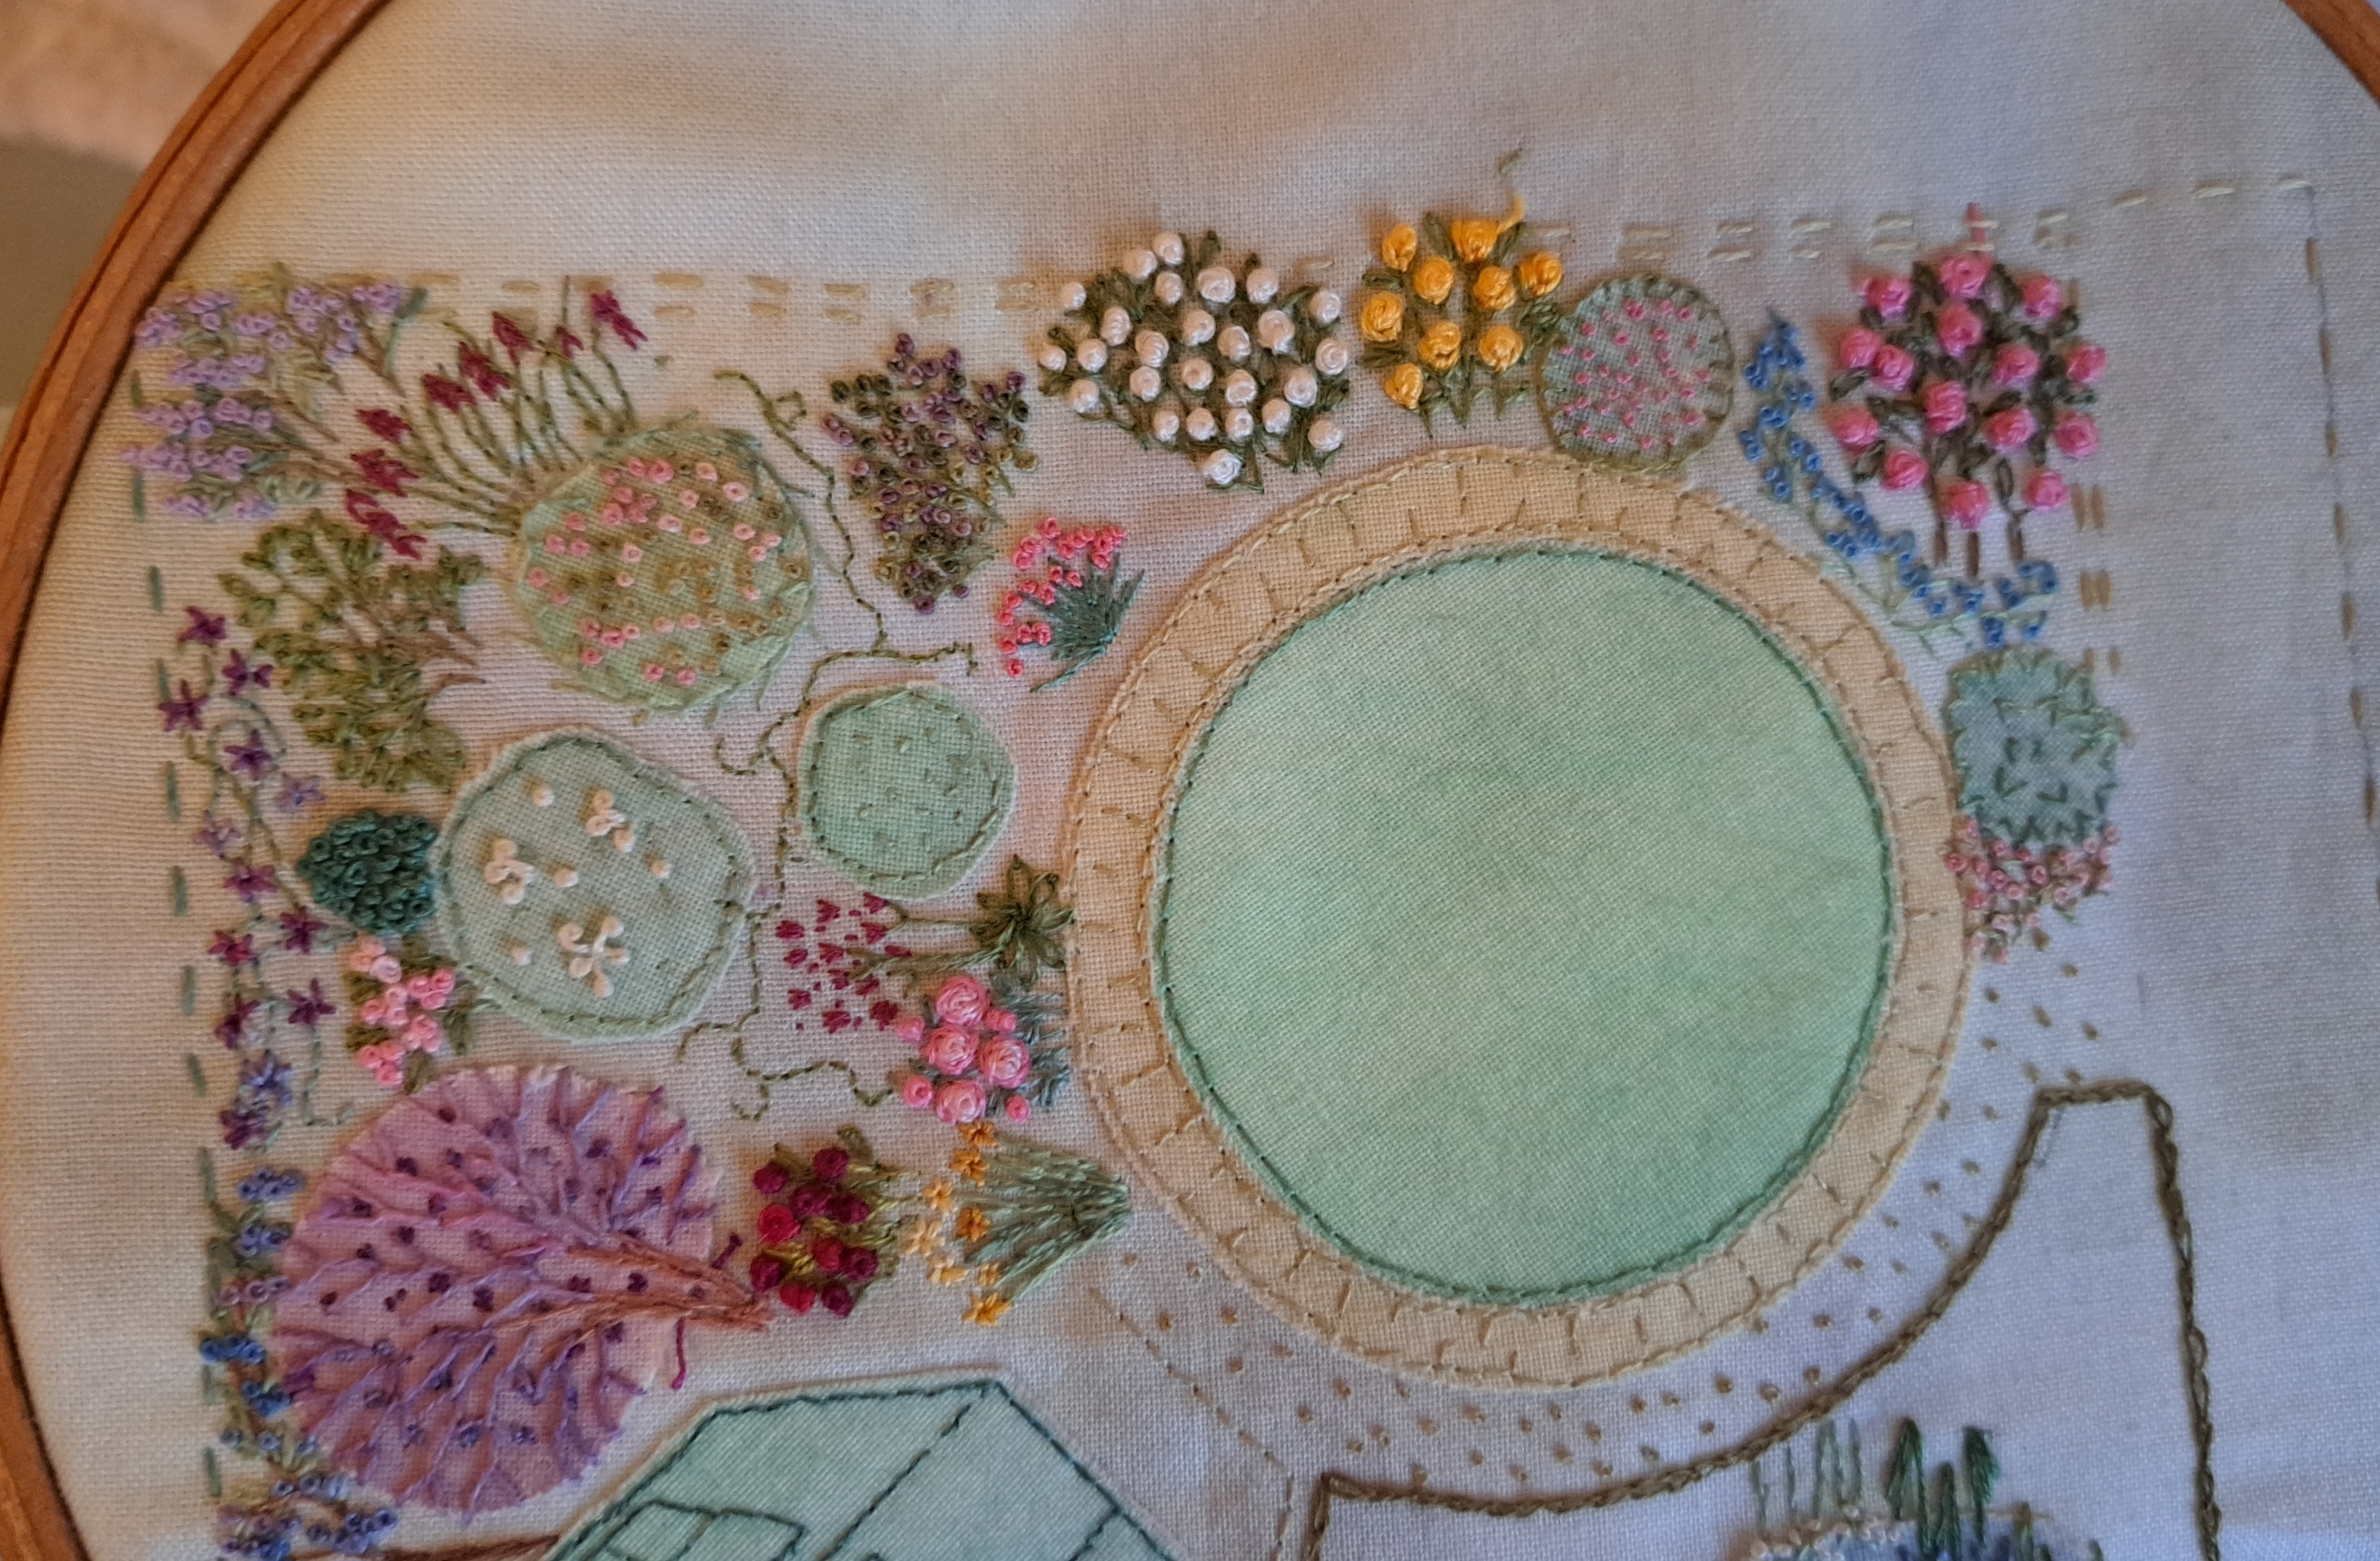
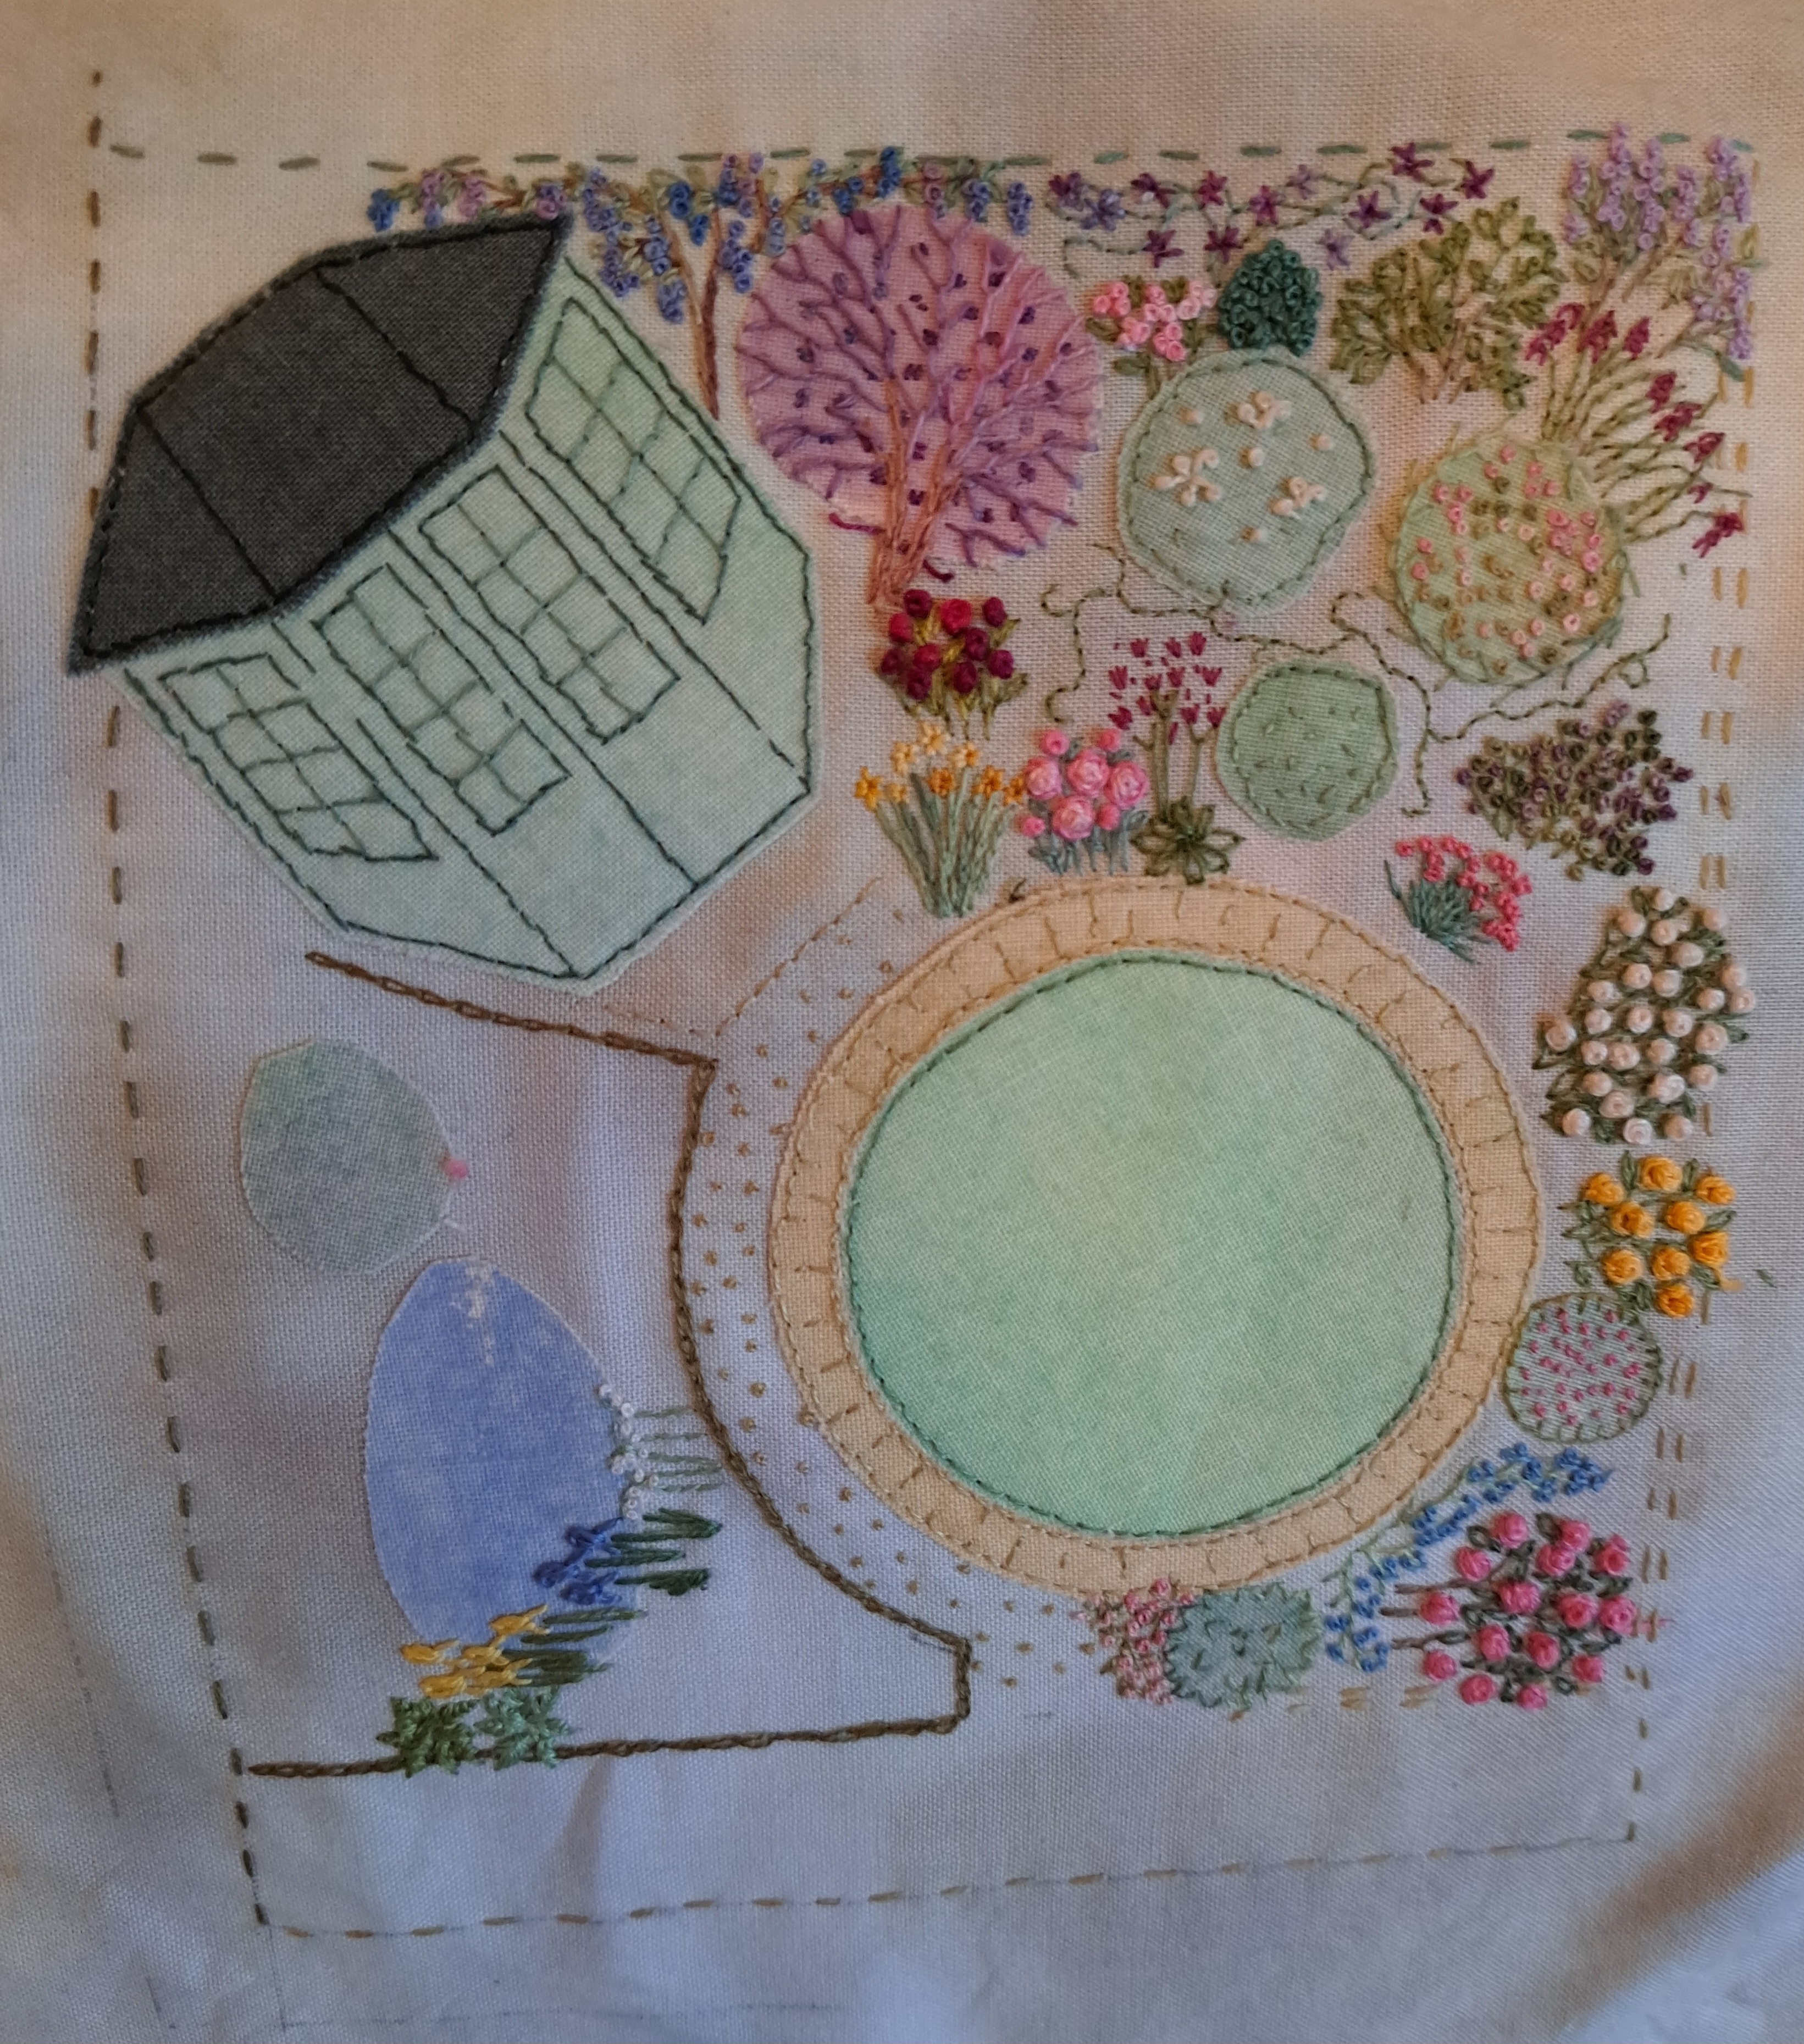
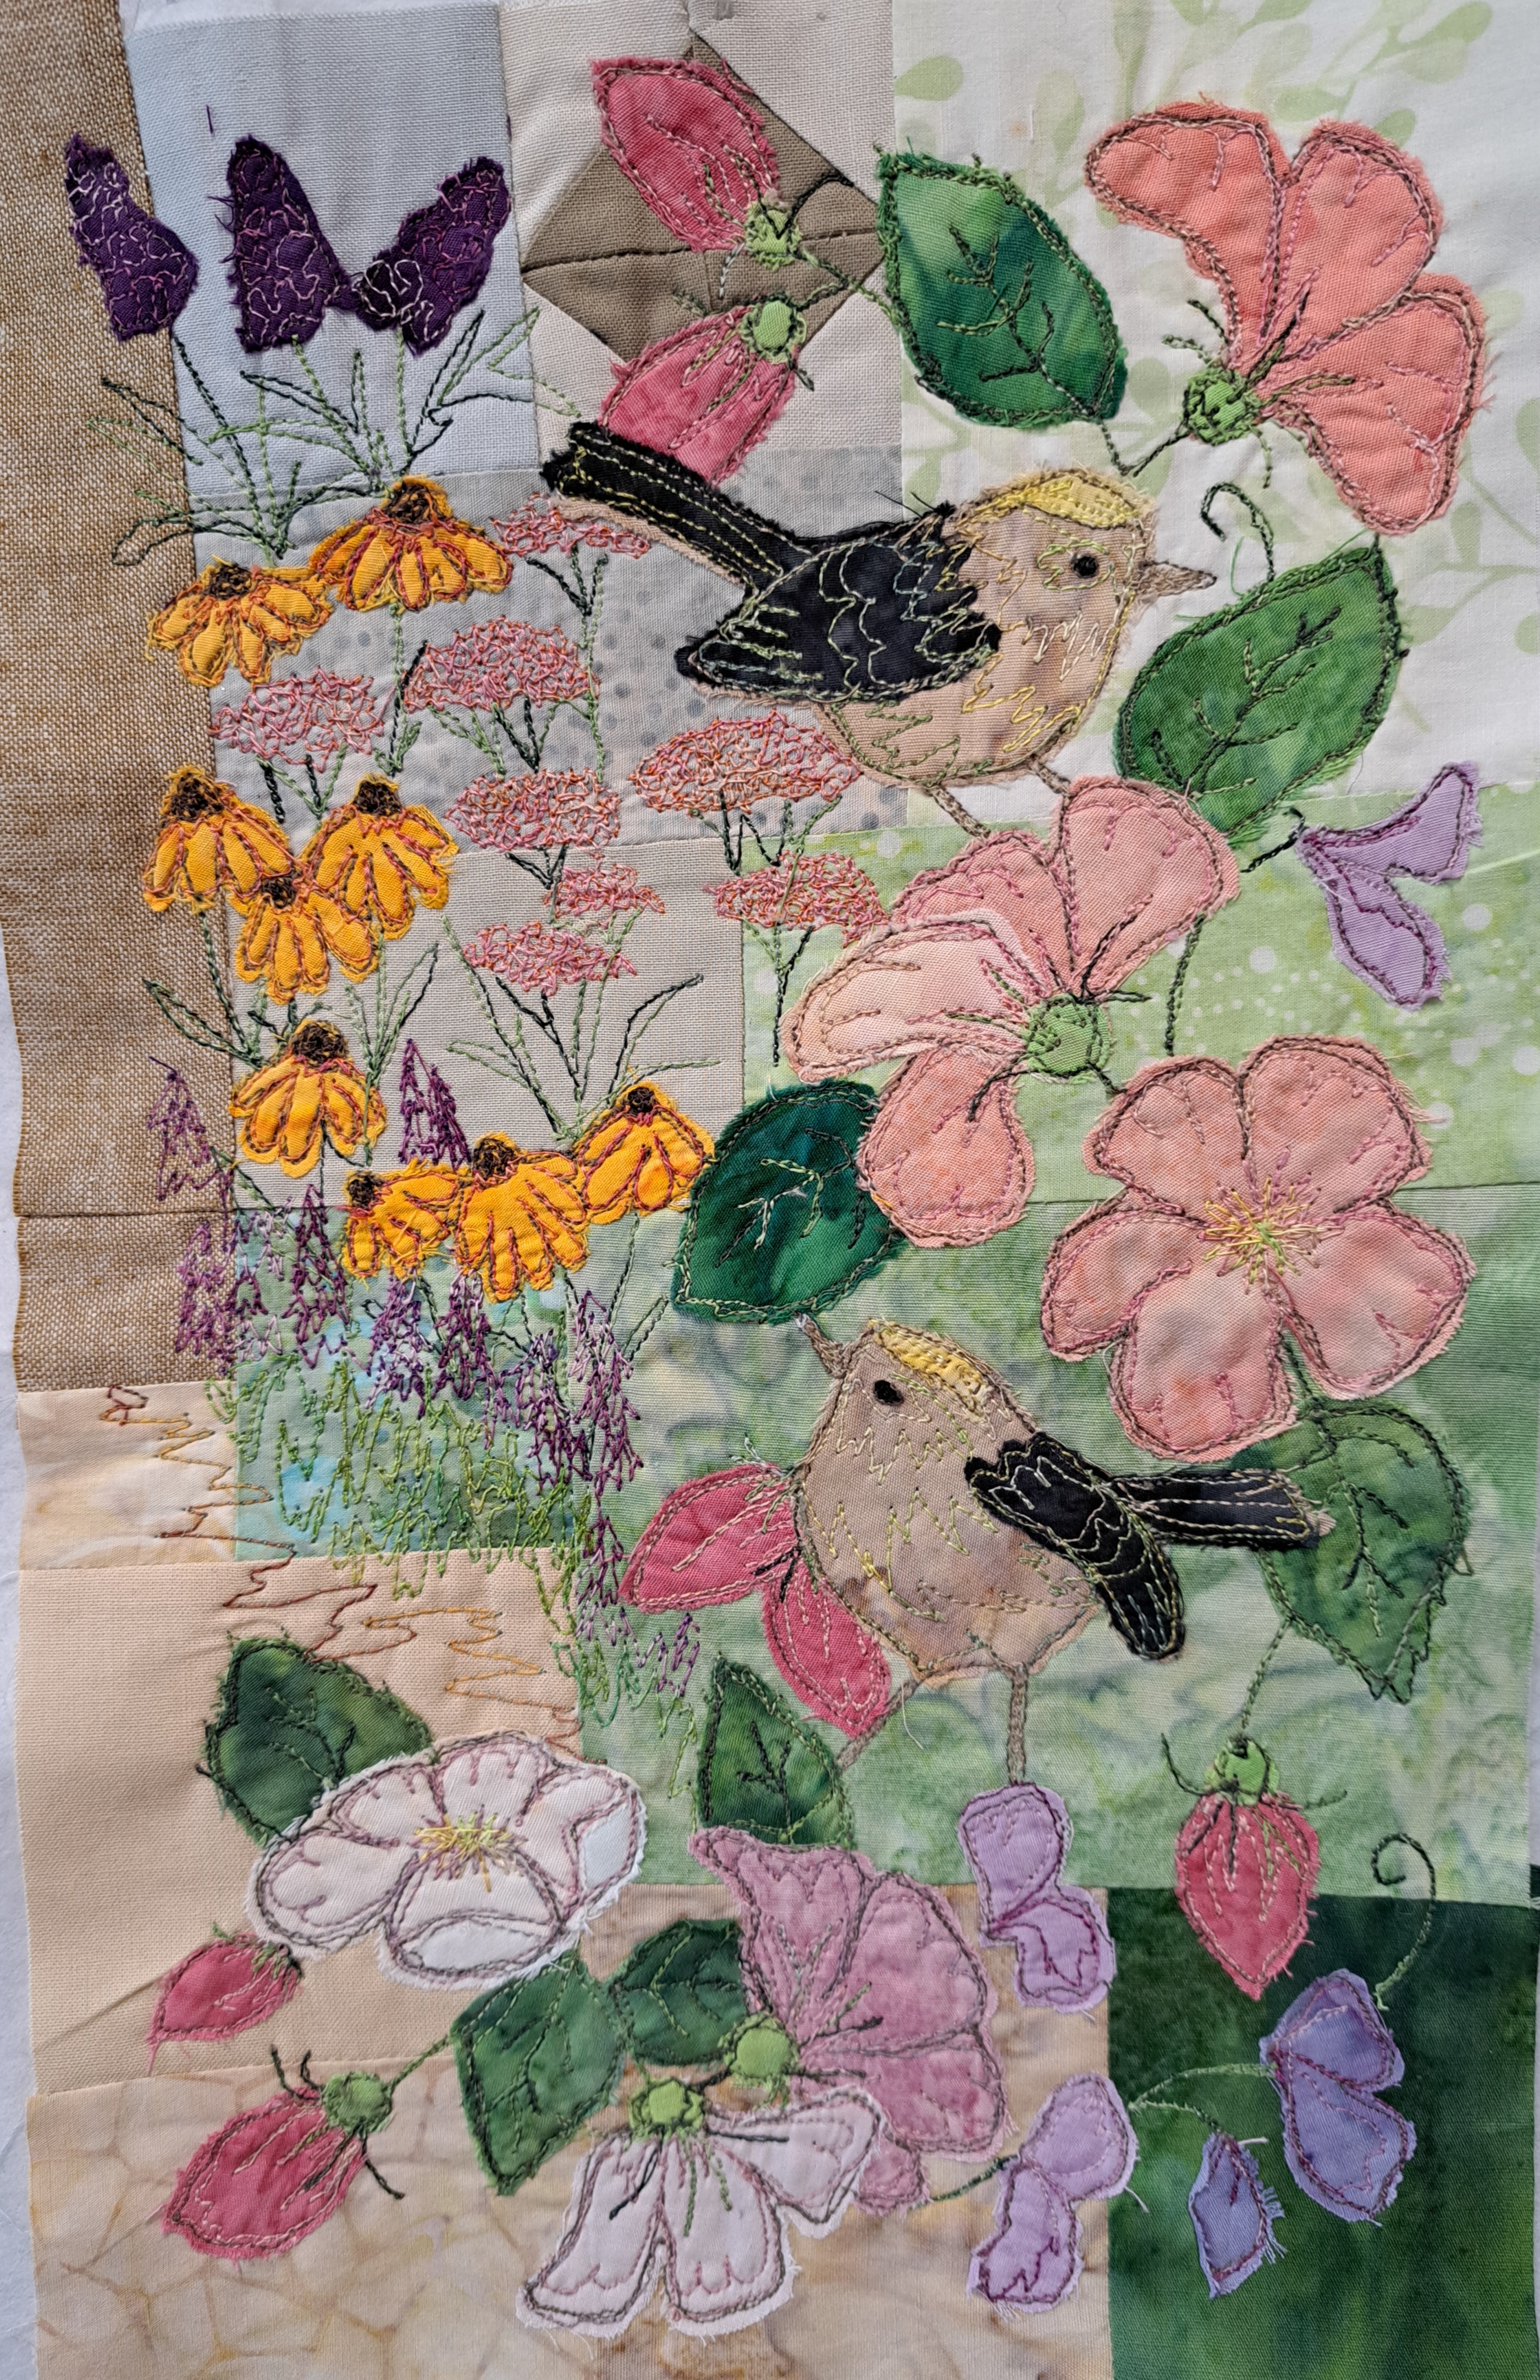
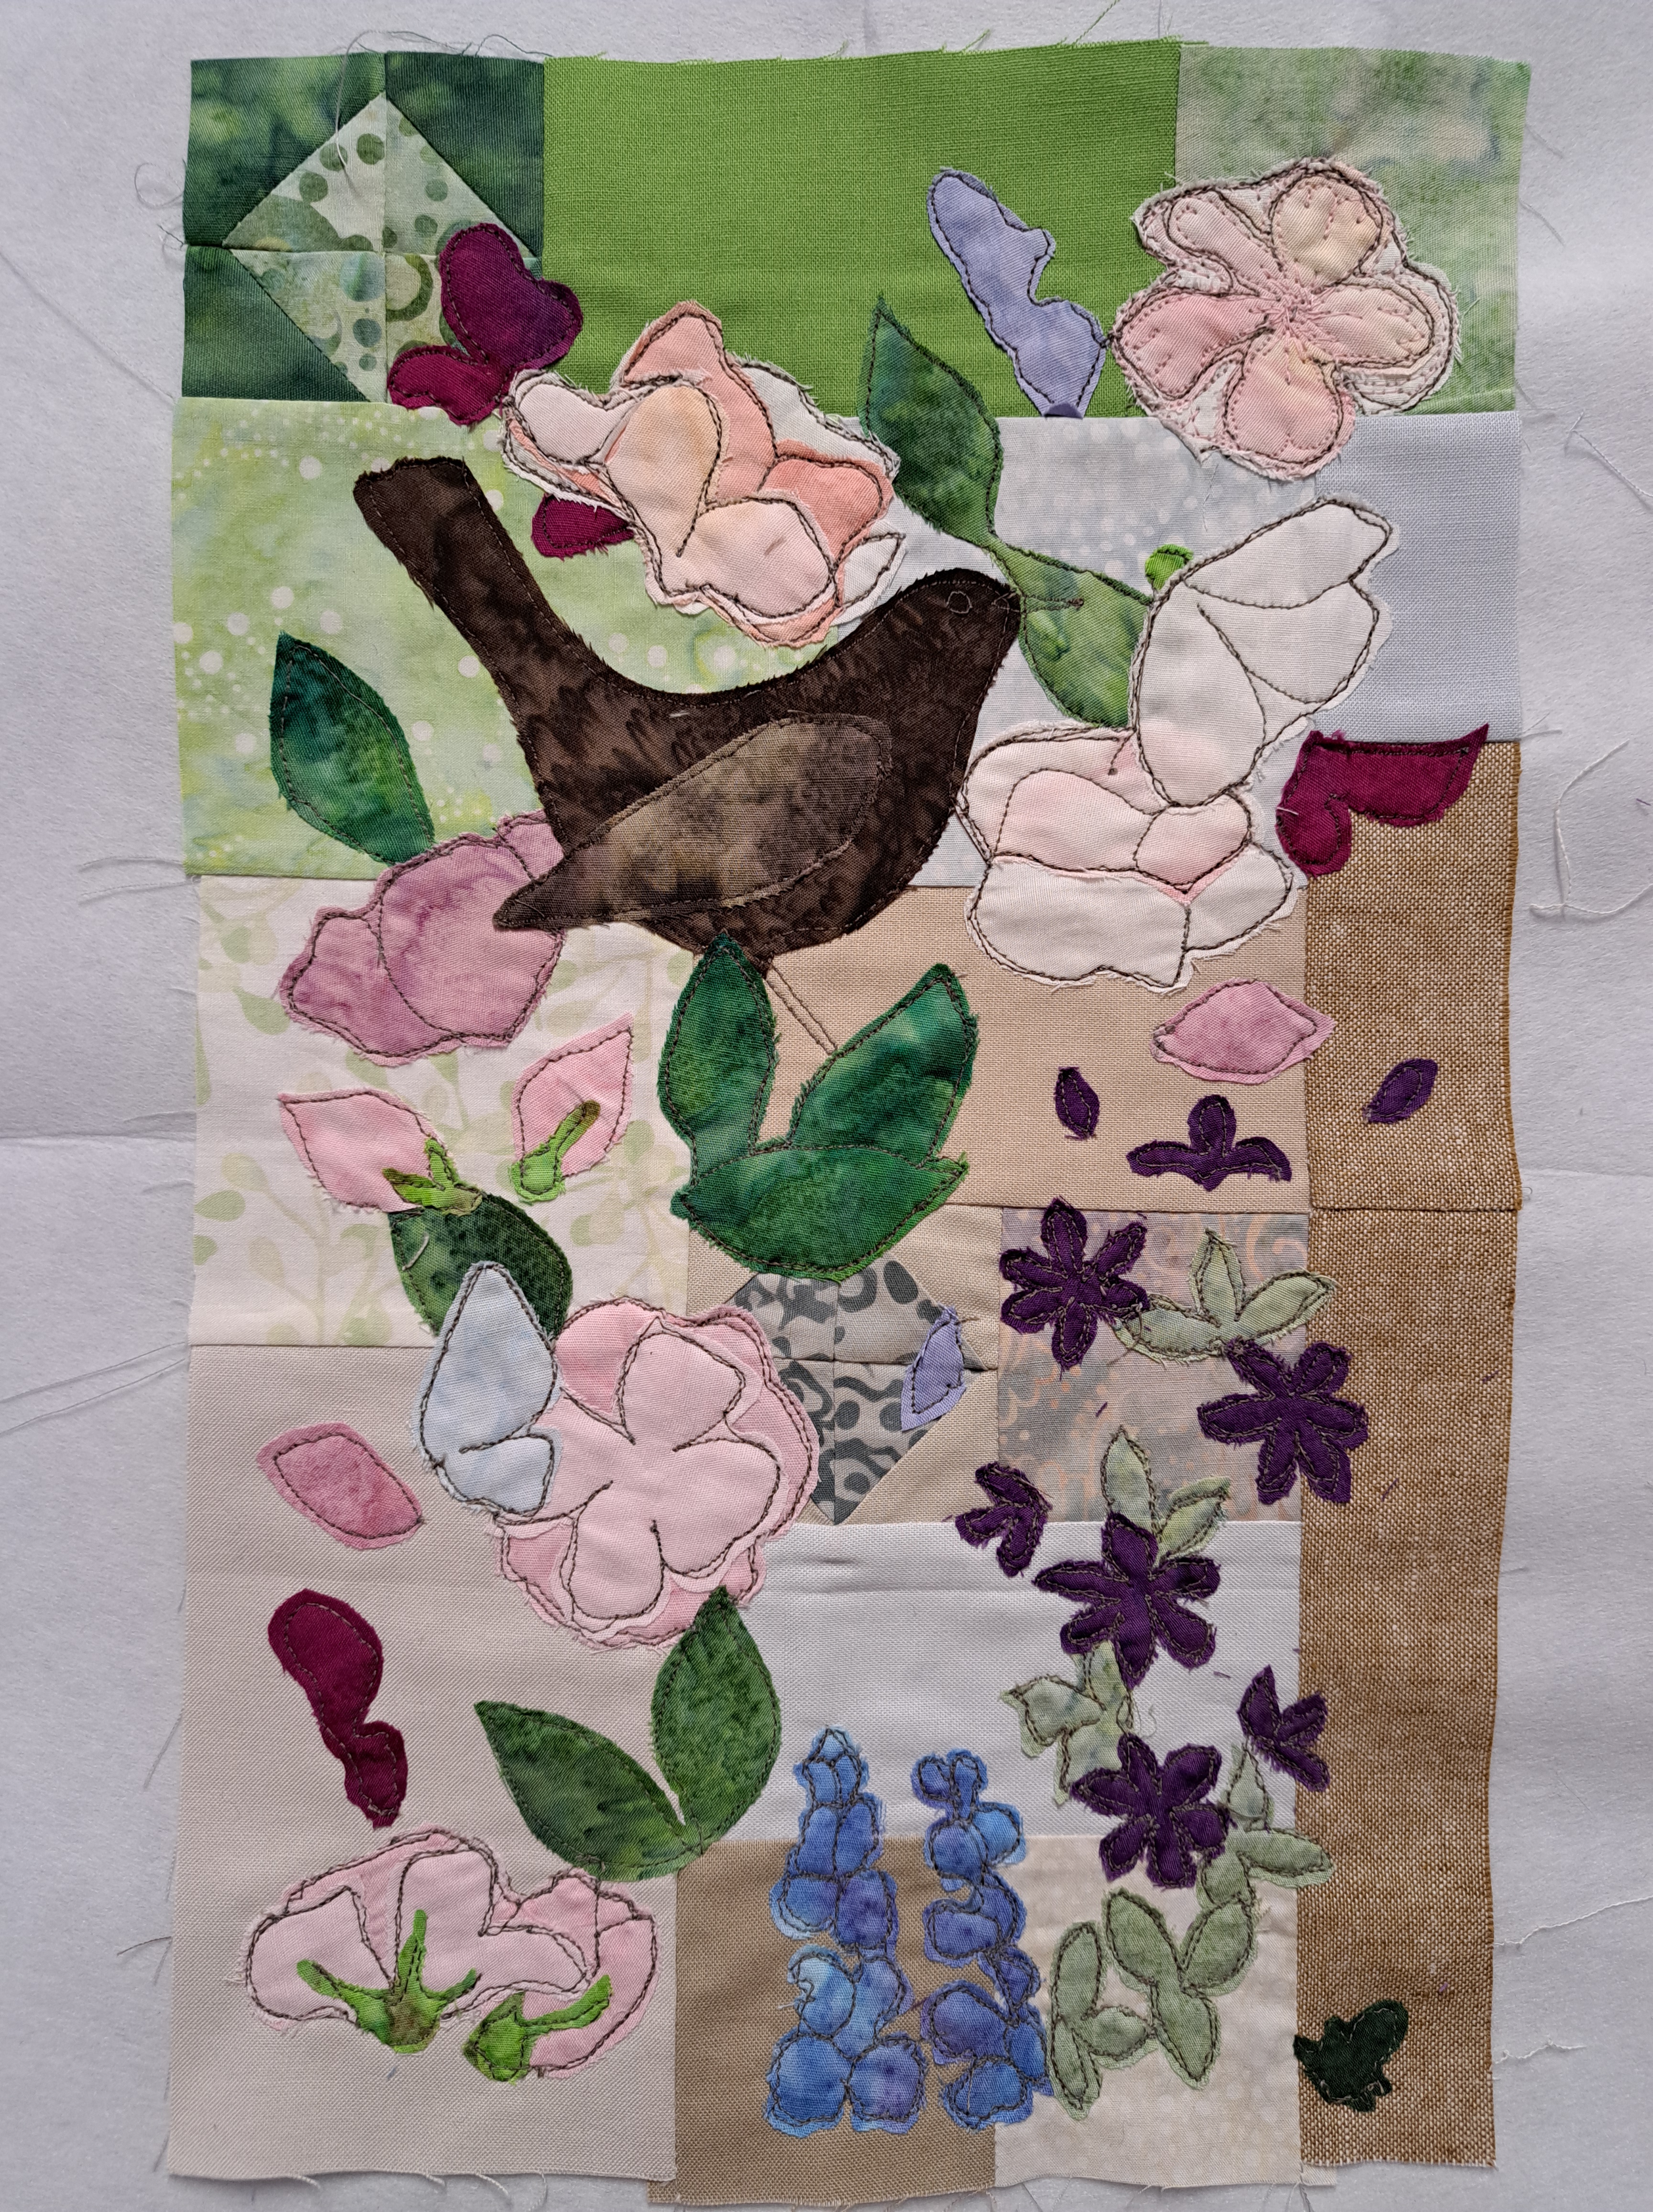
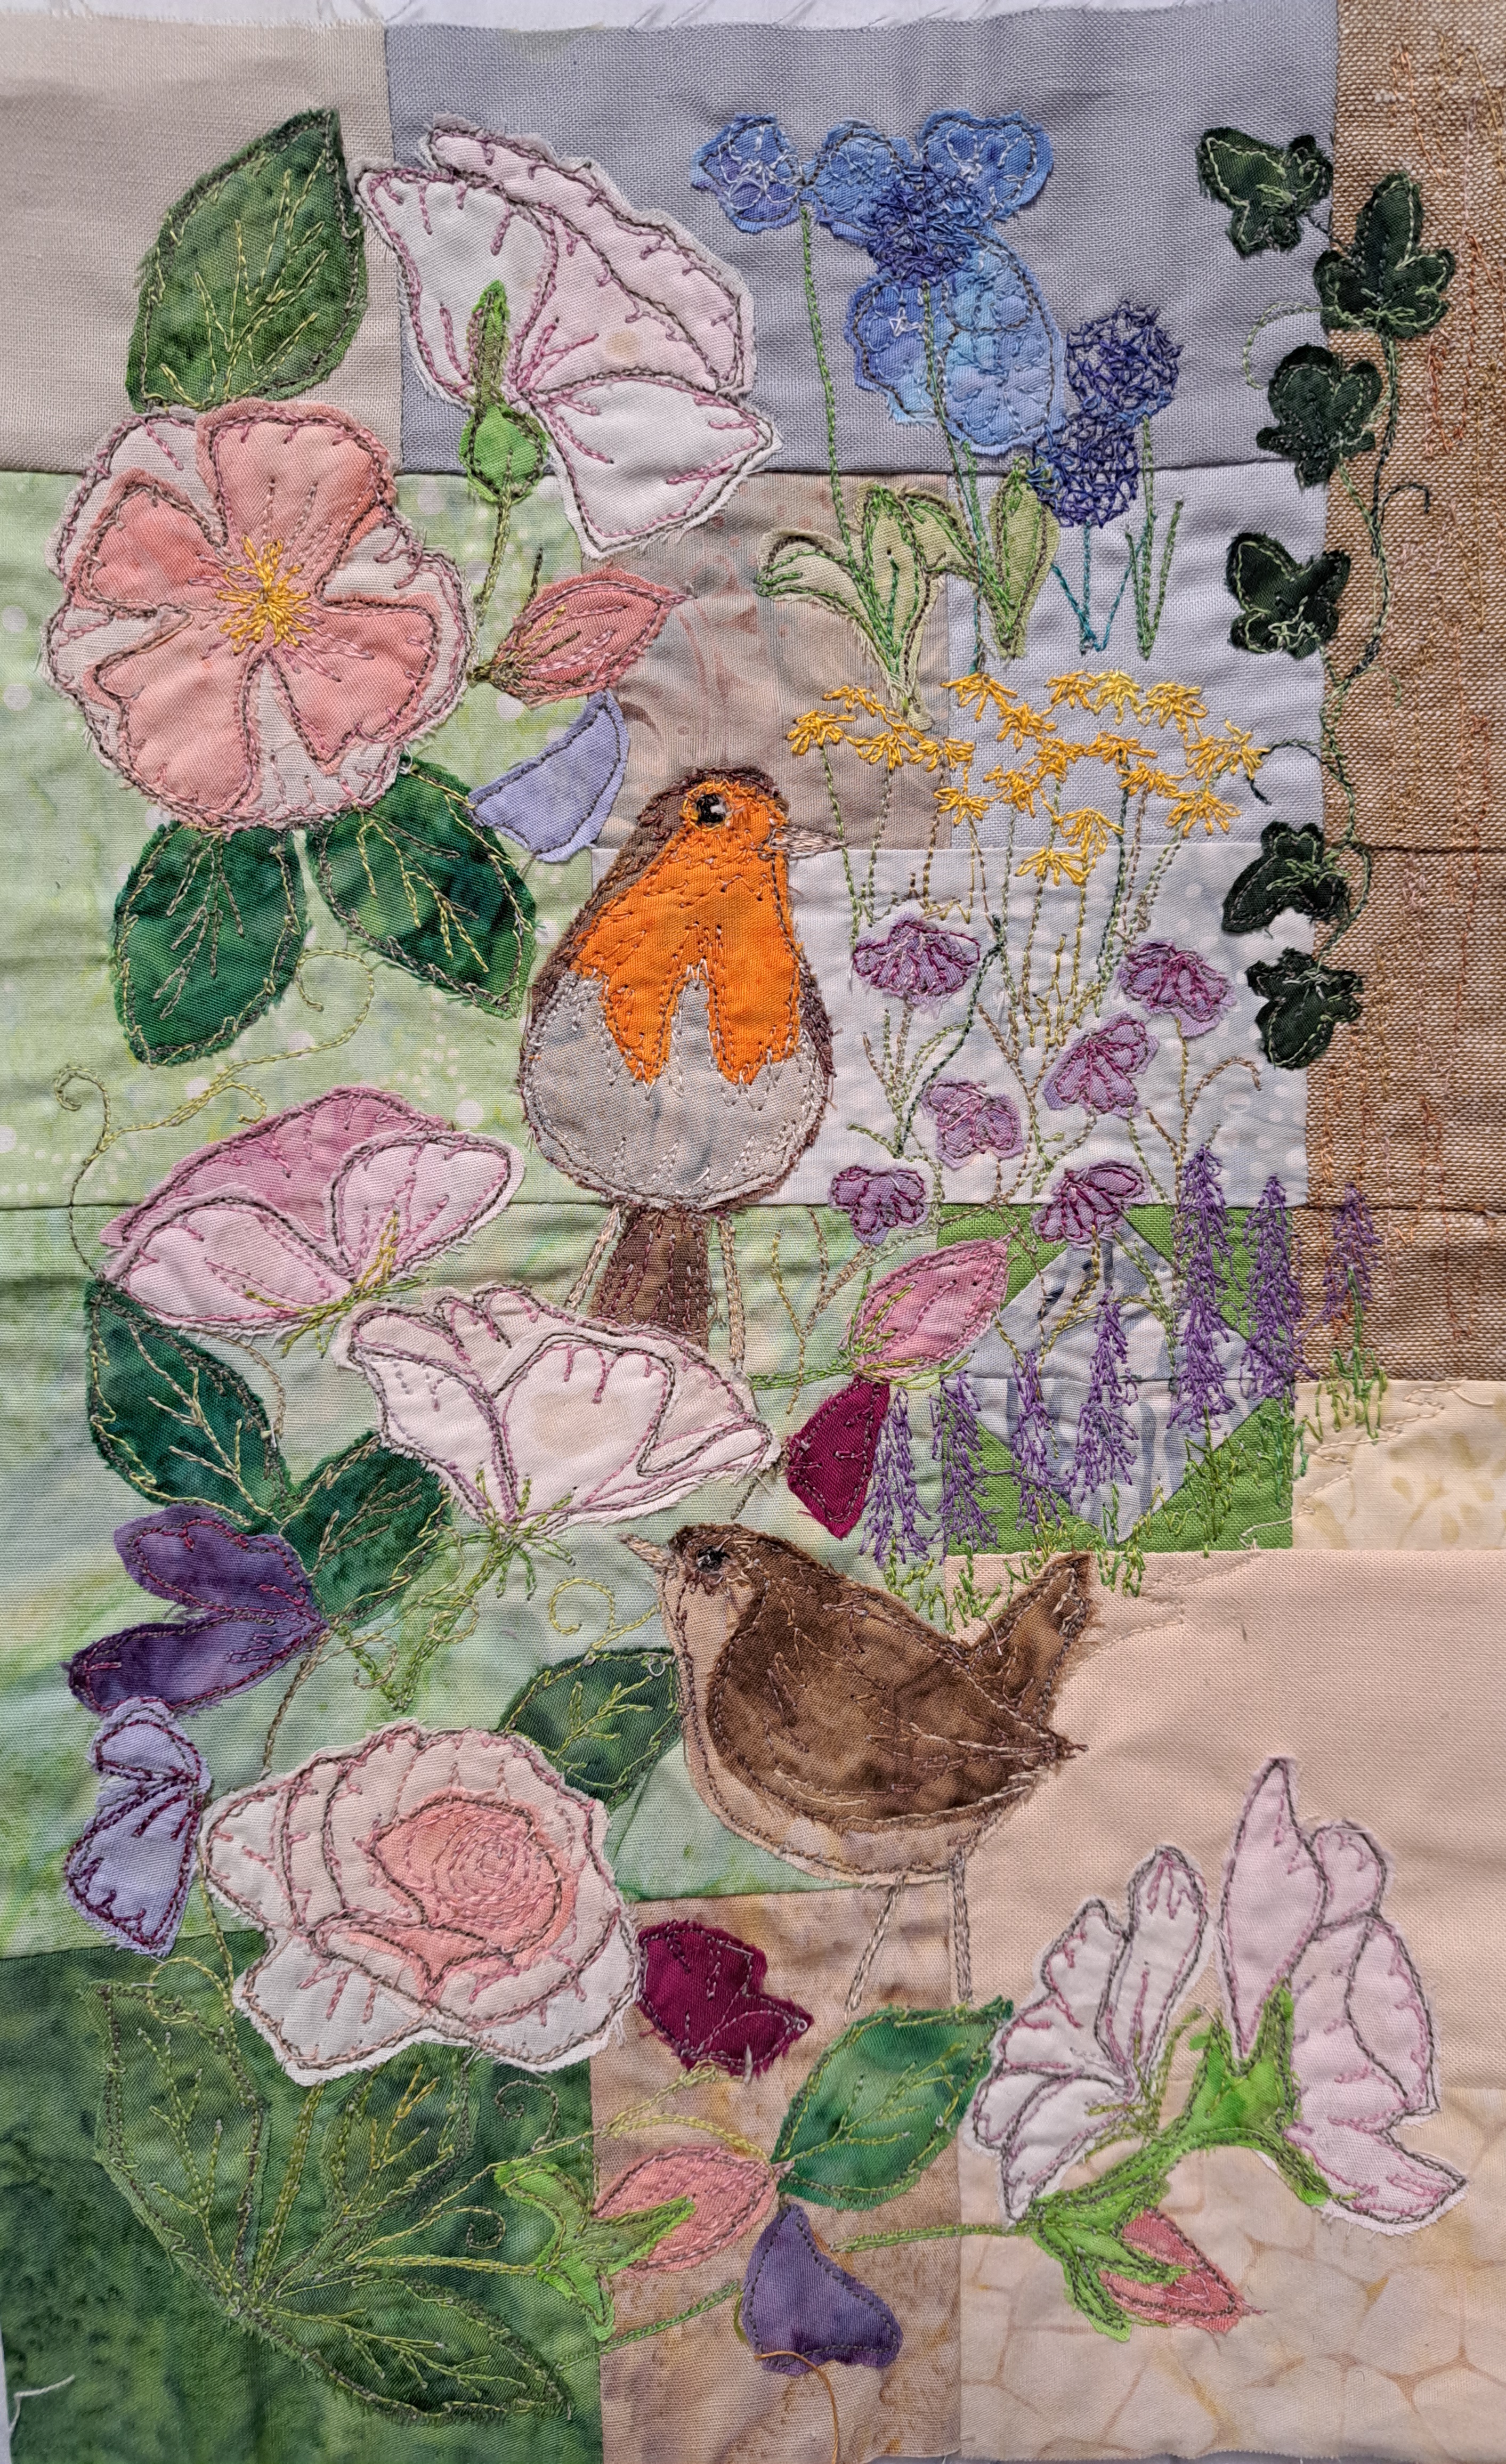
…well I’ve now nearly finished that row with just the right hand house to stitch. I’ve kept the quilting very simple on the embroidered blocks so the embroidered block with the flowers just has a circle quilted round it, echoing the inner circle of the one with mini hexagons on.
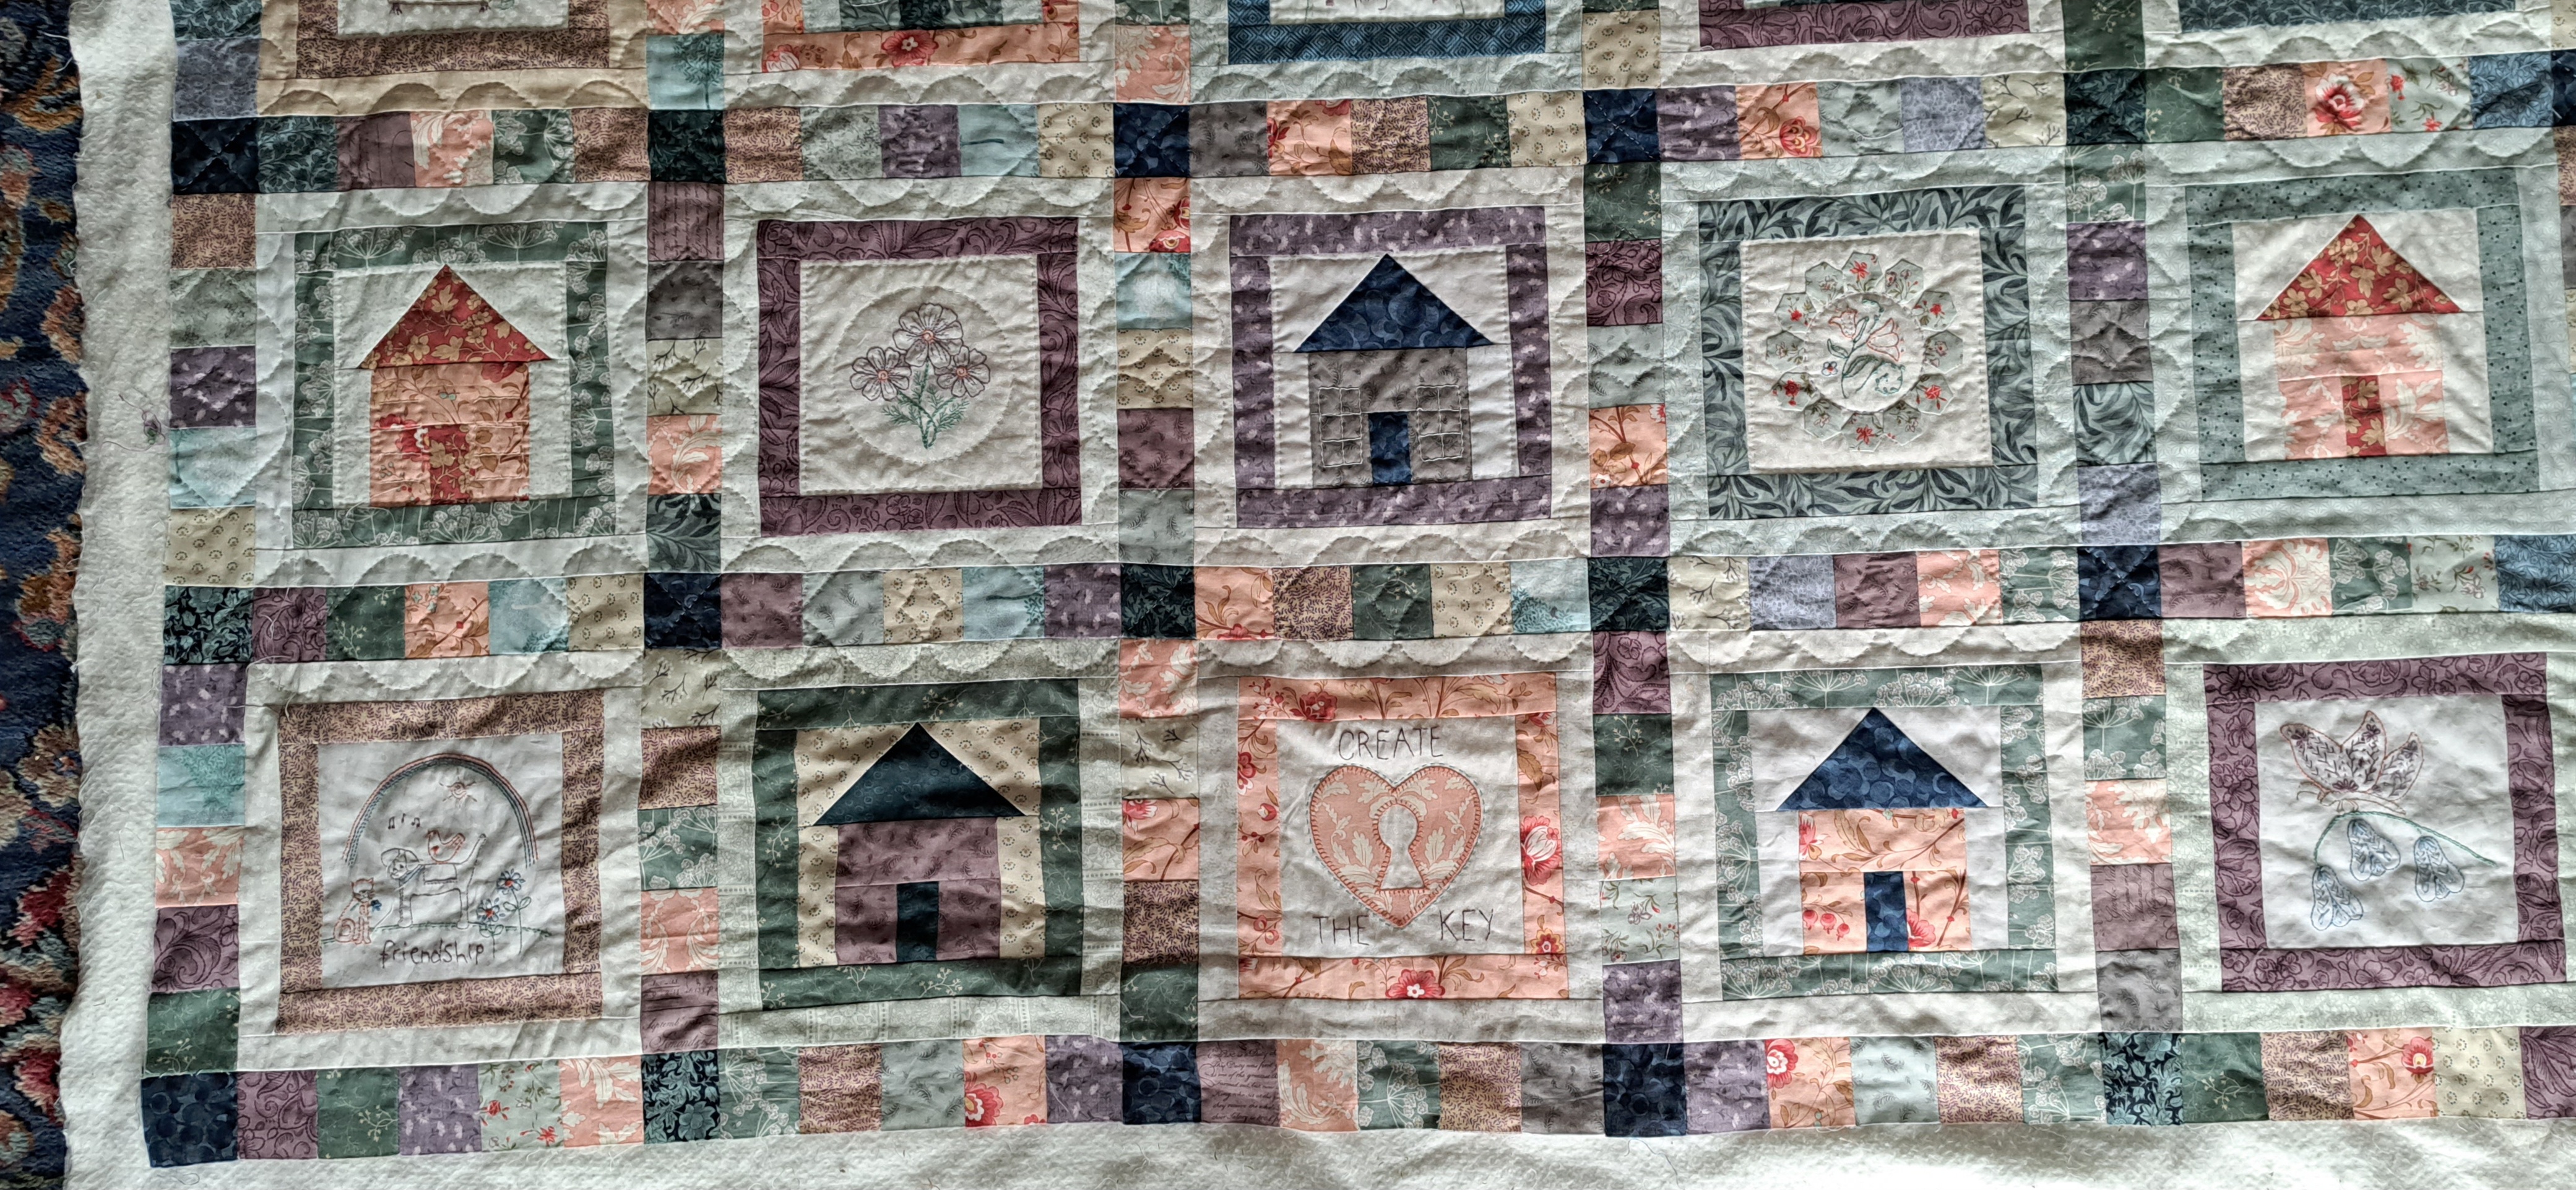
Six blocks to go and I’ll be ready to bind this quilt and dance a happy dance! Maybe not next time but hopefully soon 🙂
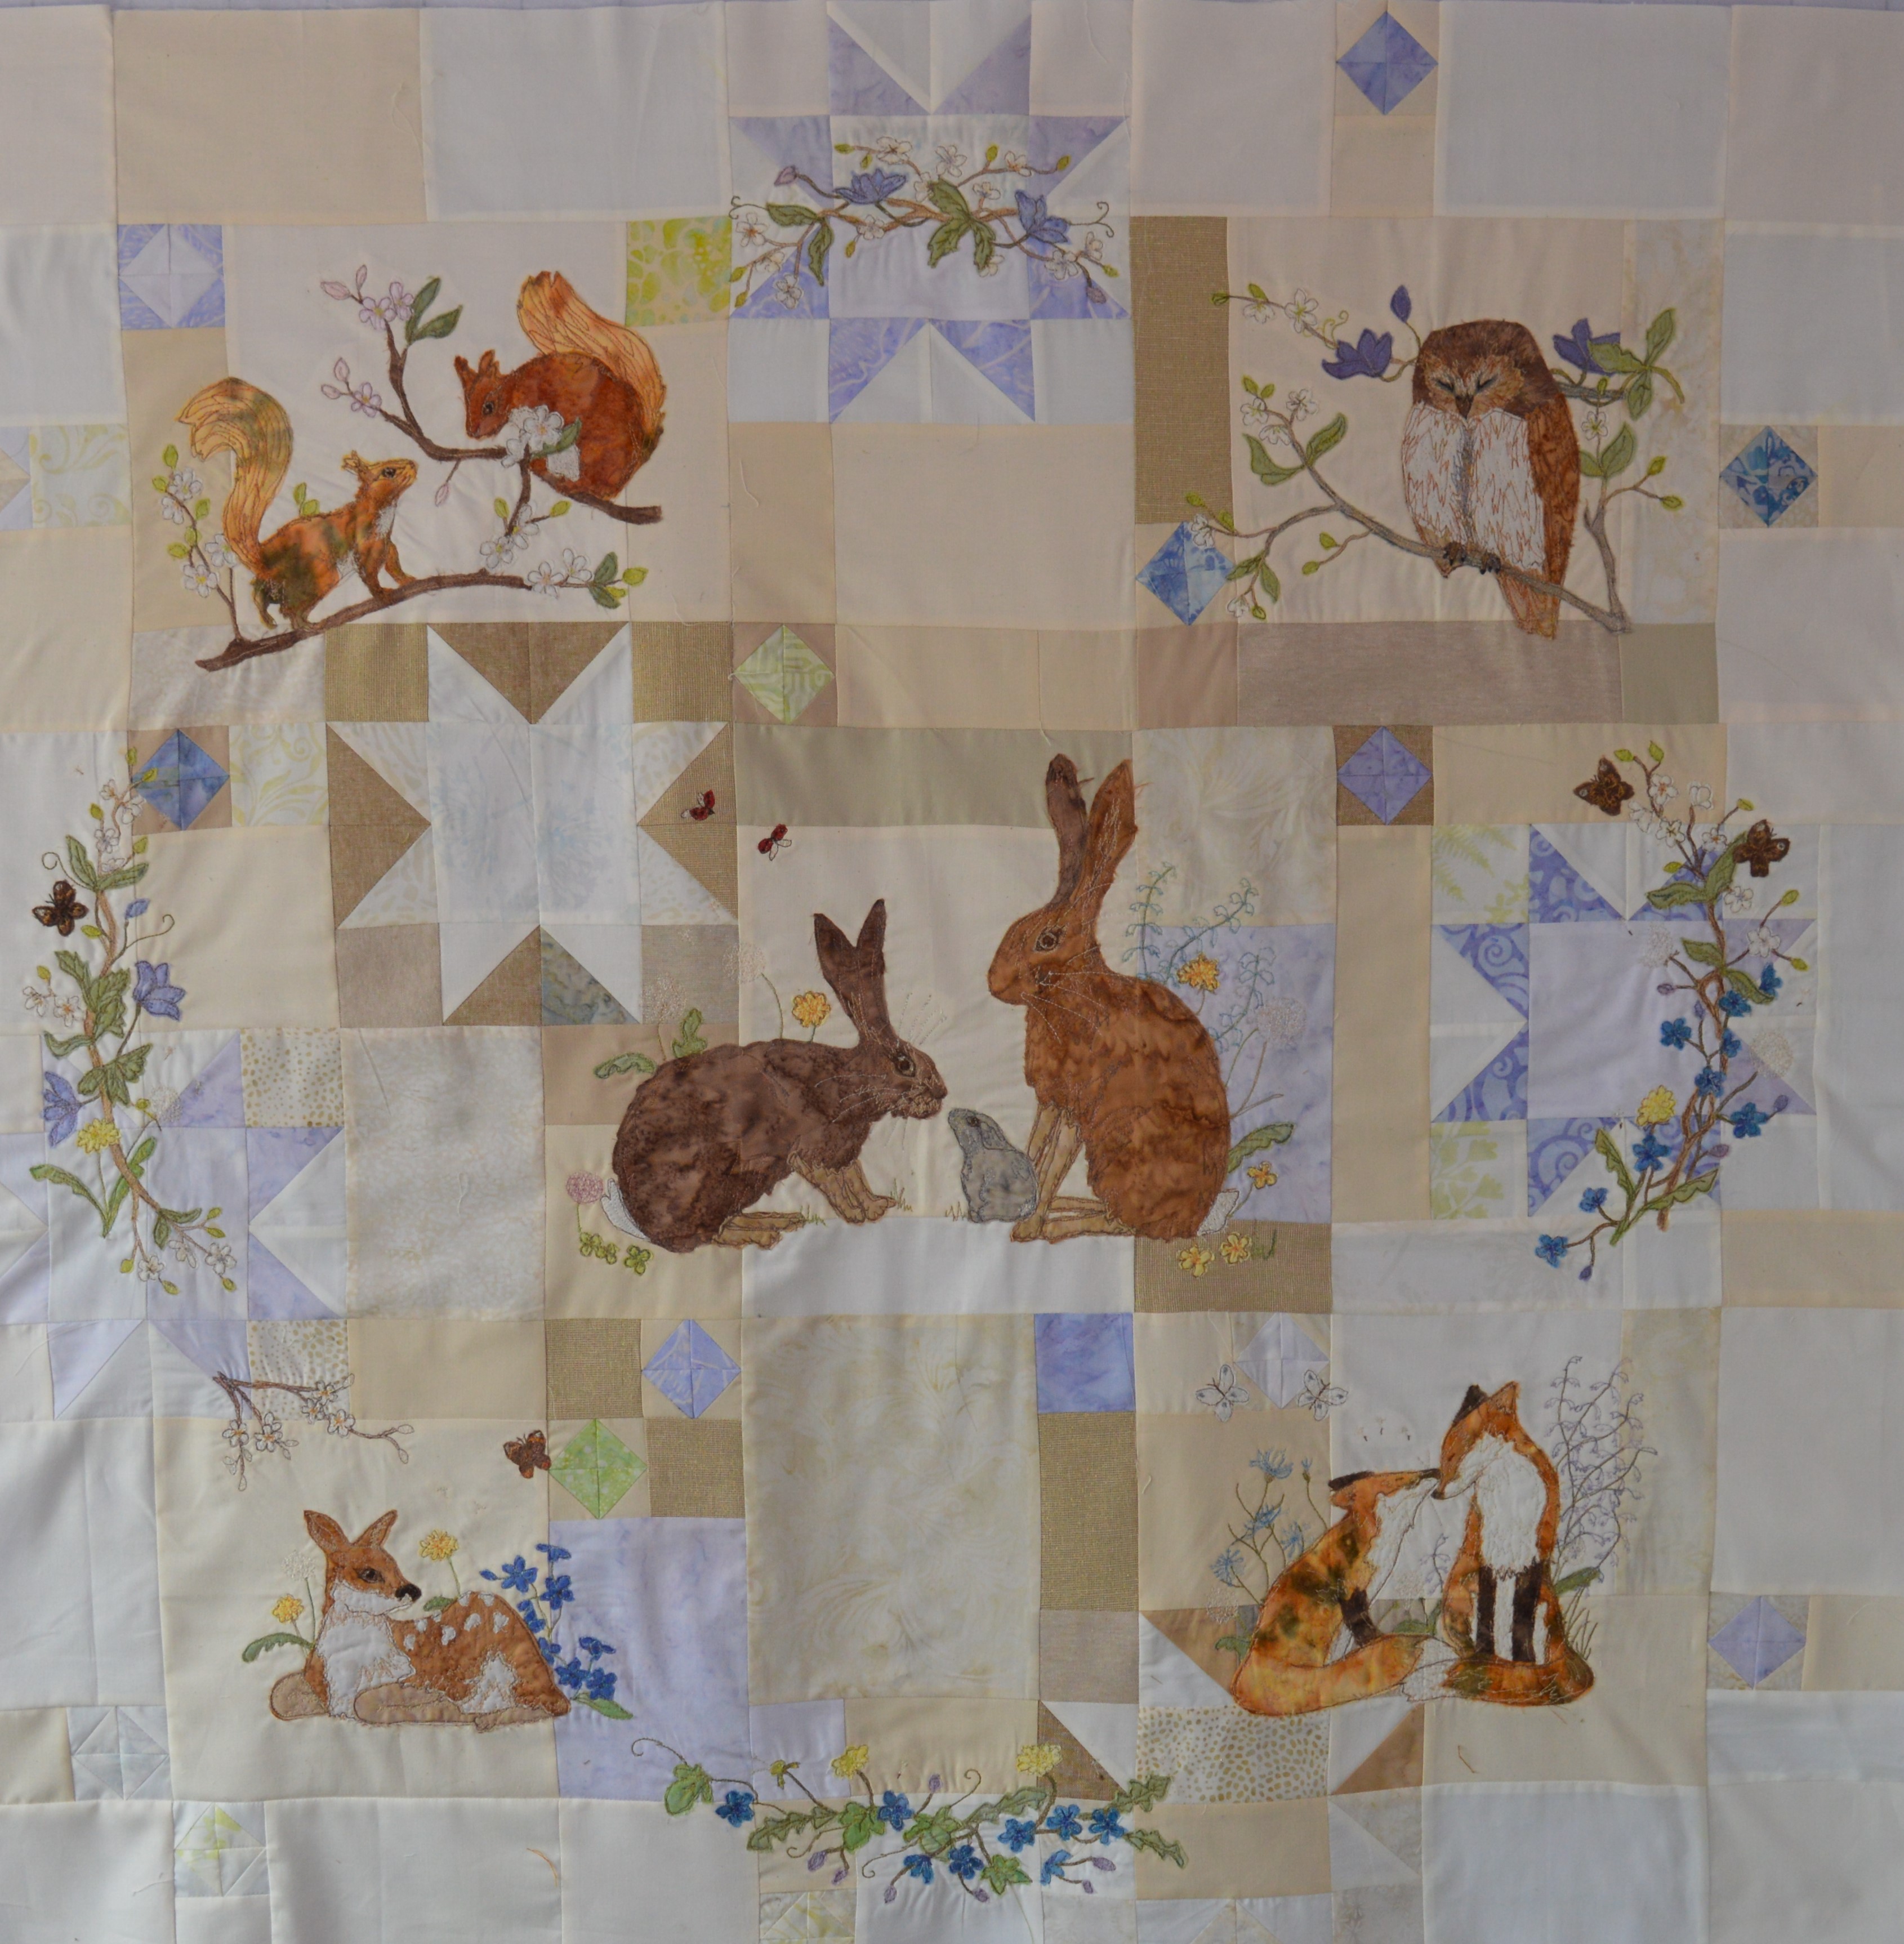
My next project is by designer Natalie Bird of The Birdhouse Patchwork Designs, I’m pretty sure she was the designer of the block above with the little hexagons on. It’s called Owl and Hare Hollow quilt and it’s got a lovely mix of embroidered blocks and English paper pieced blocks. It’s actually published in the Homespun magazine which has just been published in Australia. This did cause me a little panic as one reason I bought this BOM was that it started in March/April, which I thought was just nice time to have my Staying Home Quilt finished. However it’s clearly not anticipated to reach the UK for another month or so, so time to breathe and sort some fabrics out. I’ve basically bought an annual subscription to the magazine through the quilting shop in Truro called Coast and Country. Having seen some of the blocks on facebook I’ve also just ordered the paper piecing pack from Coast and Country too, there’s an awful lot of those mini hexagons!!
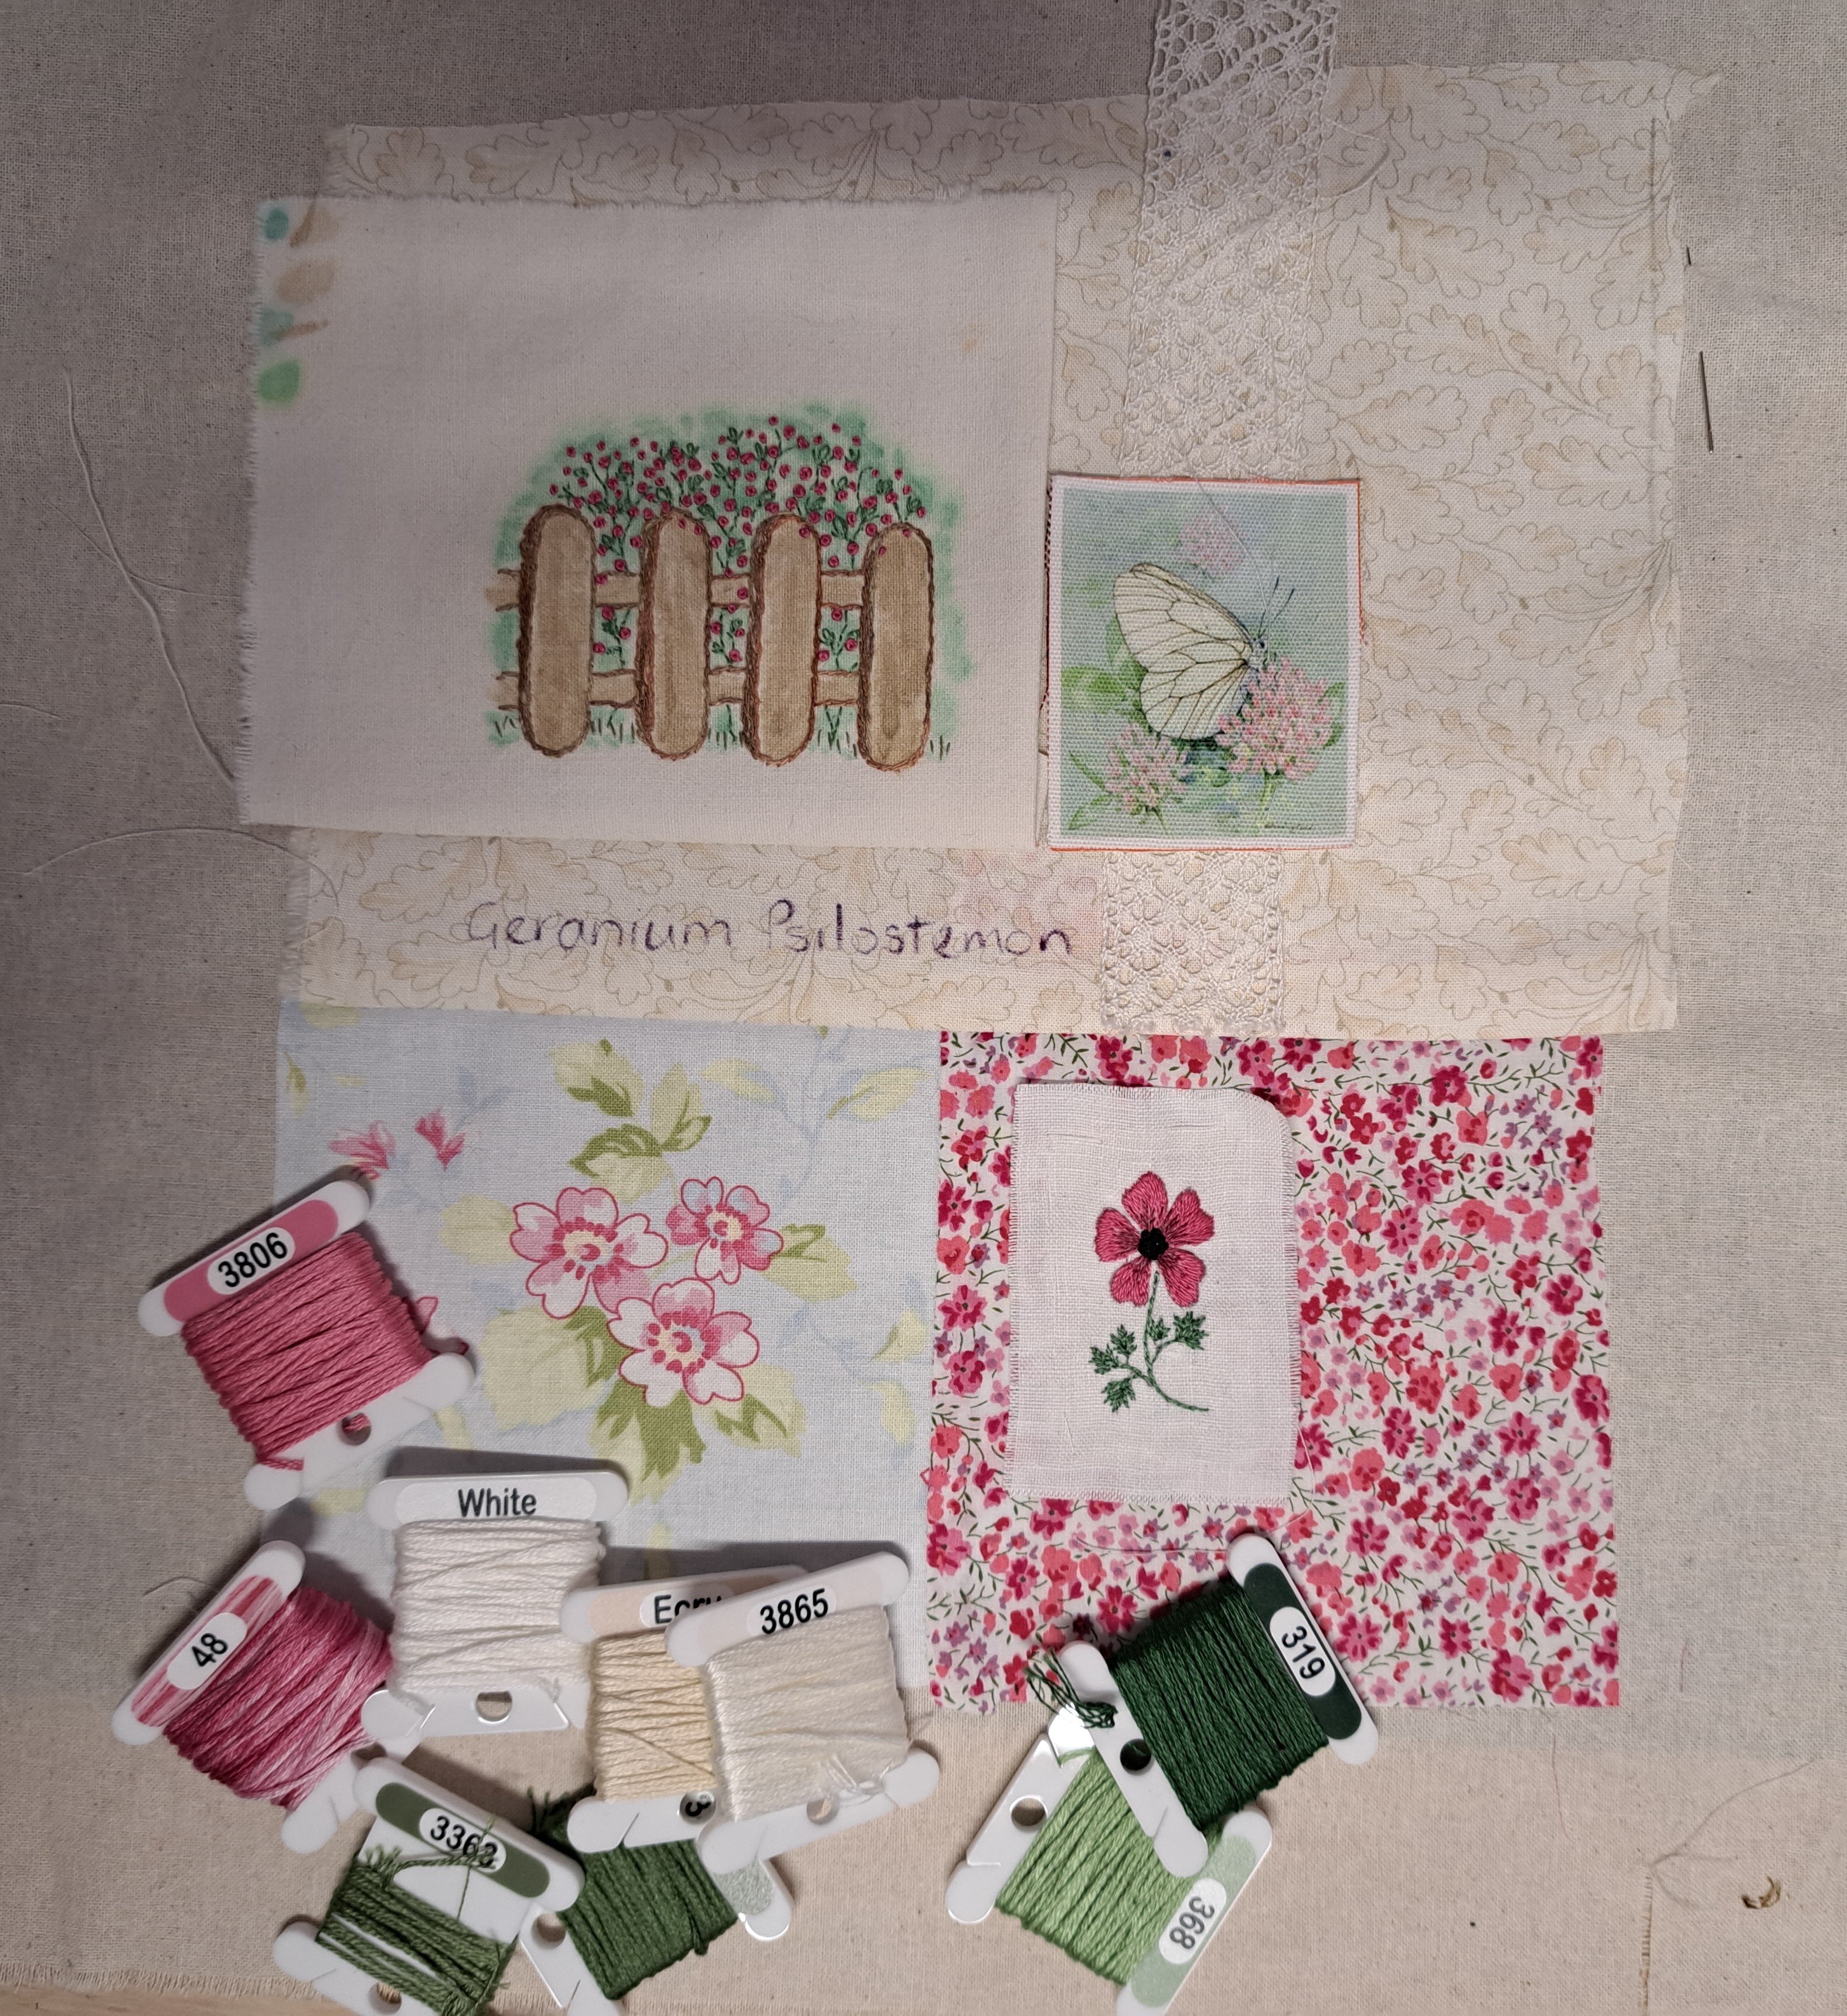
In the meantime I’ve plenty of other projects to keep me busy!
Hand Quilt Along Links
This Hand Quilt Along is an opportunity for hand quilters and piecers to share and motivate one another. We post every three weeks, to show our progress and encourage one another. If you have a hand quilting project and would like to join our group contact Kathy at the link below.
Kathy, Margaret, Deb, Nanette, Sharon, Karrin, Daisy, Connie, and Cathie
I’m also linking up with Kathy’s Quilts for Slow Stitching Sunday, please follow the links to see what everyone else has been stitching and quilting.