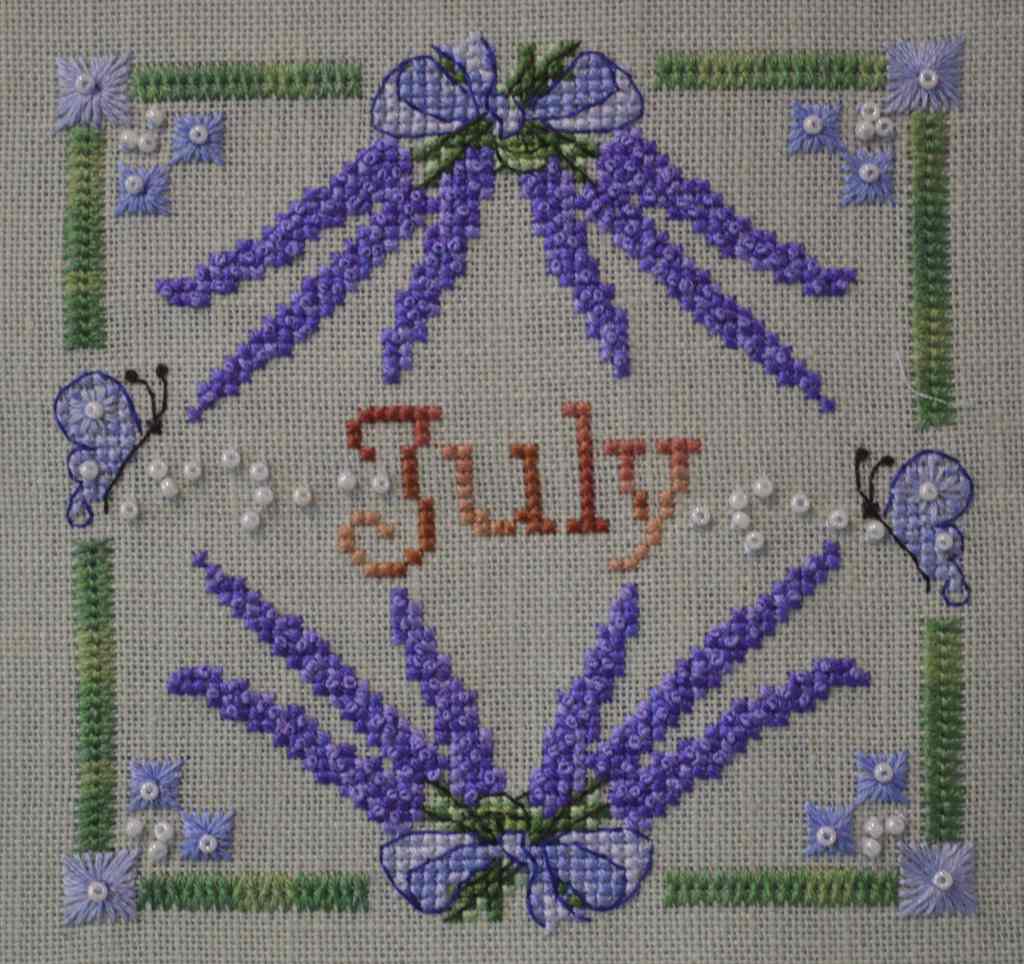
I’ve just finished the August design for the Anthea Calendar SAL, this is the year long SAL by Faby Reilly with a suitable flower themed design for each month. They’re all beautiful!
This month the flowers are lisianthus and hydrangeas. It’s a design which is based on the Lizzy needlecase design which I stitched as a SAL a couple of years or so ago…

…oops, more like 2017!!
I’ve got hydrangeas in the garden, a beautiful white one which I’ve had a couple of years, and also what would be a beautiful soft blue one if it ever decides to flower!!! I’ve had it probably over five years, tried different positions, it still refuses to flower!!
Anyway, this months square is really pretty. I particularly like the part border with the eyelet stitch and beads, however it did cause me issues…
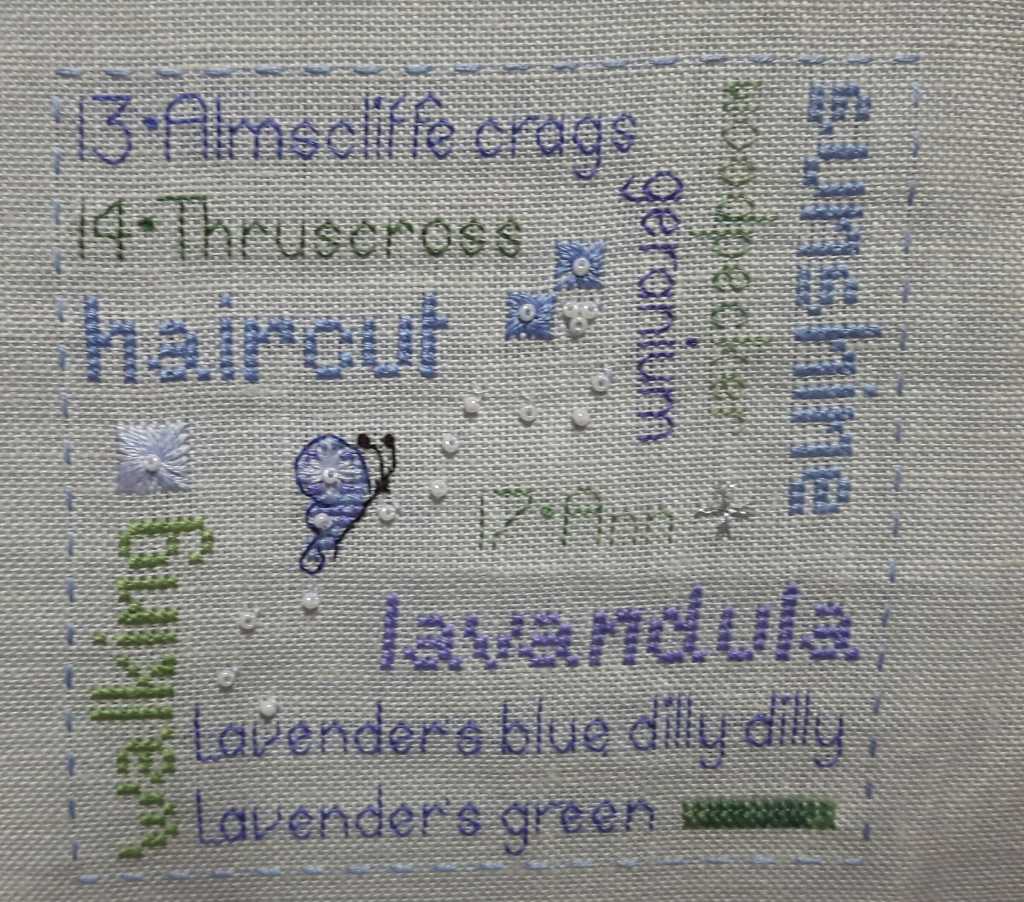
Having completed the main cross-stitch at the bottom I didn’t fancy my odds at trying to count the linen threads to stitch ‘August’, so I stitched the eyelet border next up the right hand side…only I miss counted on of the gaps!!! I didn’t realise until I’d almost finished the whole design when I stitched the left hand border and it stopped one stitch out!! As the offending stitching was the second one up I could undo it and move it down one, it’s still in the wrong place but at least it looks like it’s in the right place!!

I’ve just got my wordplay to stitch now, hopefully it won’t take too long this month.
I’m making these into a textile book, my original plan was to stitch it together a bit like my stitch sample book…

…however it has crossed my mind that this book is going to be a lot thicker, with twelve double page spreads rather than seven or eight. The pages will only be about 6″ square so it might end almost a cube! I am wondering about framing each design with a pretty floral cotton to make it 8″ square, this would have a couple of other advantages as it would save me having to back-stitch round 24 pages in order to stitch them together neatly, it would also lose the issue that I found before that with even weave linen the count on the weft is not exactly the same as the count on the warp, this causes problem when you come to stitch the pages together. It would also be a lot quicker as I could stitch a lot of it on the machine…I’m still mulling it over, any thoughts welcome!