We had a fabulous workshop last month at Skipton Stitchers, one of our members ran it, it was called a Garden Book workshop and I really didn’t know what to expect. The equipment list was things like papers, fabric, paper napkins quotes, glue, blade…luckily she was bringing lots of stuff as I really haven’t got much in the way of decorative papers.
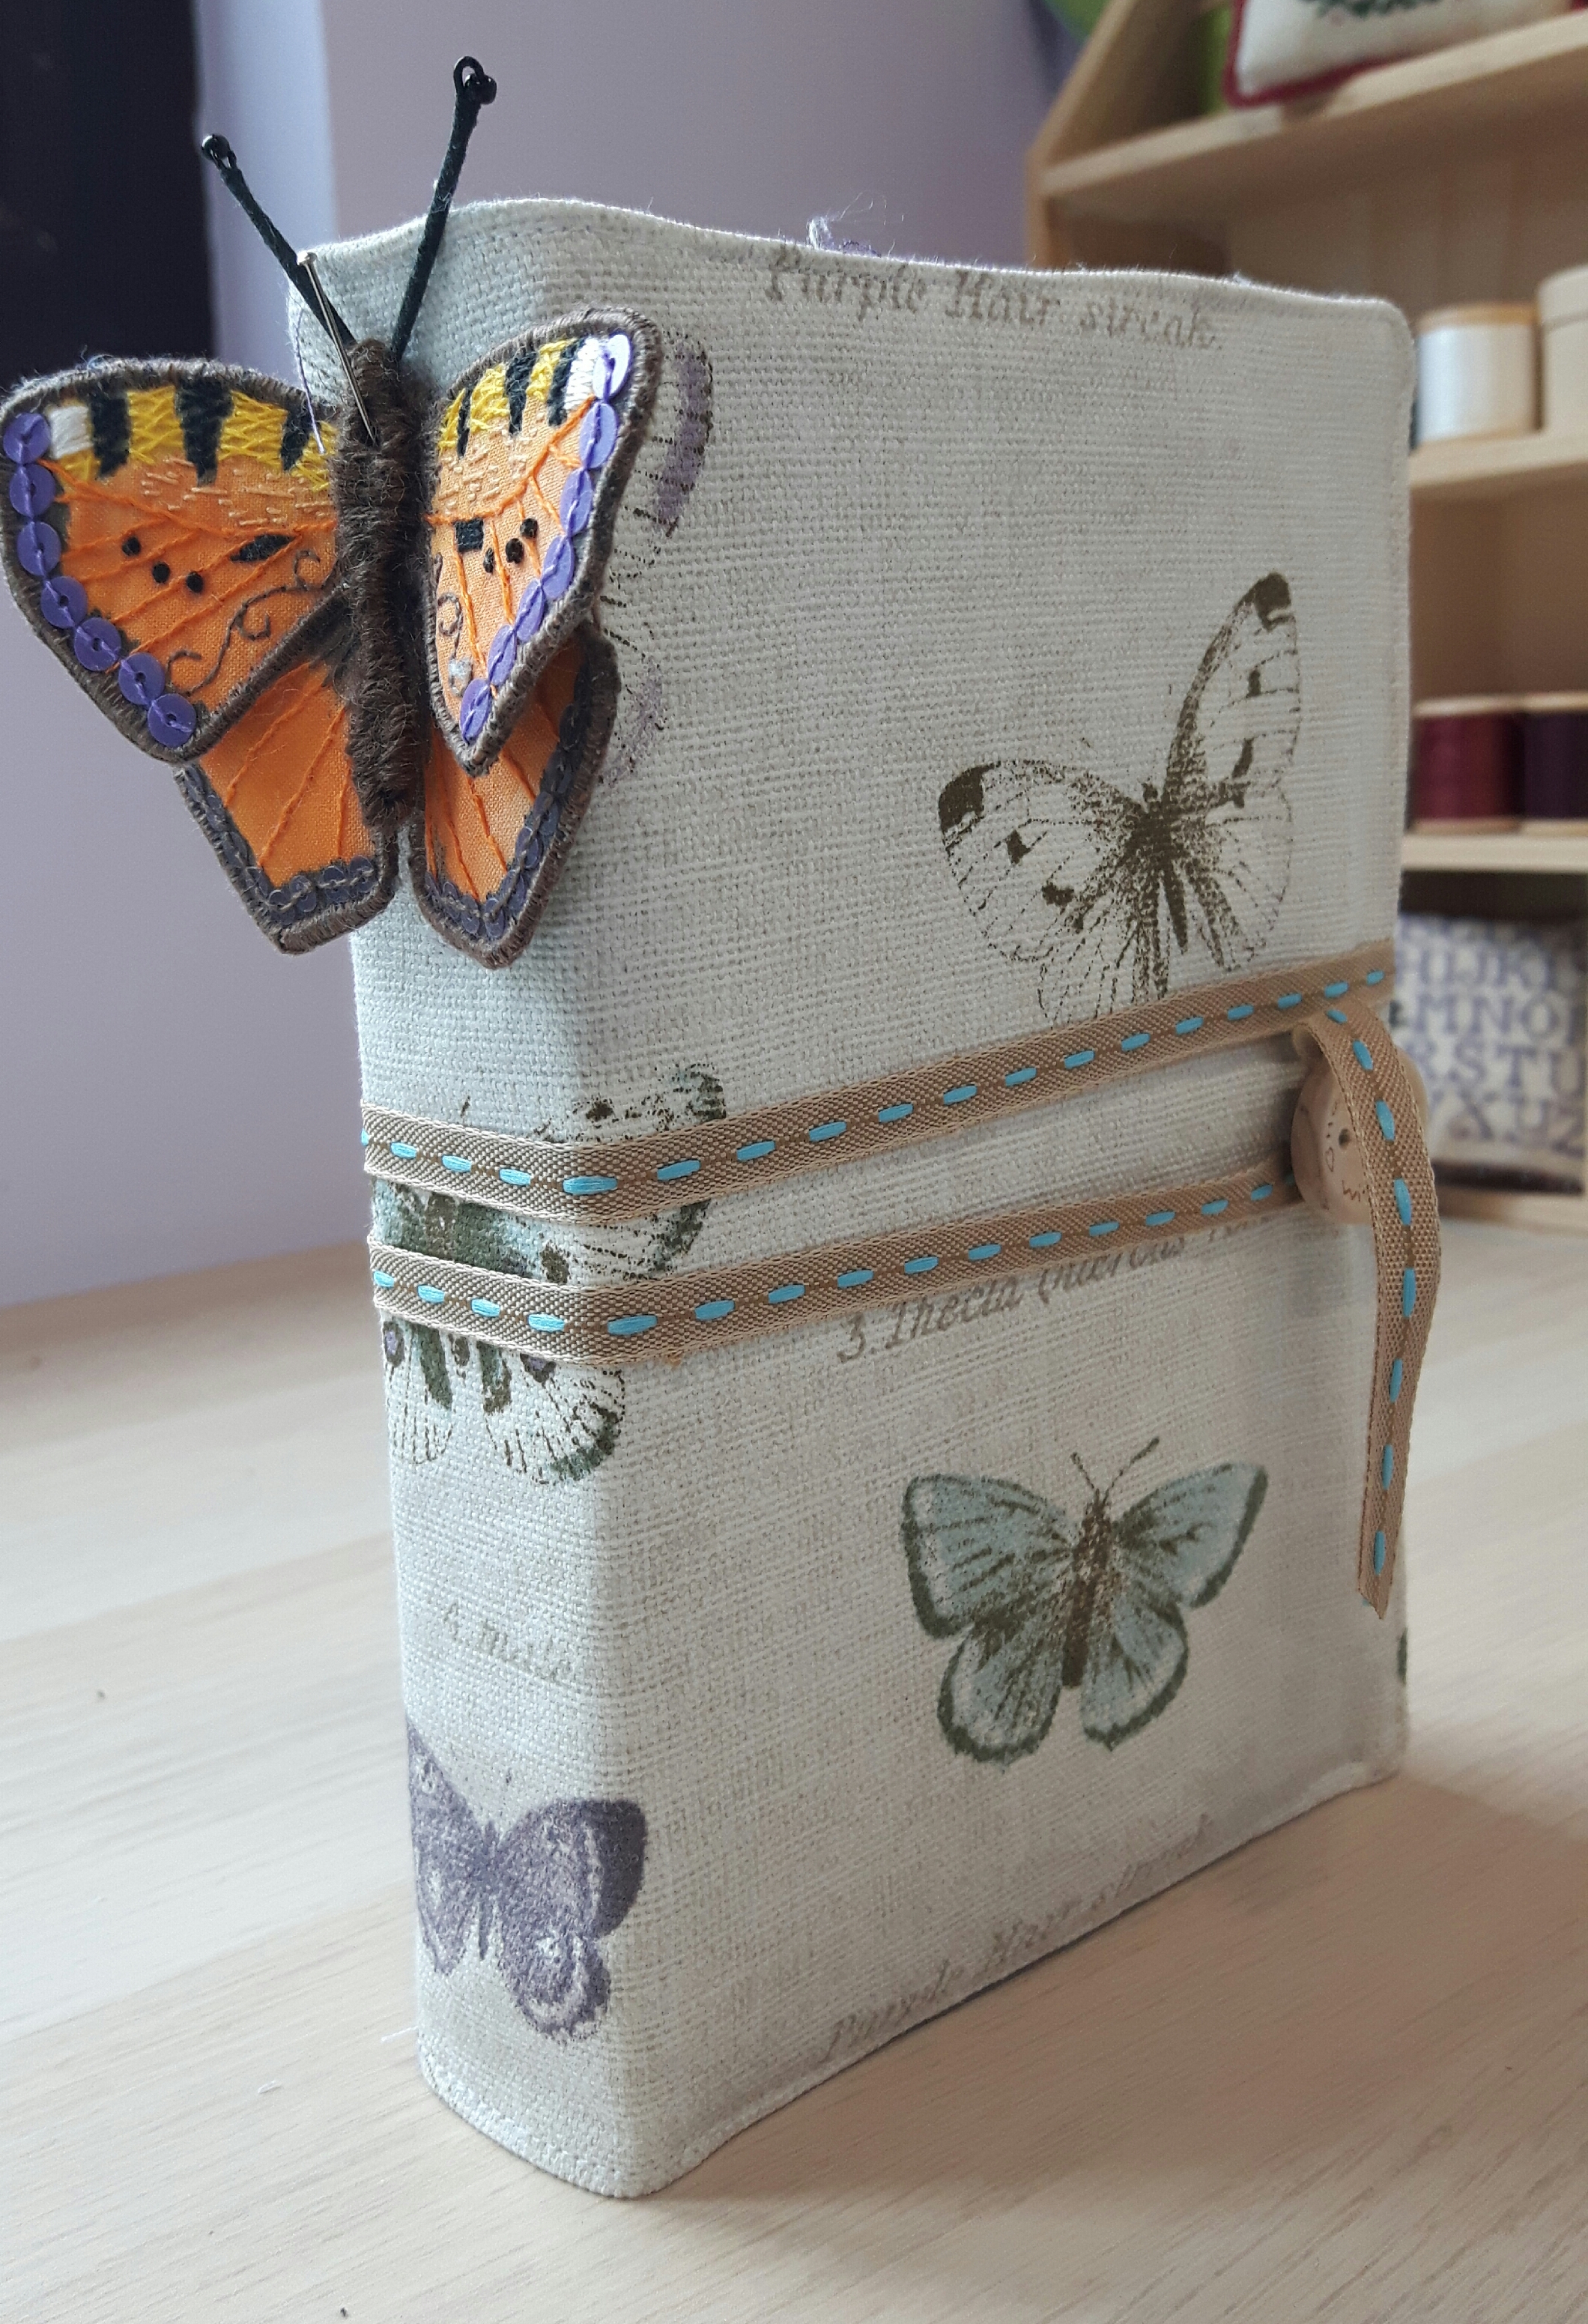
I took some pretty butterfly fabric with me and this provided me with the inspiration to make a butterfly book.
Well I had a wonderful time, sticking, playing with papers, learning all sorts of new tricks…
We made ‘stickers’ by putting sellotape over a magasine image then soaking it in hot water, the paper comes away leaving the image on the tacky sellotape! The ones I did at the workshop didn’t come out as well as I wasn’t careful enough to keep the sellotape smooth, but I did one at home and it came out beautifully.
We stuck a single ply of a pretty napkin onto vintage book pages using clingfilm! We just put the clingfilm in between and covered it with brown paper and then pressed it with a hot dry iron and it melted enough to stick the napkin.
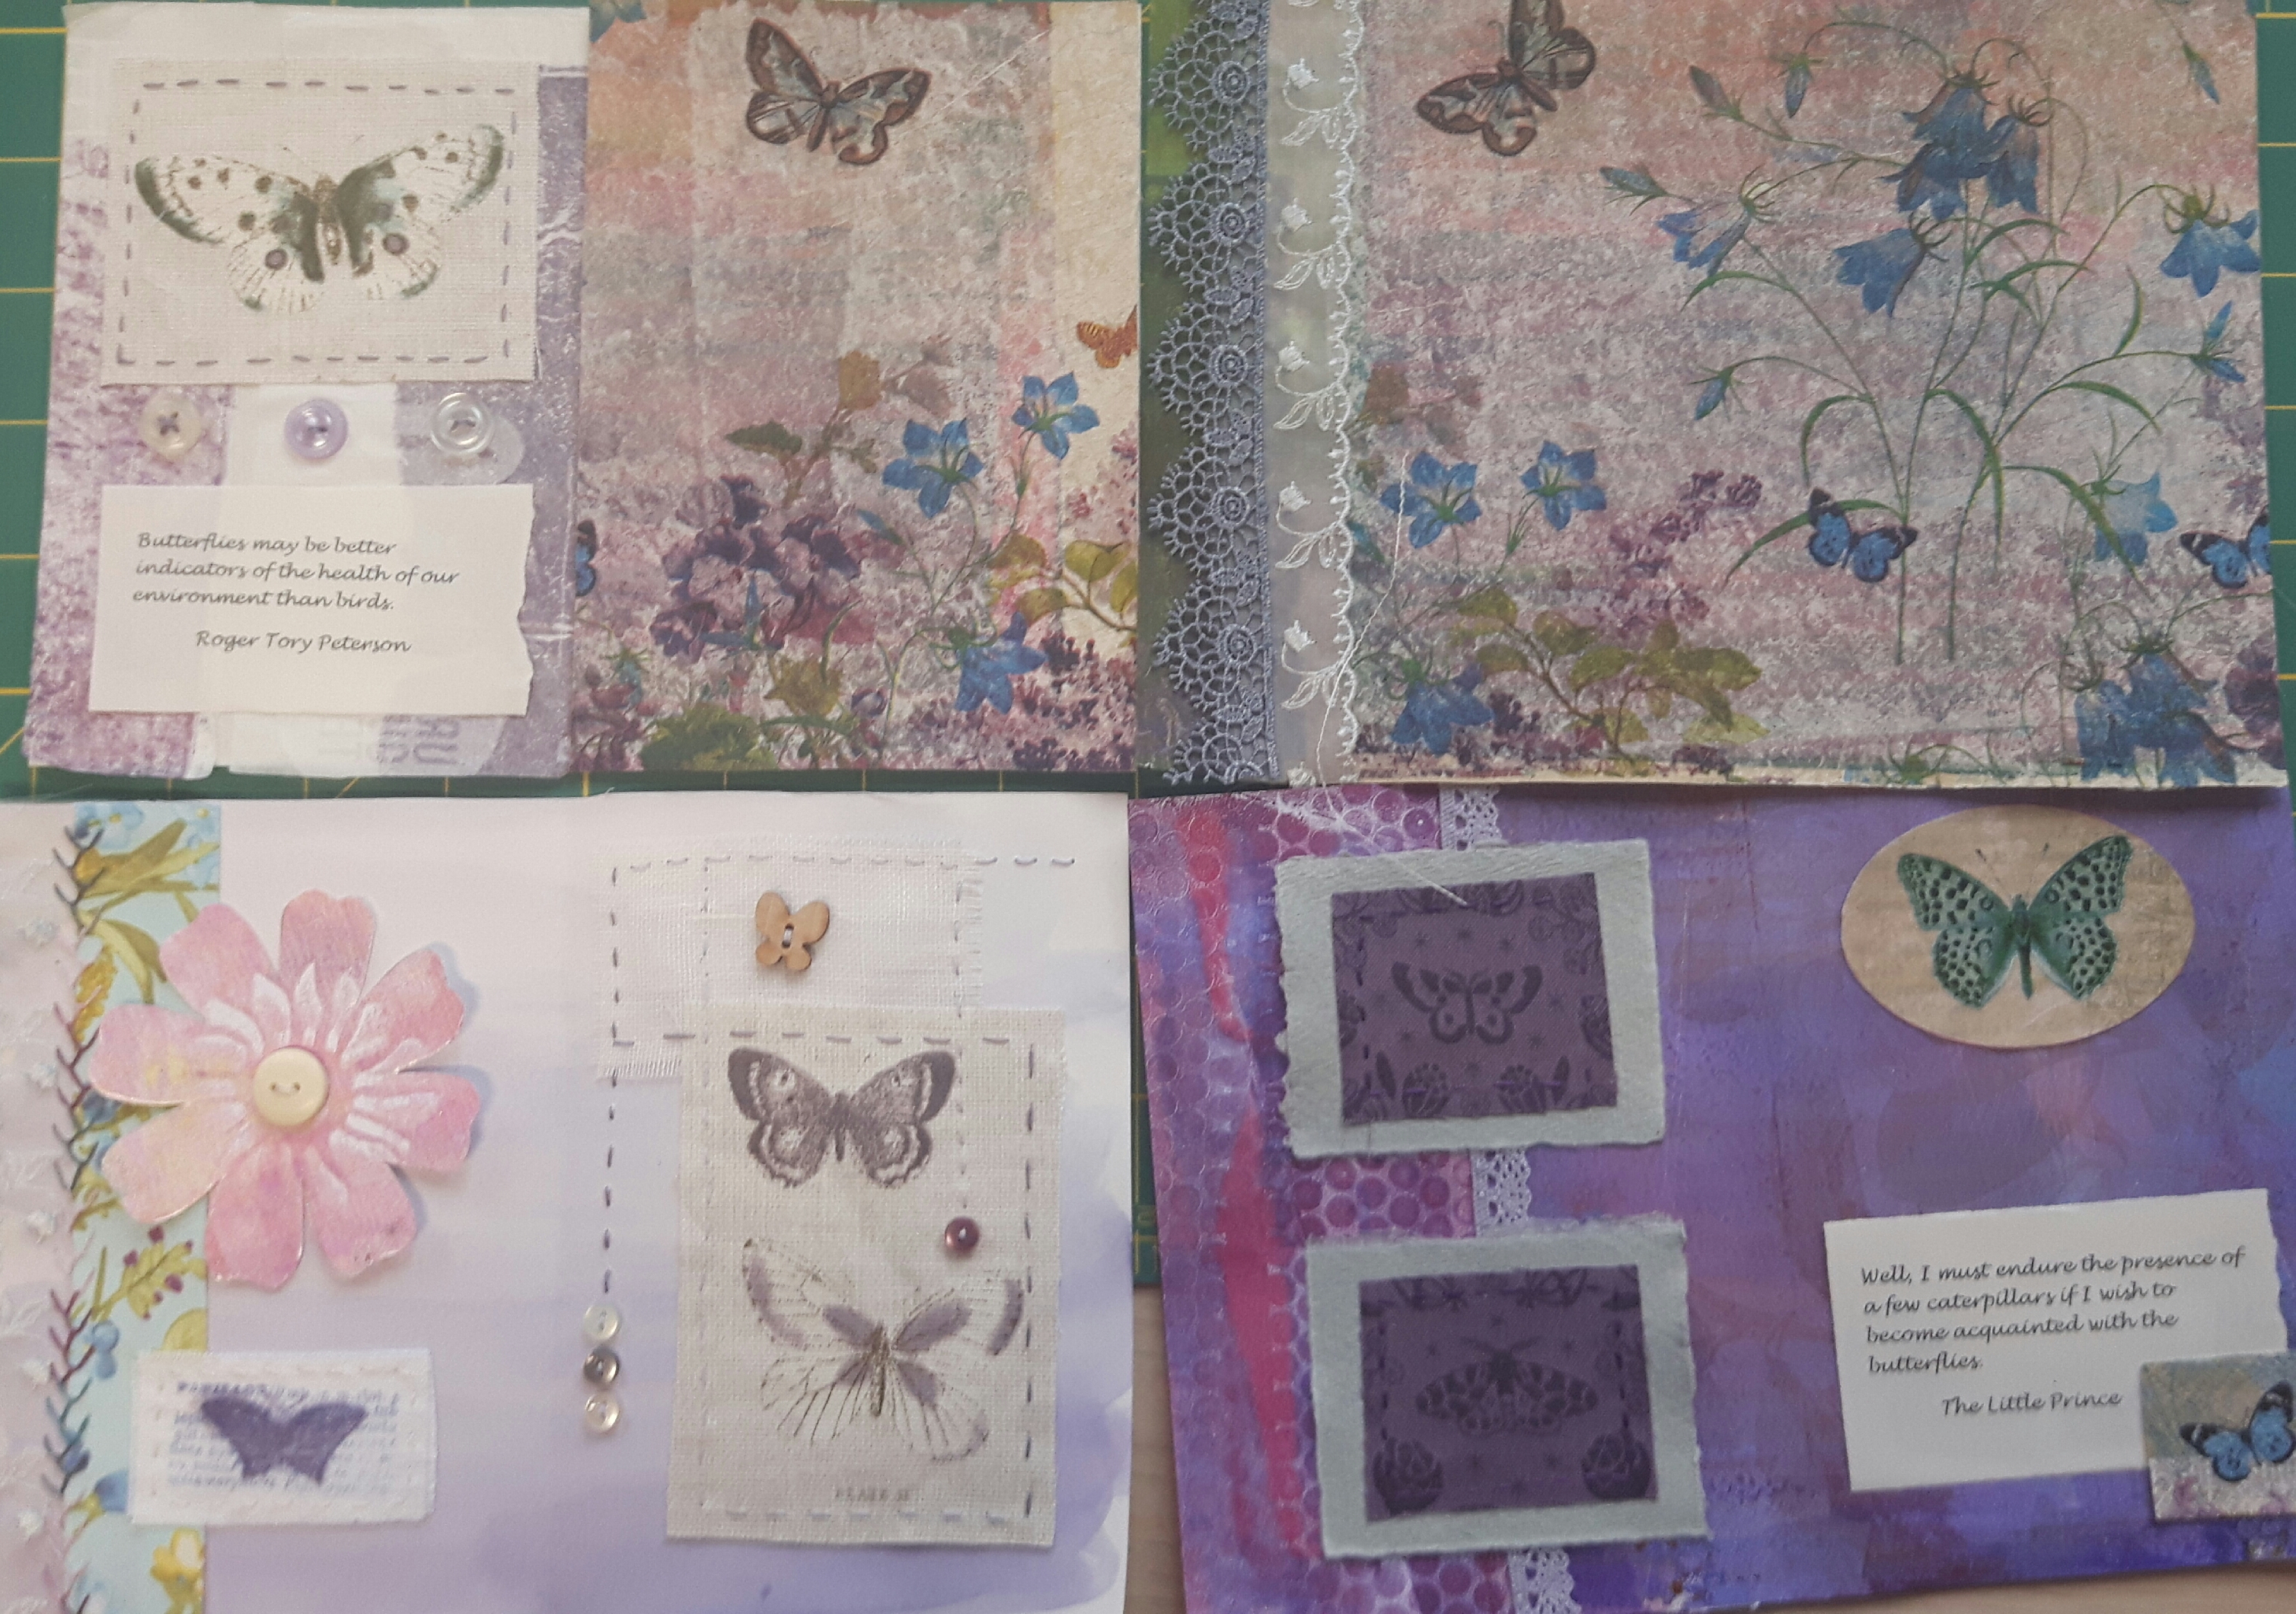
We had to make a total of twelve double pages, each set was A5 size. Apparently these pages are called signatures. Sally showed us how to layer the papers, add bits on to make them big enough, add simple flowers or buttons. She had a huge stash of what she called rejects from eco printing, they certainly wouldn’t be in my reject pile!! Clearly in a day we weren’t going to make all twelve but she was happy for us to take bits home so we could finish our book. Luckily I found several sheets which fitted in with my theme of butterflies and colours of teal and purple…even if it did wander to pink too.
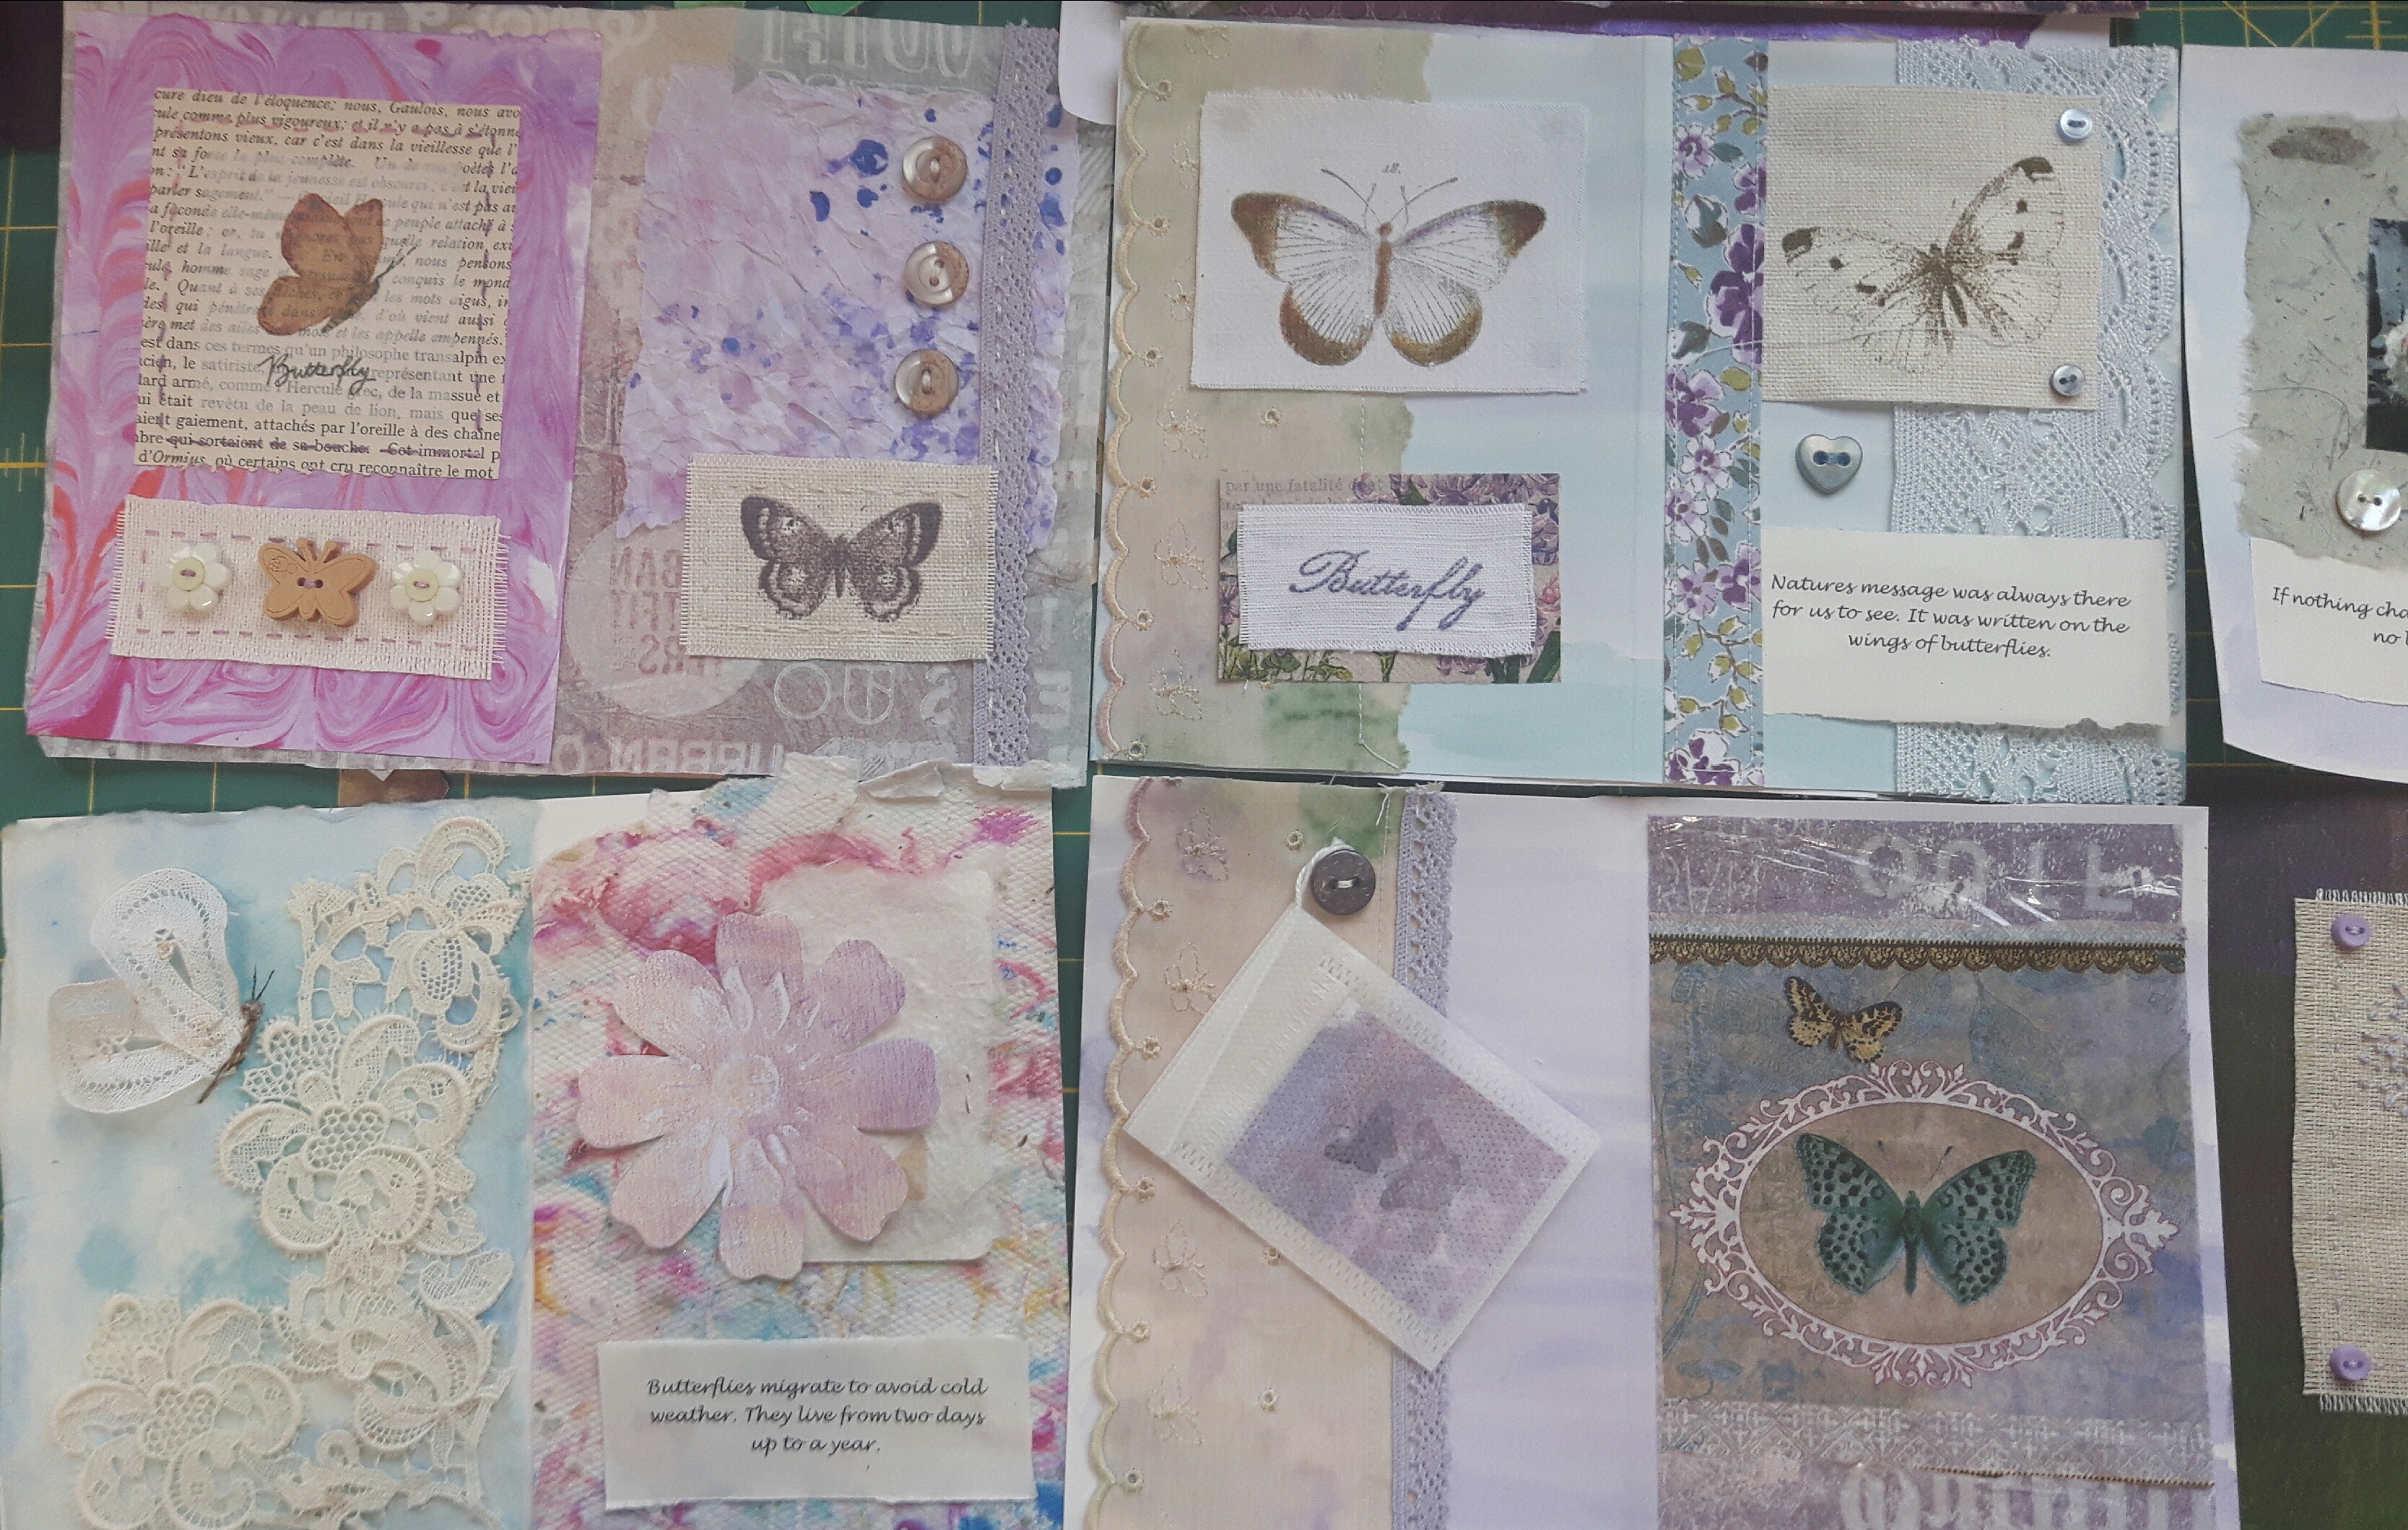
Once home I set about making the dozen signatures. I found some quotes about butterflies and printed them off, I made a lace butterfly from an old doilly, I tried tea dying for the first time when I realised I had some very white broderie anglais with butterflies on. It took quite a while as I really overthought the first few, over stitched some, eventually I realised I was going to have to do a few cut and stick ones otherwise it would take too long. My cutting table looked like a bomb had hit it!
Next came the clever part, how to put it together. Each double page had a slit cut down the centre leaving a good inch top and bottom. Next I needed an A4 piece of card cut full length but the width just a tad narrower than the slits. The piece of card was then folded in half and then again and again till it looked like this…

The signatures were put into pairs to go back to back with each other and an order sorted, then each pair of pages was ‘threaded’ onto a fold of paper (there’s six ‘mountains’ in the photo above for the six pairs of pages. A long narrow piece of card was then threaded up the middle of the ‘mountain’ so it stuck out a bit each end. This holds the pages in place but also means they can be changed or moved around if necessary. I was amazed how sturdy it all was. The double pages could now be stuck or stitched together to hide the backs, I remembered I had lots of double-sided sticky tape which I found when clearing my mums house, it worked fine and probably less messy than me with glue!

Having made the book I then had to make a cover. I felt it needed to be firm so I cut some daler board to size and made a fabric cover with the original fabric which inspired the whole book on the outside, I managed to position it so the little blue butterfly was centred on the spine. I added the button and ribbon to keep it closed. As an afterthought I pinned on a butterfly which I made at a workshop a few years ago, it’s been hanging round my sewing room ever since. It’s only pinned at the moment whilst I decide if it works but I thought by putting it on the spine I could stand the book up in a row and it wouldn’t get damaged.
I’m now trying to work out if I could use this system of construction with fabric books!
We have an exhibition in October called ‘There is no planet B’ so I’m thinking it could go in there, it used lots of recycled bits and it’s all about nature. One of my favourite quotes in the book is very apt…
If nothing changed there would be no butterflies.