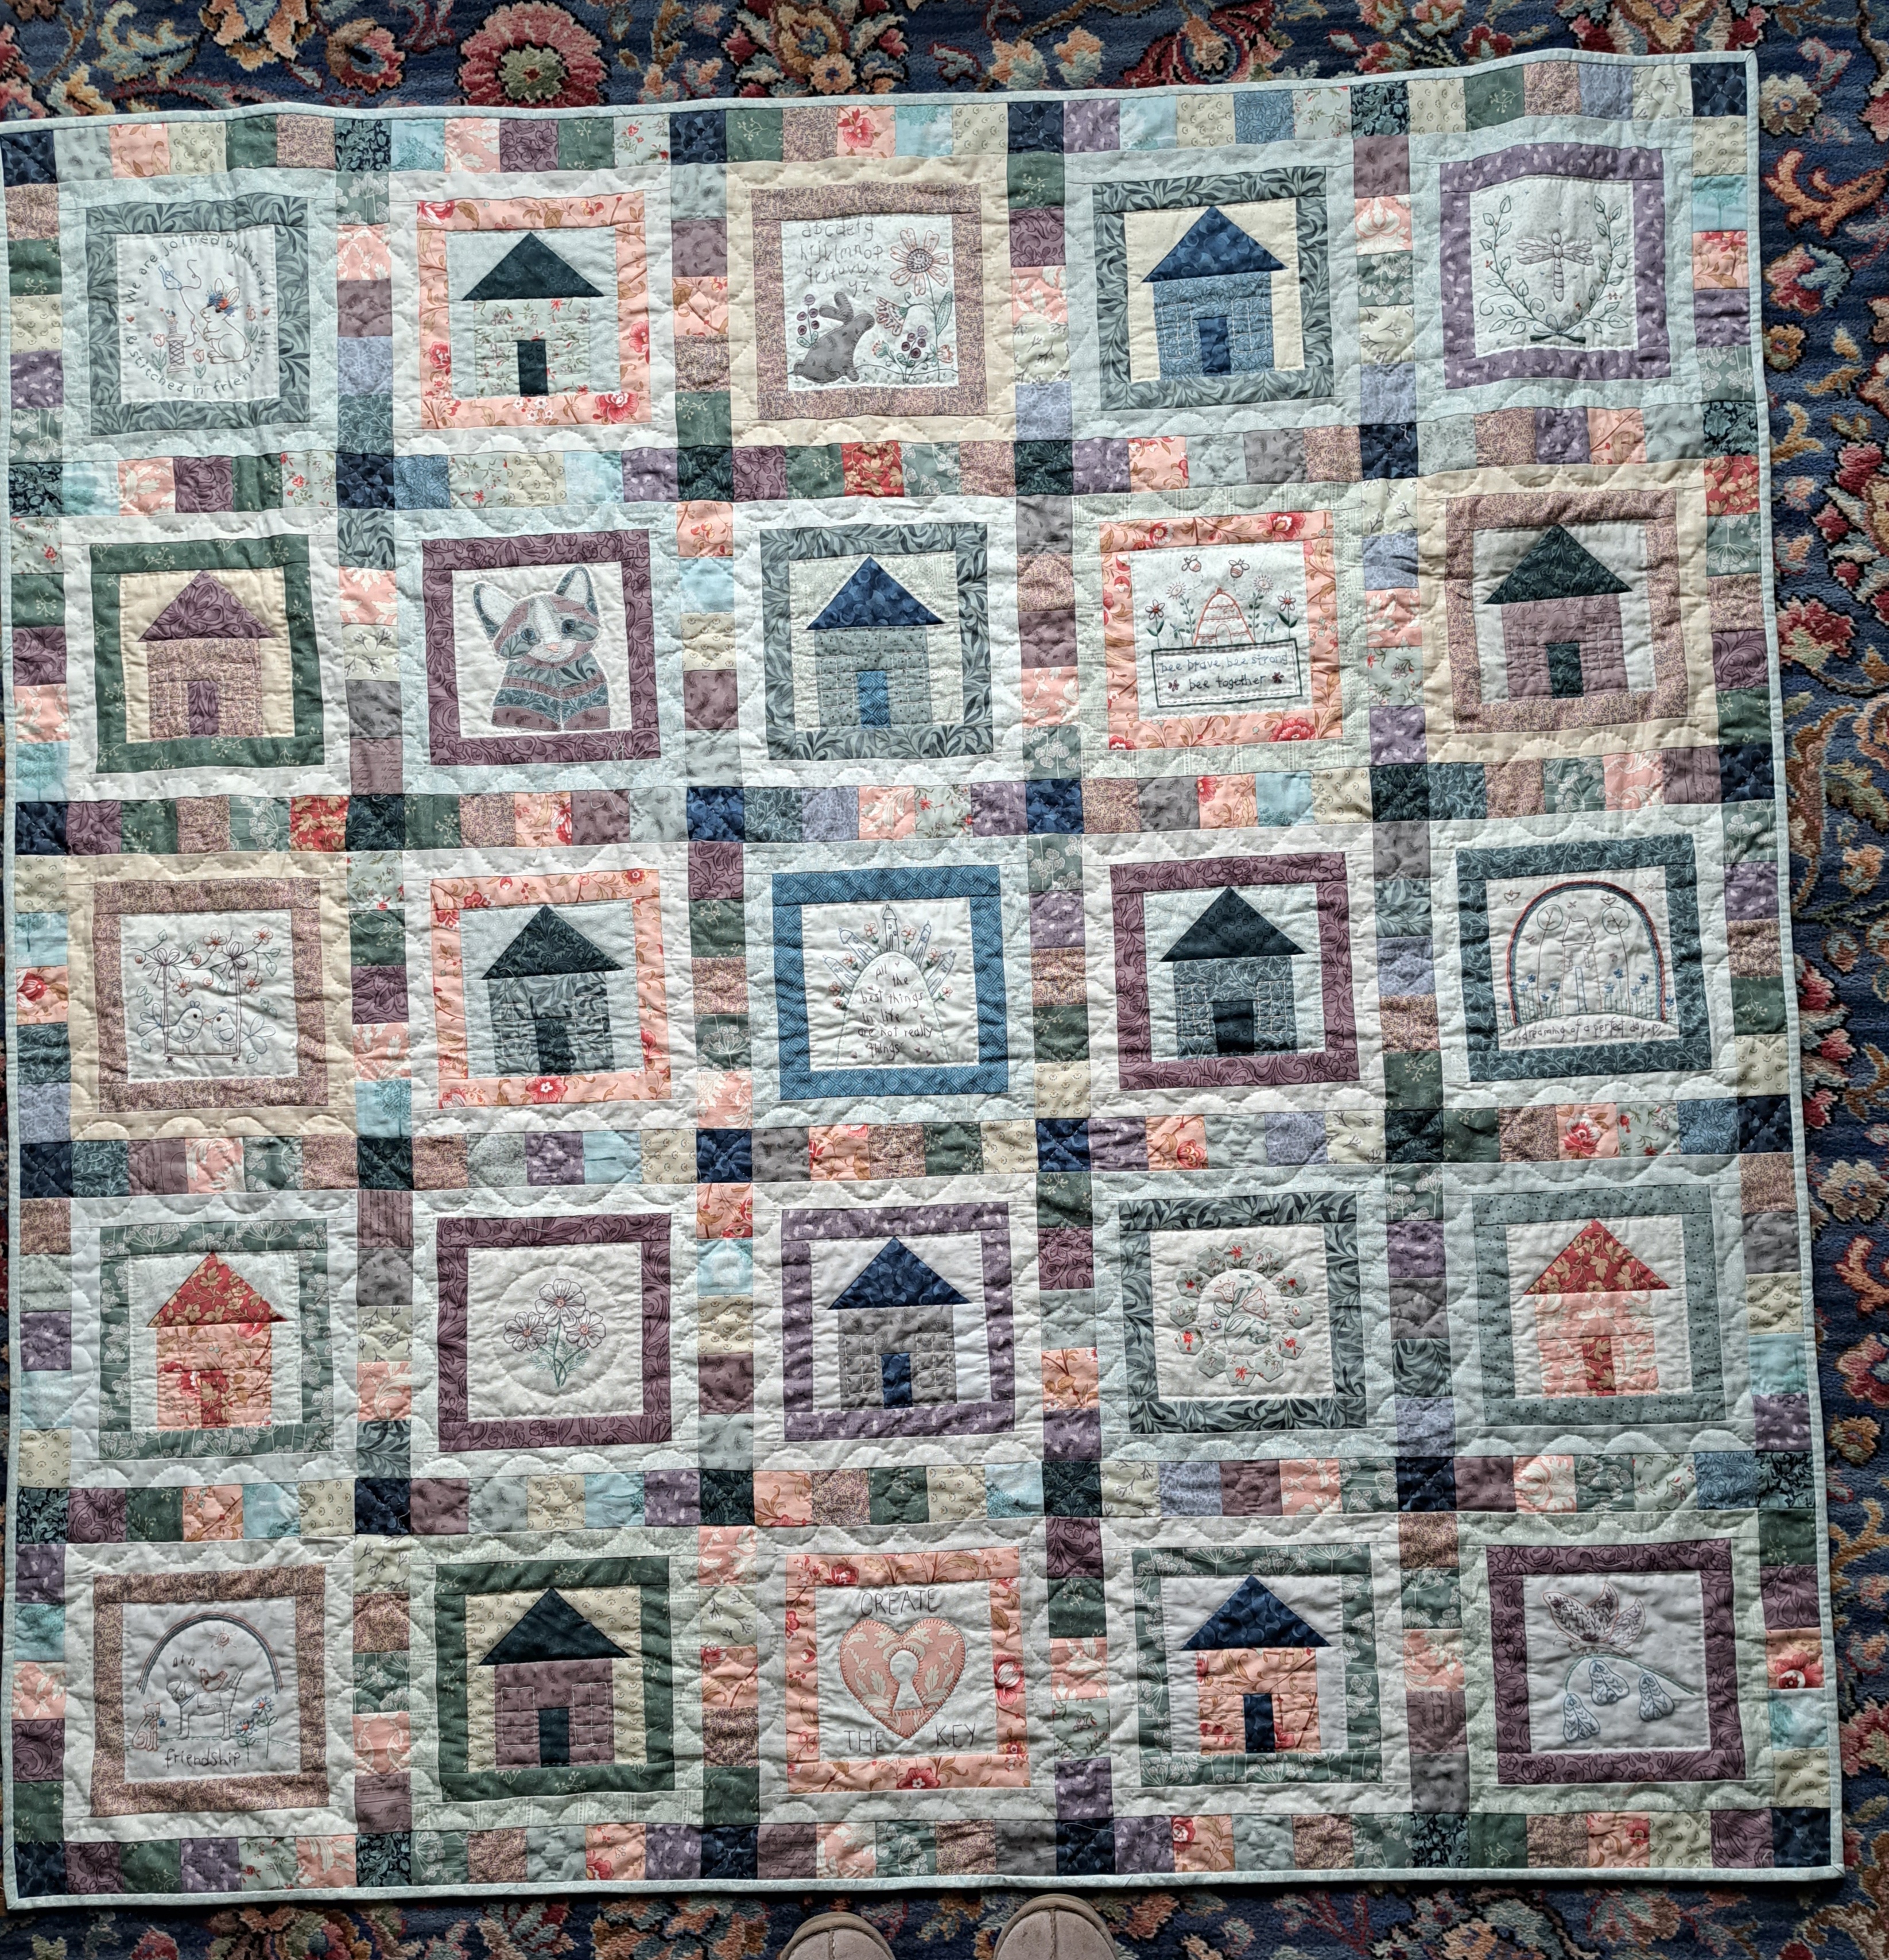
Well I have just started my new project, I think this is going to take a while! I’m doing the Owl and Hare Hollow BOM by Natalie Bird of the Birdhouse. It’s being published in the Homespun magazine which is a bi-monthly Australian magazine with quilting, crochet, embroidery etc, a general crafty magazine. I’m getting it through the UK quilting shop called Coast and Country. The only frustrating thing so far is that it’s obviously coming over to the UK via snail mail, taking a couple of months, so the facebook page is full of the second magazine stitching already and I’ve only just started the first one! At least it gives me an idea of what’s coming!

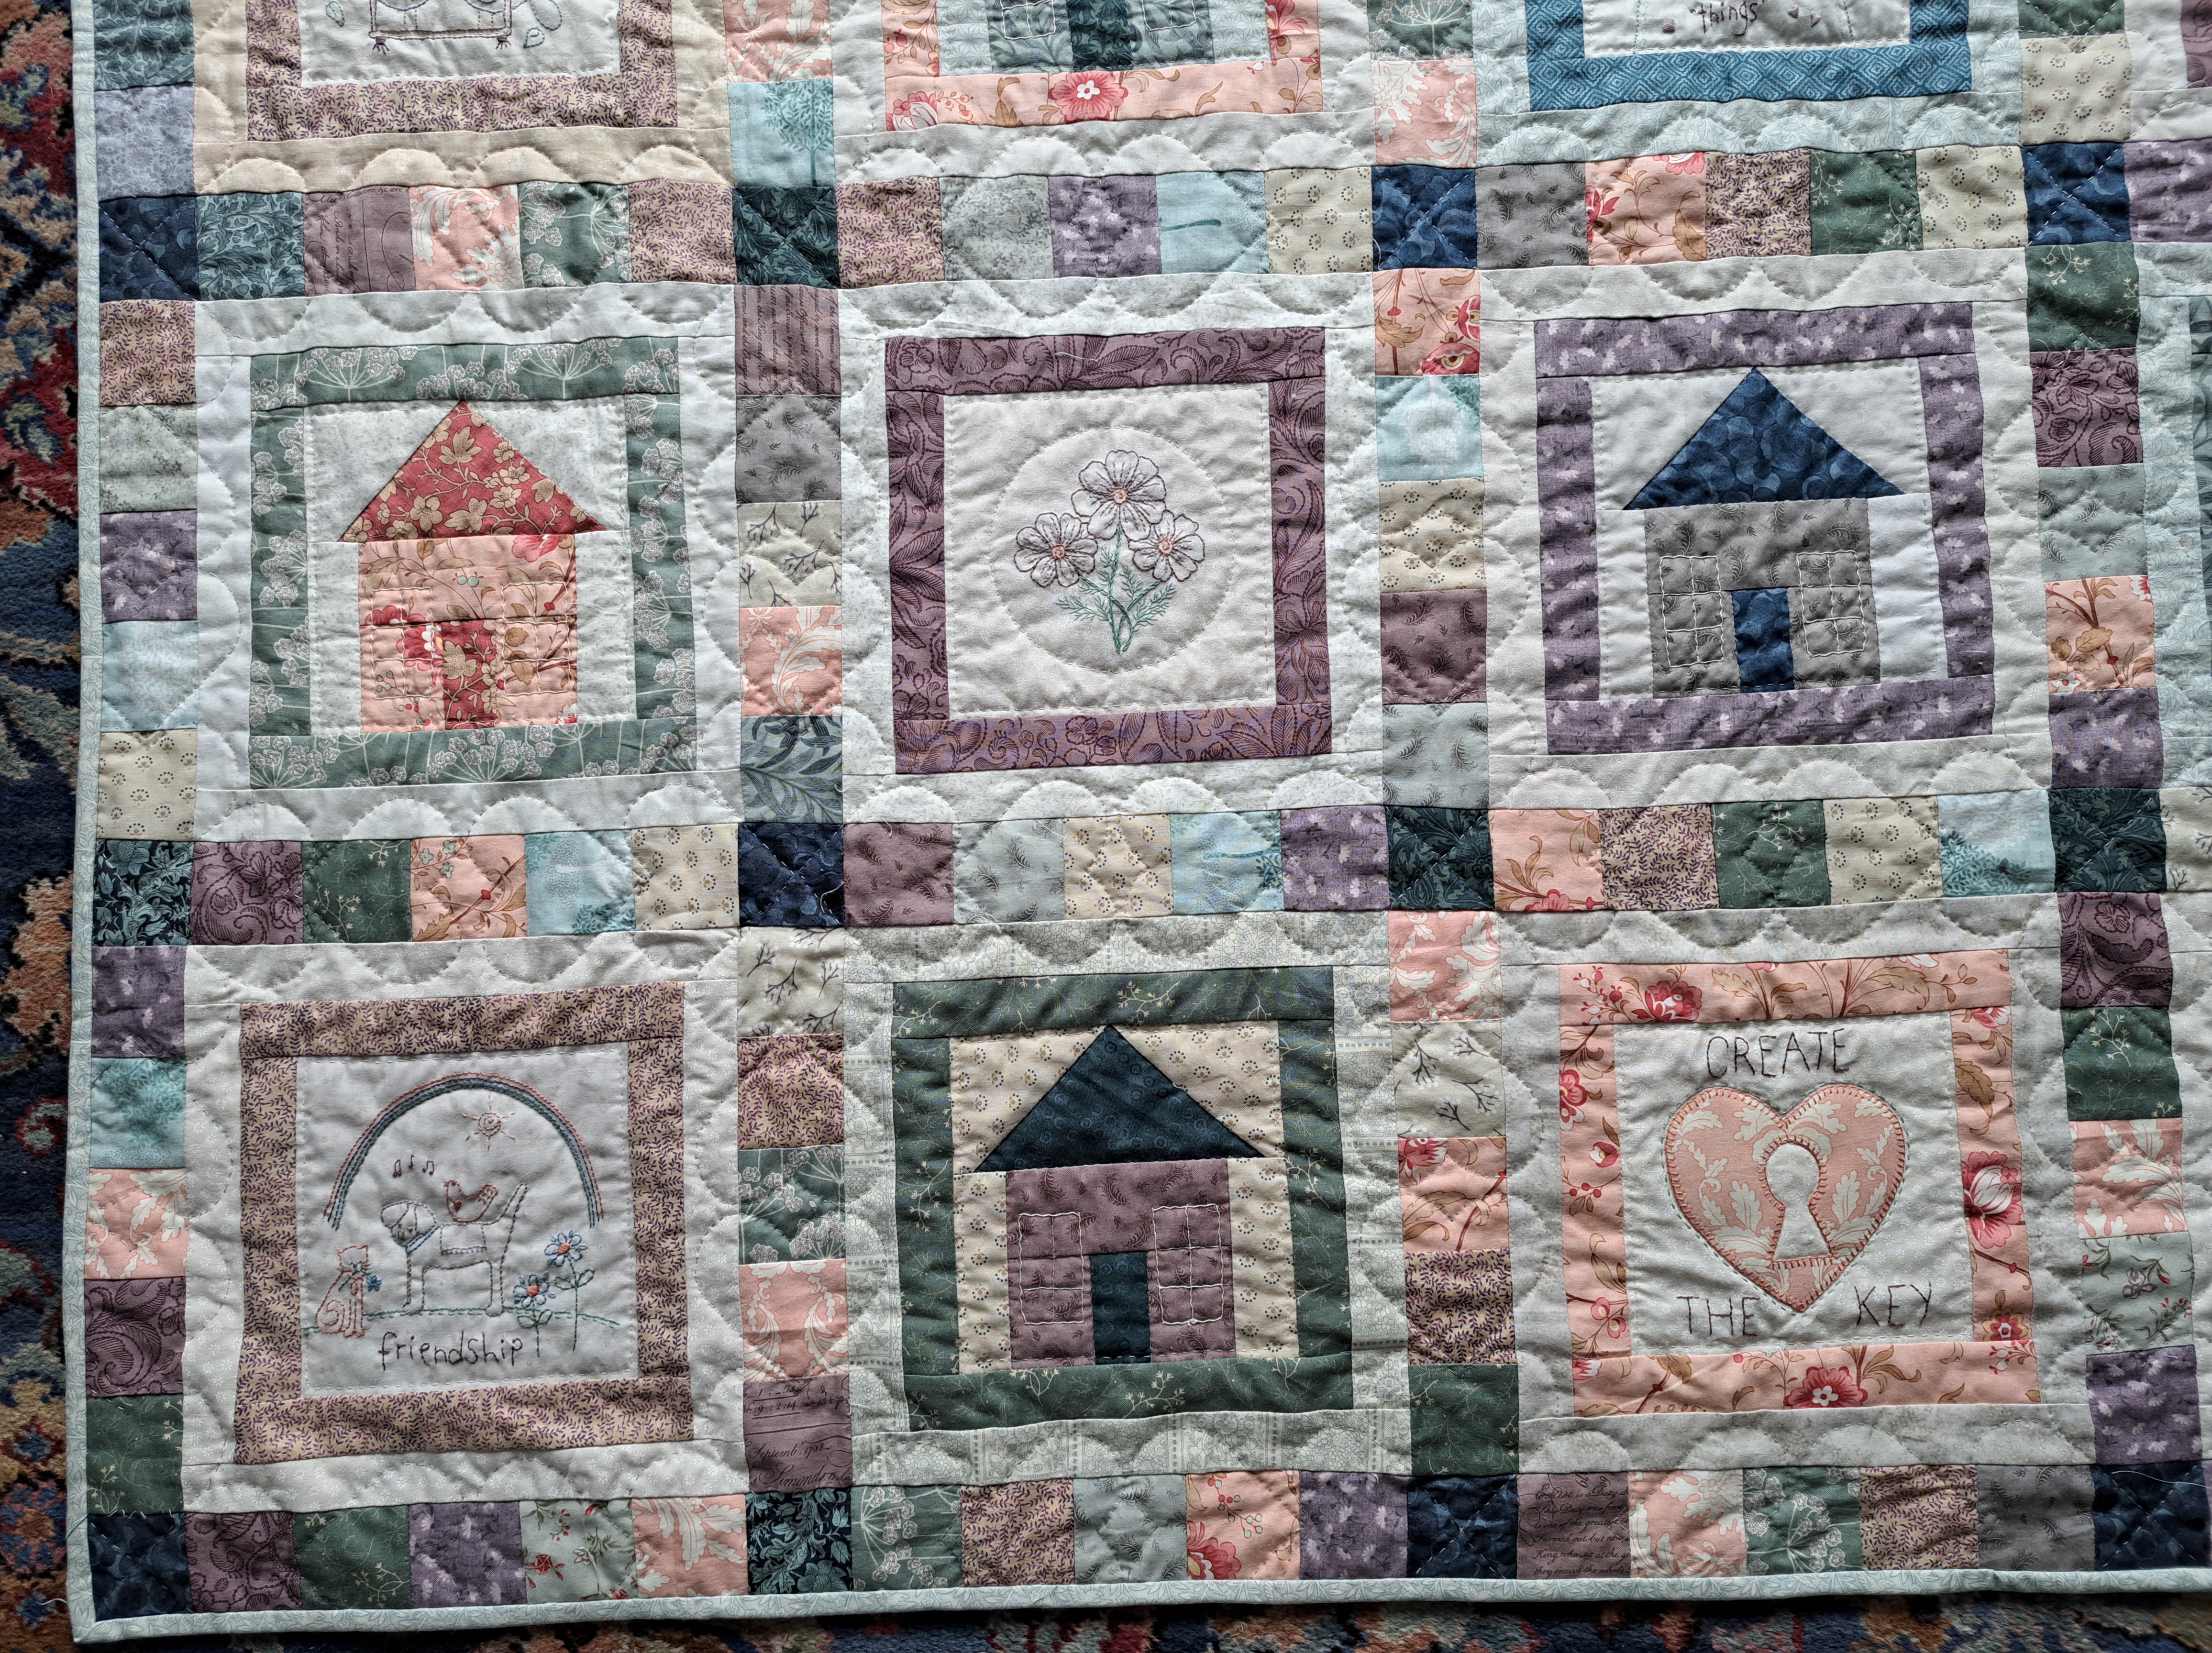
It’s a lovely design, there’s 48 blocks altogether with a mix of embroidery, applique, pieced and English paper piecing. The patterns are being published over twelve months, so six magazines. There’s lots of little EPP hexagons, like dozens! Each embroidered design is surrounded by a circle of twenty 1/2″ hexagons, so I’m going to get a lot of practice! I quite wisely ordered a set of ready cut paper templates for the EPP, although it wasn’t cheap I think they’ll be worth their weight in gold.
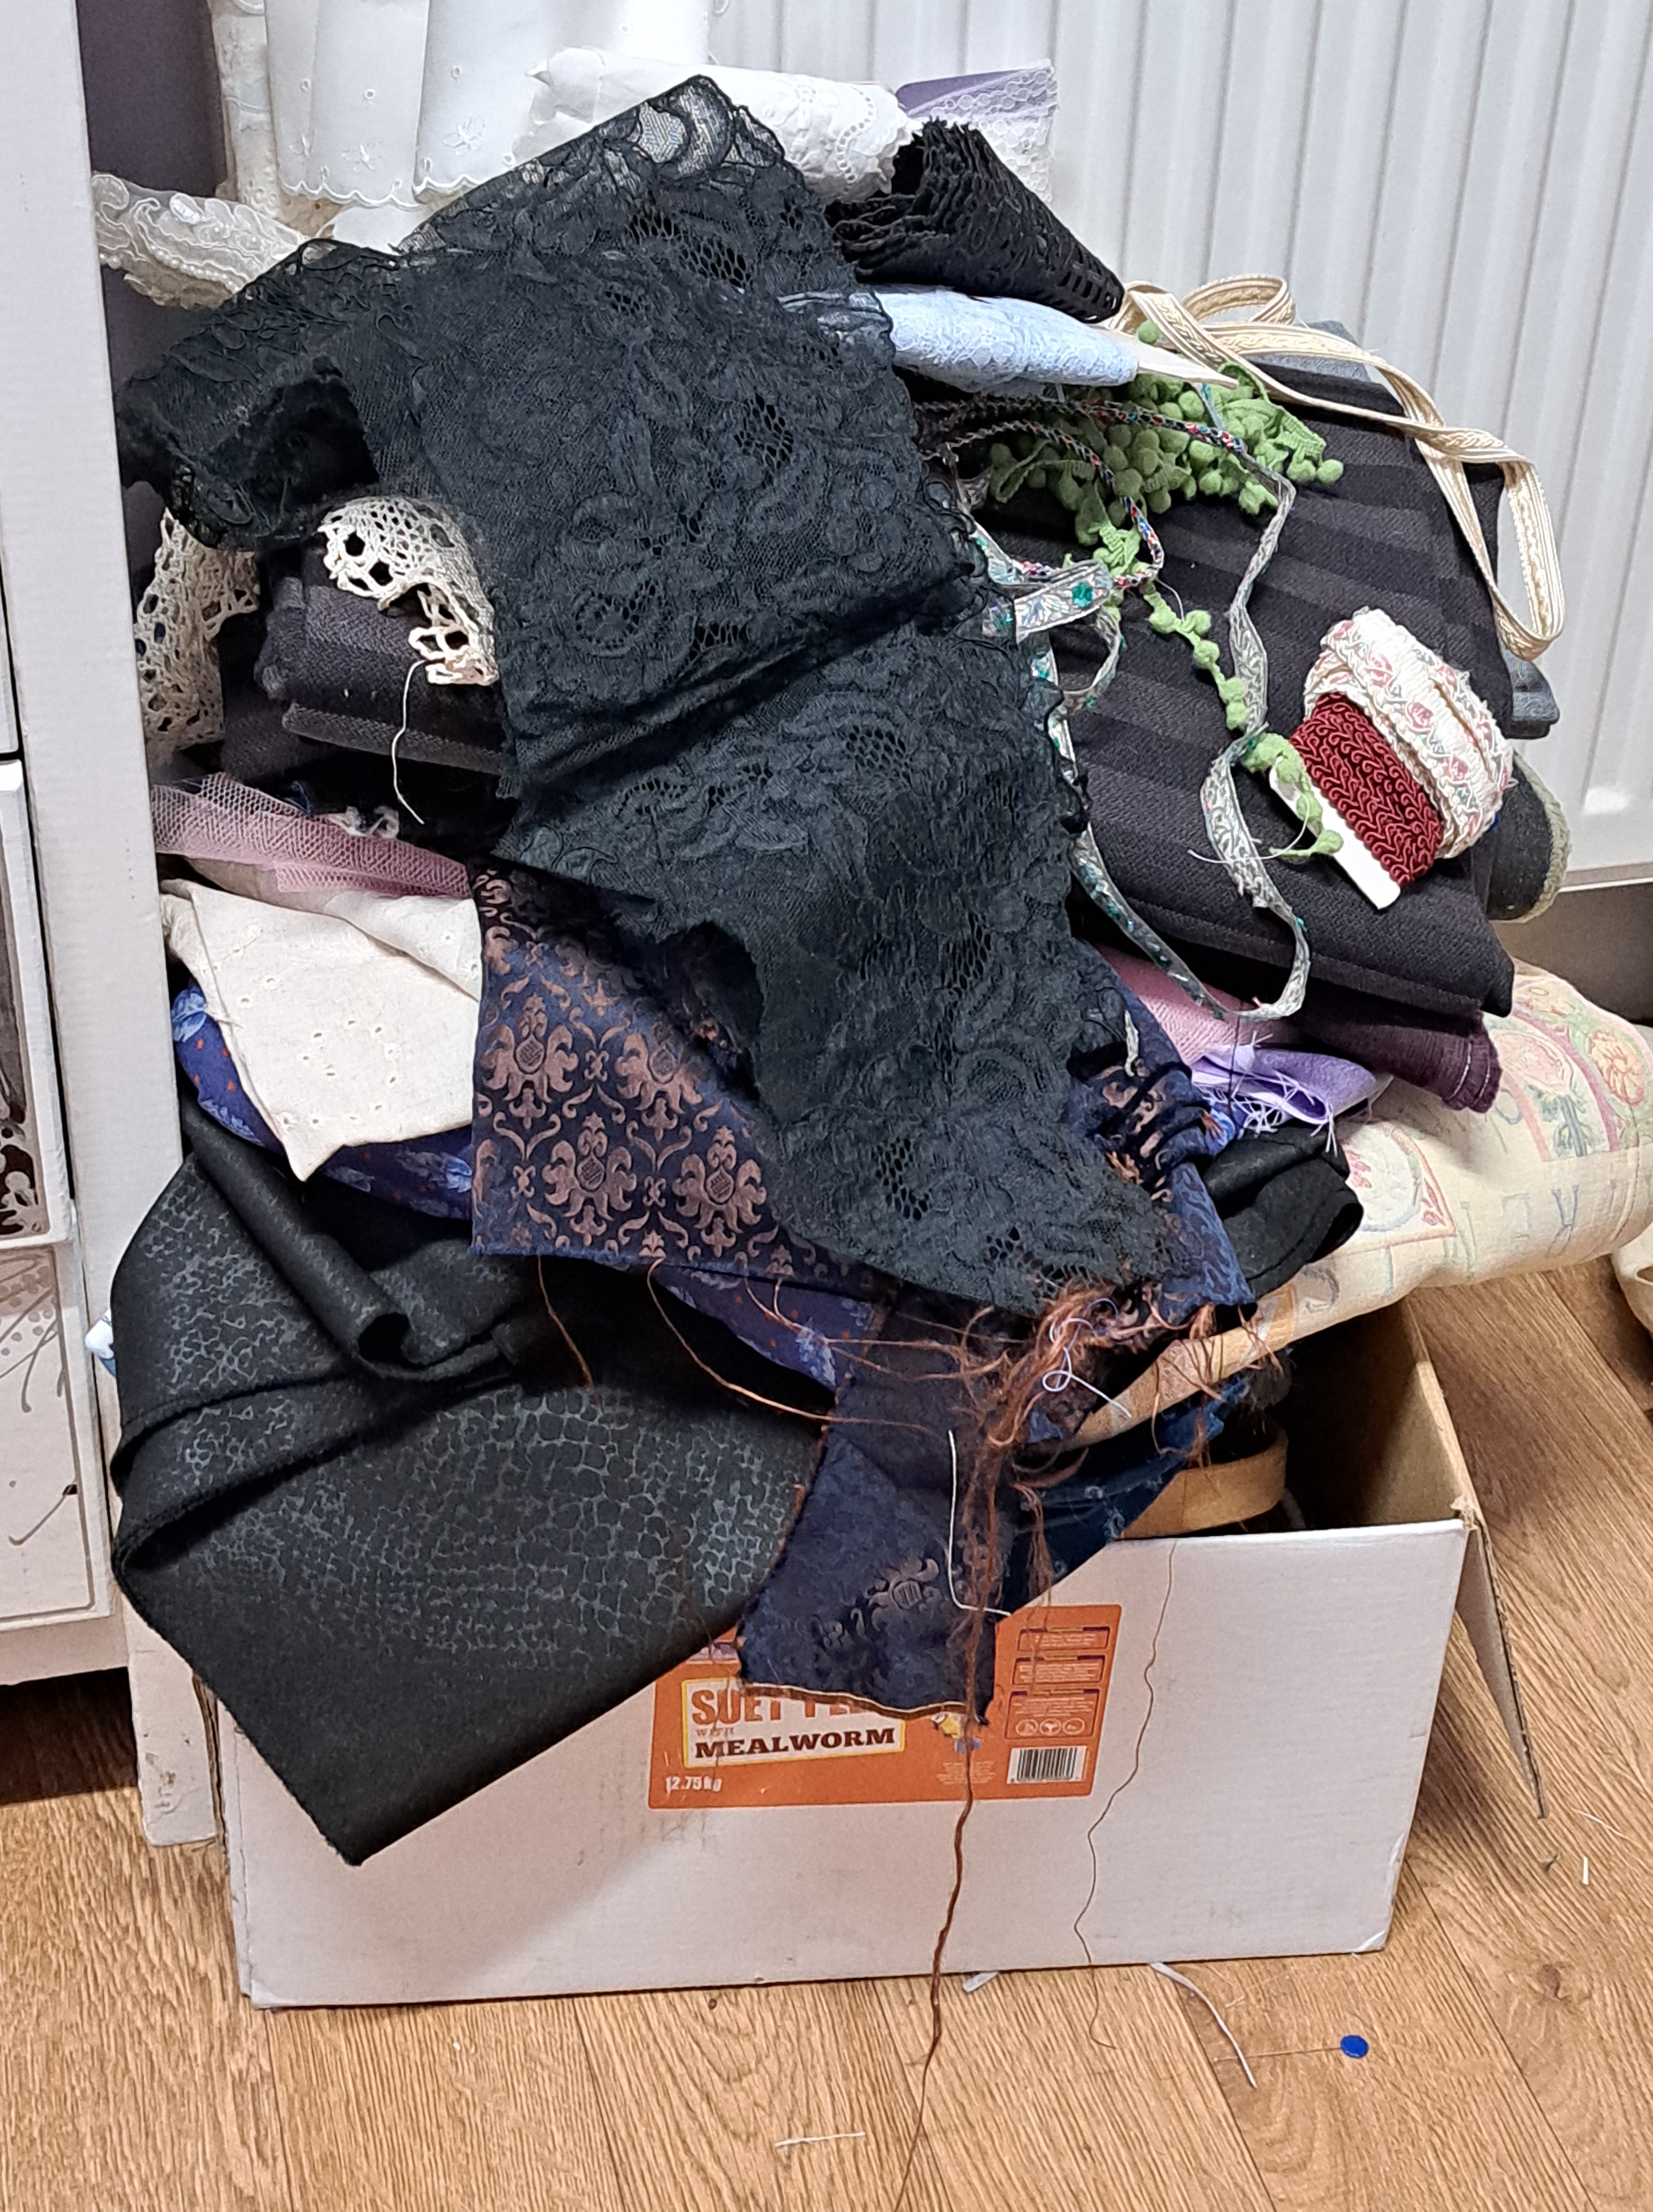
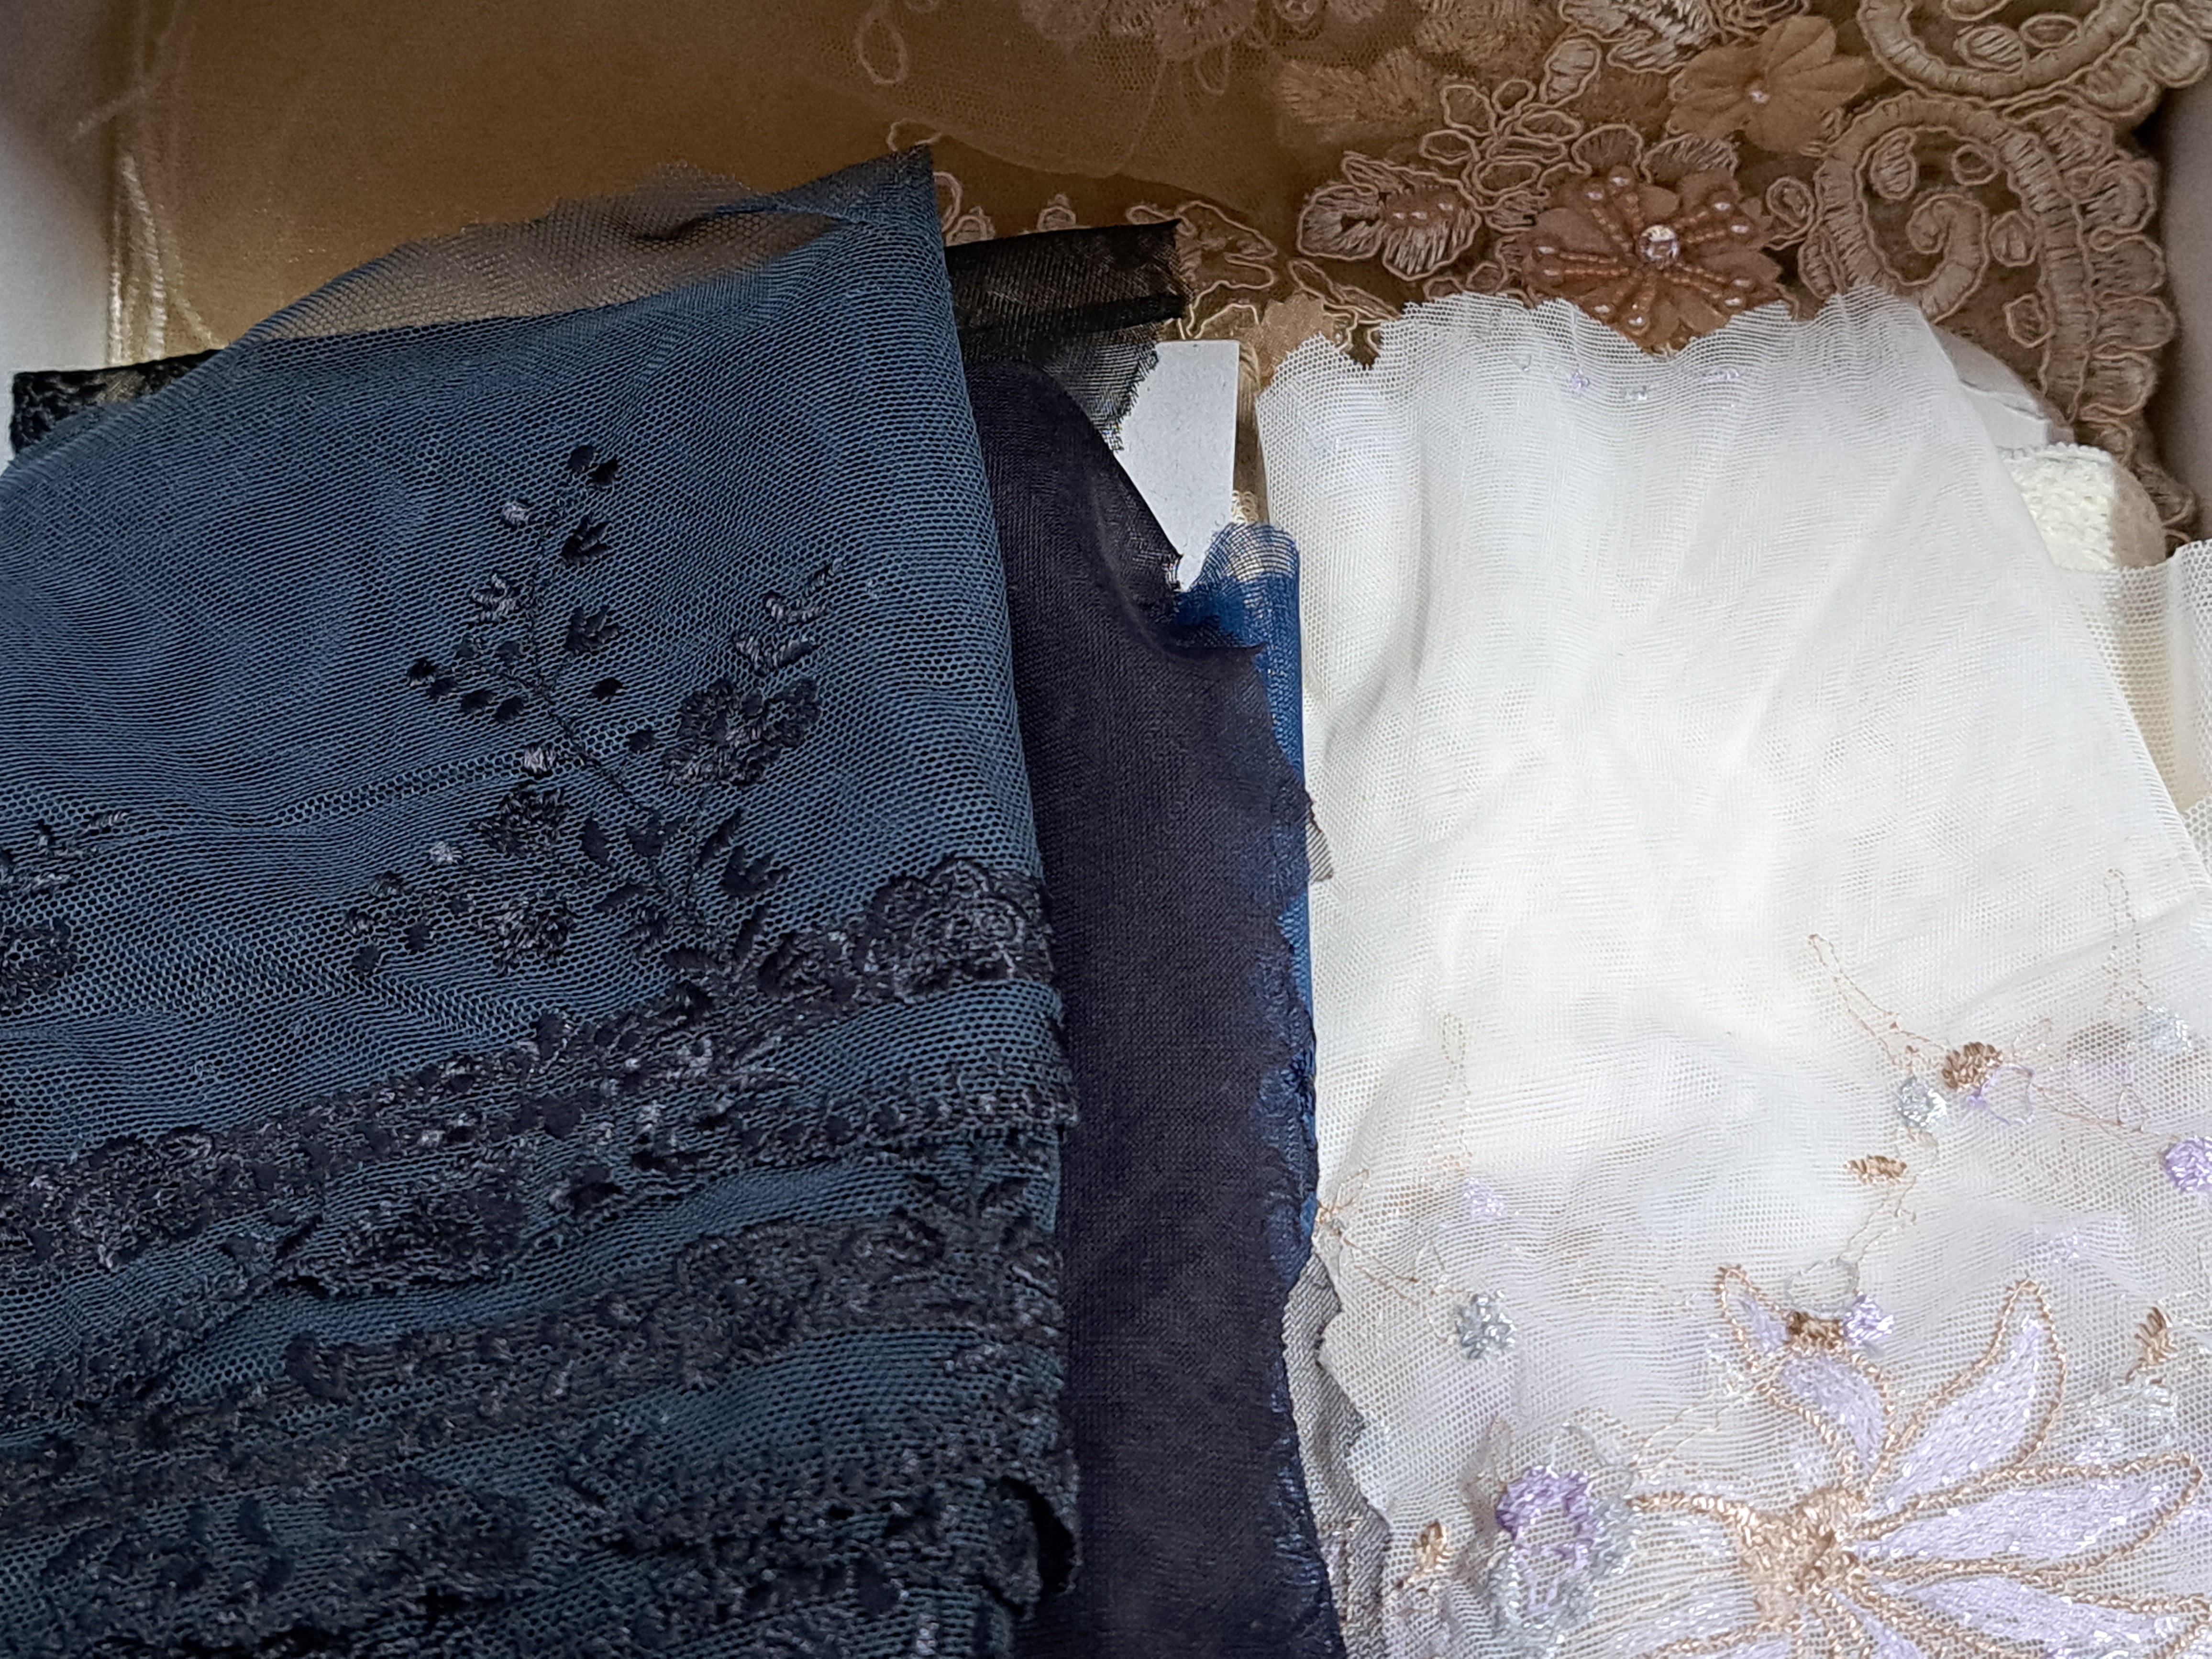
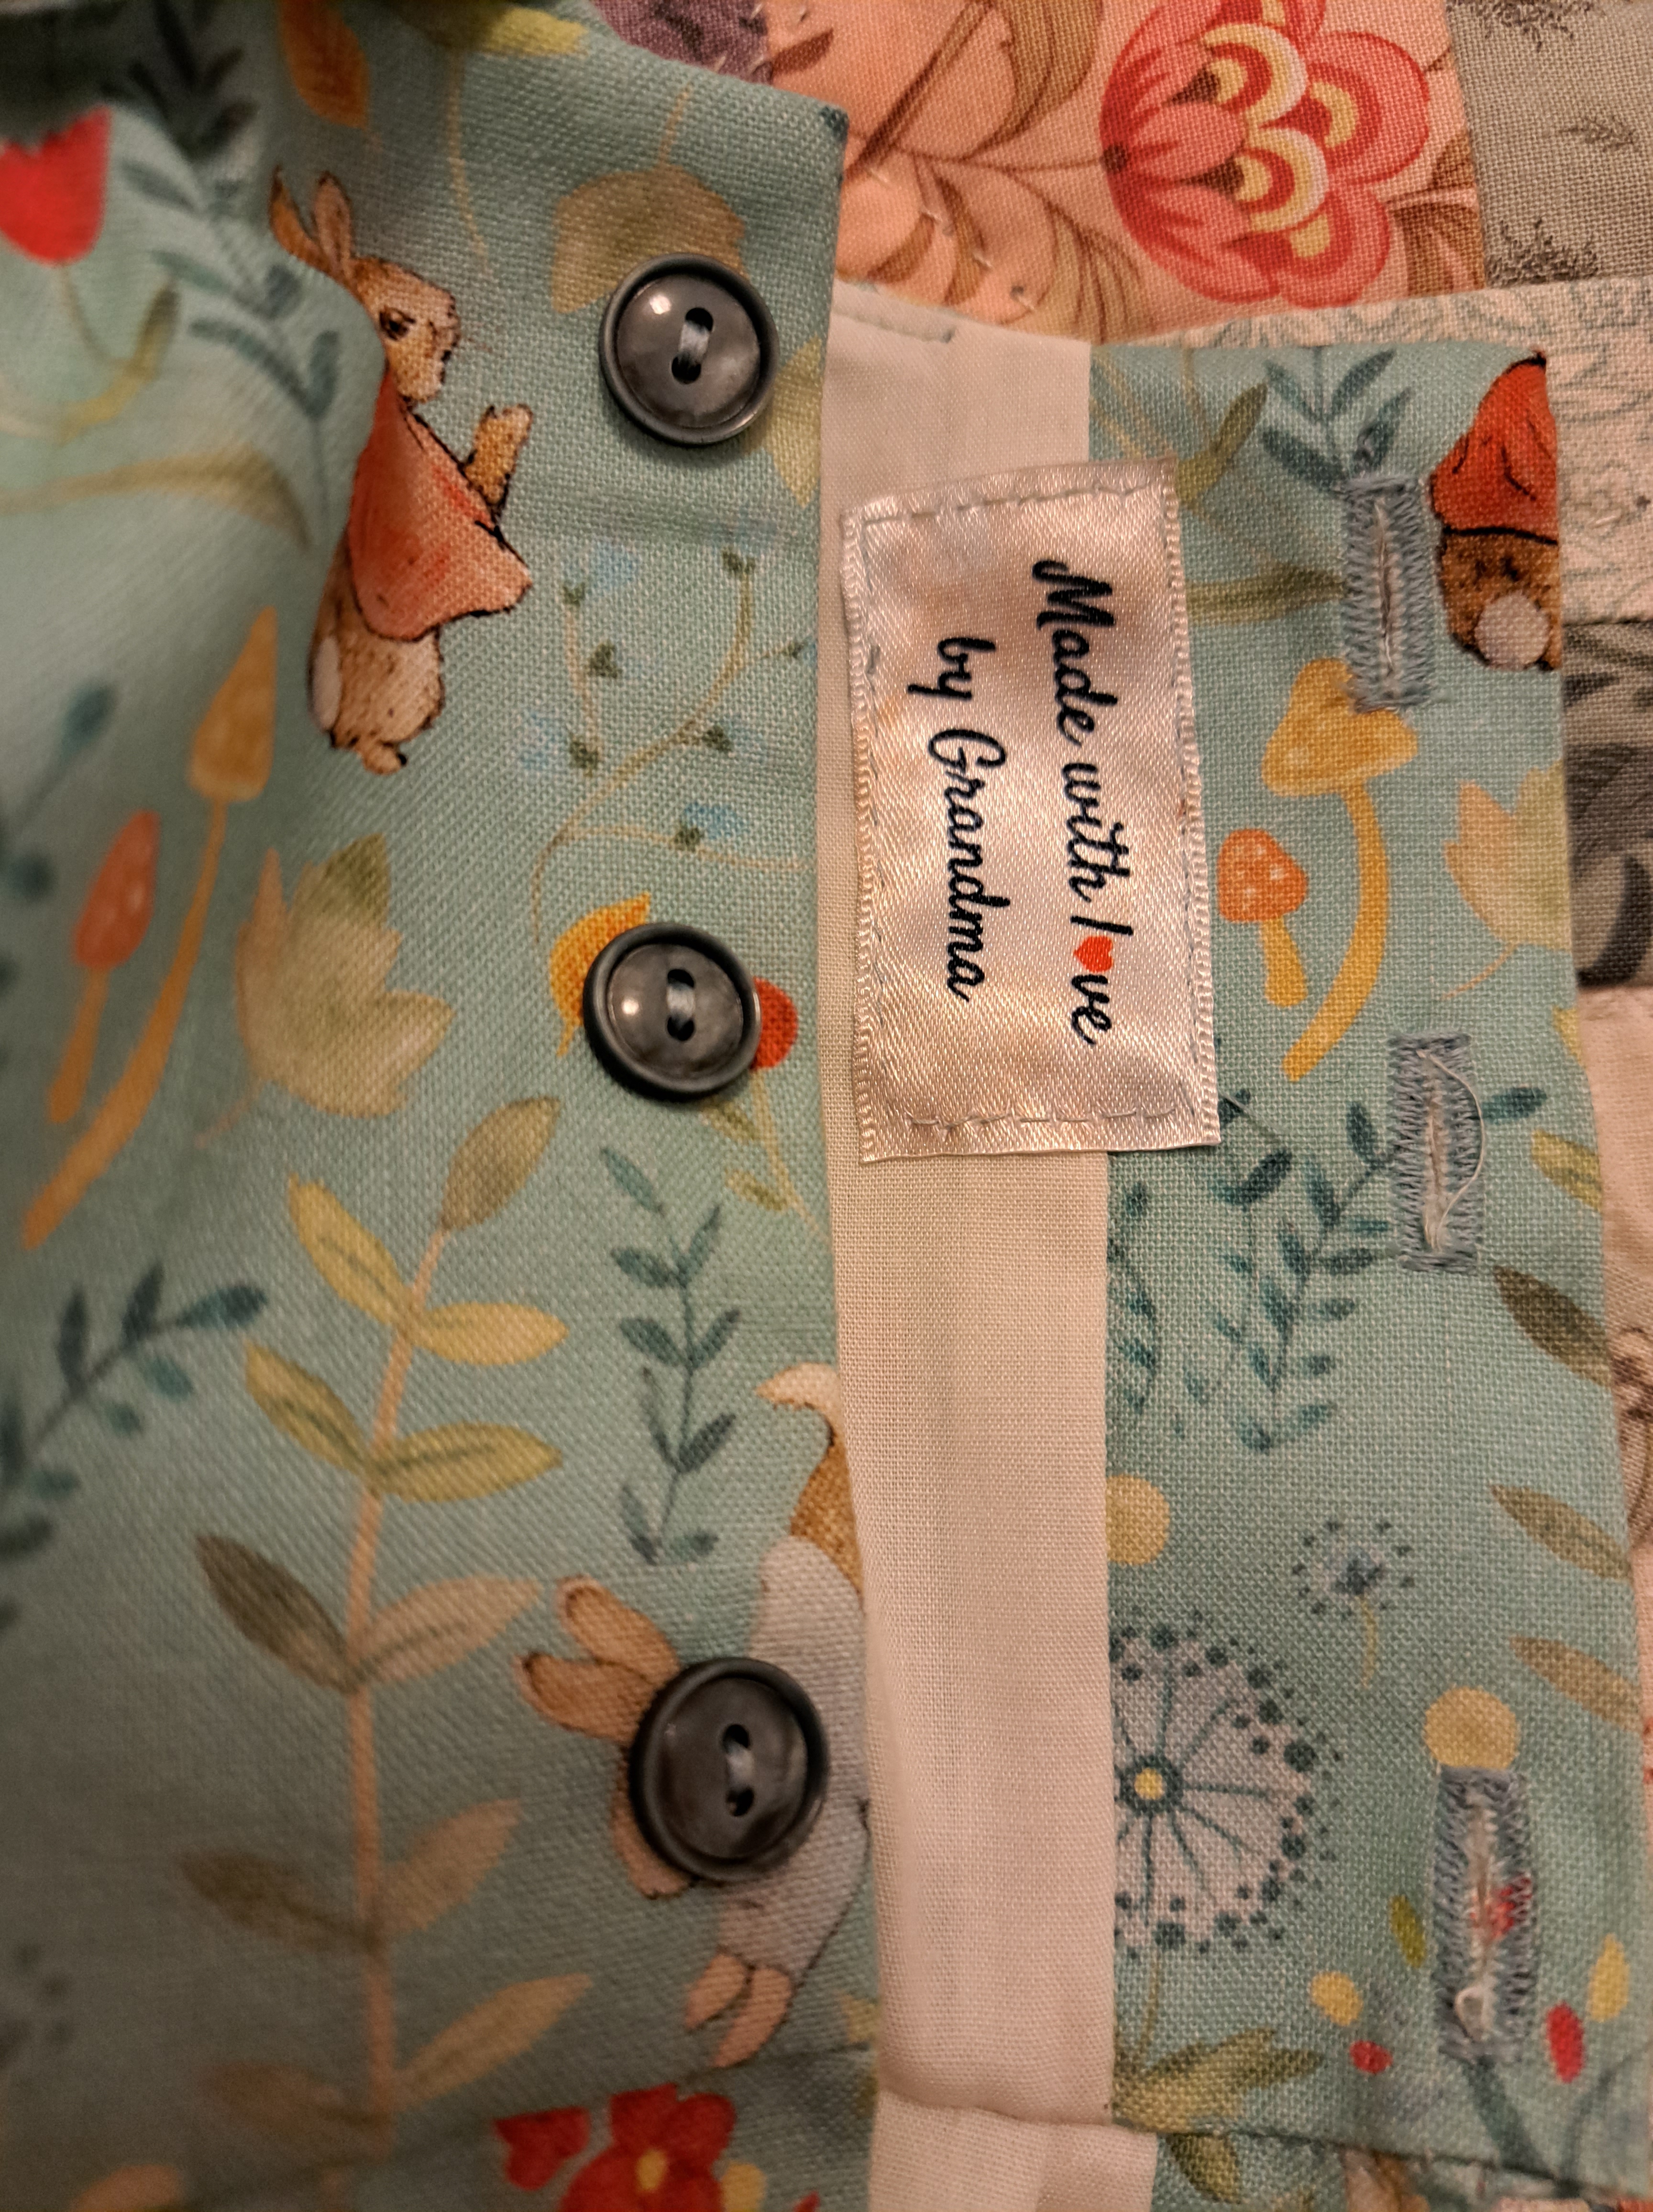
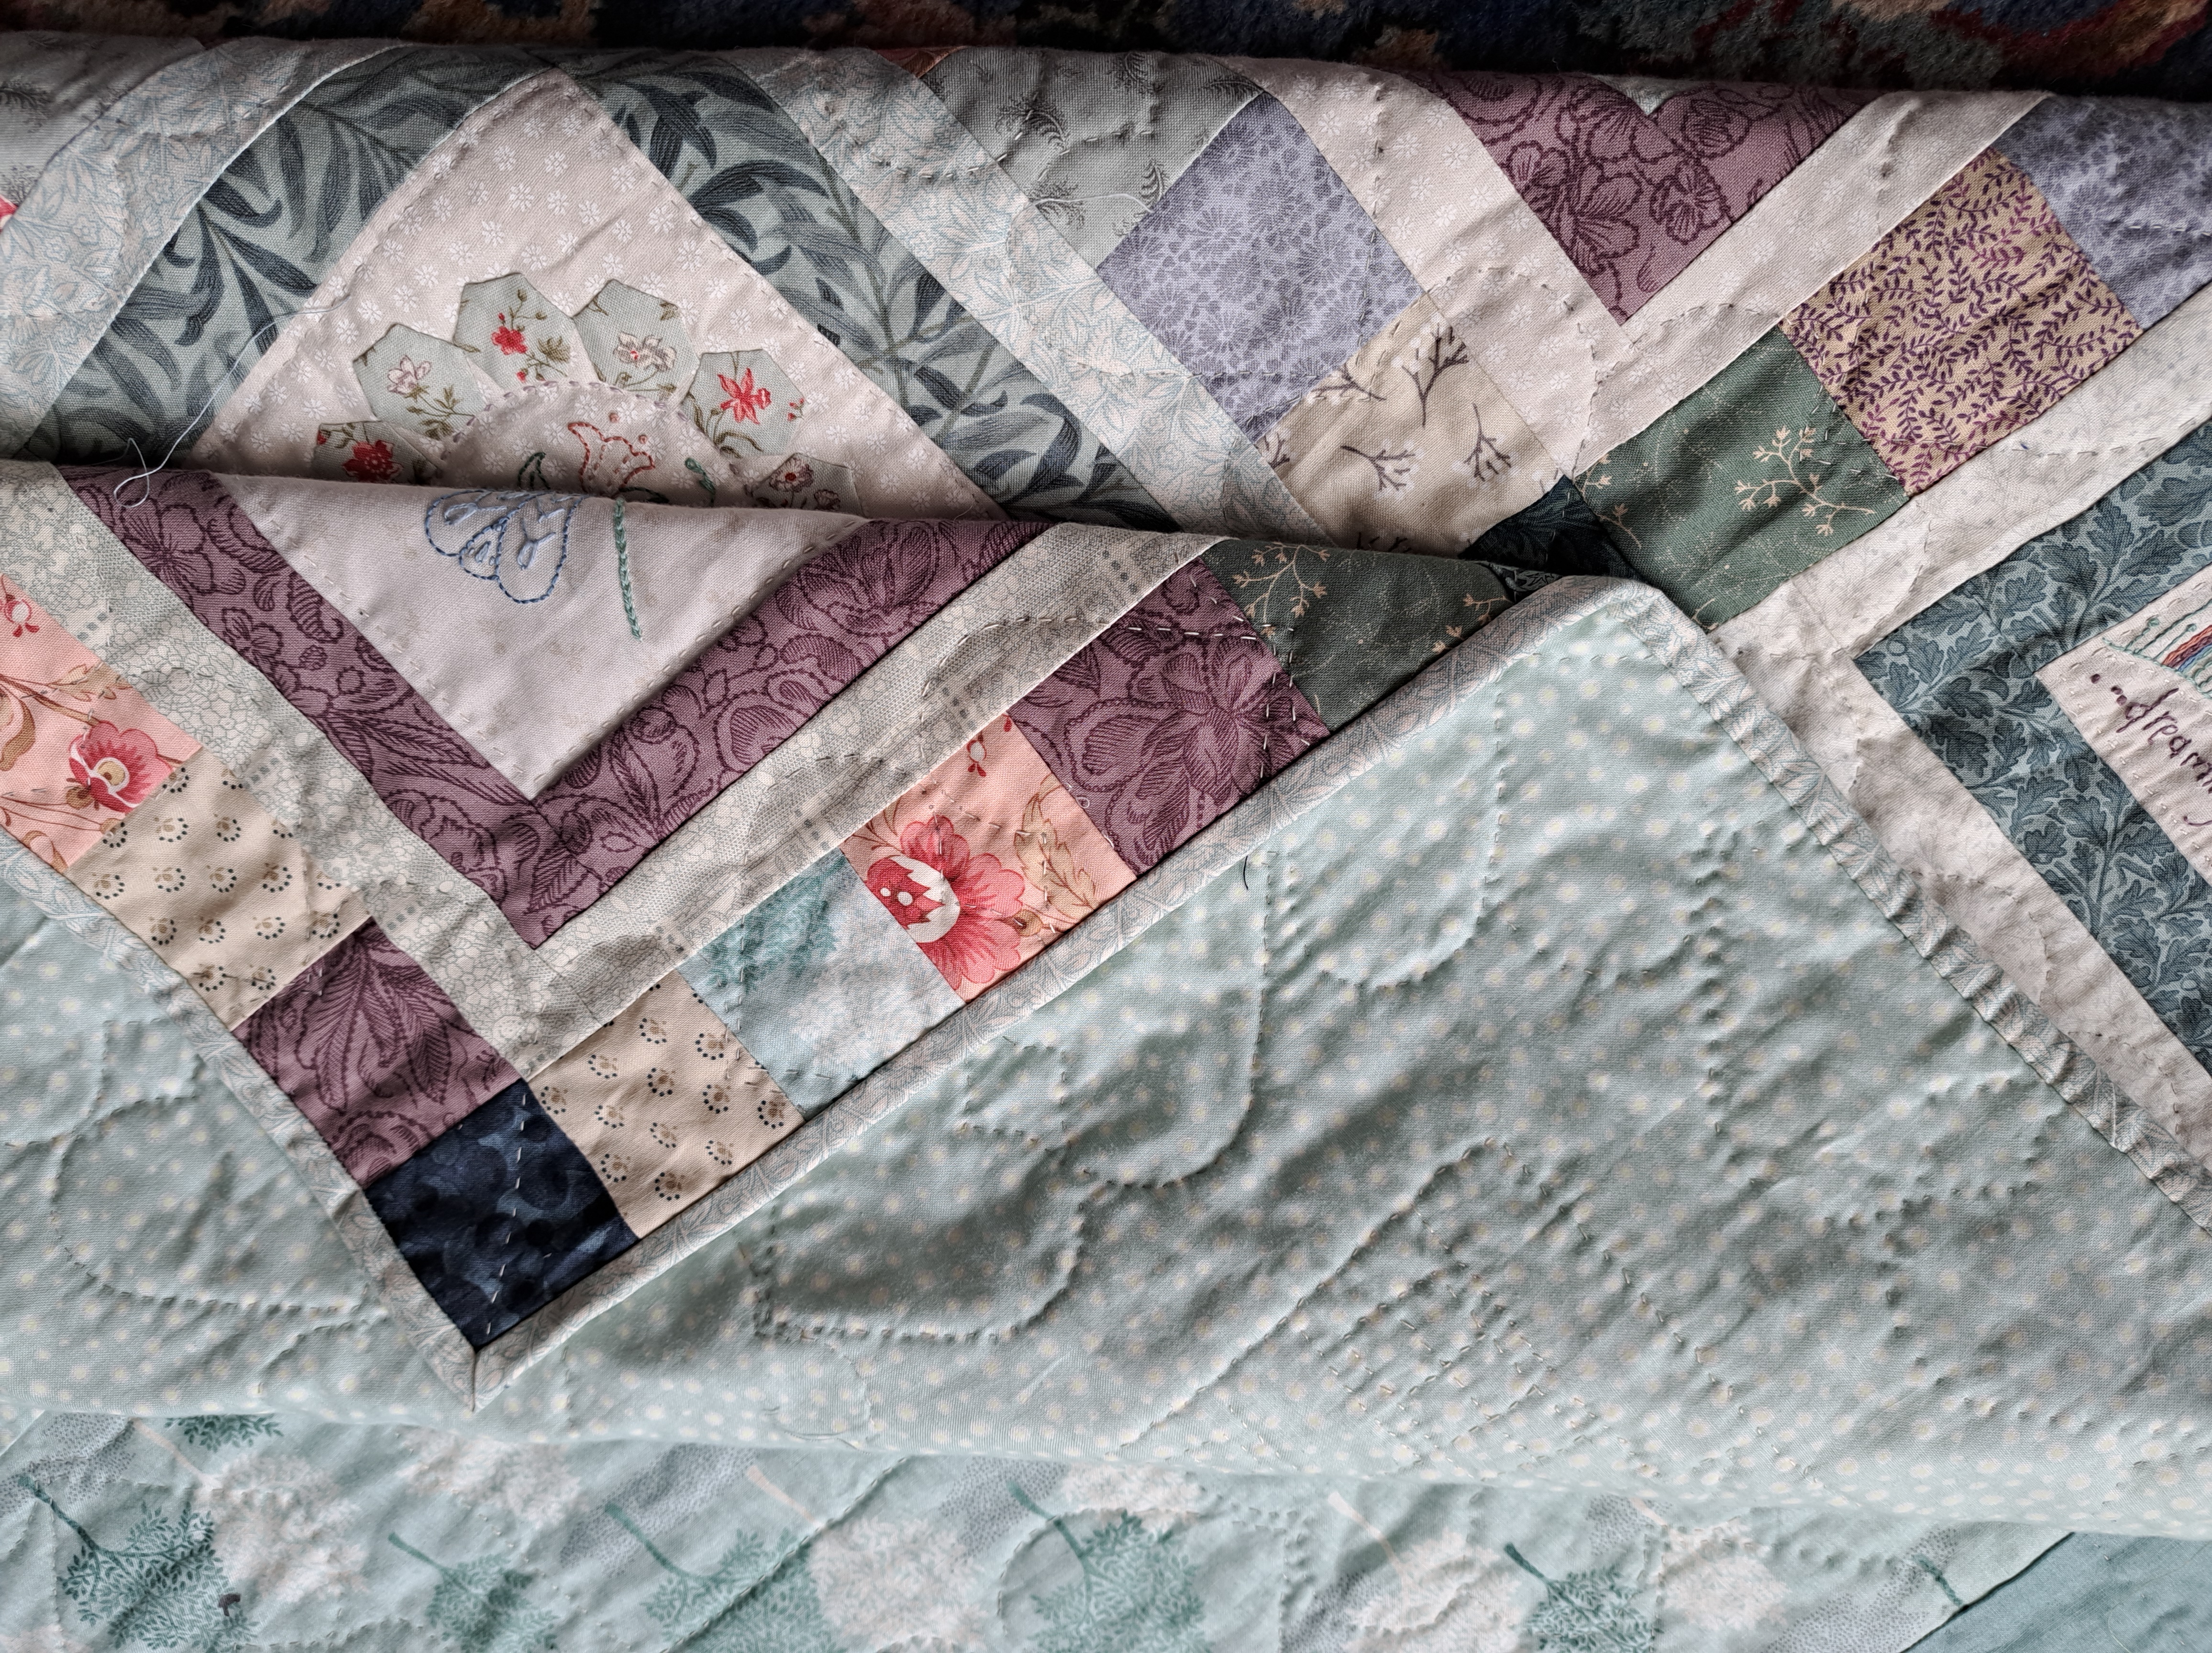
I’ve pulled a selection of fat quarters and scraps mainly from my stash together with two or three purchases. I find with this sort of quilt I tend to have one fabric which is a starting point and then the rest are planned round it. The starting one this time was the flowery one on a teal background on the far right, so I’ve pinks and greens, I need to look out for a couple of peachy ones, I’ve added blue into the mix together with a couple of browns, thinking of things like owls and hares. I’ve tried to go for more mid tones than me usual selection of wishy washy! I’m also hoping that the little ditsy prints will be good for fussy cutting little hexagons.

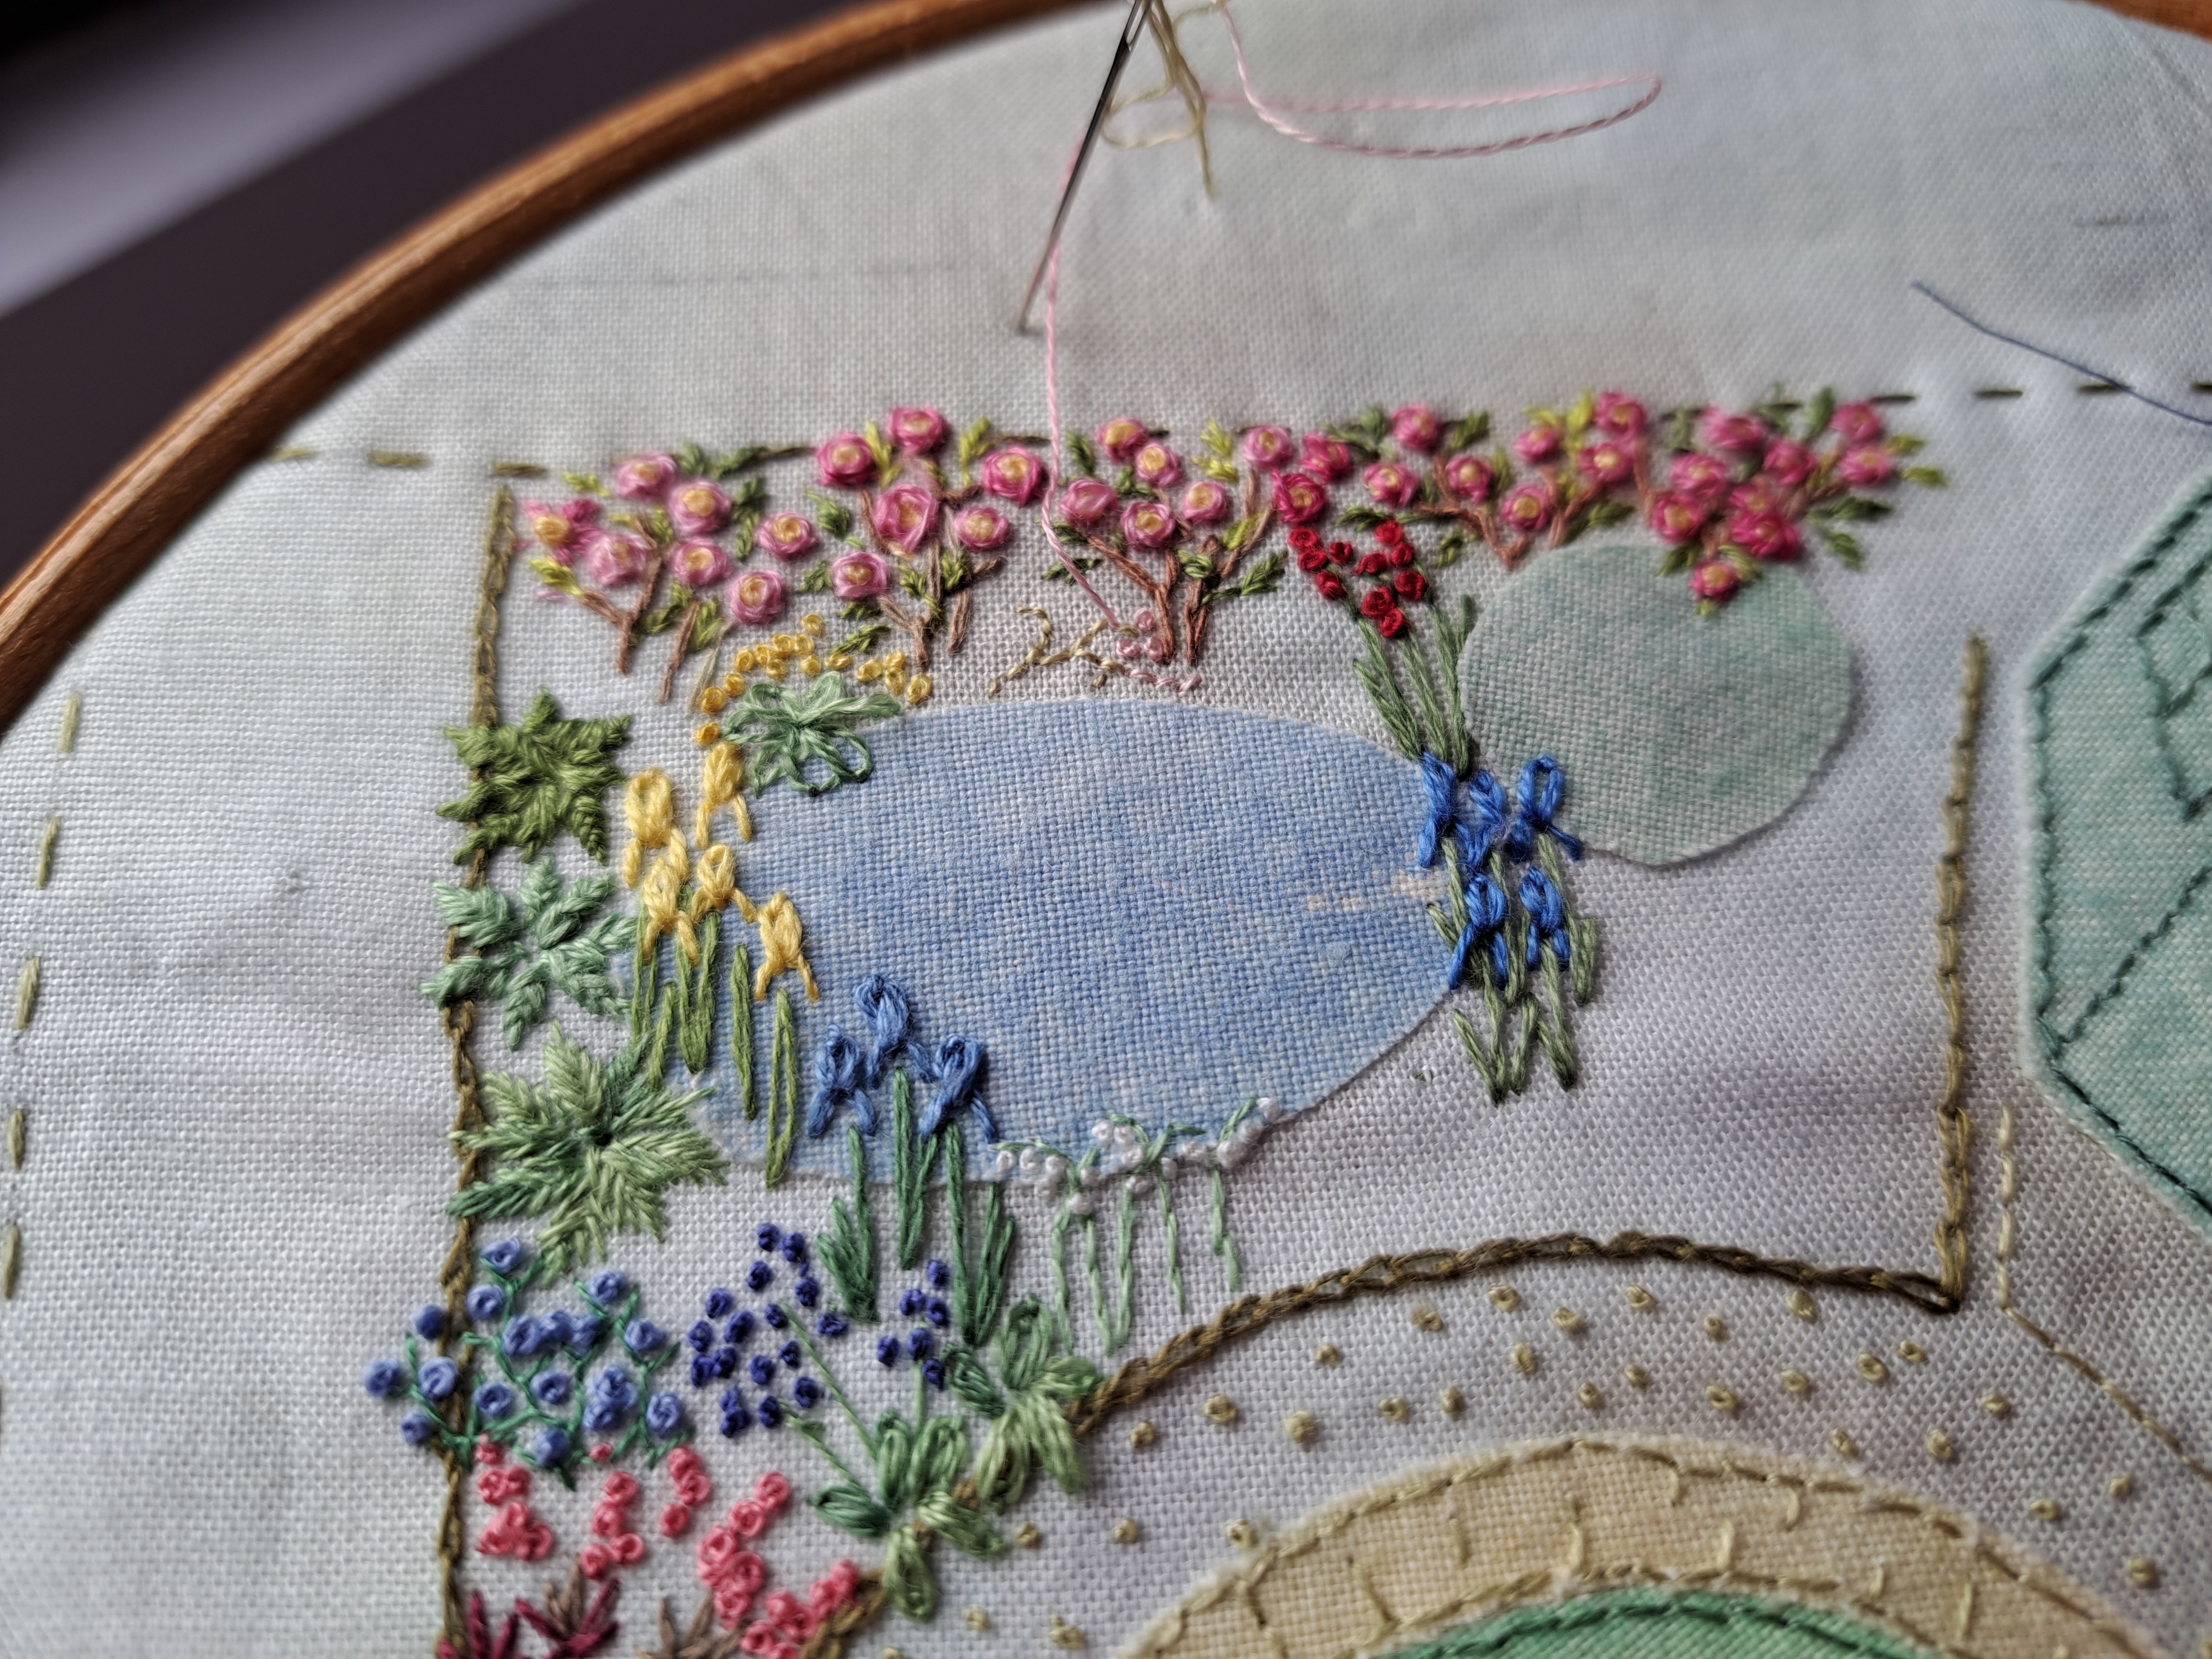
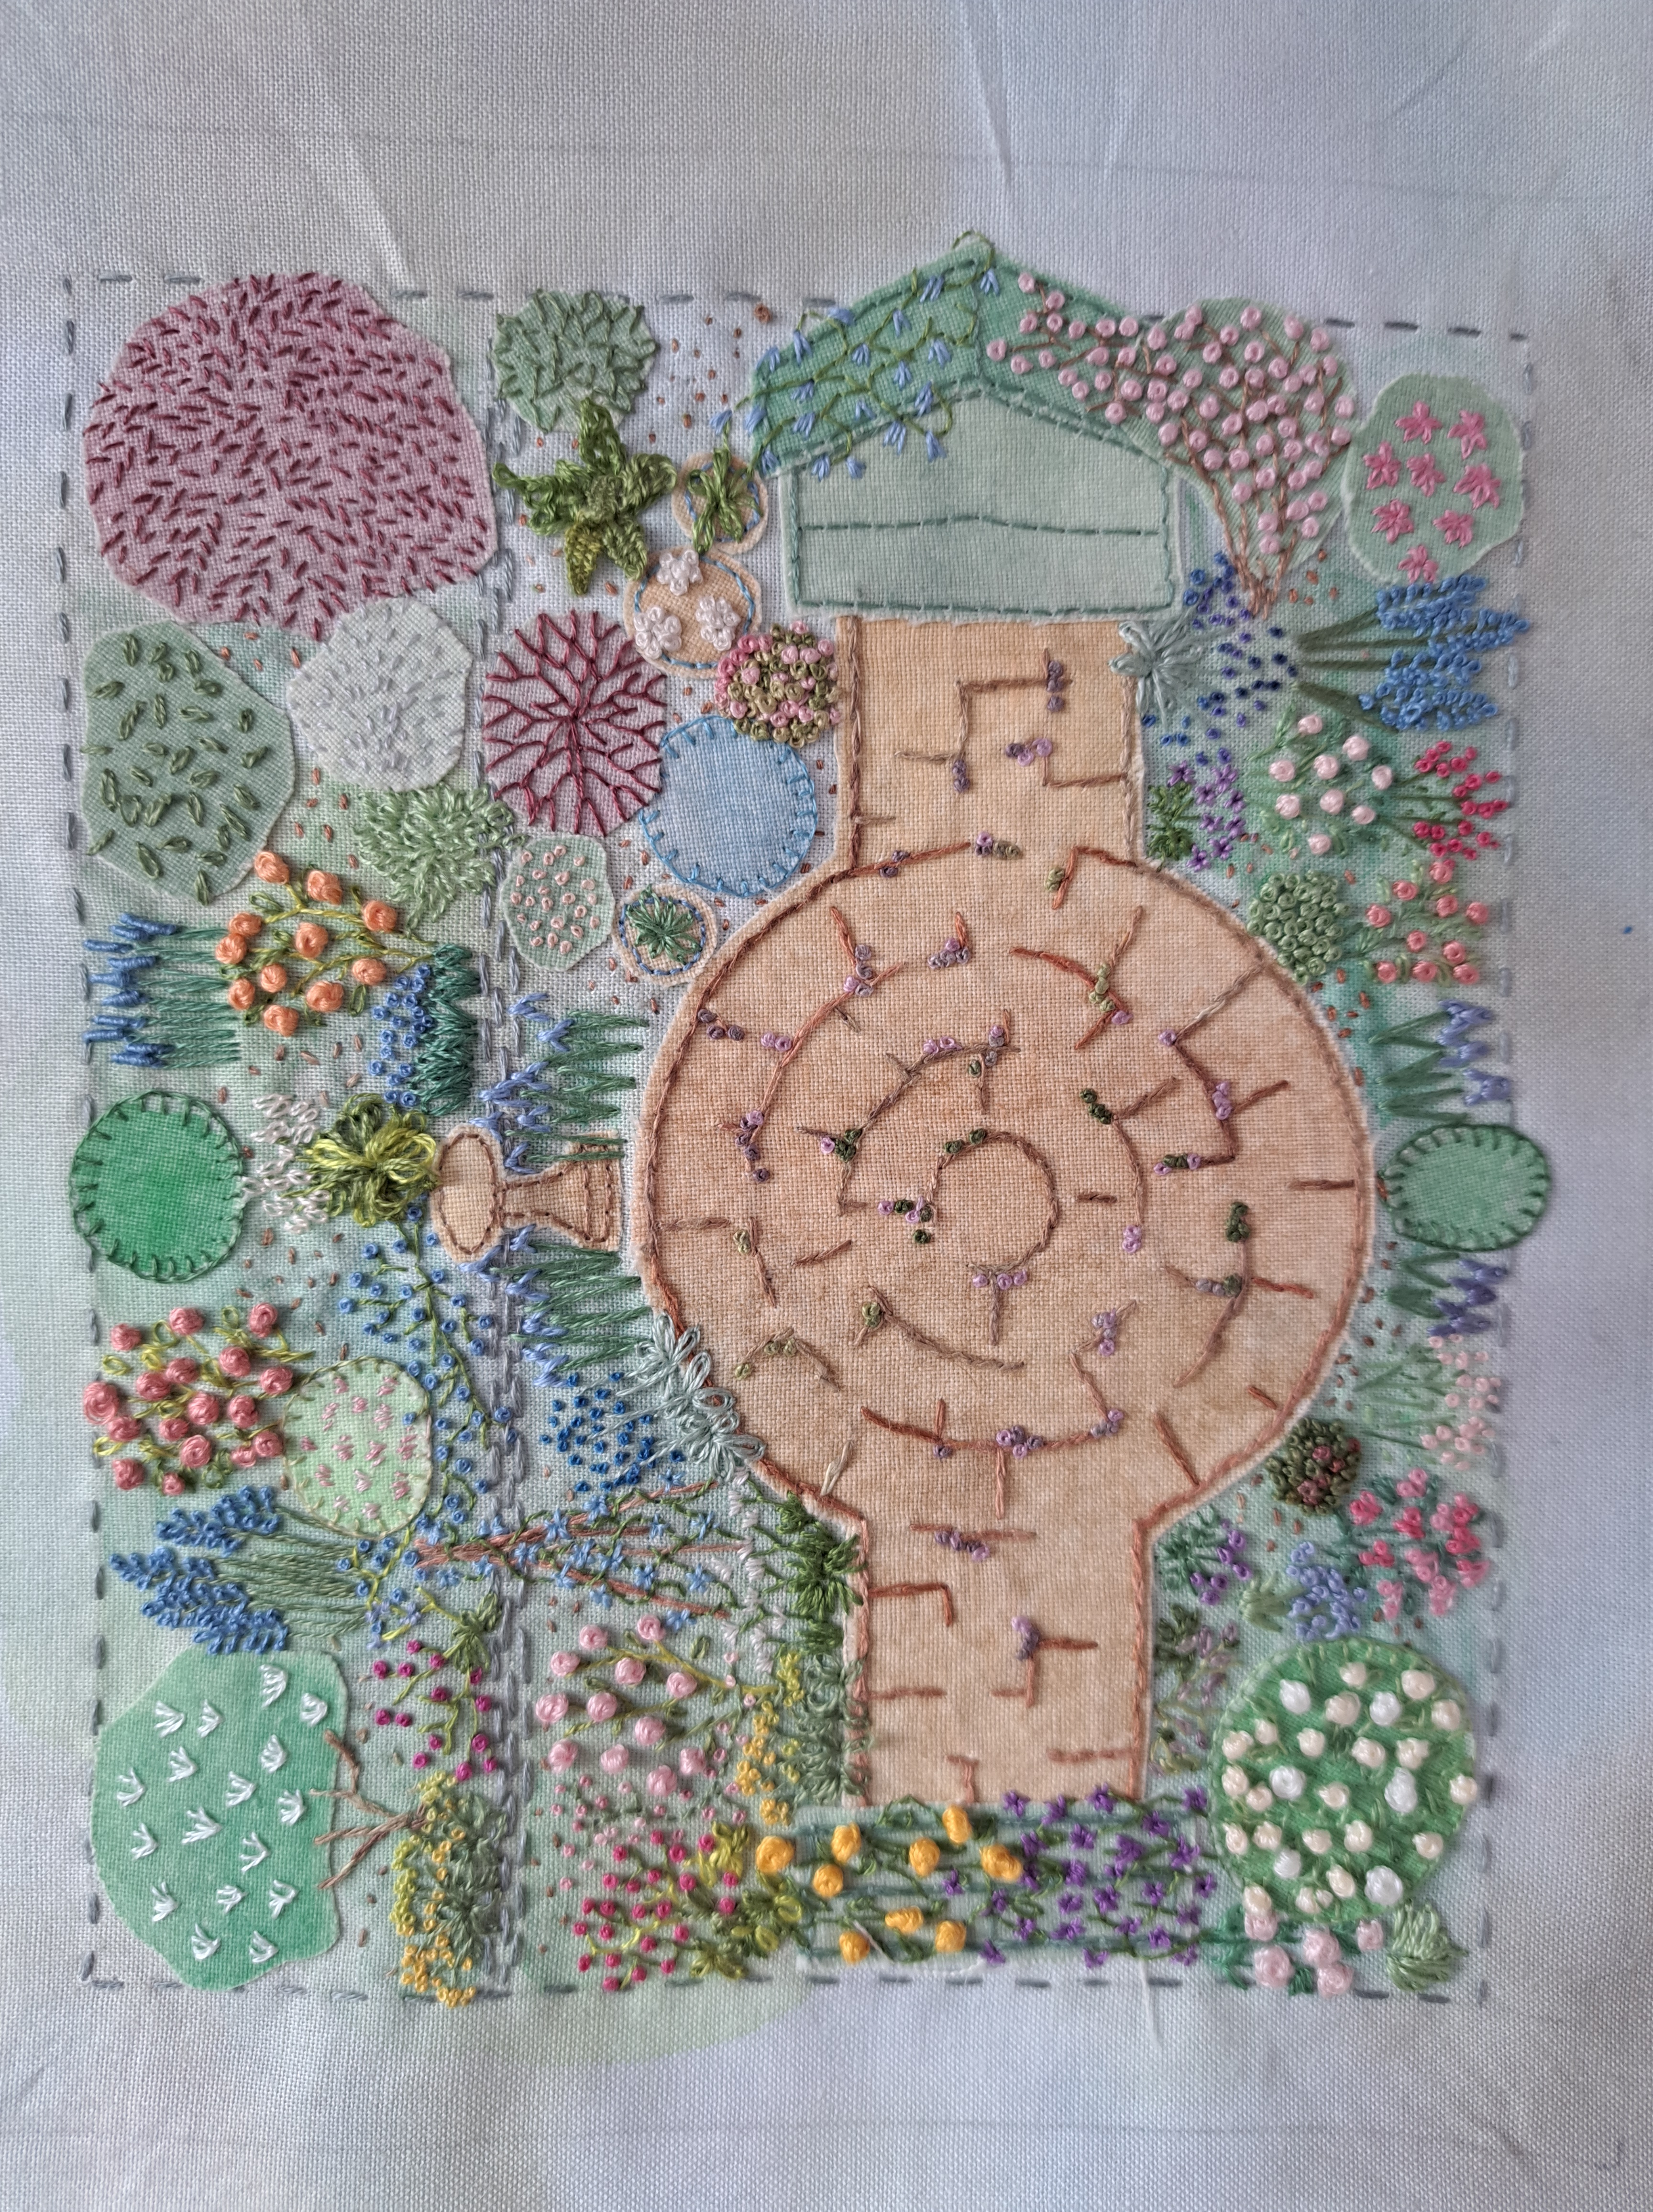
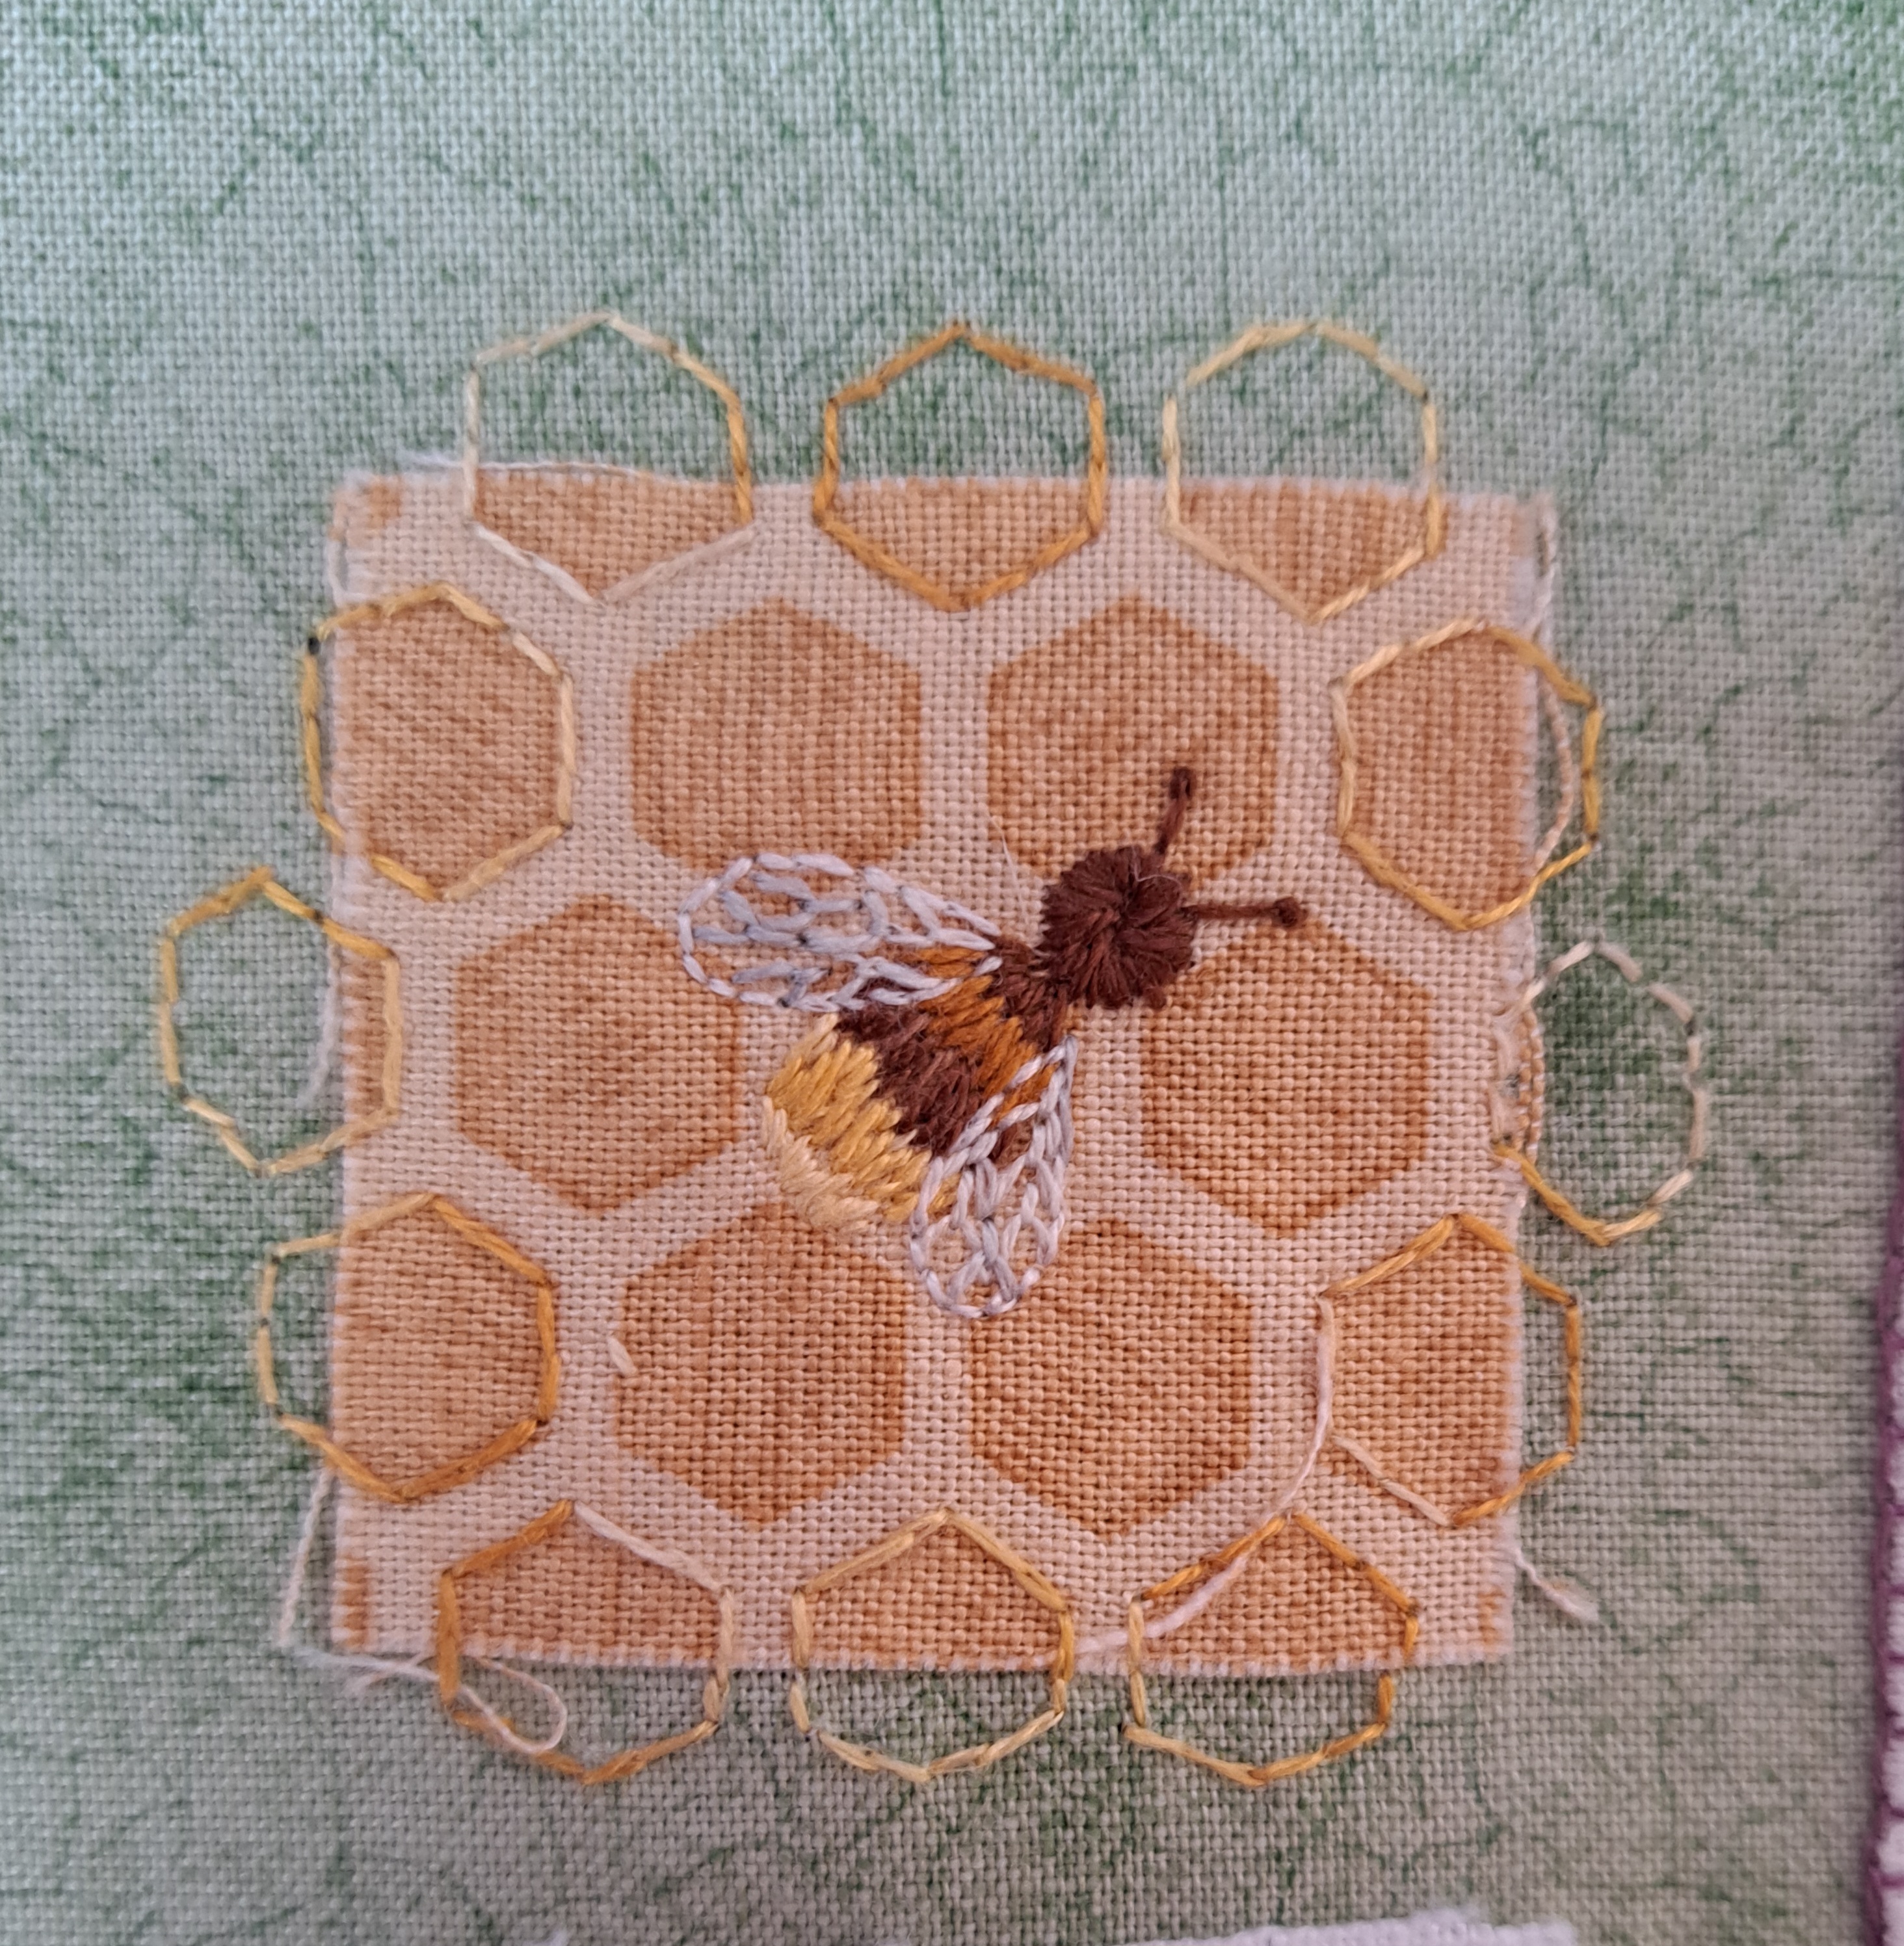
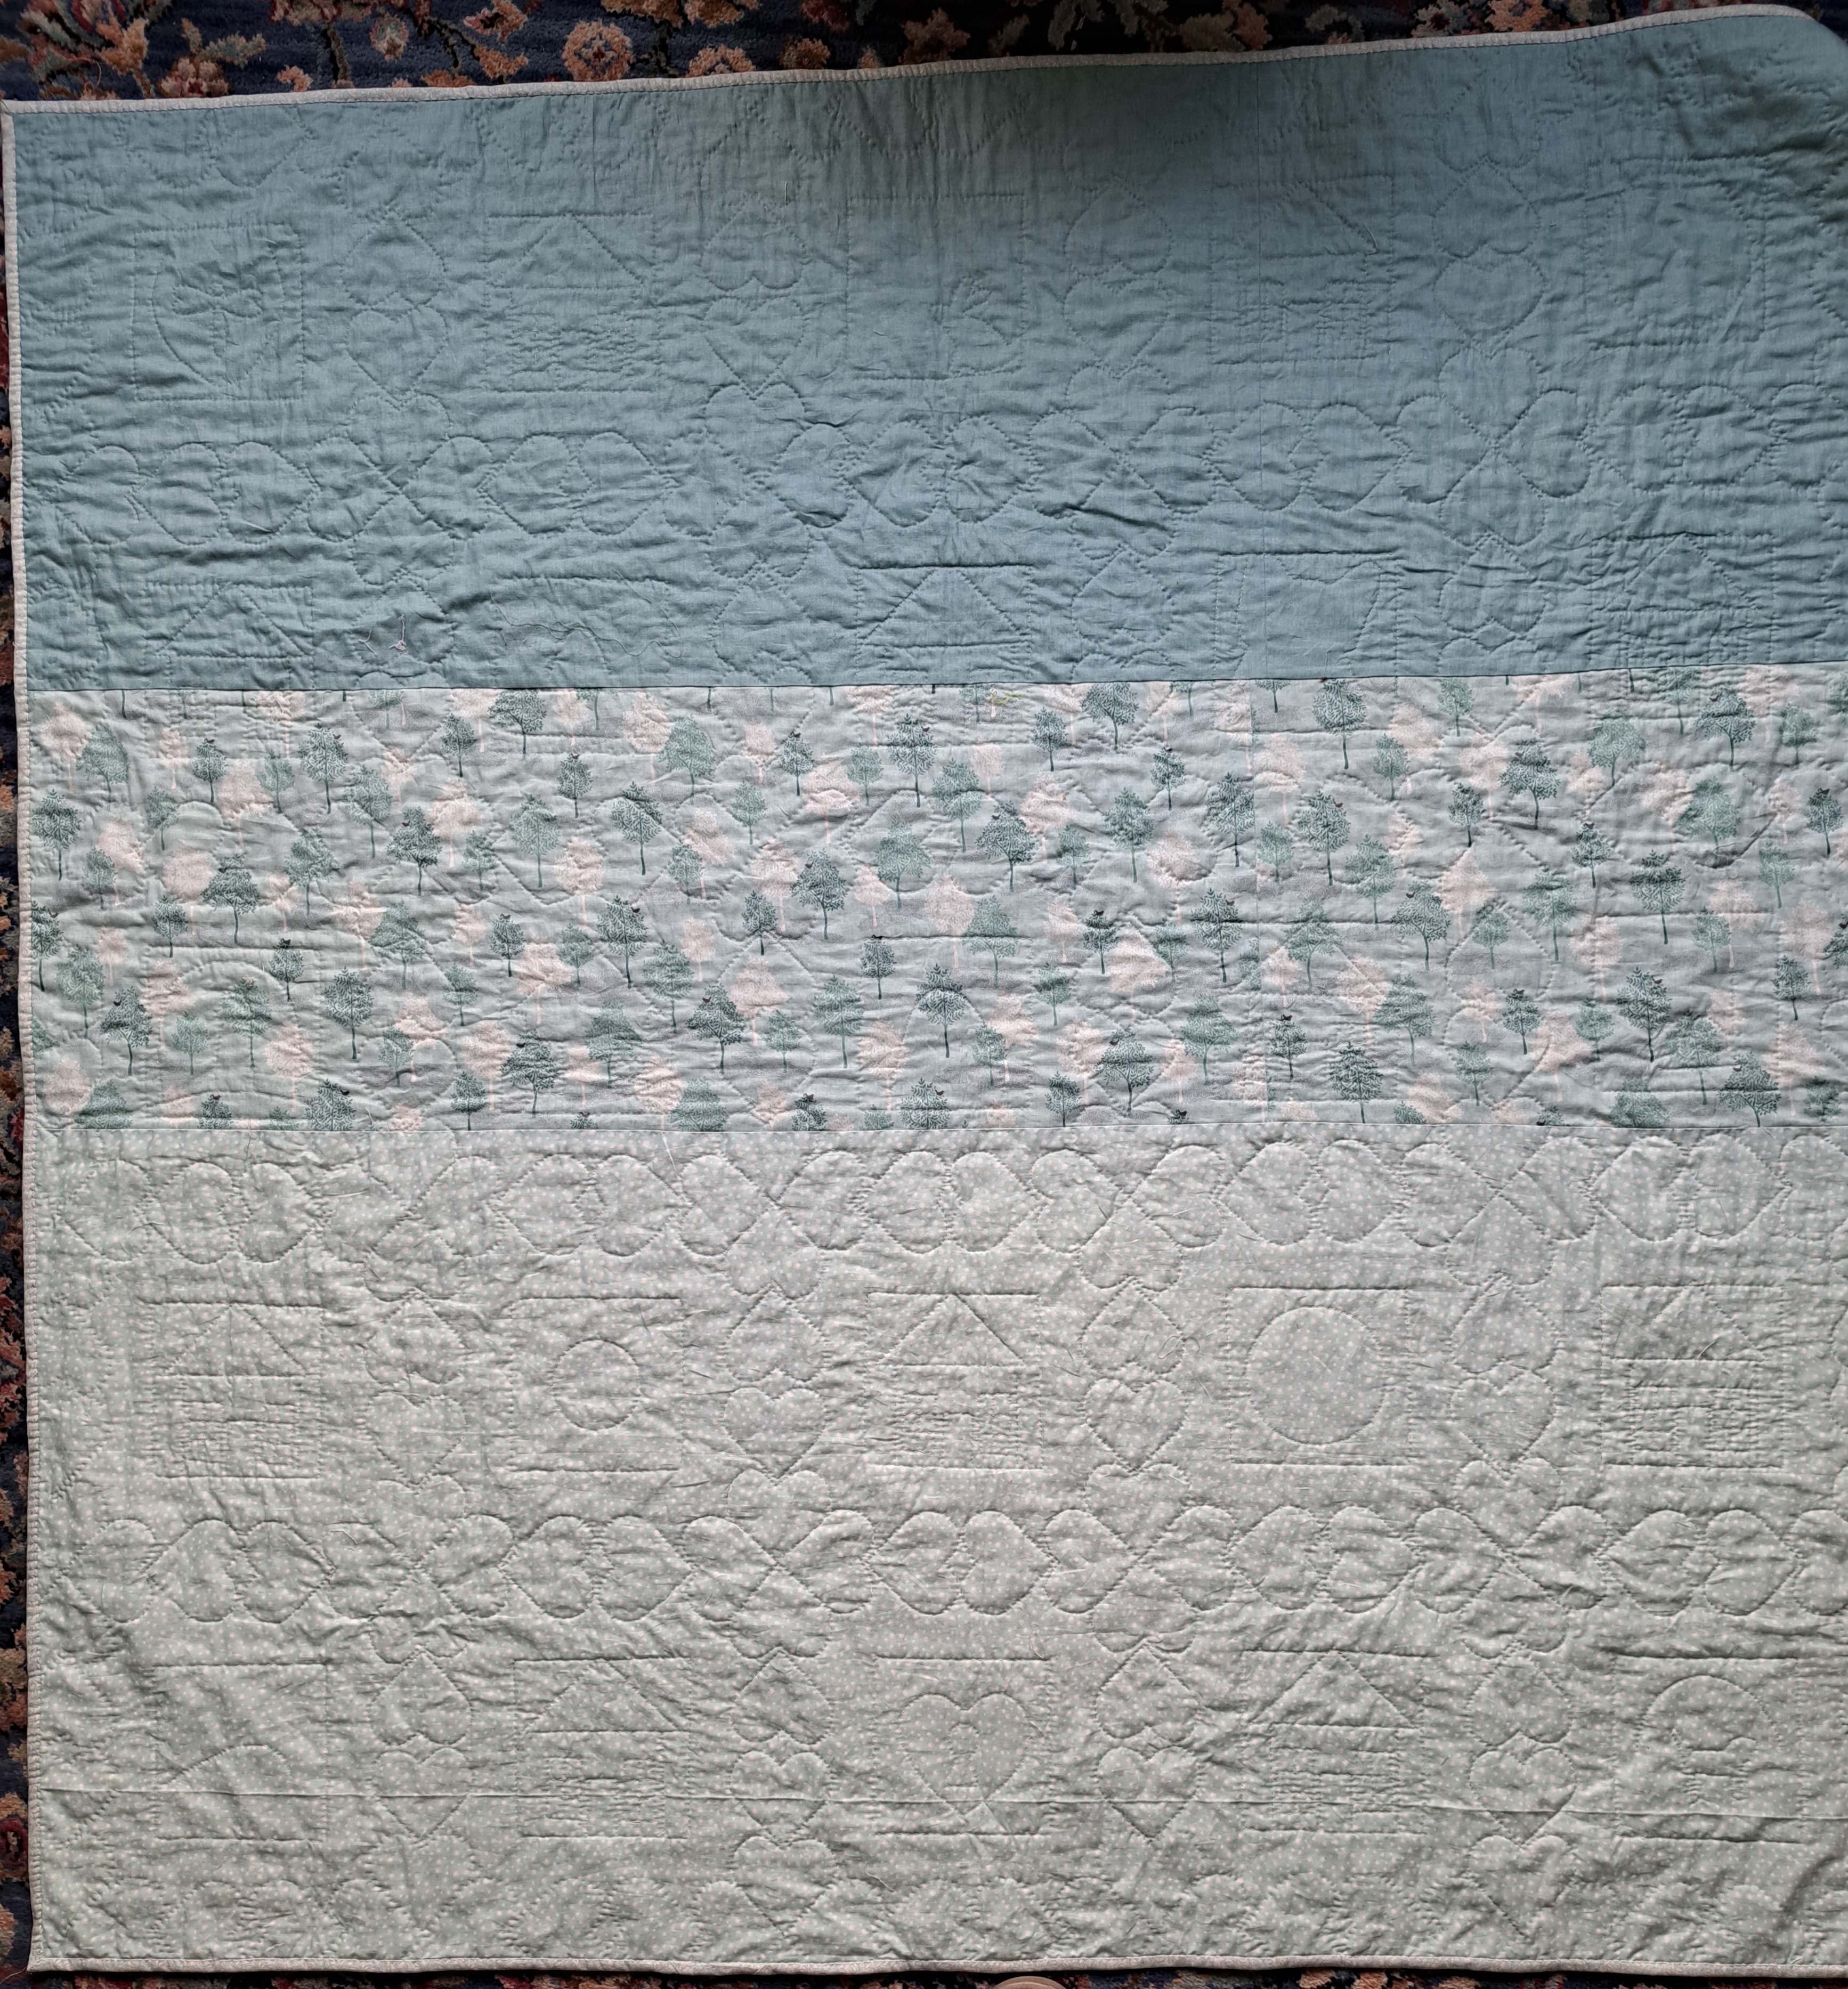
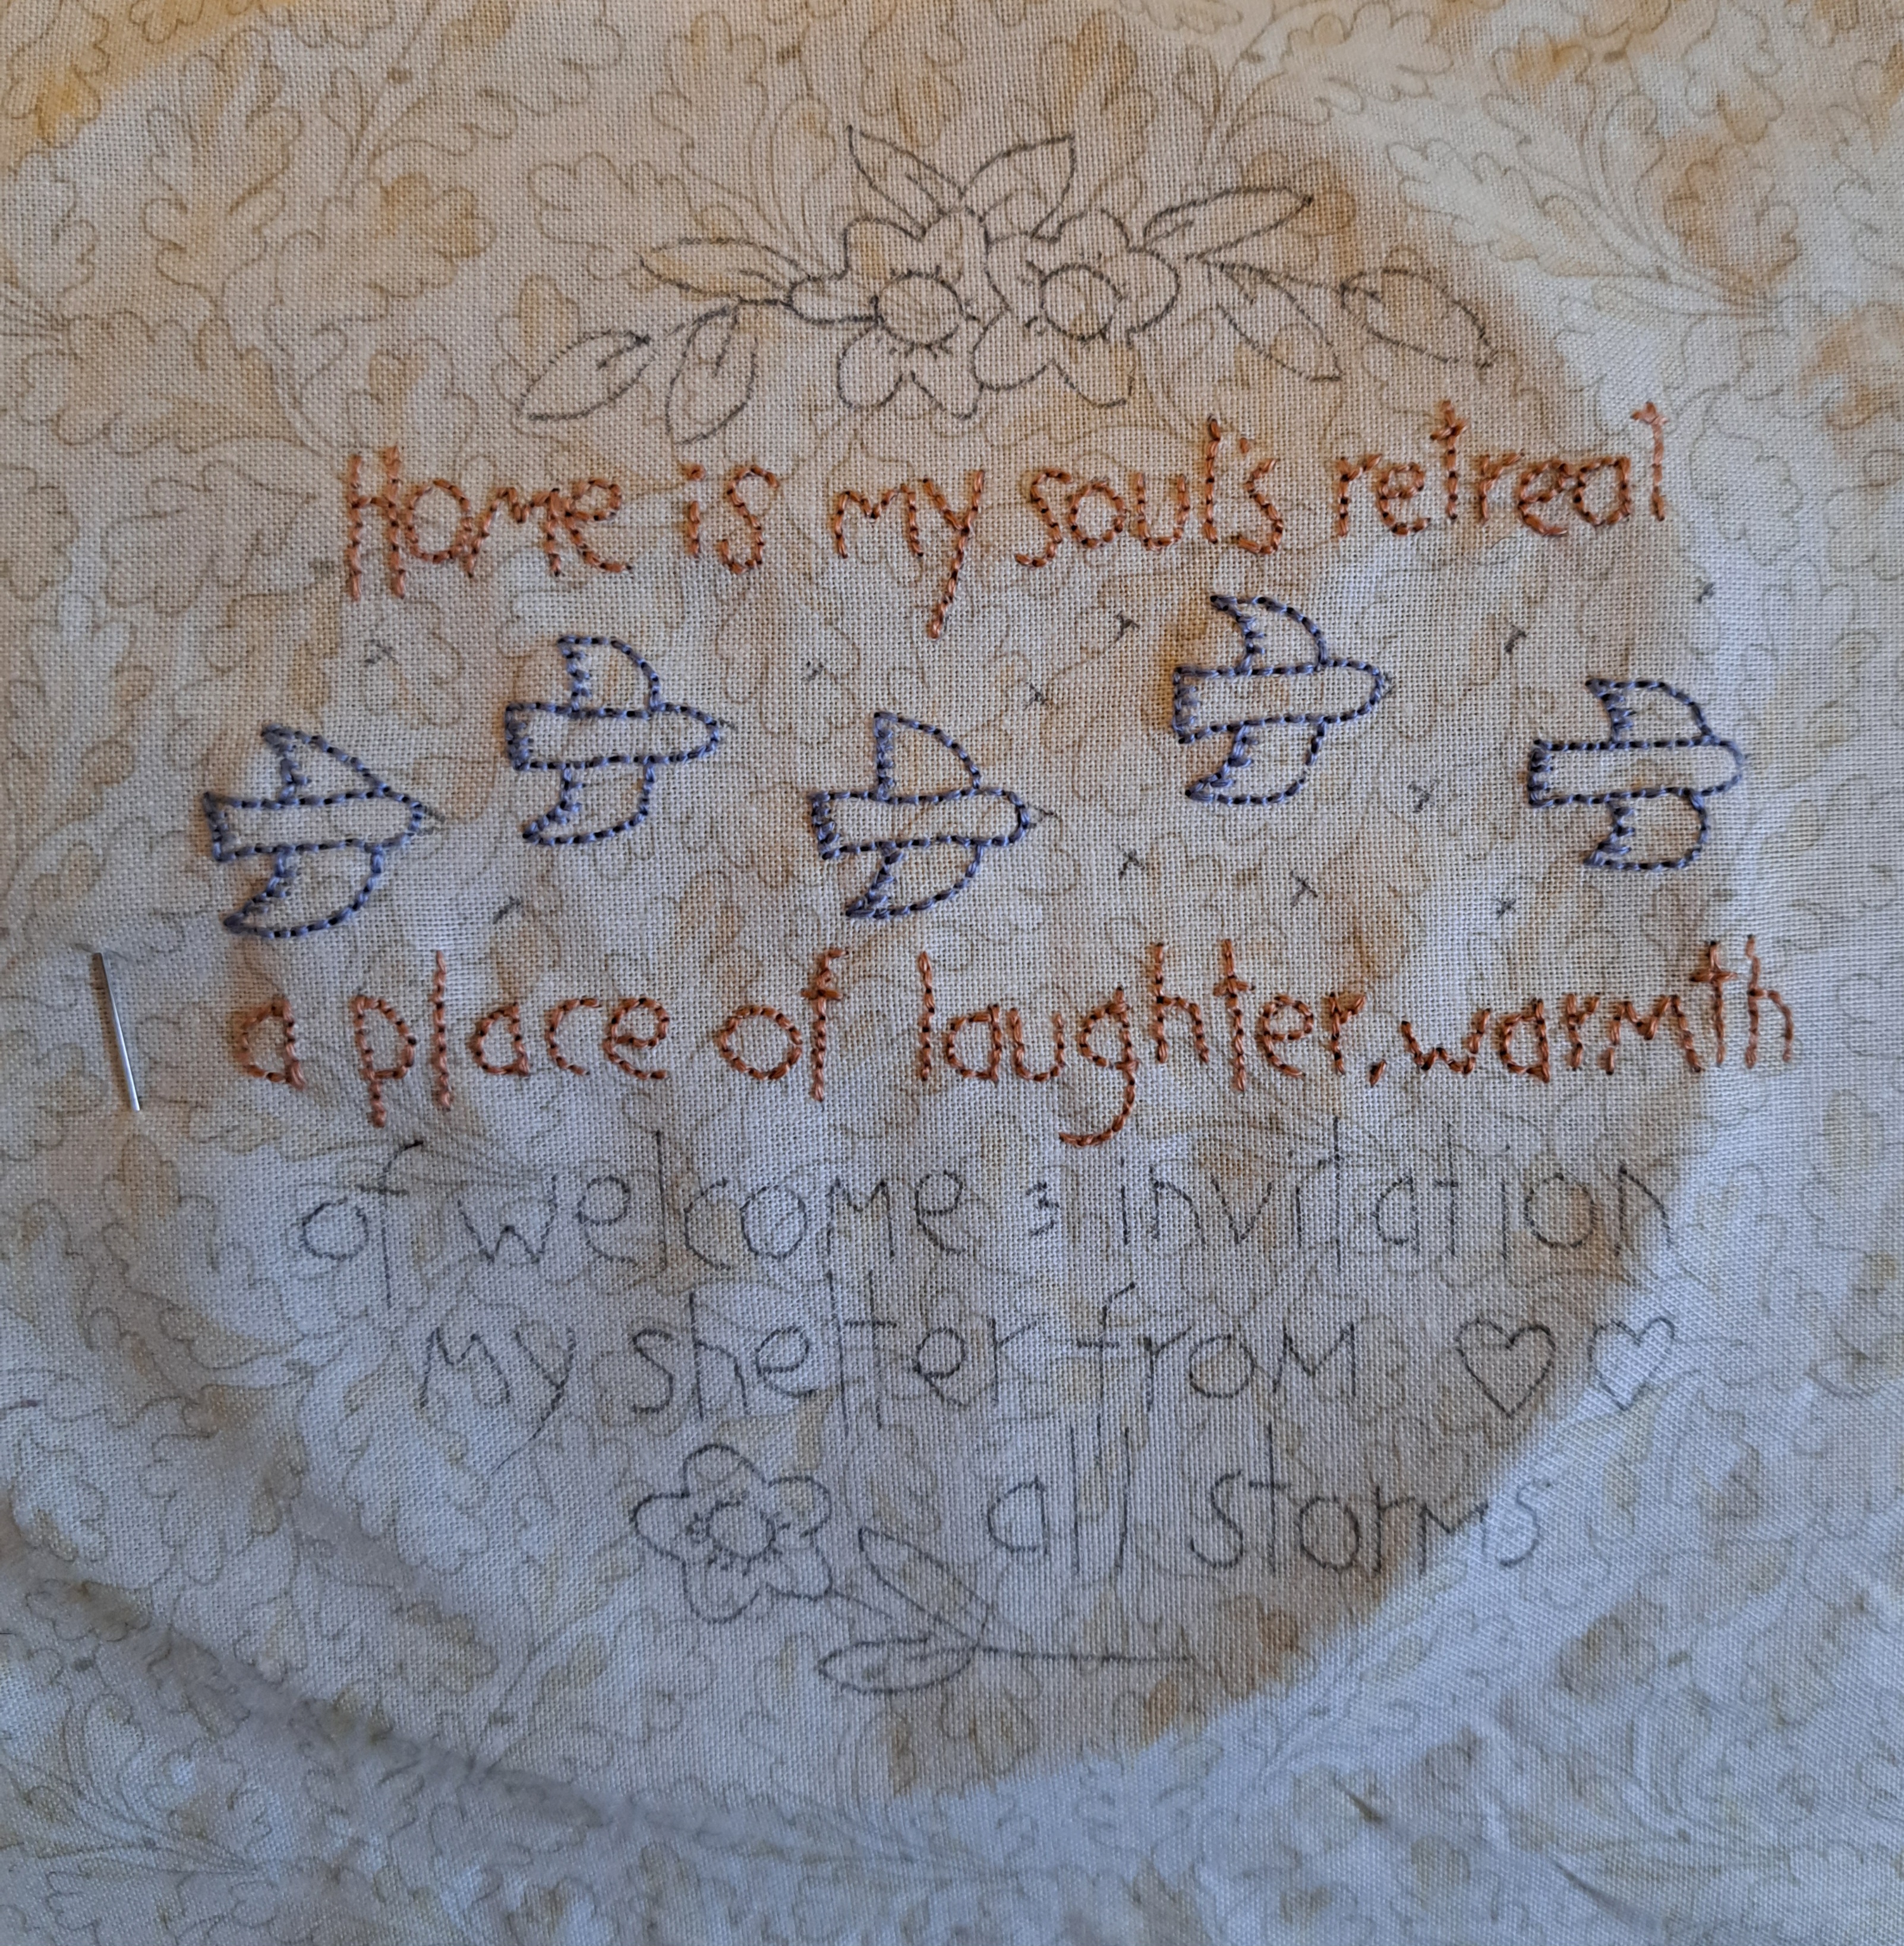
The first magazine gives instructions for two embroidered designs and four paper pieced blocks with ‘coffin’ blocks, I’ve started on an embroidered block first. I’ve traced the design using a frixion pen, so I can’t iron it for photos until it’s finished or my tracings will disappear. I’ve used a leftover piece of this lovely oak leaf design for the background, I’ve got enough for three blocks left. This is a favourite of mine, one of only a handful of fabrics where if I saw it again I would buy some more.
As you can see I’ve started but not got very far yet. I’m hoping to get a fair bit of sewing done over the next few weeks so watch this space!
Hand Quilt Along Links
This Hand Quilt Along is an opportunity for hand quilters and piecers to share and motivate one another. We post every three weeks, to show our progress and encourage one another. If you have a hand quilting project and would like to join our group contact Kathy at the link below.
Kathy, Margaret, Deb, Nanette, Sharon, Karrin, Daisy, and Connie
I’ll also be linking up with Kathy’s Quilts for Slow Stitching Sunday, please follow the links to see what everyone has been quilting.