I’d been a member of Askwith with Weston WI since I was in between babies, nearly thirty years ago. I write that in the past tense, not because it has closed or I have left, but because it has recently renamed the institute. We had moved venues to the other side of the valley in Menston which is a much better drive for most people, over the years we also have had hardly any members from Askwith or Weston villages, our members come from quite a wide area, just not those villages.
It’s been a good move as our membership has steadily increased since moving to Menston. We did feel however that we could no longer call ourselves Askwith with Weston when we don’t meet anywhere near the villages. A new name was required.
After much deliberation and a vote, we settled on Wharfedale WI.
At out meetings we have a tablecloth embroidered with the name of the WI which is laid on the President’s table. I’m not sure just how old it is but it’s certainly been there as long as I’ve been a member. Obviously a change of name necessitated a change of cloth…or did it!
I was tasked with the job of creating a new tablecloth. I ummed and aarhed for several weeks, do I go down the quilted route, or the embroidered route? I didn’t want to make myself too much work either! I suddenly had a lightbulb moment…
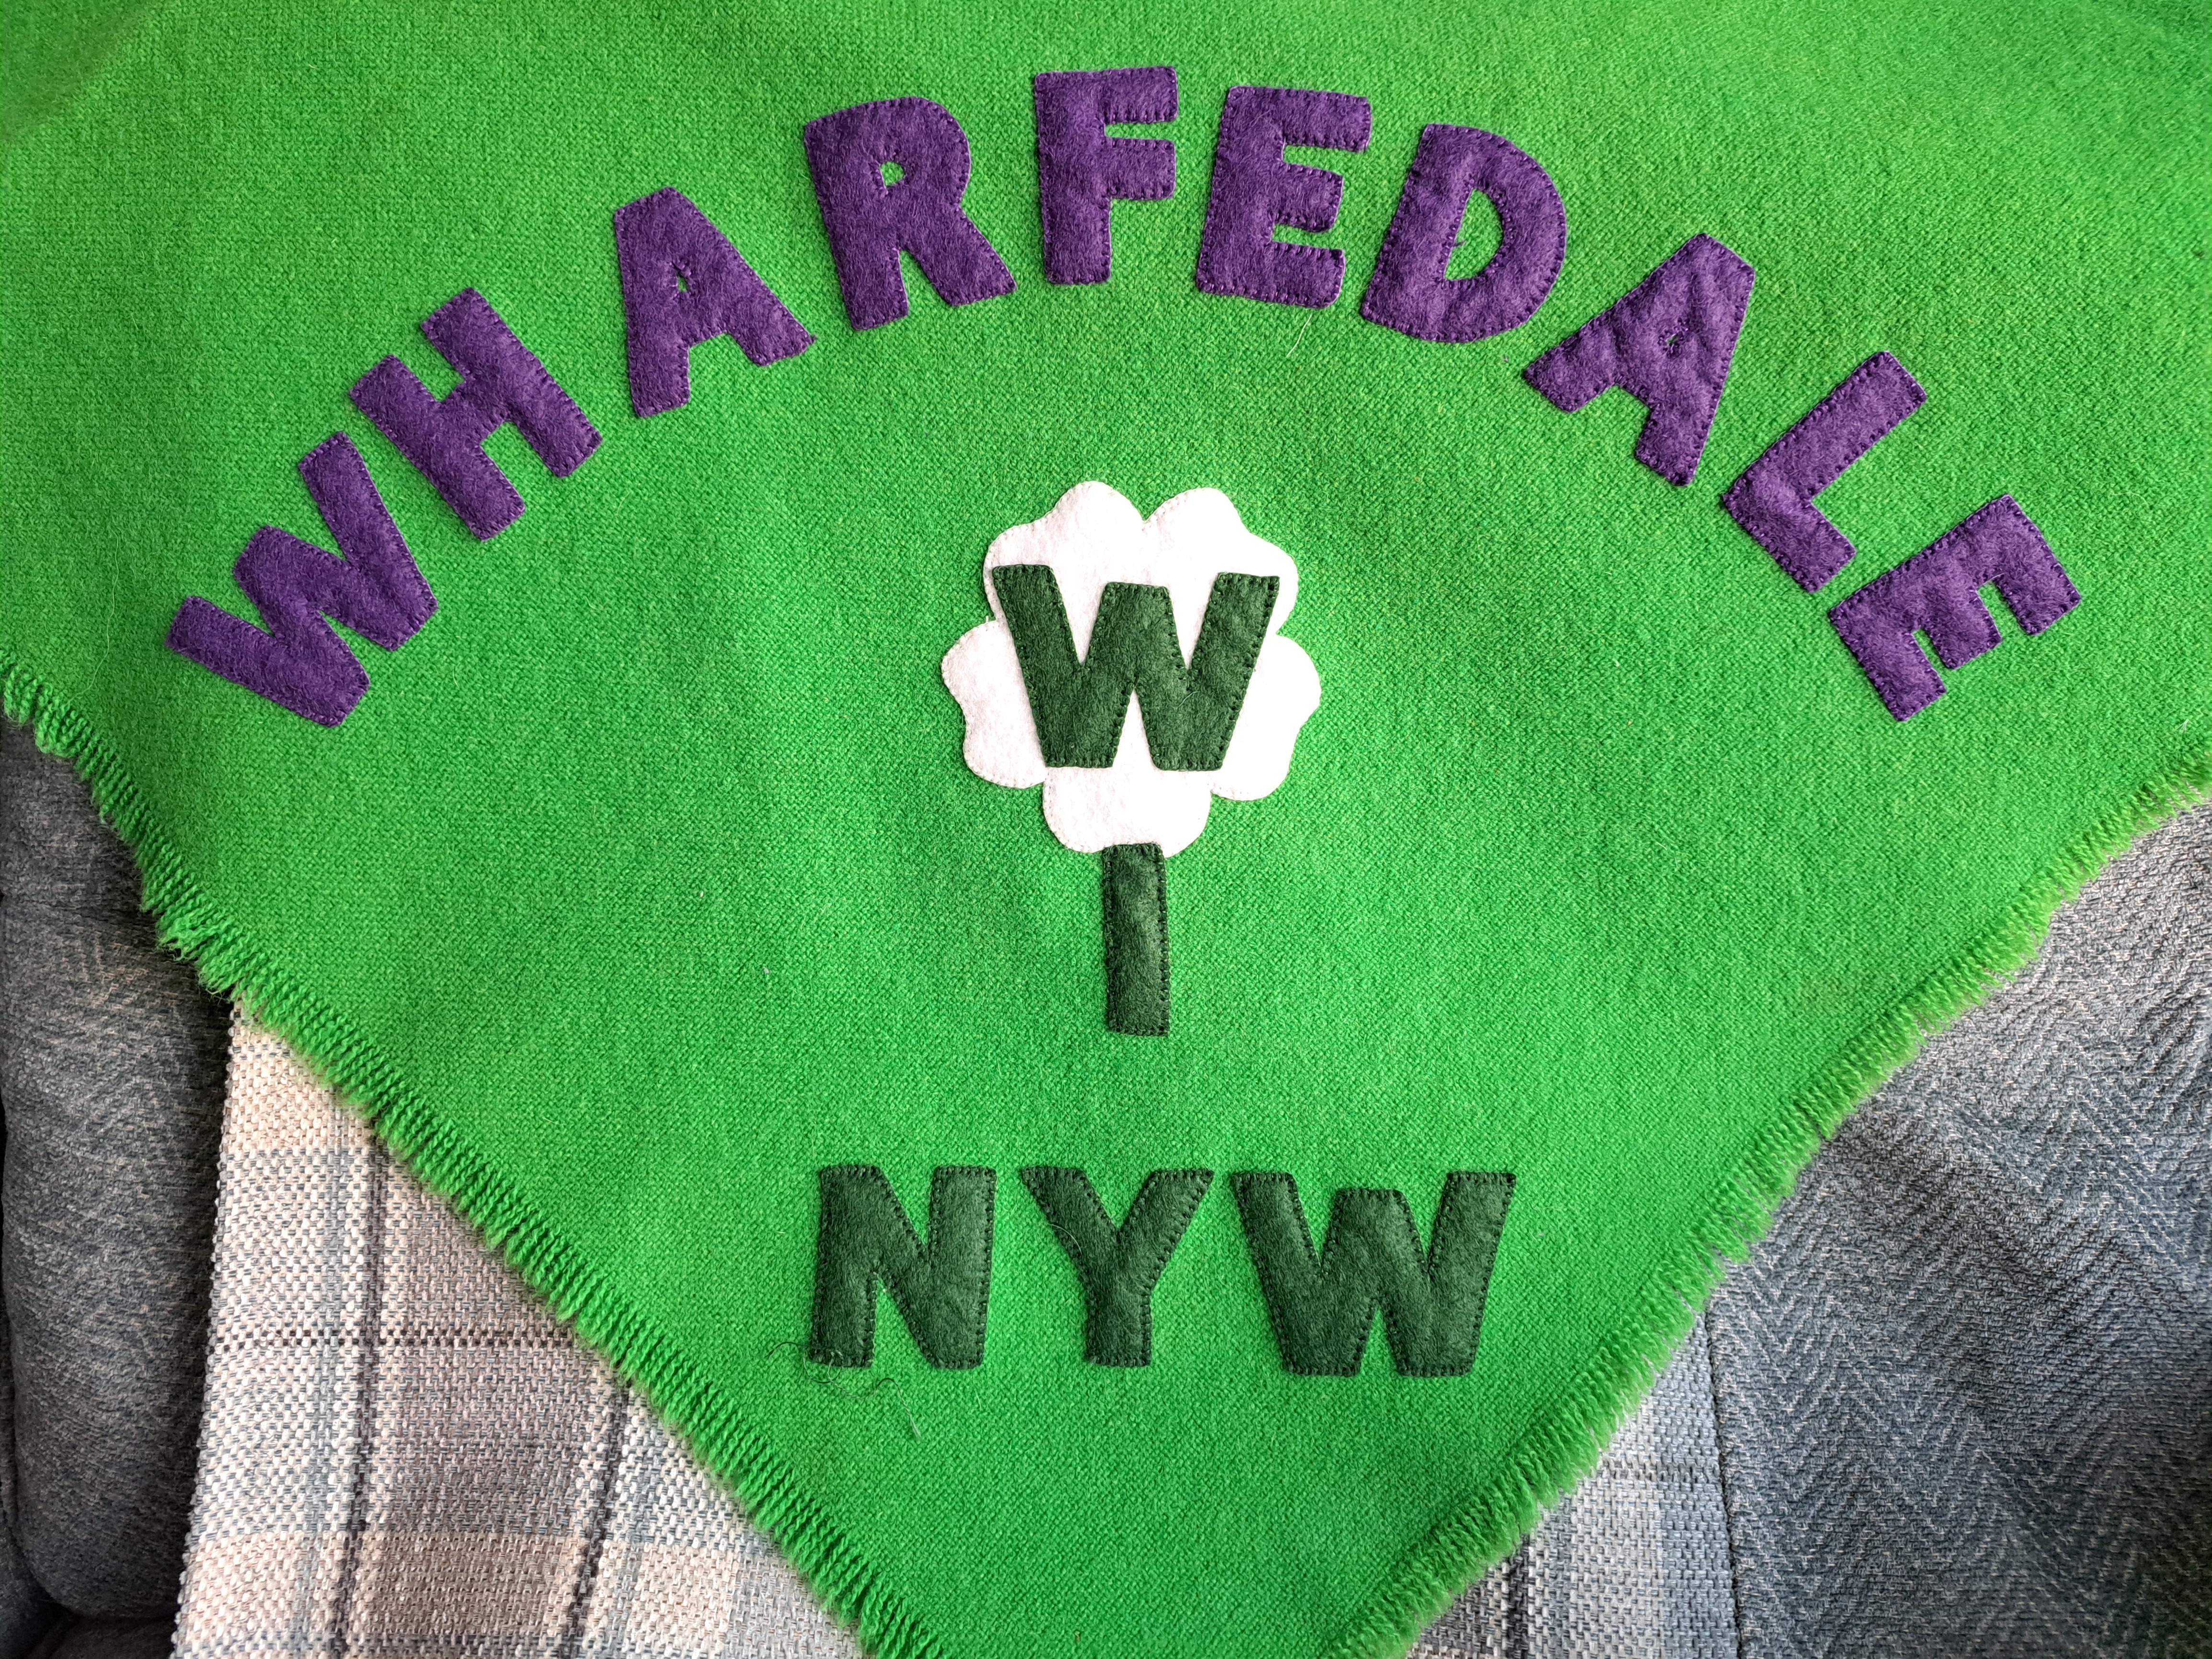
The old green tablecloth had the name in felt across one corner, if I put the new name across the opposite corner we would keep the history of the institute whilst incorporating the name of the new one. Luckily the committee agreed with me.
The old name was in red felt, I decided however to use purple and dark green as these are the WI colours, dating back to it’s origins in the suffragette movement. I found a font I liked on Etsy and traced the letters onto Bondaweb, remembering just in time to reverse some of the letters as Bondaweb reverses everything. It took a while to arrange the letters evenly.
Unfortunately although the bondaweb stuck nicely to the felt, it wouldn’t stick well to the wool tablecloth, so I ended up pinning and tacking everything down. I cut a white rose of Yorkshire out which is an old symbol for North Yorkshire West federation of the WI. The dark green letters W I are then overlaid over the Yorkshire rose.
I decided to blanket stitch everything in place which took a few evenings. I was very surprised to see the original letters were machine stitched with a zig-zag, despite being President for three years I had never noticed!
Hopefully everyone will like the new version of the tablecloth.