
I did promise a post on how I put my lace journal together, we then had family to stay, holidays…recovery from holidays…and the days go by!
I posted about the various different pages I put together and the embroidery I added. I ended up with eight double page spreads, all double-sided too. I also had several pages which were simply one length of lace. I included a piece of my wedding dress lace, some beautiful wide vintage lace I had in my stash and other laces I had collected over the years.
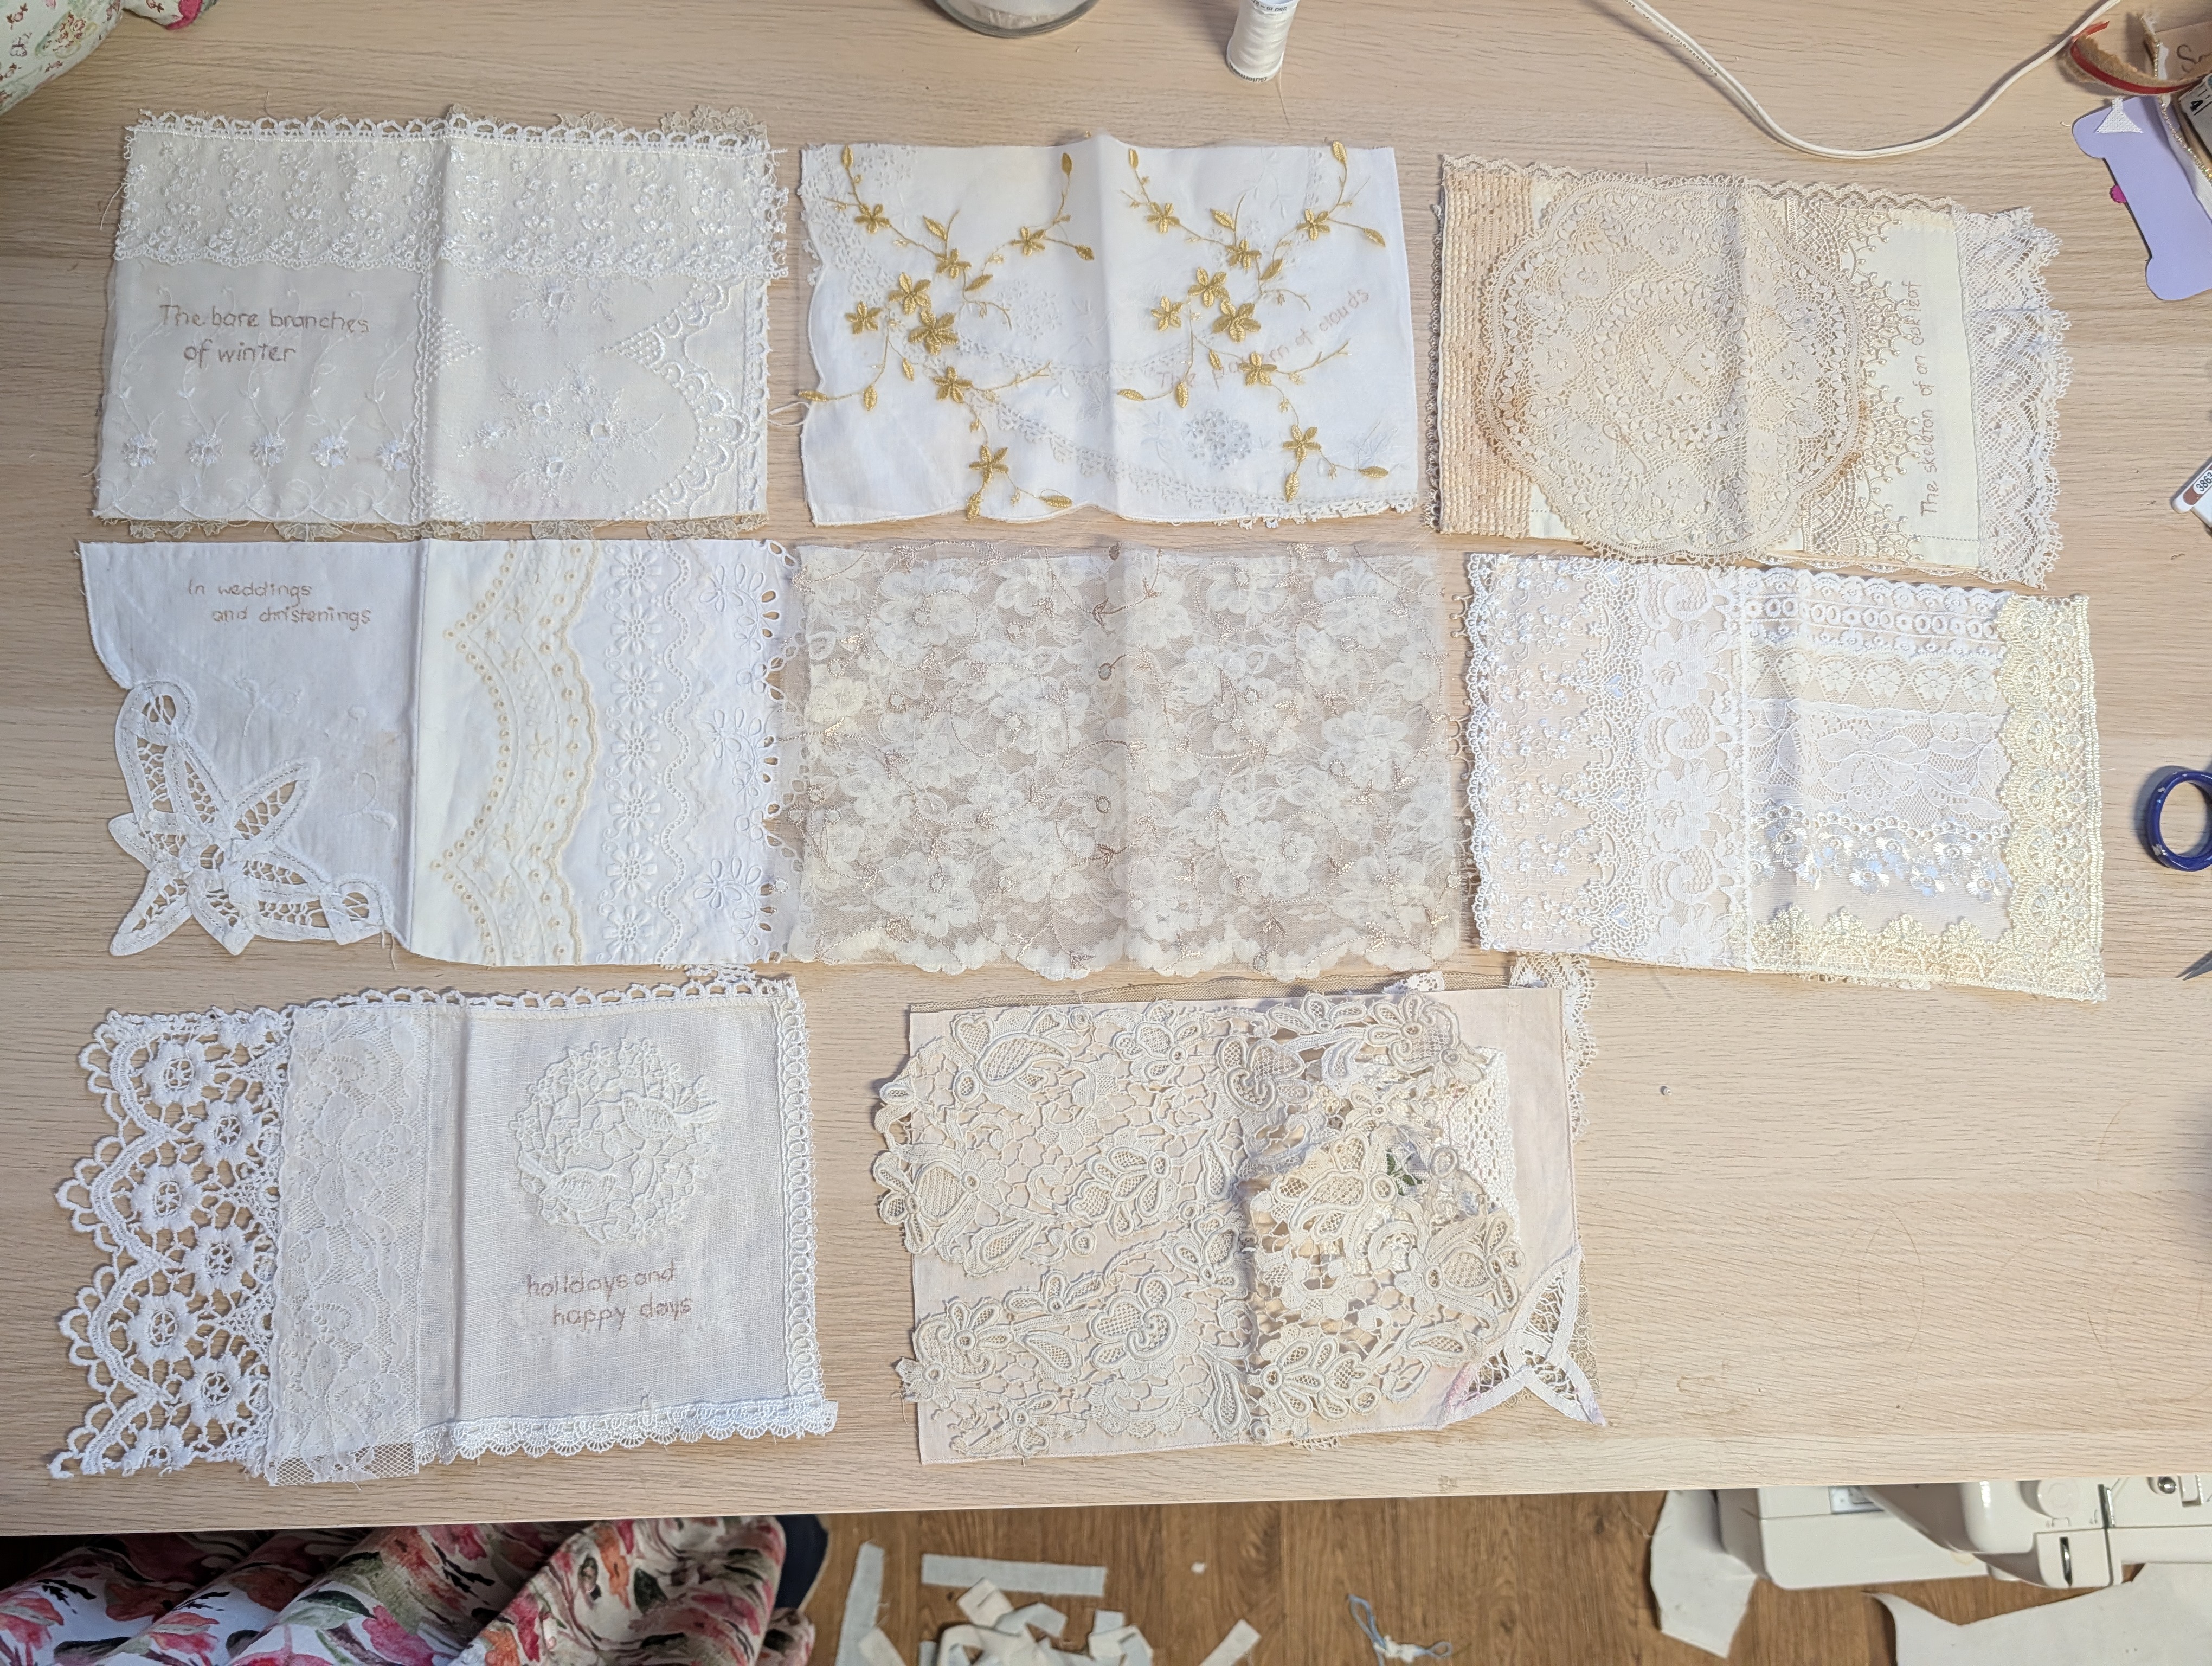
I folded the pages and put them in an order I was happy with, some of the thinner pages had extra pieces of lace added, bulkier pages were just on their own. I ended up with nine groups of pages to be stitched in.
I puzzled for a while what type of fabric I should use as the binding as it did need to be fairly firm. By chance one of our members brought a pile of fabrics to my Skipton Stitchers meeting which she didn’t want anymore. Amongst them was a piece of stiff canvas type fabric…Perfect!
I worked out the size I wanted the cover – extra long as I wanted a tri-fold cover. I then worked our the spacings if I was to have six stitches. I made a cardboard stencil which I used both for marking the pages and also for marking the cover.
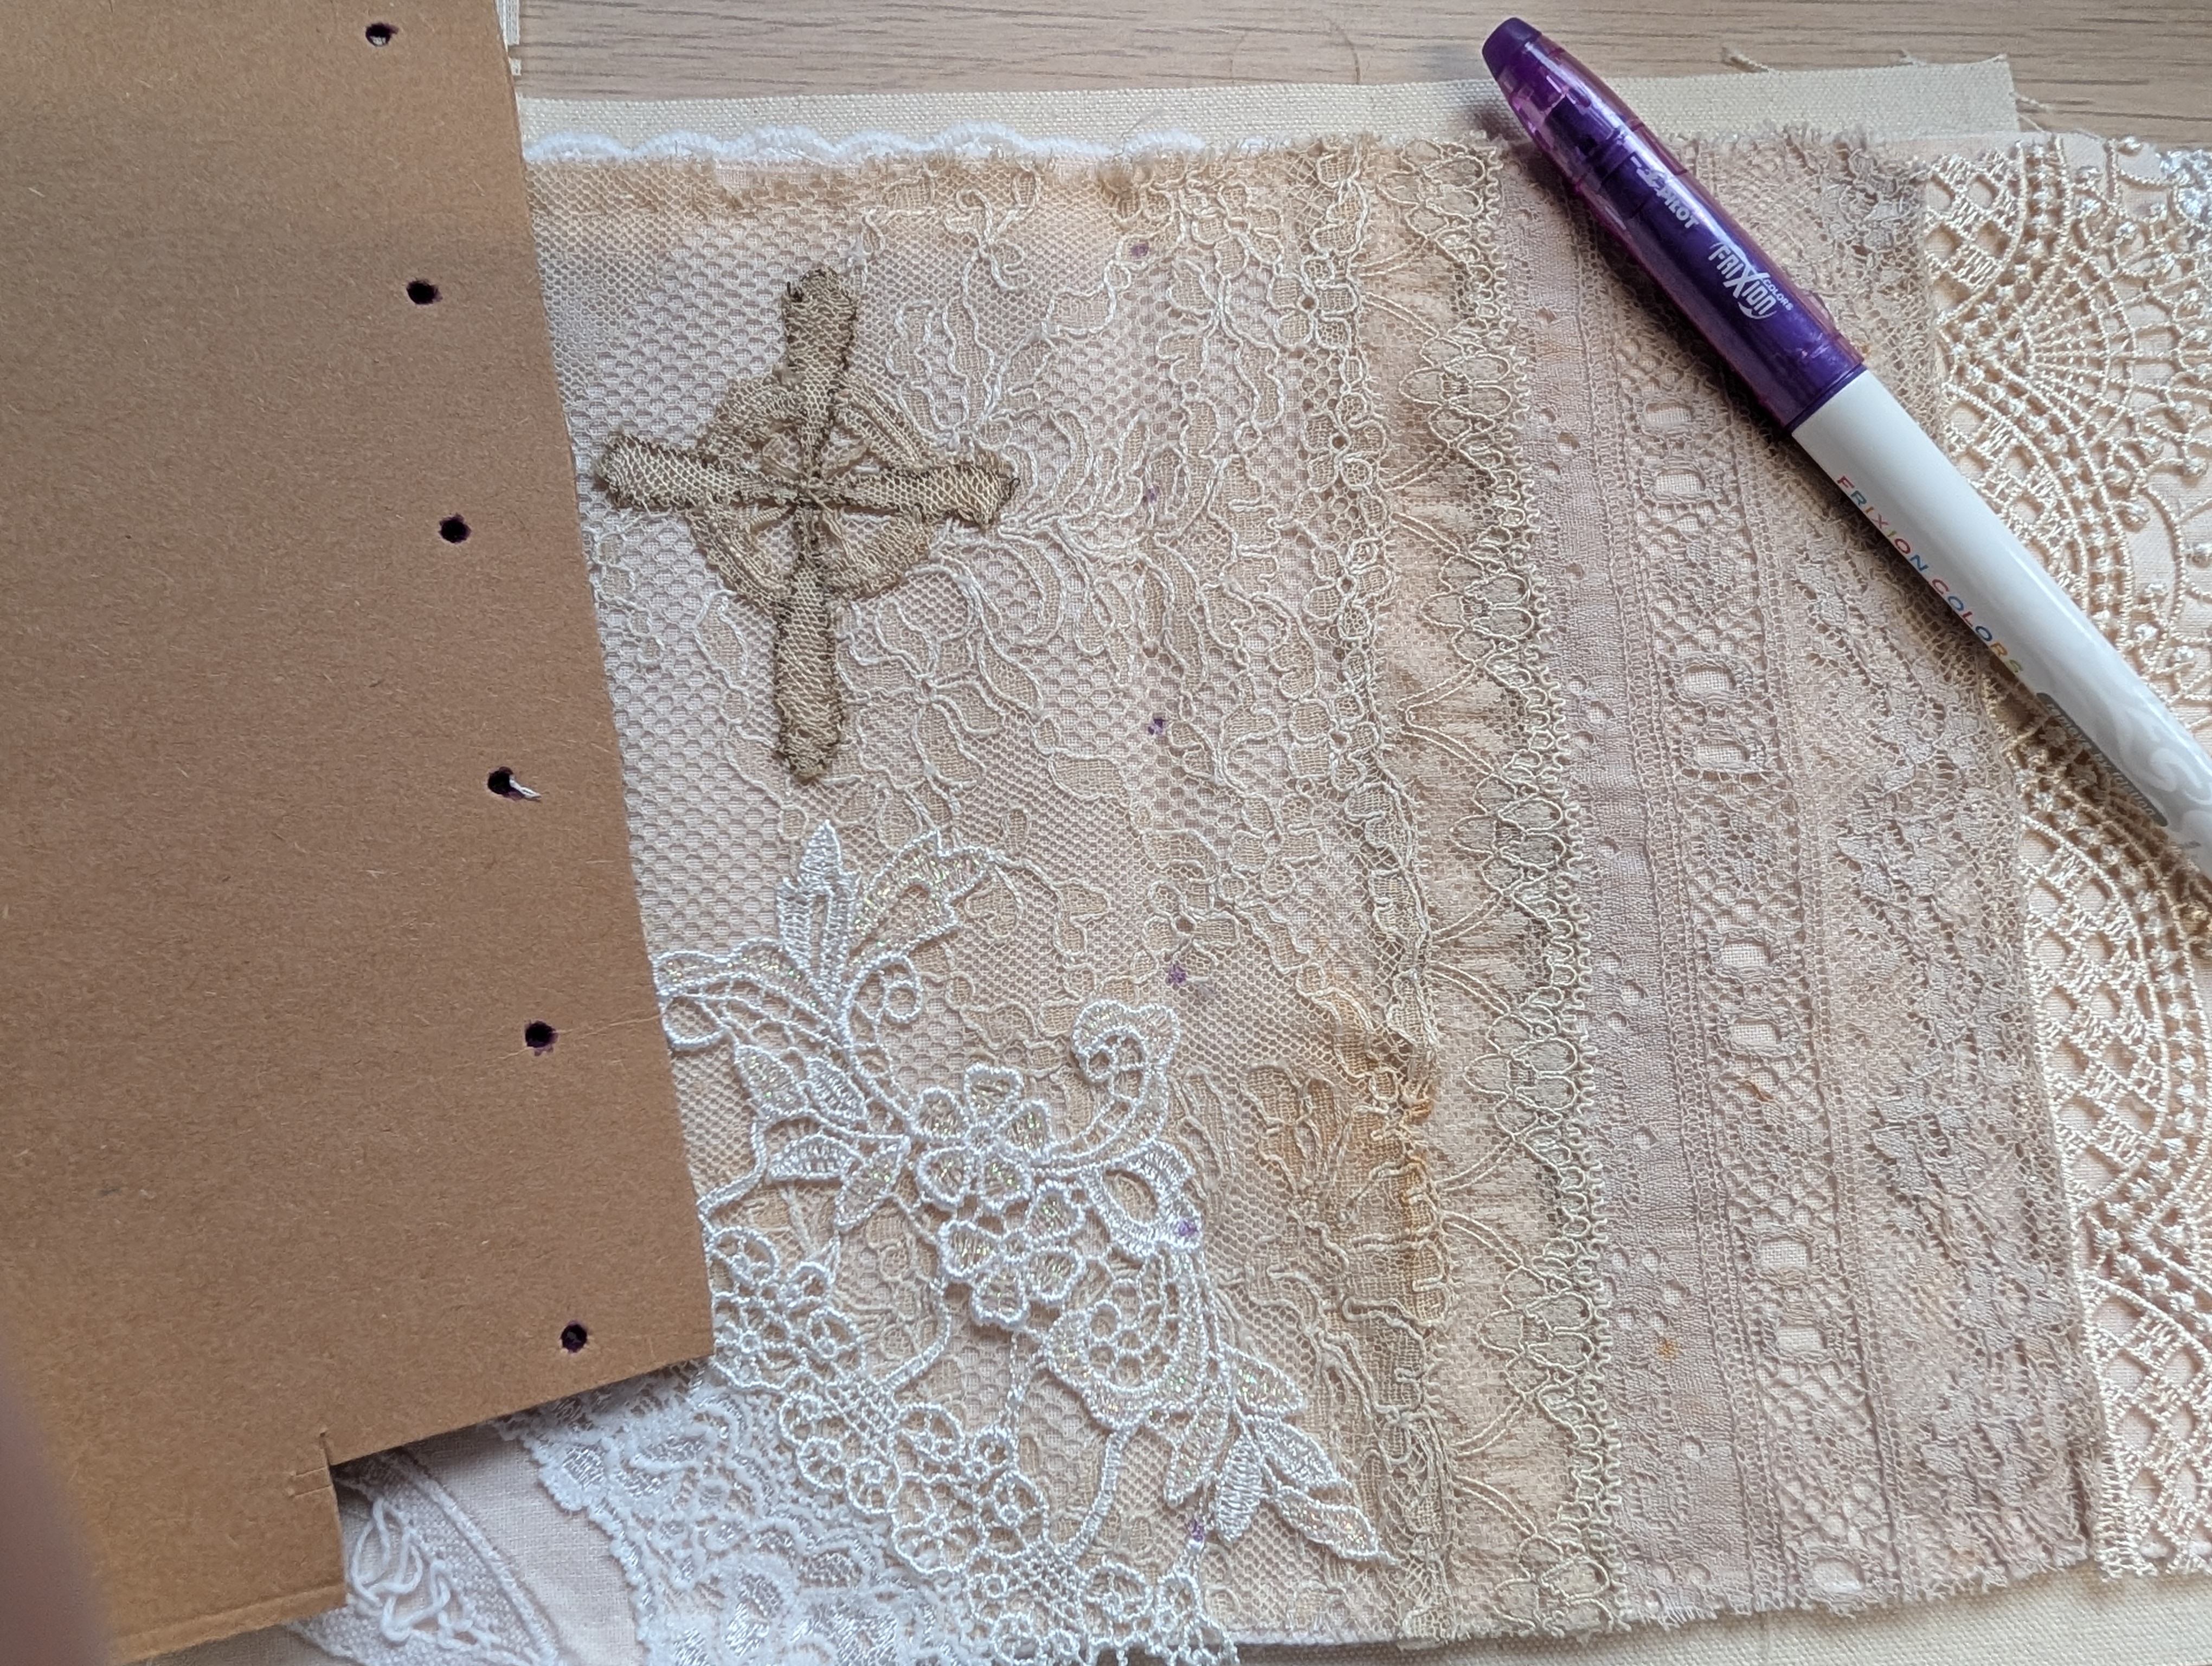
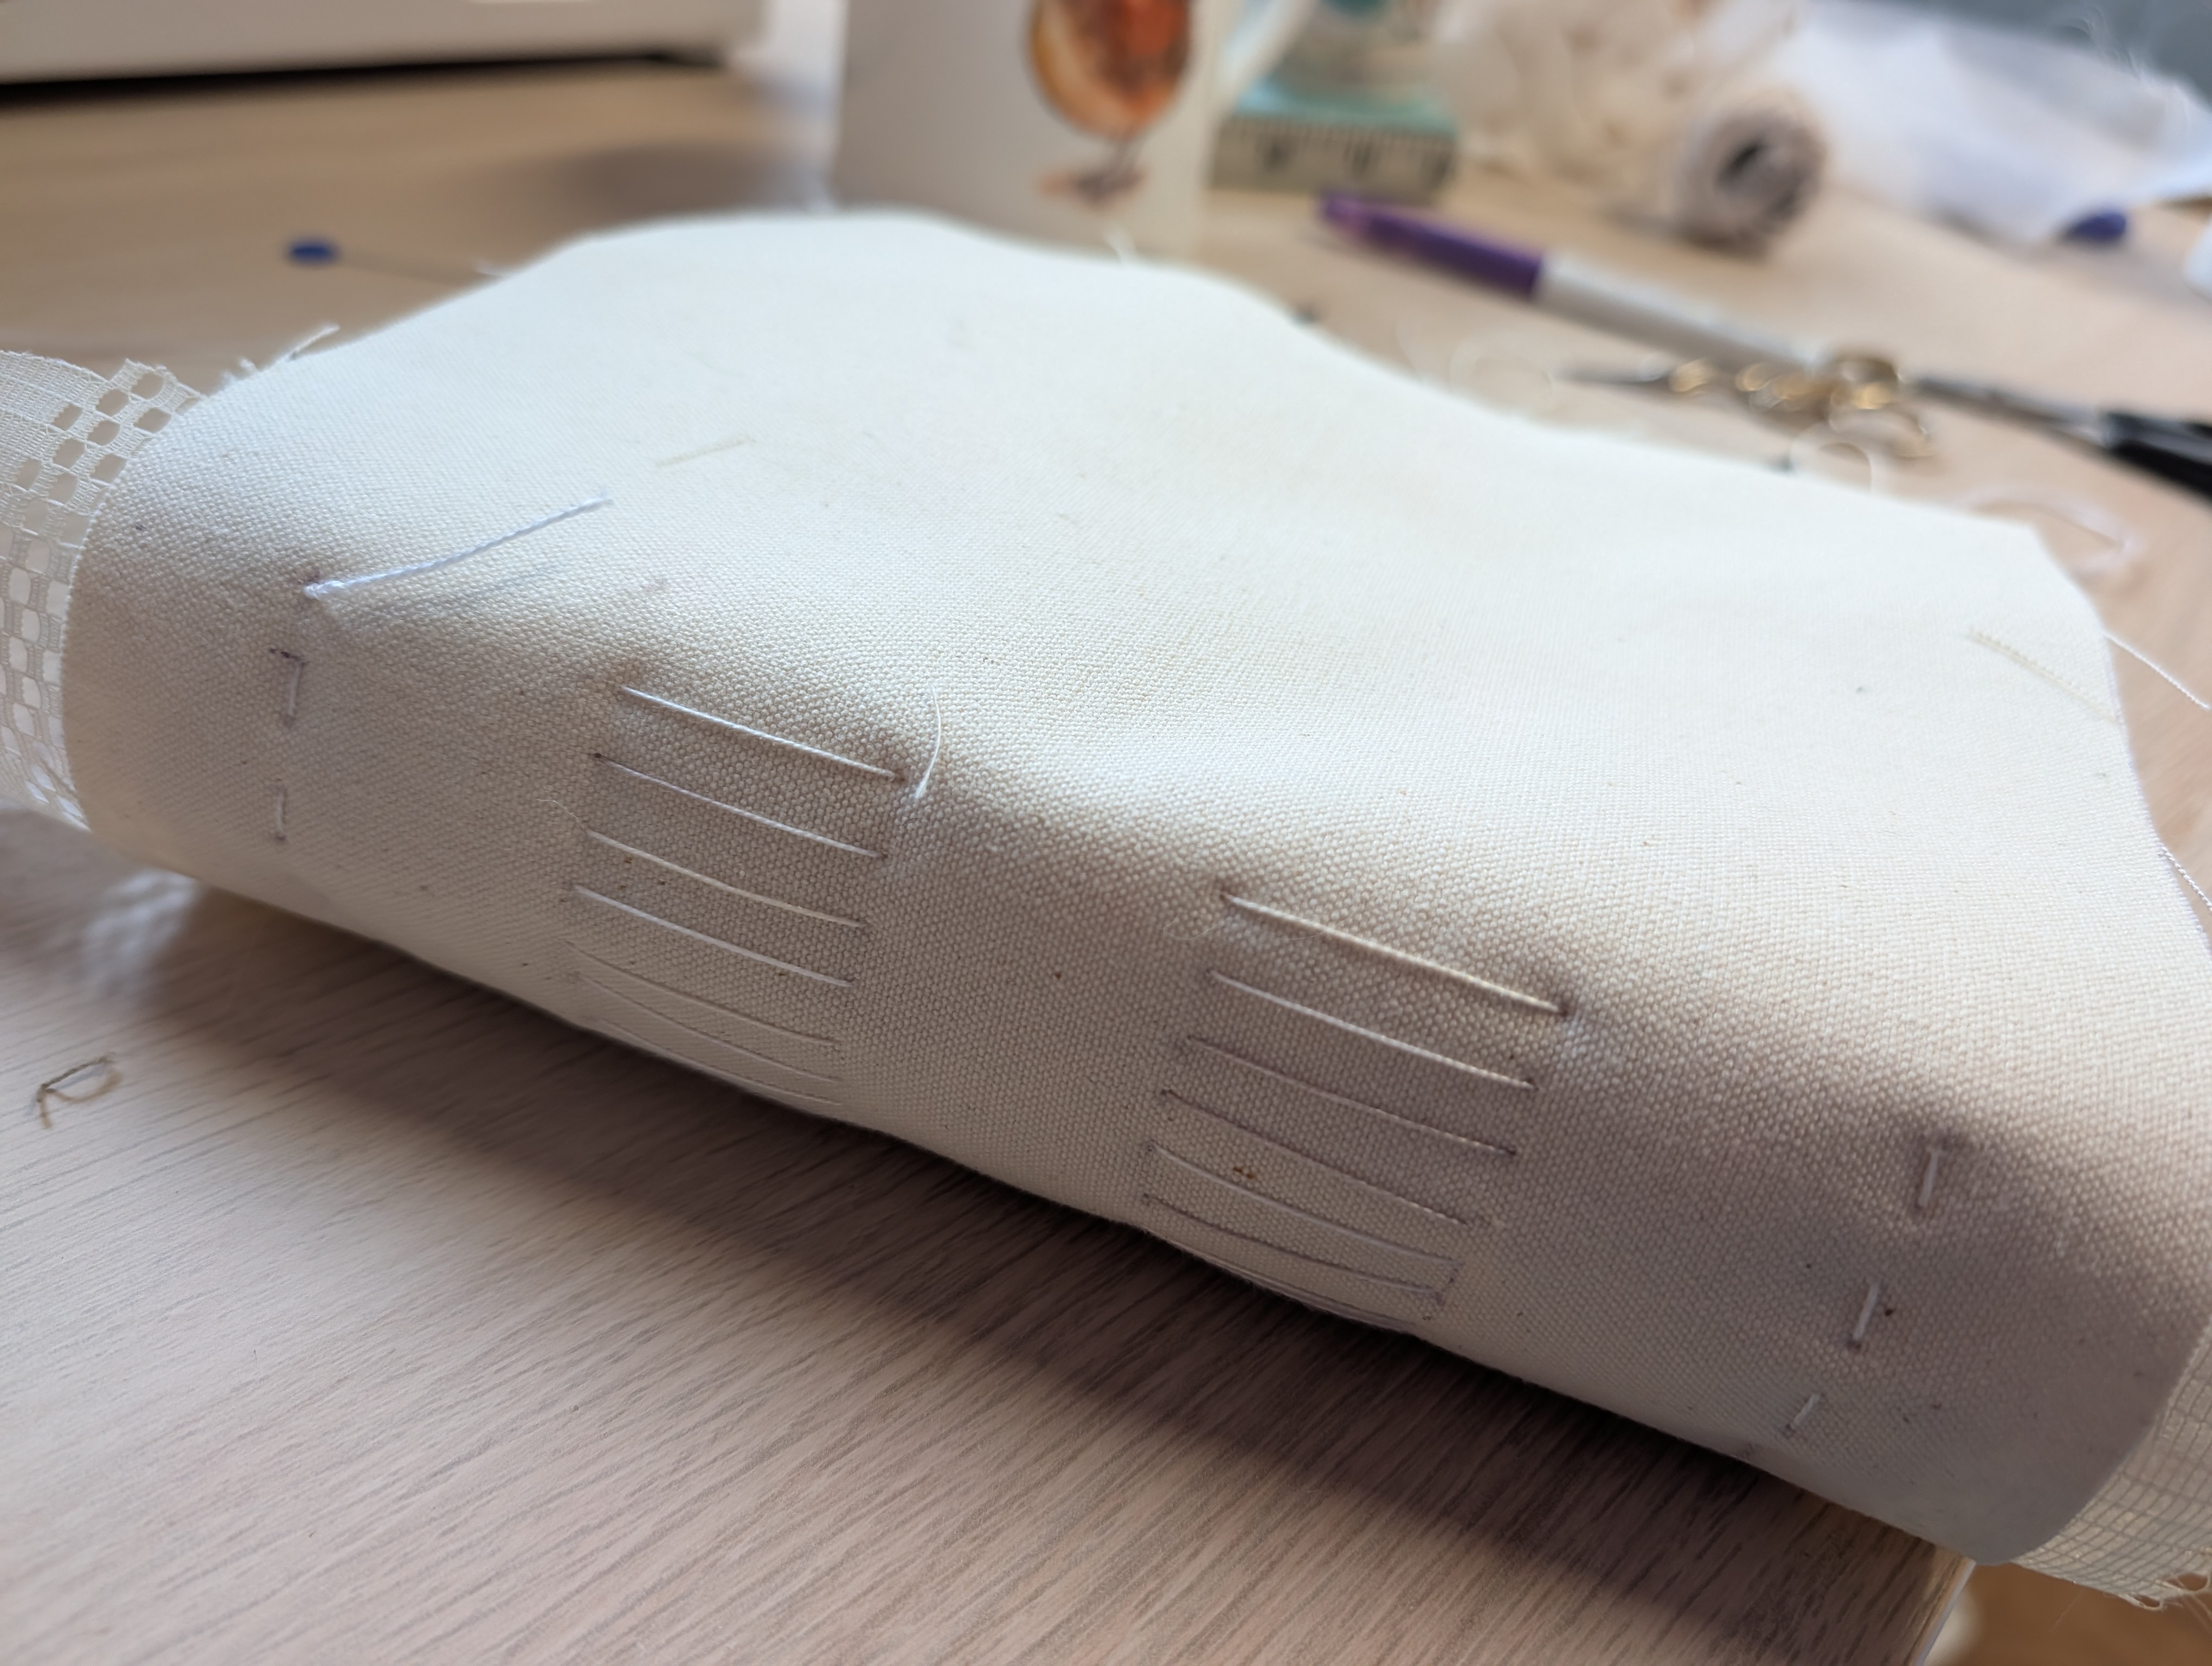
On the spine I measured out nine lines 1/4″ apart. I marked the lines on the outside with a frixion pen. The fabric was very dense so I used the awl end of one of my seam rippers to make holes ready for stitching. This worked really well and certainly made it much easier.
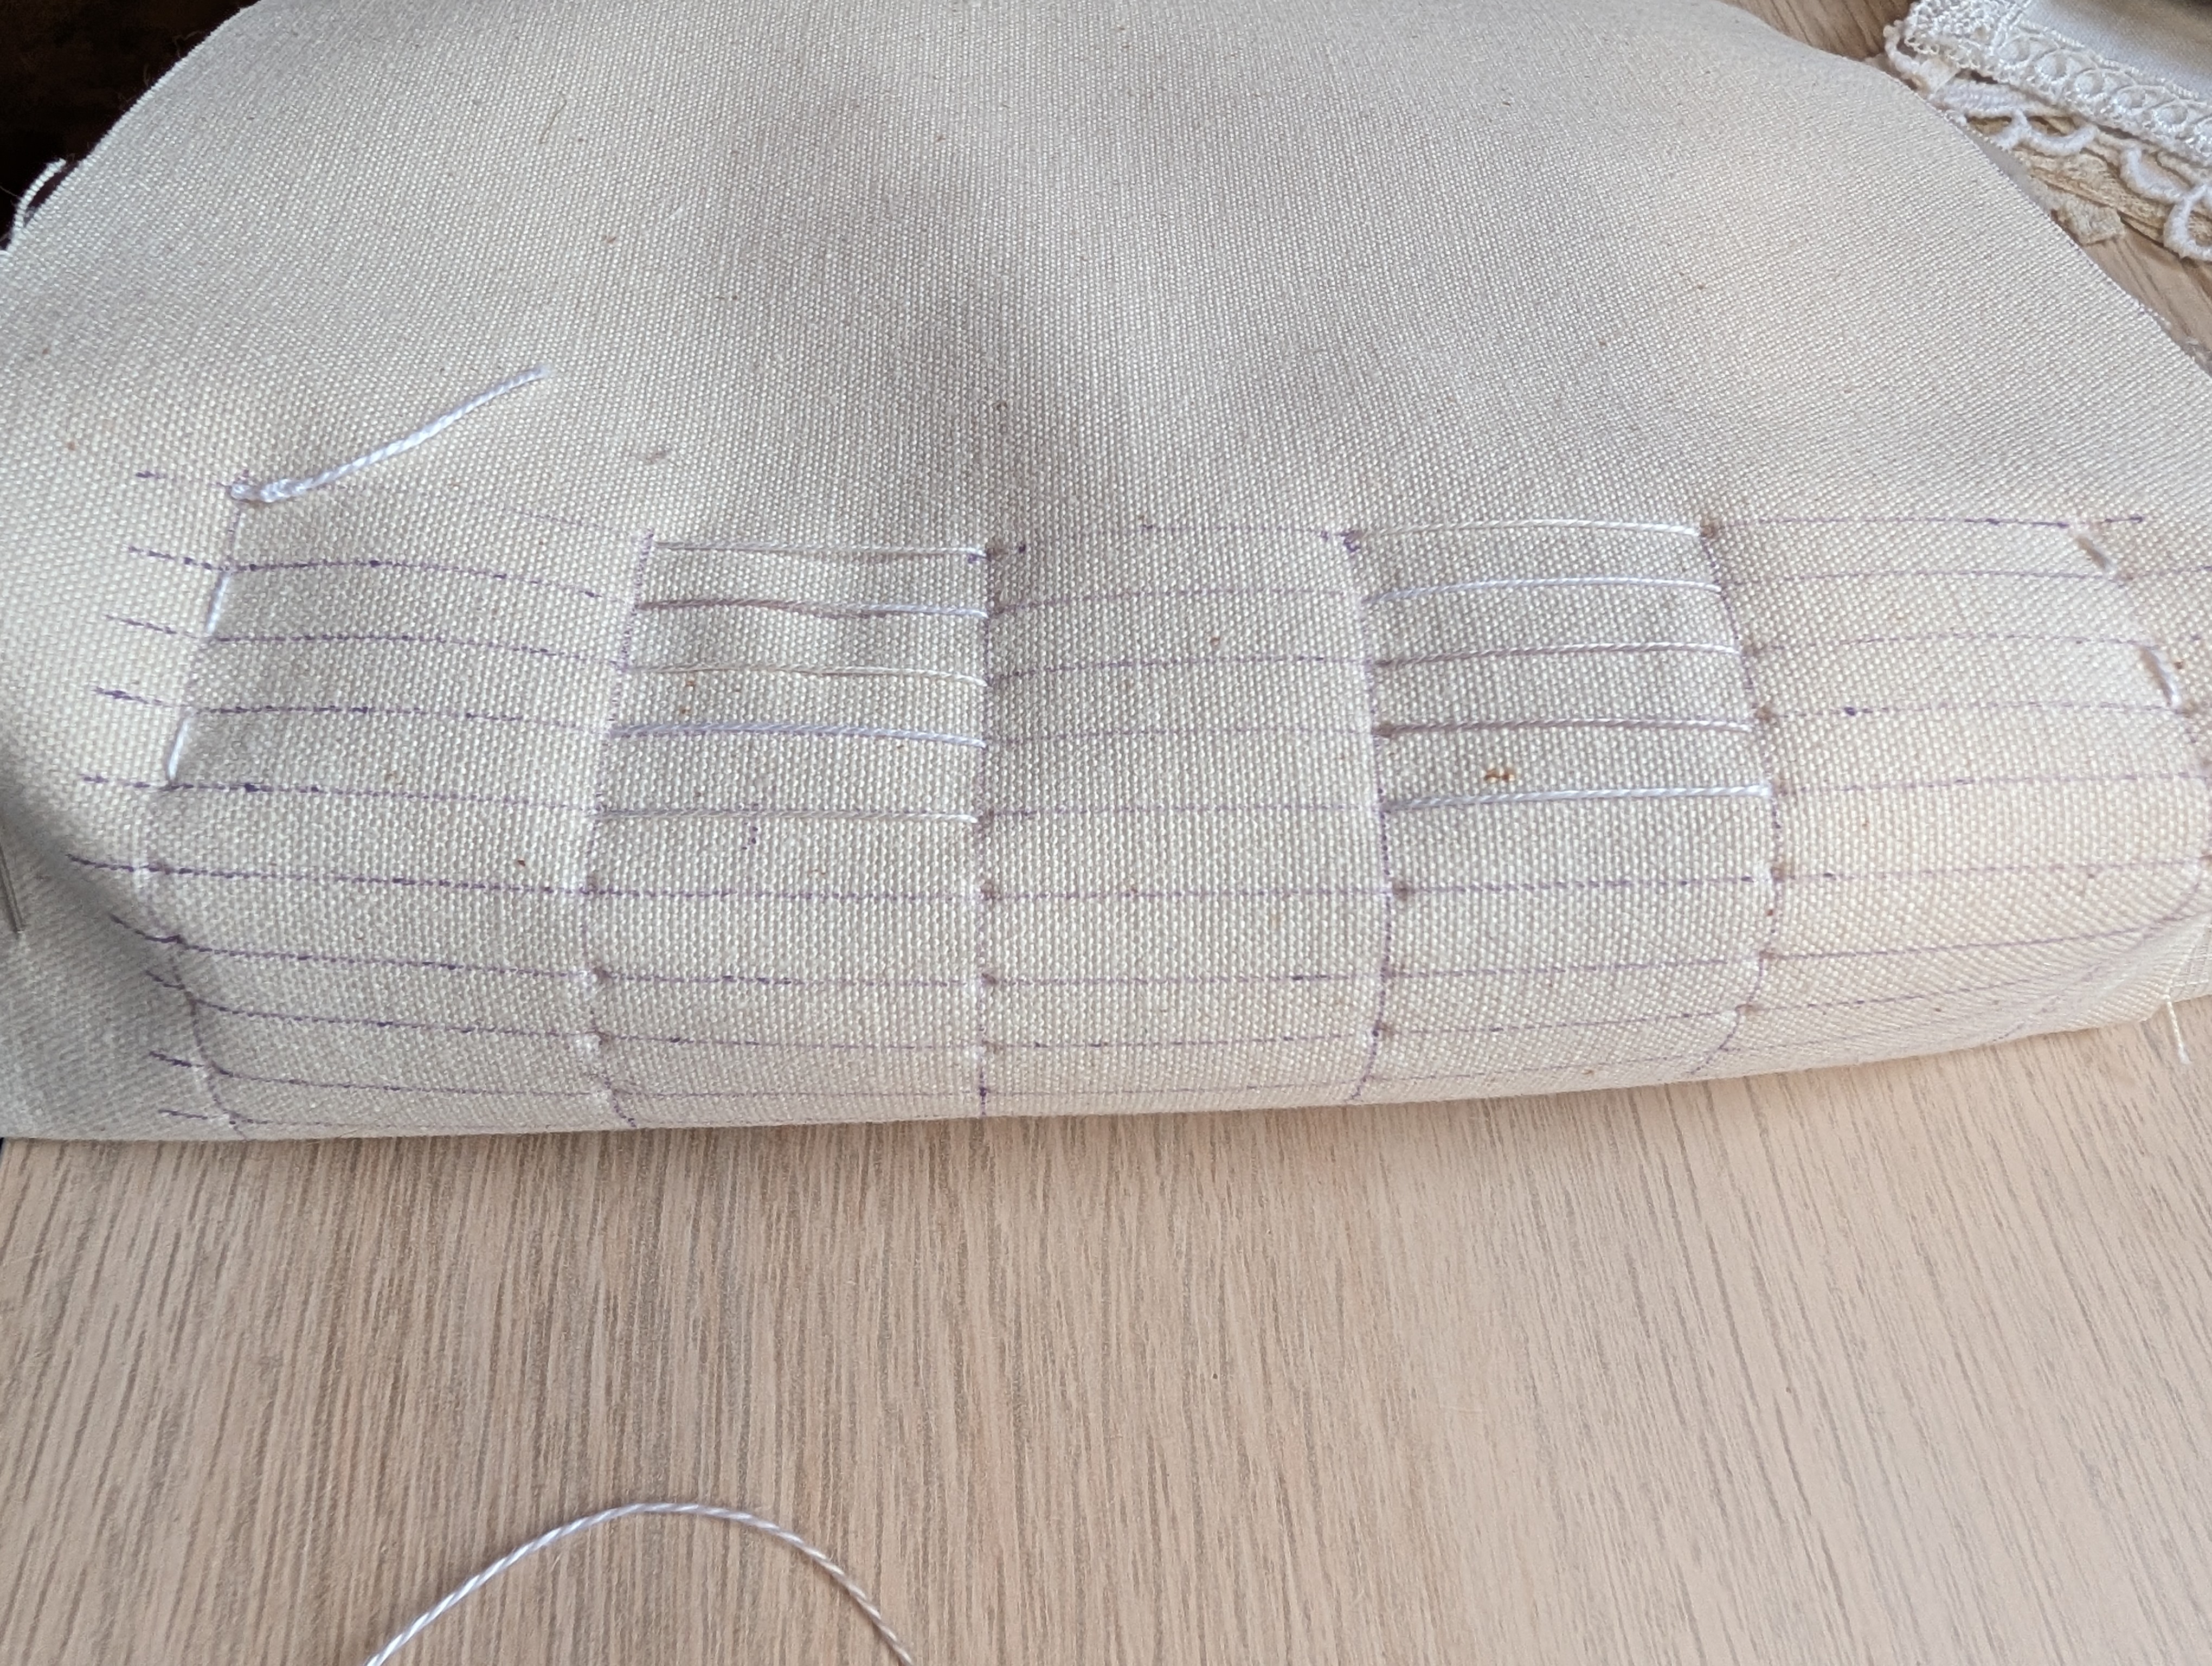
I added a piece of lace to lie between the spine and the pages, the idea being that it wouldn’t be so obvious when you could see in between the pages. The photo above is after I had stitched five pages in. I used perle thread as I felt it was pretty strong. The photo below shows the lace underneath and the second page going in before I tightened the threads.
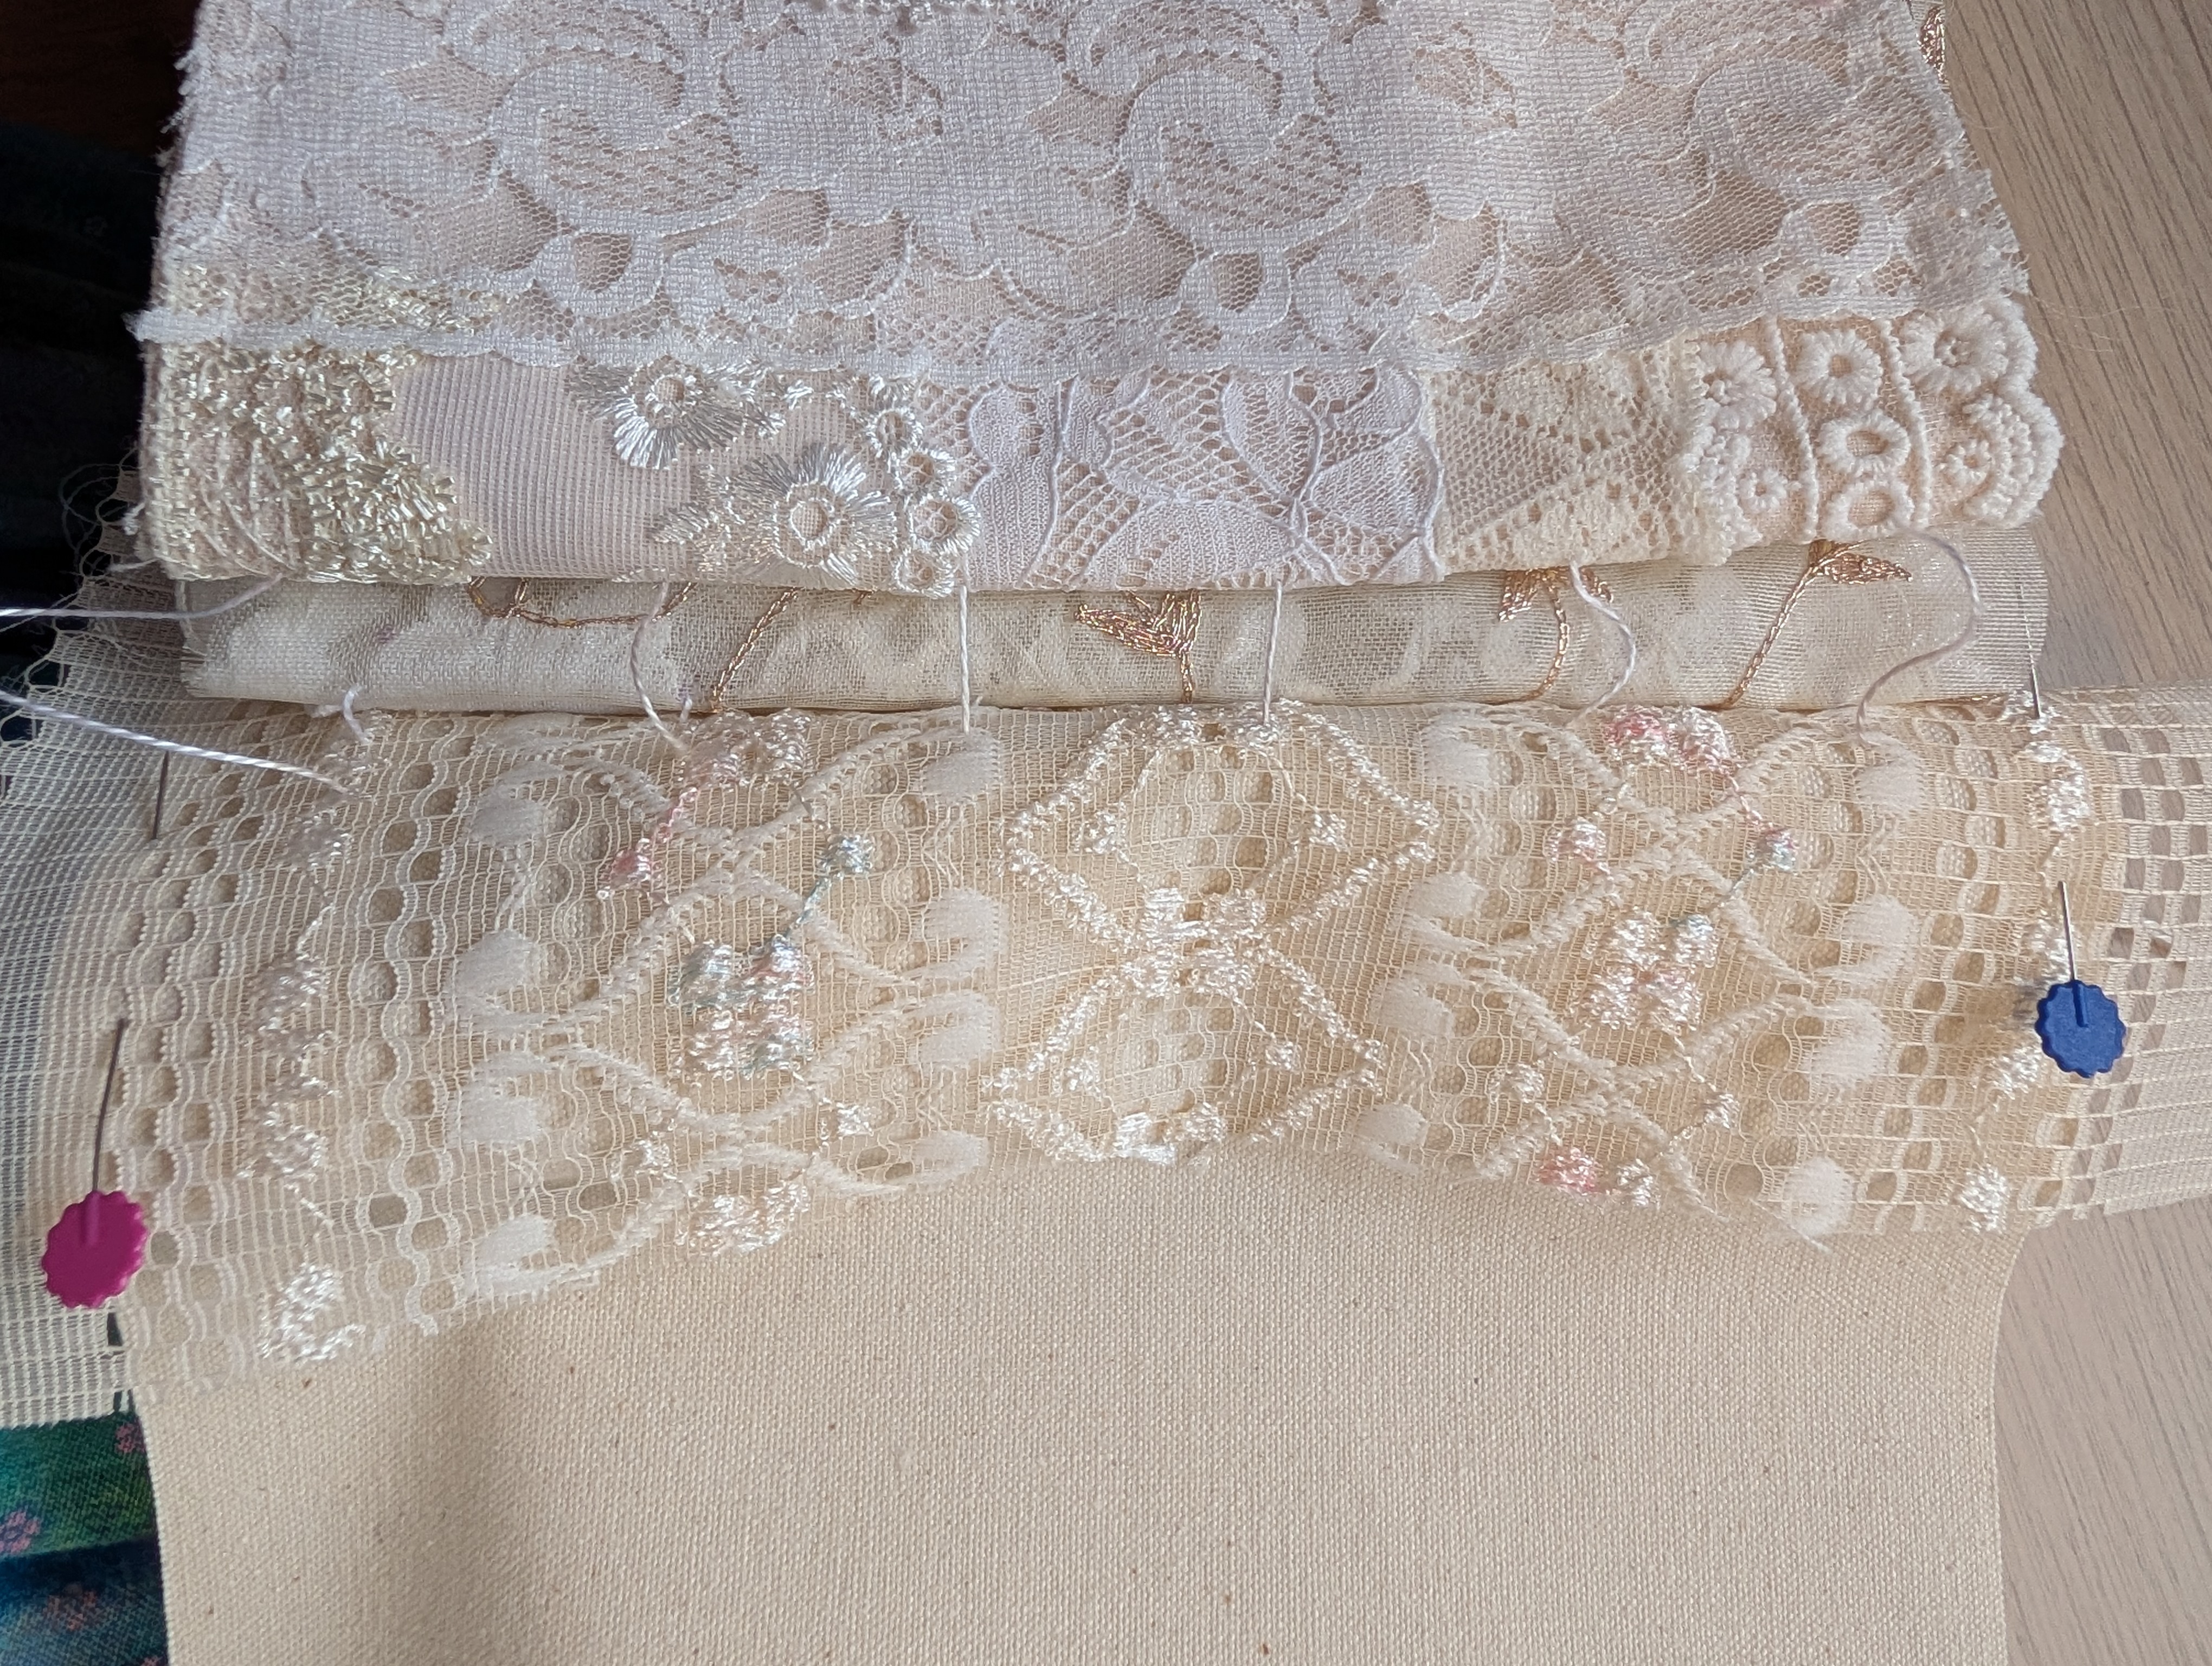
I tried to keep the stitches firm but not so tight they would distort the pages or the spine. I went from one page straight to the next one and tied it off at the end. For once all the preparation in measuring and marking worked and it all went together first time.
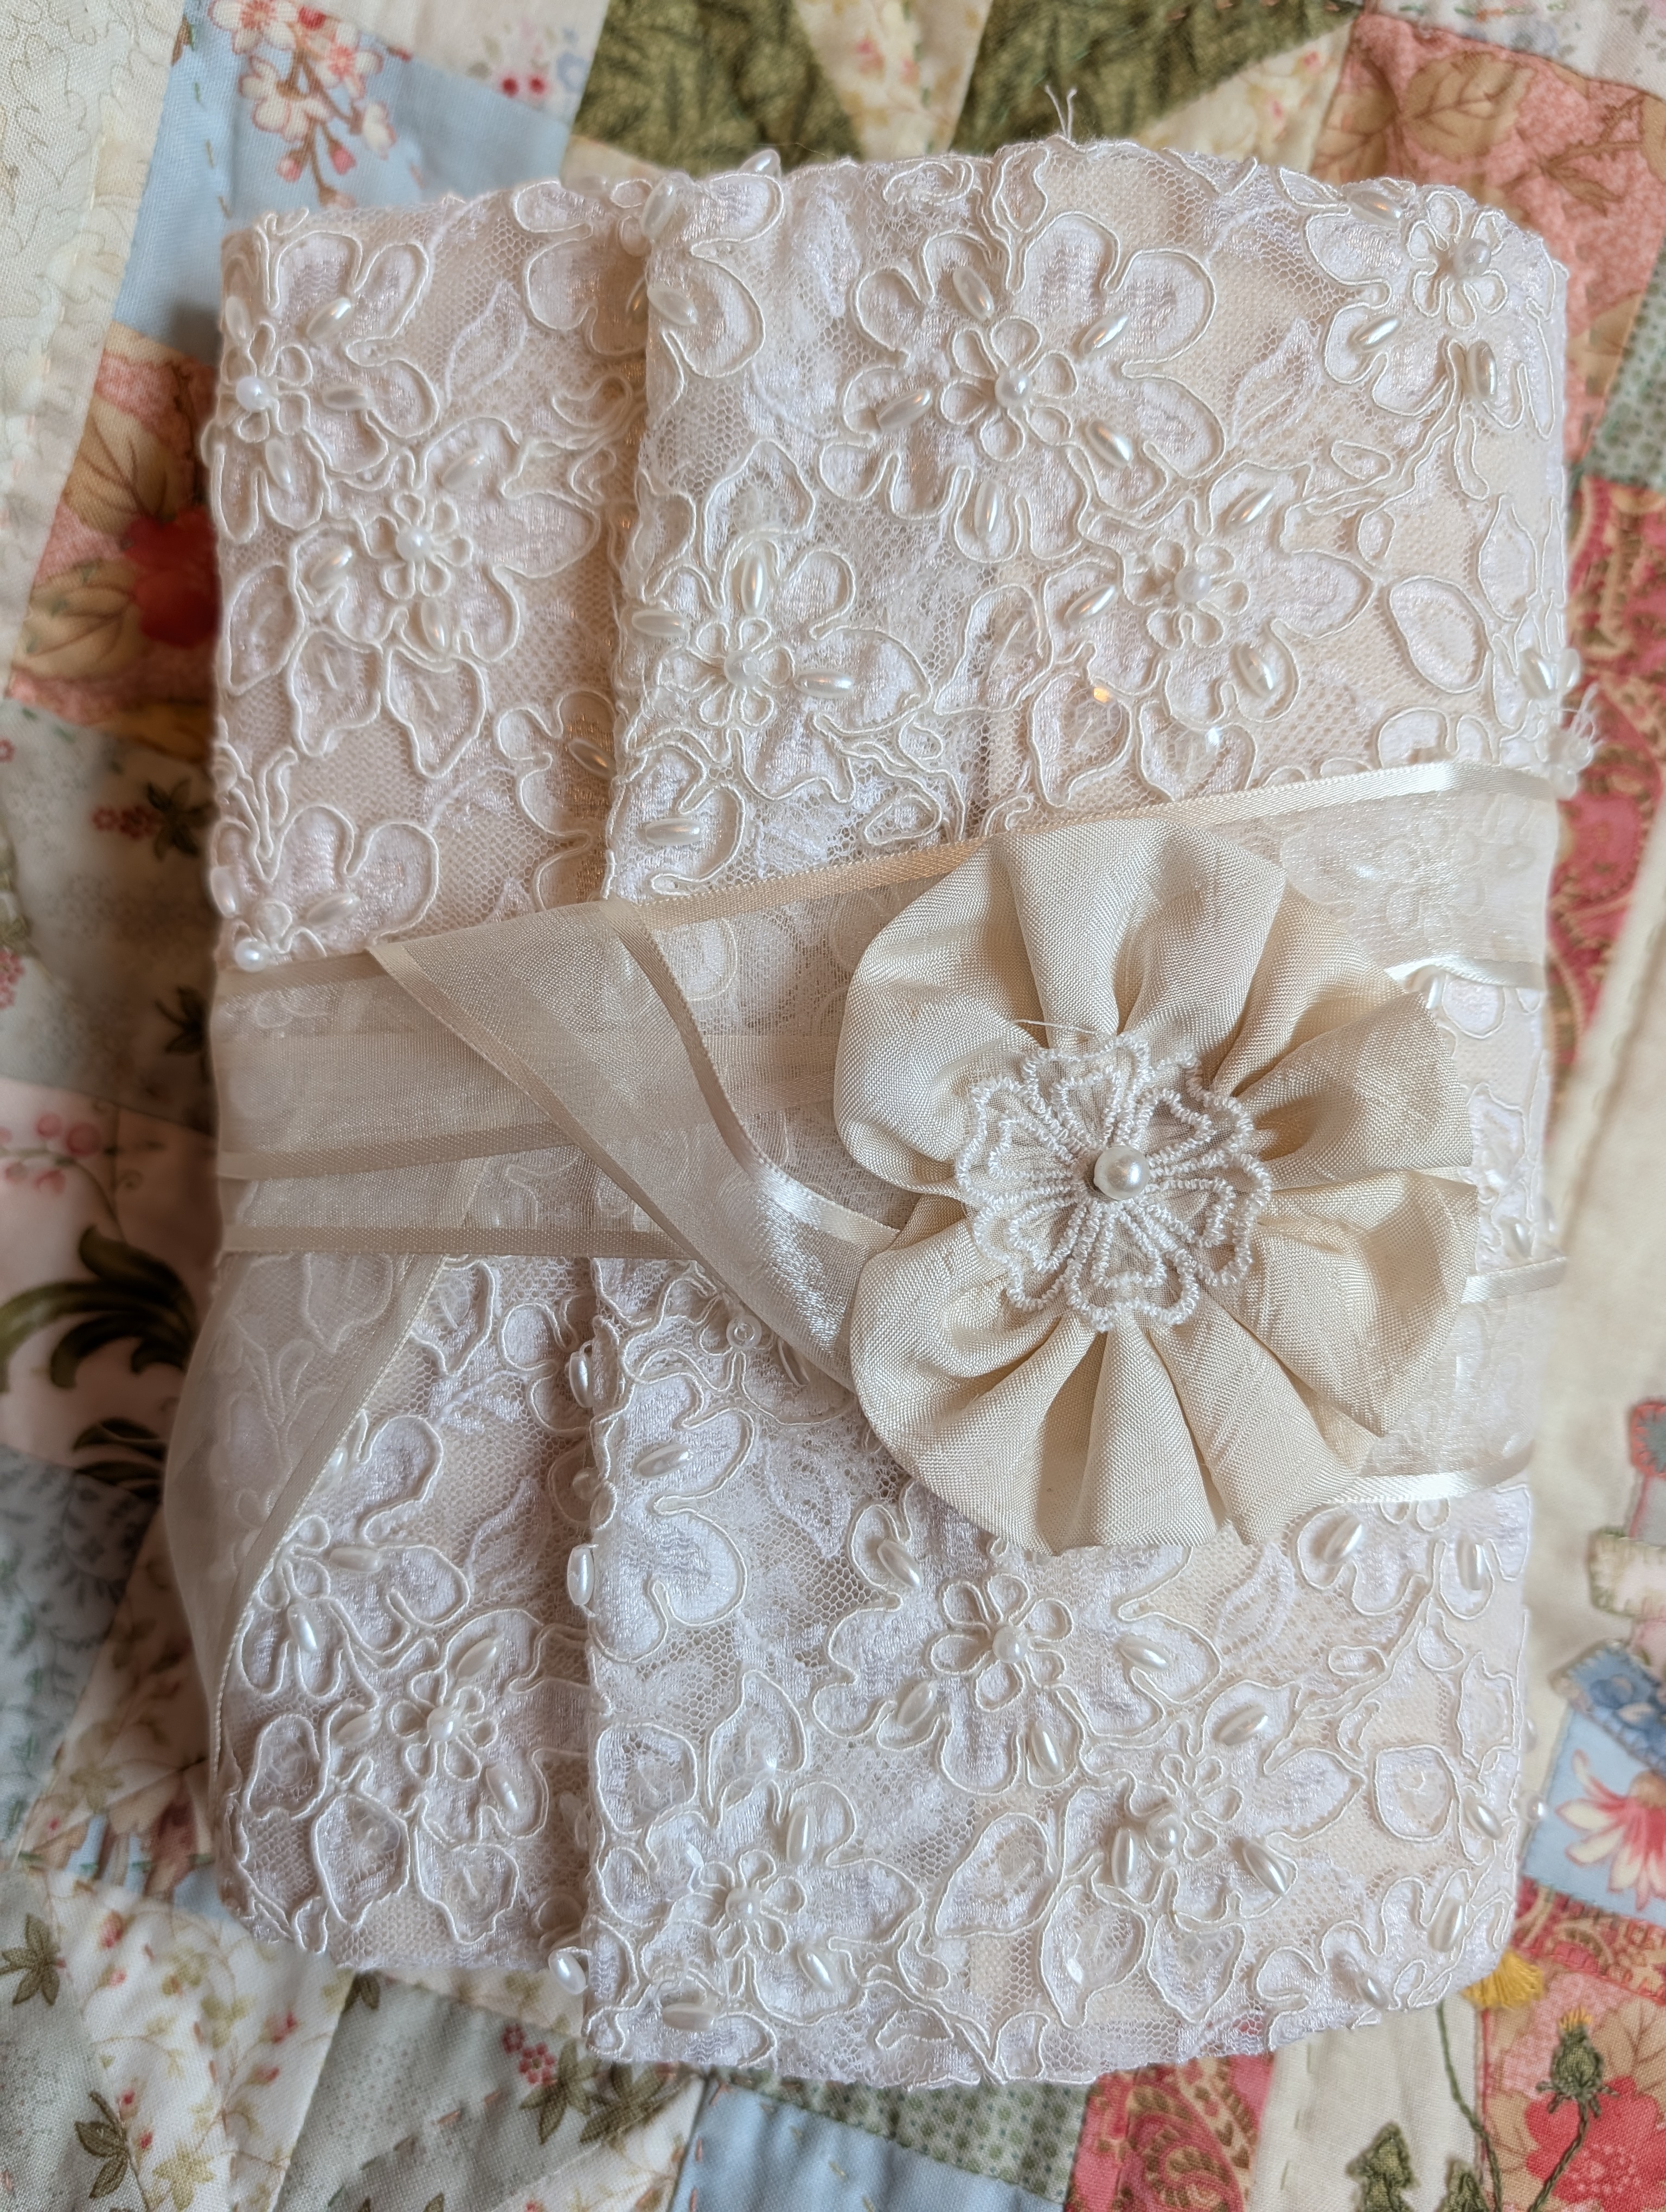
To cover the outer canvas I used a piece of my wedding dress lace which was quite a heavy, beaded lace. I turned it over the edges and also extended the flap with it by about 1.5″ as I wanted a bit more of a wrap around. For the inside I used some beautiful silk satin which was left over from a wedding dress I made for a friend.
I stitched the title on some linen and stitched it onto a piece of vintage lace before using bondaweb to secure to the first page.I wanted a tie round the book, I tried various things, a length of sari silk, some lace, I eventually decided on some satin edged tule ribbon, I used the sari silk strip to make a flower with a lace motif flower in the middle to cover where the ribbon was attached.
My lace journal was finally finished. I love it, it has the overflowing with lace feel to it that I wanted.
I have a short video of the book on my instagram page, here’s a link if you want to see inside the finished book.


Absolutely gorgeous and right up my alley of creating. What a truly special treasure 🧚♀️
LikeLike