
Last night I finished my Bobbin Along book, this is the one from the weekly word prompts from Anne Brooke of H-Anne-Made. Everything was meant to be on one 18″ hoop but I knew I had no where to put one so I made a book instead.
My fabric books tend to morph as they go along, I rarely set out with a firm idea of how I want to finish the book, however with this one I wanted from the start to do what I call a properly bound book.
With this in mind I stitched on lengths of linen which would make two double pages each with the idea that I could then fold them in half to make one ‘signature’, a double page spread. As it was, I realised fairly early on that I had stitched a design across two pages, twice, on the same length of fabric. So when I was organising the pages I cut this one in half so each double page spread could be in the centre fold. I decided to join the pages with a simple blanket stitch in a perle thread, it meant the pages stayed soft and somehow I felt it suited the designs.
I wanted to make a bound book, one that was stitched down the centre of the pages onto the spine. Having perused pinterest I also fancied more decorative stitching on the outside. I did briefly fancy an exposed spine through a window, but I wisely decided that was a bit too much!
I had two shades of felt in my stash which went nicely with the colour scheme of the book. Unfortunately neither was quite big enough to do the whole book cover in one piece! I also felt it might be easier to do my first binding without the covers getting in the way. I cut a strip for the spine in a dark green felt for the outside, I used a light grey for the inside, mainly because I didn’t have enough light green felt, but this was also easier for me to mark where the binding would go. I thought the felt would need some support so I put a piece of iron-on buckram in between, just the width that I wanted the spine.
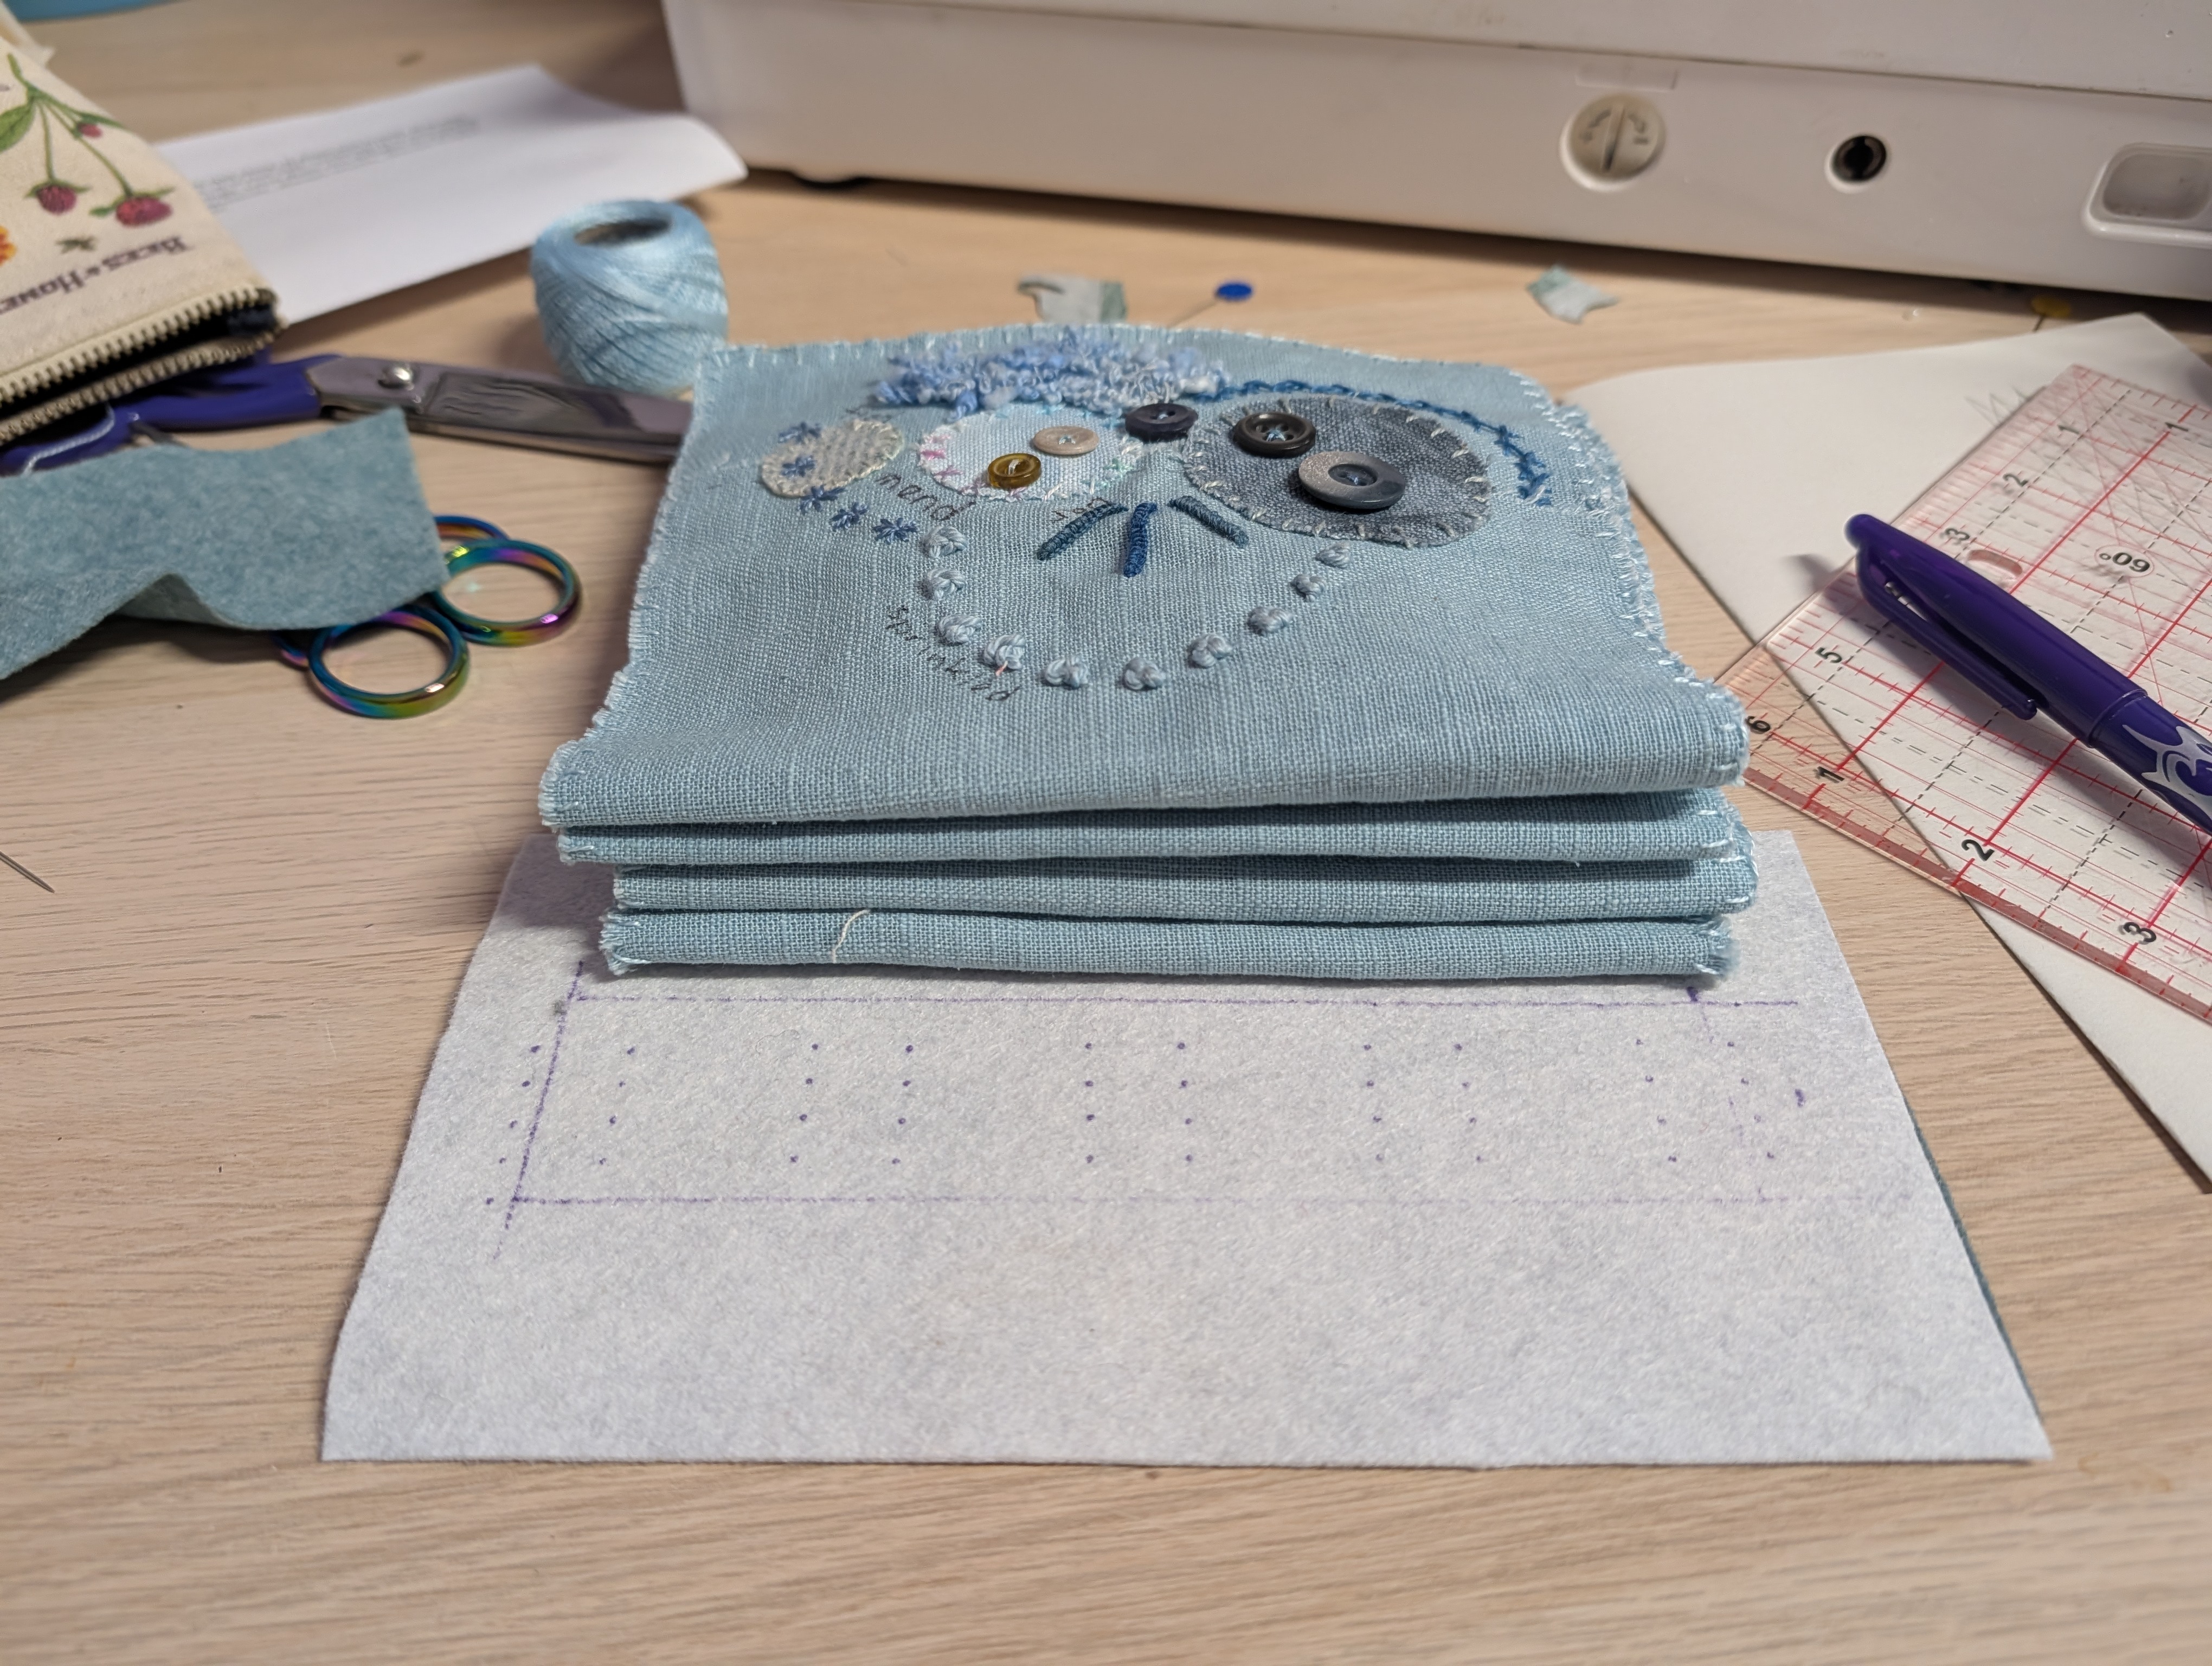
I did some careful measurements and drew my plan out on paper before transferring the dots to the felt. I knew some of my pages were fairly bulky so I did my lines 1/4″ apart. The buckram is fairly tough so I made holes with an awl first both for neatness and to save my fingers.
I used a thicker perle thread as it seems fairly strong, I threaded a needle on each end and worked on two sets of pages at once. I worked a cross-stitch, then went through the pages, then back for another cross-stitch. I tied the two ends with a knot at the bottom. It actually wasn’t as fiddly as I thought it might be.

I then had to make the front and back cover. I used two rectangles of felt, blanket-stitched together with some pellon in between to give it a bit of body. My original plan was to stitch both layers of the spine to the outside of the book, but I wasn’t convinced I could get a neat finish and I also thought it could be very fiddly trying to stitch the inside edge down. So I tucked the cover in between the two spine felts and blanket stitched each side.
I stitched the label using chain-stitch, the cover ring was left over from the SAL and I found a button in my stash for the other O. I do like how it has turned out.

I felt the light grey felt stood out too much on the inside cover so I added two strips of lace which just helps to break it up.
I’ve made a video of my book and put it on Youtube, hope it works…here’s the link, hope you enjoy it. If you’ve any questions on how I put the book together, feel free to ask.


I really enjoyed watching your video, the book is a beautiful testament to your handwork.
LikeLiked by 1 person
Thanks Tracy, I’ve enjoyed making it over the year.
LikeLike
Your book is beautiful! I’ve enjoyed the way you have put all the prompts in to a lovely work of art. Just a small suggestion, add a label with your name and year. This is a keepsake that will be around for a very long time!
LikeLiked by 1 person
Hi, thanks for your lovely comment, I’ve actually written my initials and year on the last page, I usually try to include them somewhere on my work.
LikeLike
This is so beautiful Margaret and such a different and creative take on Anne’s Bobbin Along project. Thank you for sharing your process too, such a lot of thought has gone into it. Something tactile to treasure and share.
LikeLiked by 1 person
Thanks Anne, I really enjoyed the bobbin along project, I’m giving this years a miss though as I think I’ve got enough planned 😊
LikeLike
Fabulous. Thanks for sharing your book making process.
LikeLiked by 1 person