I can’t remember where this fabric came from, I wonder if I picked it up on a swap table. It’s a fairly firm cotton, the label on the selvedge says Indigo Wax Katagami, Japan. It’s been in my stash for a while. I pulled it out of the cupboard a few months ago, thinking it was nice…and then realised I was looking at the back!! The front of the fabric is quite a stark white on navy print, quite busy too for such a contrast. It went back in the cupboard!
I chatted about it to my daughter and showed her it when she was home one weekend. We decided I had three choices, charity shop it, sell it, or make something using the reverse.
Last week I pulled it out again, I wanted a skirt length to try out a new pattern. I decided this would be perfect as a wearable toile, it was a firm enough cotton to hold the pleats well. I had nothing to lose if it didn’t work out well as I wouldn’t use it the other way round.
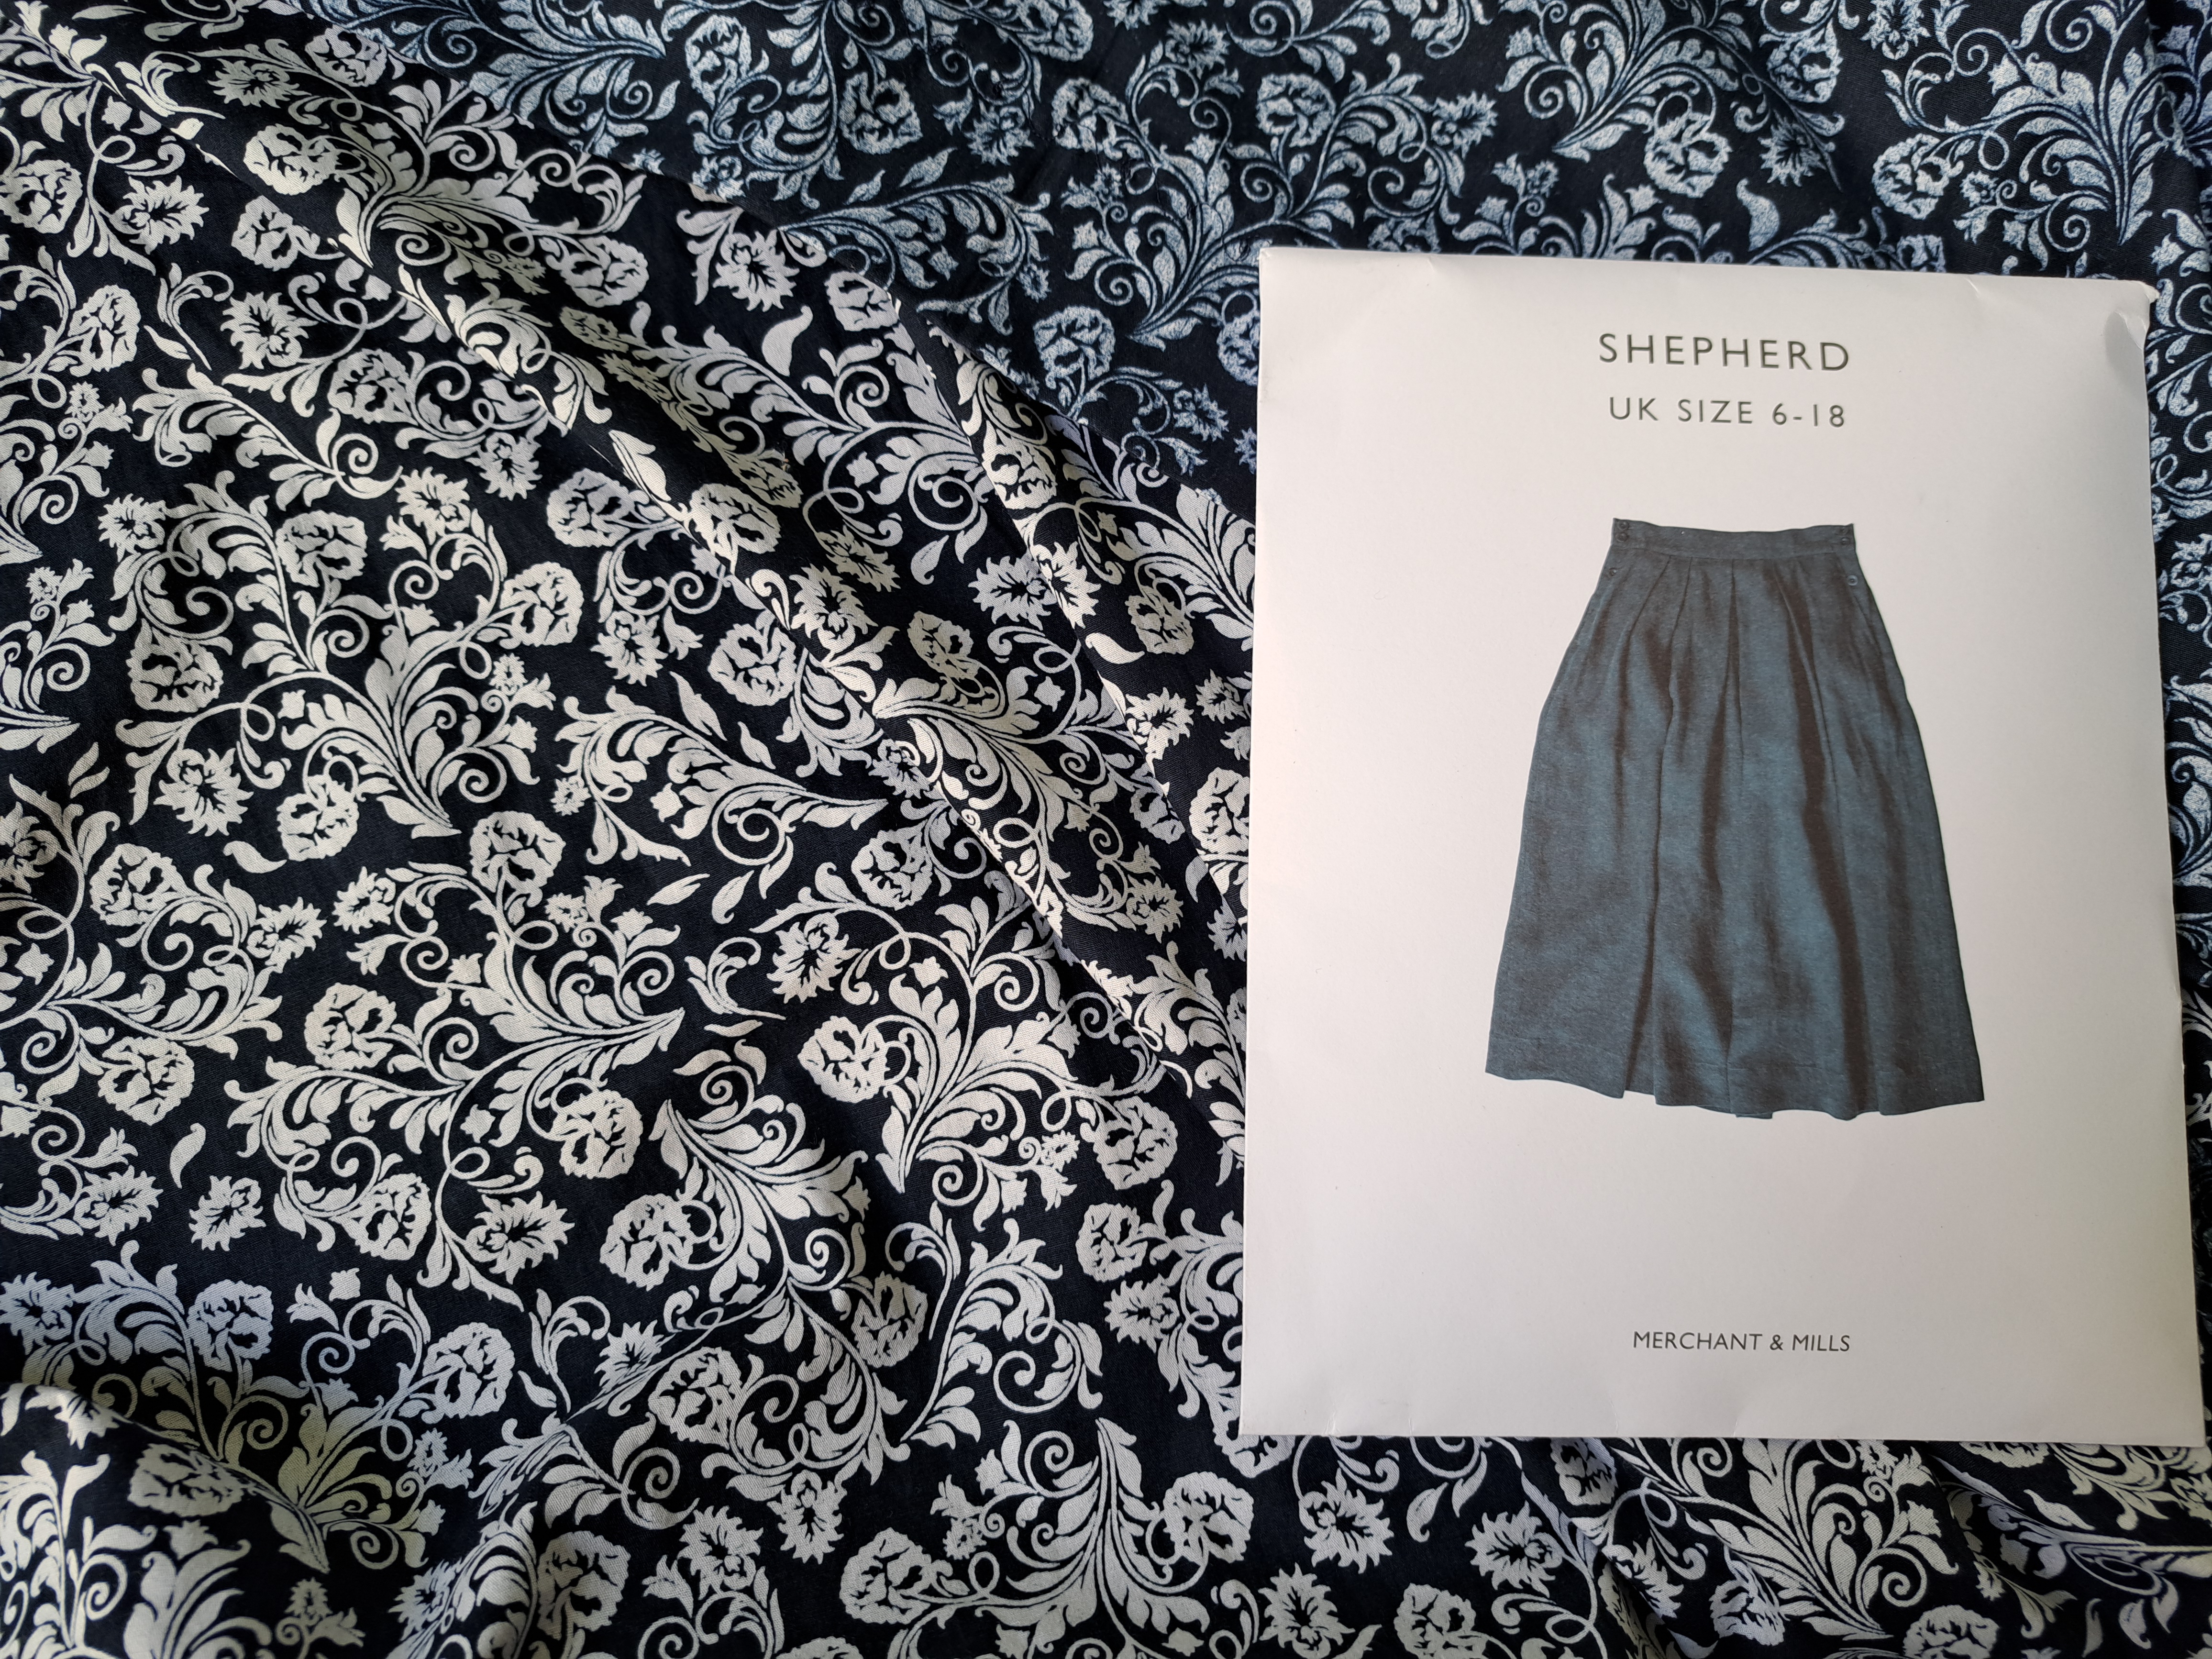
The pattern I wanted to try was the Shepherd Skirt by Merchant and Mills. It has pleats front and back and a buttoned pocket opening both sides. I checked the measurements and my new 28.5″ waist should have been a 12, luckily I checked the finished measurements – who wants 3″ of ease on a waistband!! I cut out a 10 instead which gave me a comfortable 1.5″ ease instead.
I ran into issues from the beginning. Personally I think it is a badly designed pattern when the two main pieces are 46″ wide. For the non-sewers amongst you, 45″ is a standard width of fabric, especially for cottons. I decided with the pleats I should be able to lose an inch. The instructions include an optional lining which I wasn’t doing, therefore I didn’t twig that the pocket bags were meant to be in lining fabric, it didn’t cause an issue per se, but it probably does make them a bit bulkier.
The pockets took some concentrating, I’ve done pocket openings before, albeit a long time ago, but these are buttoned pocket openings with a button placket on each edge. If I say there are five pattern pieces for the pockets and you need six button plackets cutting then I’m sure you get the gist! I stitched them and I like them, though I seem to have missed instructions for finishing a couple of edges and I ended up hand stitching the bottom end below the opening as I couldn’t work out what I was meant to do.
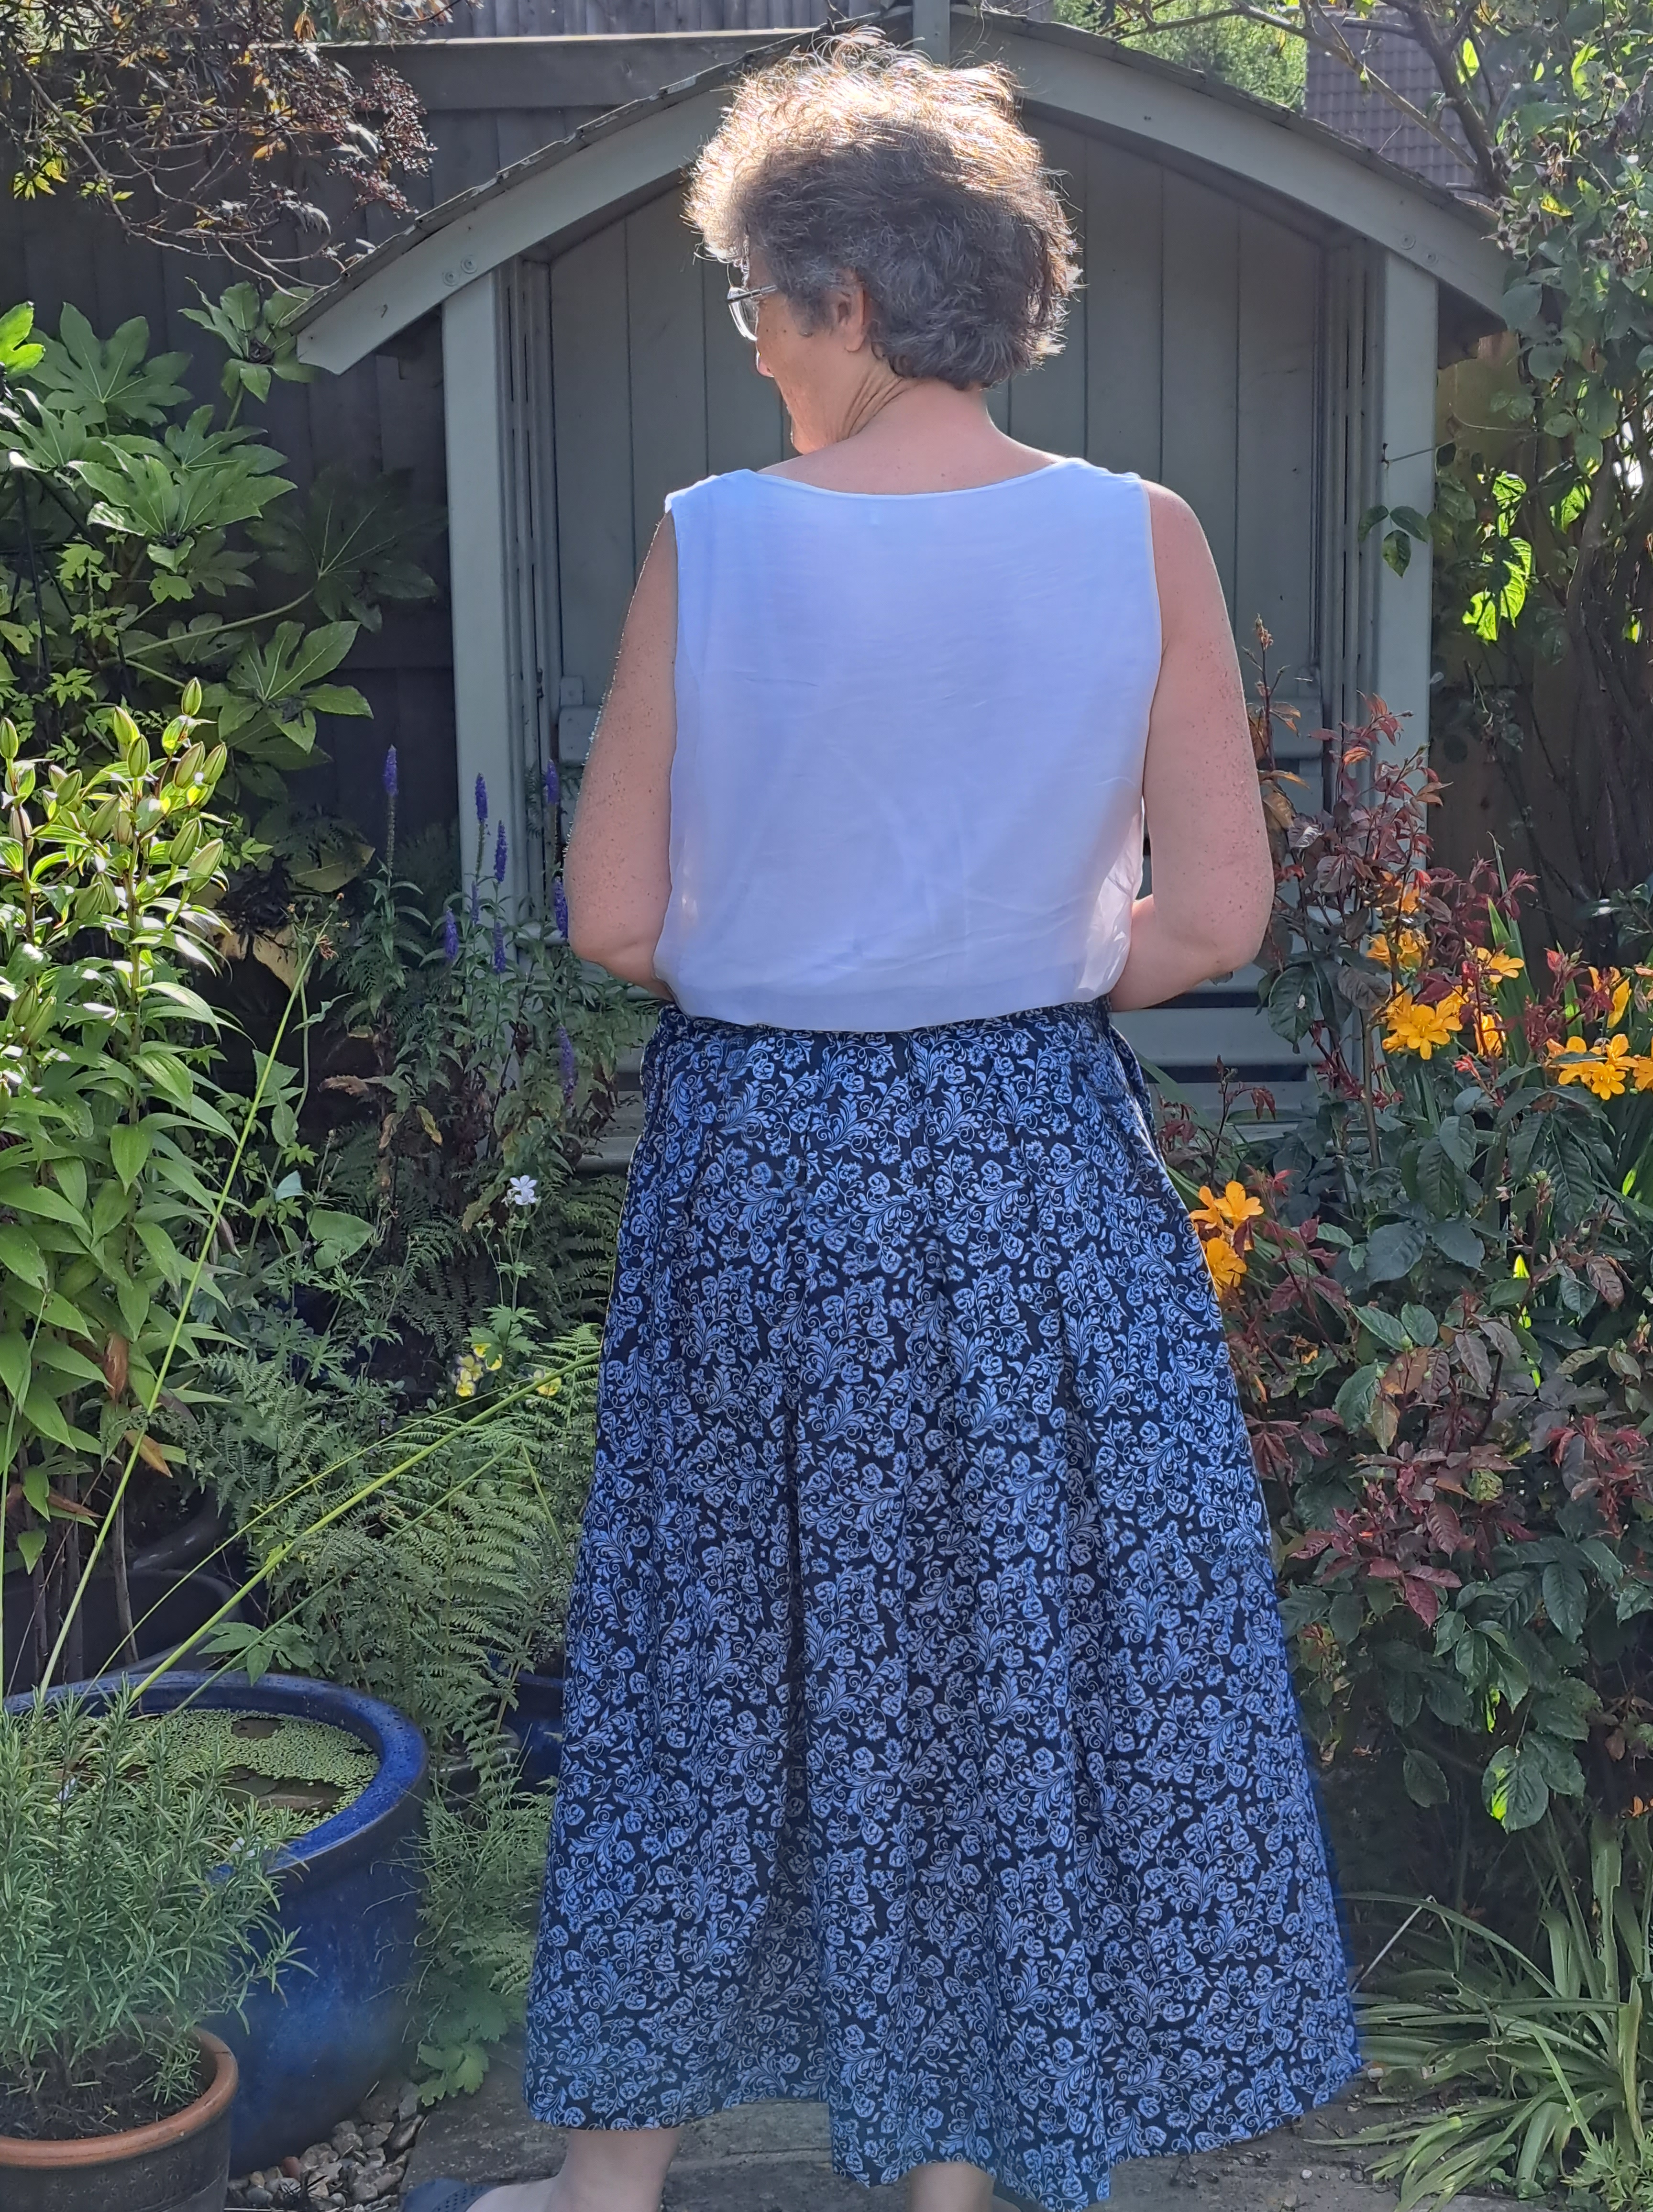
You can just about make out the pocket opening on the photo below, there’s one more button hidden in the pocket.

Next major task was the pleats. Now these are not just standard pleats, there are actually four pleats on each side disguised as three, hidden underneath the middle pleat on each side is a second little one going the other way. This was the obvious place to gain the 1″ to compensate for the fact that my fabric was too narrow. Unfortunately it wasn’t that simple for my brain! The order of making the pleats in the pattern was centre front, mini pleat, large pleat over it and then pleat by the pocket. Somehow it just wouldn’t alter neatly. I fiddled and faddled for a whole afternoon and eventually gave up and just made three even pleats and ran a basting thread over the top…and that was just the front!
Next day I reluctantly started looking at the back, planning to just do the same, but I couldn’t get my pleats even, I even resorted to maths to work it out. In the end I decided to have one last try with the pattern pleats, this time I left the mini pleat to last. I fiddled with the big pleat to get a little extra width and then just folded in a little excess to make the mini pleat. It finally worked, so well in fact that I undid the front and refolded the pleats the same way. It probably took me over six hours to work those darn pleats out, it was worth it in the end though!
With the pleats done I could attach the waistband, hem it and make the buttonholes. These were also quite a fiddle as the lower two are on the edge of the pocket, so the machine buttonhole foot (which is about 3″ long, has to go inside the pocket. I’ve made a note on the pattern to see if I could make these buttonholes before the waistband is attached so the pocket will open further.
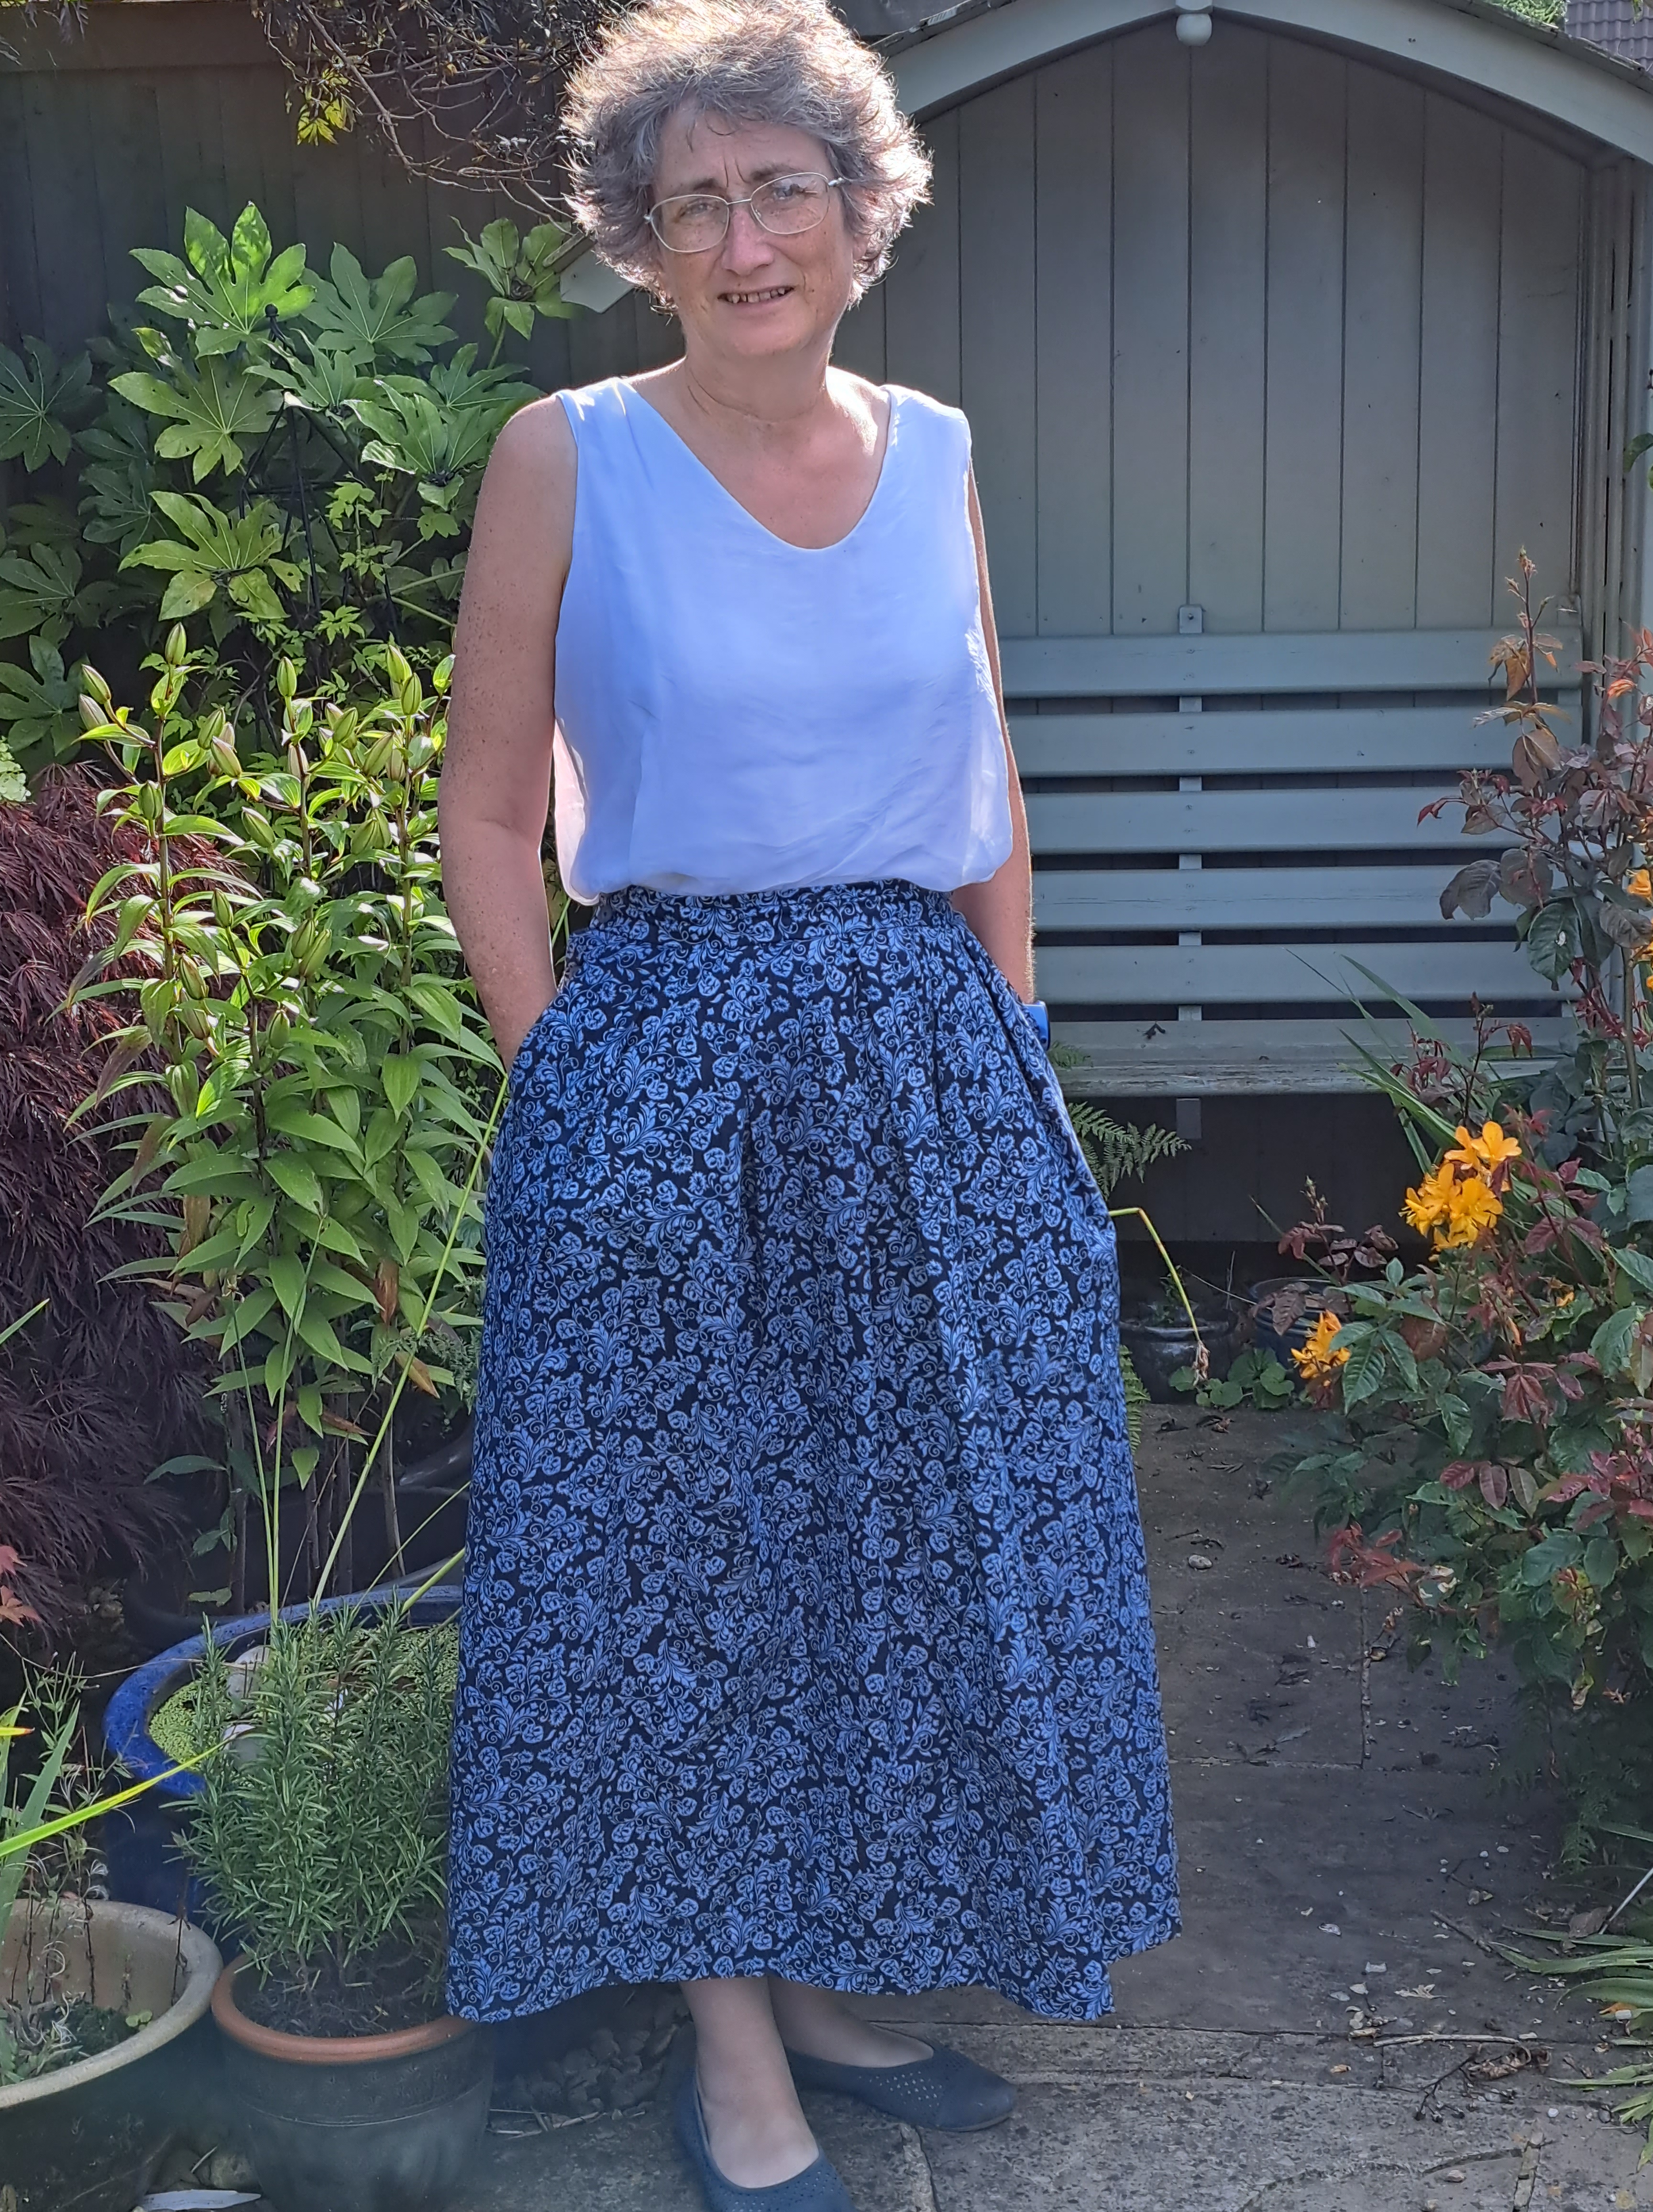
All in all it ended up being a bit of a challenge, some of it my own doing with my fabric choice. However, now it’s made, I really like it. It fits well, I like the pocket opening although it does bulge slightly at the top of the button placket. I love the wrong side of the fabric, there is a slight discrepancy in the depth of the colour which is noticeable on the side seams, it will be interesting to see what happens on washing! I will make this pattern again, though maybe with slightly wider fabric!


Gorgeous, I love your inside out fabric. Worth all the extra effort
LikeLiked by 1 person
Thanks, I’m pleased with it, worn it already!
LikeLike
That turned out very well for all the fiddling you had to do! Very flattering, and the print is lovely used this way.
LikeLiked by 1 person
Thanks Carole, I’m really pleased with it.
LikeLike
It looks great, but your review was also extremely useful in determining me not to make this pattern. I cannot envisage ever wanting buttoned pocket openings!
LikeLiked by 1 person
Thanks Kate, the pockets themselves aren’t buttoned, they open as usual, the plackets are where the pocket would usually be stitched to the side seams. The pockets are actually a really comfortable size and place 🙂
LikeLike
That makes sense, then!
LikeLike
I really like the skirt, Margaret! It looks comfortable and seems to fit you very well! Nicely done! 🙂
LikeLiked by 1 person
Thanks Laura, it’s lovely to wear.
LikeLiked by 1 person
Your new skirt looks lovely on you! What a trooper to continue battling through a poorly designed pattern, working with inside out fabric (which I’ve done before, too, because I liked the colors better) and fiddling with the pleats. Looks terrific!
LikeLiked by 1 person
Thank you, I got there in the end!
LikeLike
skirt looks lovely on you, and well done for having redone the pleats. I lost my 28″ waist years ago ^^
LikeLiked by 1 person
Thanks, I lost mine years ago too but having lost 2 stone I’ve regained it, much to my surprise 🙂
LikeLike
Great color on your and what a lovely skirt! You are such a talented sewist!
LikeLike
You are looking great MArgaret, and the skirt is lovely too!
LikeLike
Looks good Margaret and well done for battling through.
This appears to be Merchant & Mills’ skirt equivalent of their Quinn Trousers that I’ve just finished (my fourth challenge project yet to be blogged about). A friend of mine made the skirt and had problems with the pockets and I certainly found the trouser pattern unclear at certain points. I did use Liberty tana lawn for the pocket linings but still found a lot of bulk was created despite grading the seams with my duckbill scissors. I made them with cotton twill so can’t even imagine how difficult they would be in corduroy, one of the fabrics suggested. I also had the same problem with the buttonholes on the waistband – one at each end on the trousers – and they are not a joy to behold despite using two different machines that use two different methods to sew them. Luckily they are hidden by the buttons but I will know. I think they are wearable but I don’t think I’d use an M & M pattern again – it’s rare their styles appeal to me in any case.
Anyway, I think your skirt looks great and it was a good choice to us the reverse of the fabric.
LikeLike
Oh what a beautiful skirt. And it looks so good on you. Aren’t you pleased you didn’t get rid of that beautiful fabric.
LikeLike
This review is so reassuring, as I’ve just finished making the Shepherd skirt and found exactly the same problems. The fabric I used is a soft fine cord which drapes beautifully but since it is plain, the line from the pocket placket down the side shows the little bulge, as Margaret mentioned. And although I have a very good buttonhole zip foot, the buttons fastenings look clumsy.
The pleats caused me problems too, what a fiddle! But because there is so much fabric, I am going to undo the whole thing and remake it with smooth slanting placketless pockets and a neat hidden zip in the back.
Live and learn…..no more Merchant and Mills patterns for me!
LikeLiked by 1 person
Hi Jenny, glad it wasn’t just me! Hope you can finish it to a design you are happy with, it’s such a shame as it looked such a nice full skirt for the cooler months.
LikeLike
Really interesting to read your review of this pattern which I’m in the middle of sewing. I only came across your review because I’m having problems with the back button plackets (onto my second lot of these: thankfully I have extra fabric). I’ve made M&M patterns before and found them well constructed and I have loved the end products, but I just can’t get my head round this one – and having read your review I’m *really* not looking forward to doing the pleats or the buttonholes. The button plackets just seem unnecessarily complicated, with all the pairs of pieces you need, but I’m going to battle on and possibly do some guessing and bodging if I can’t figure it out! Your skirt looks great so there’s hope yet!
LikeLike