
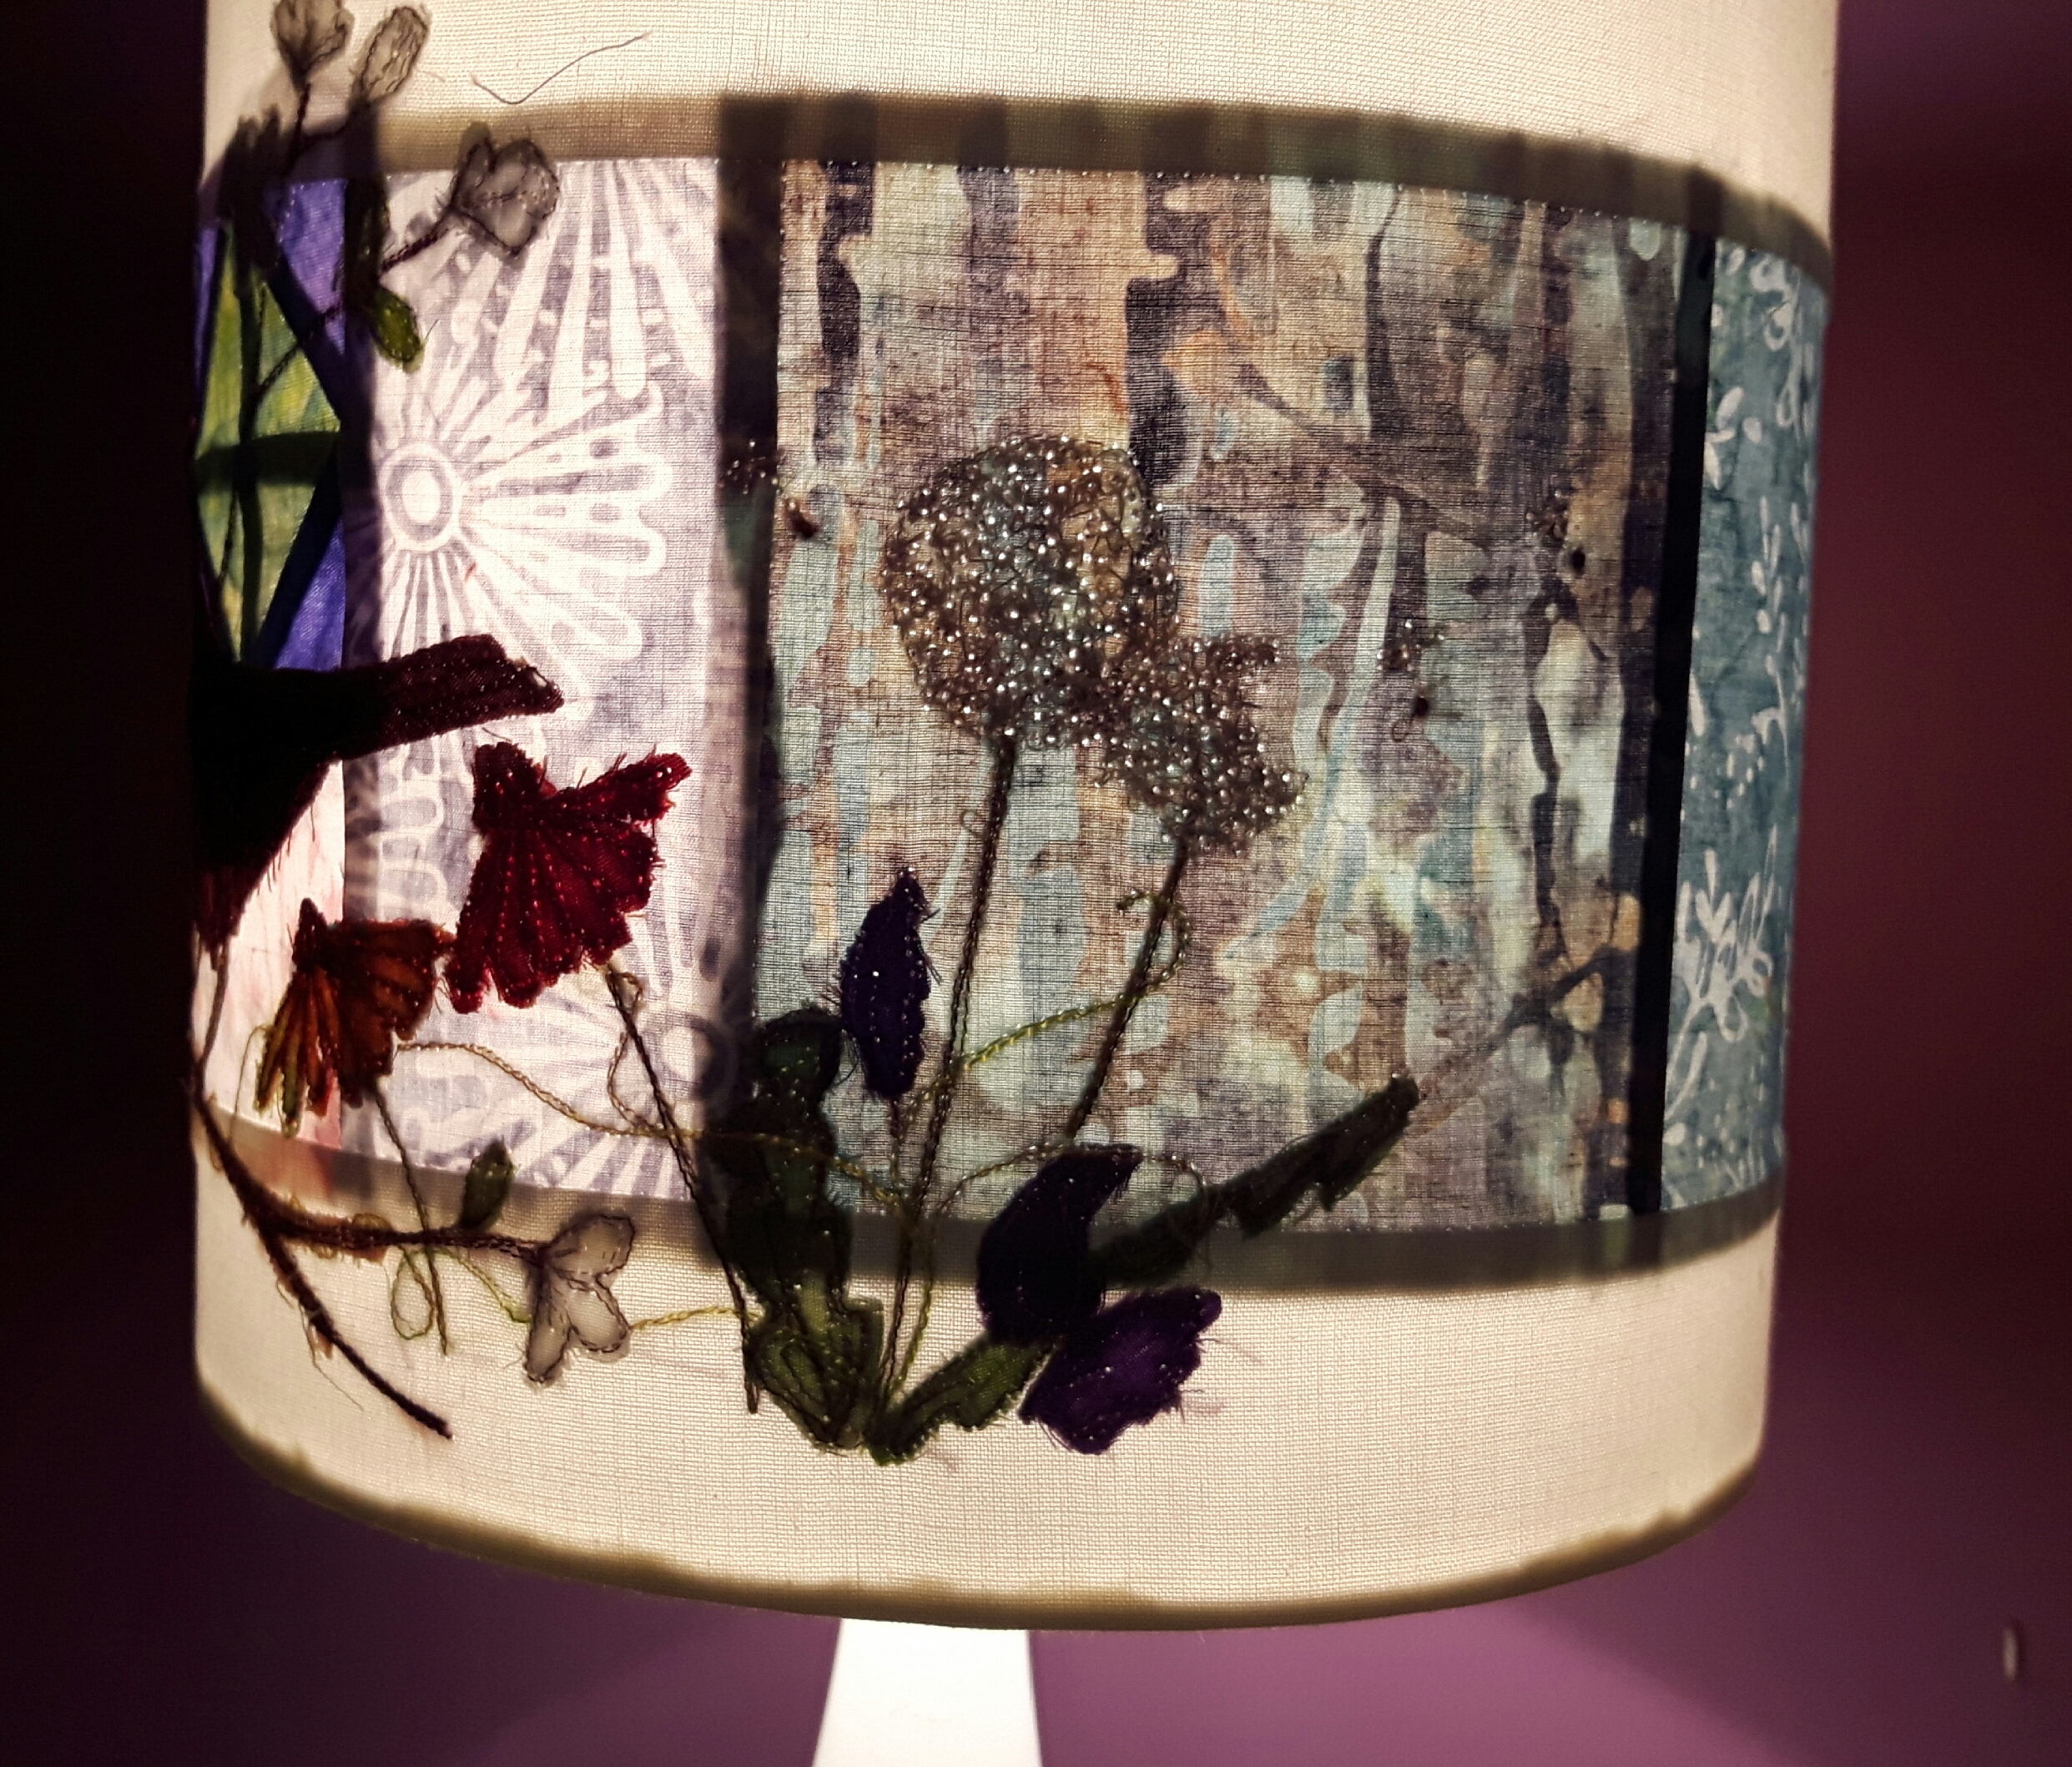
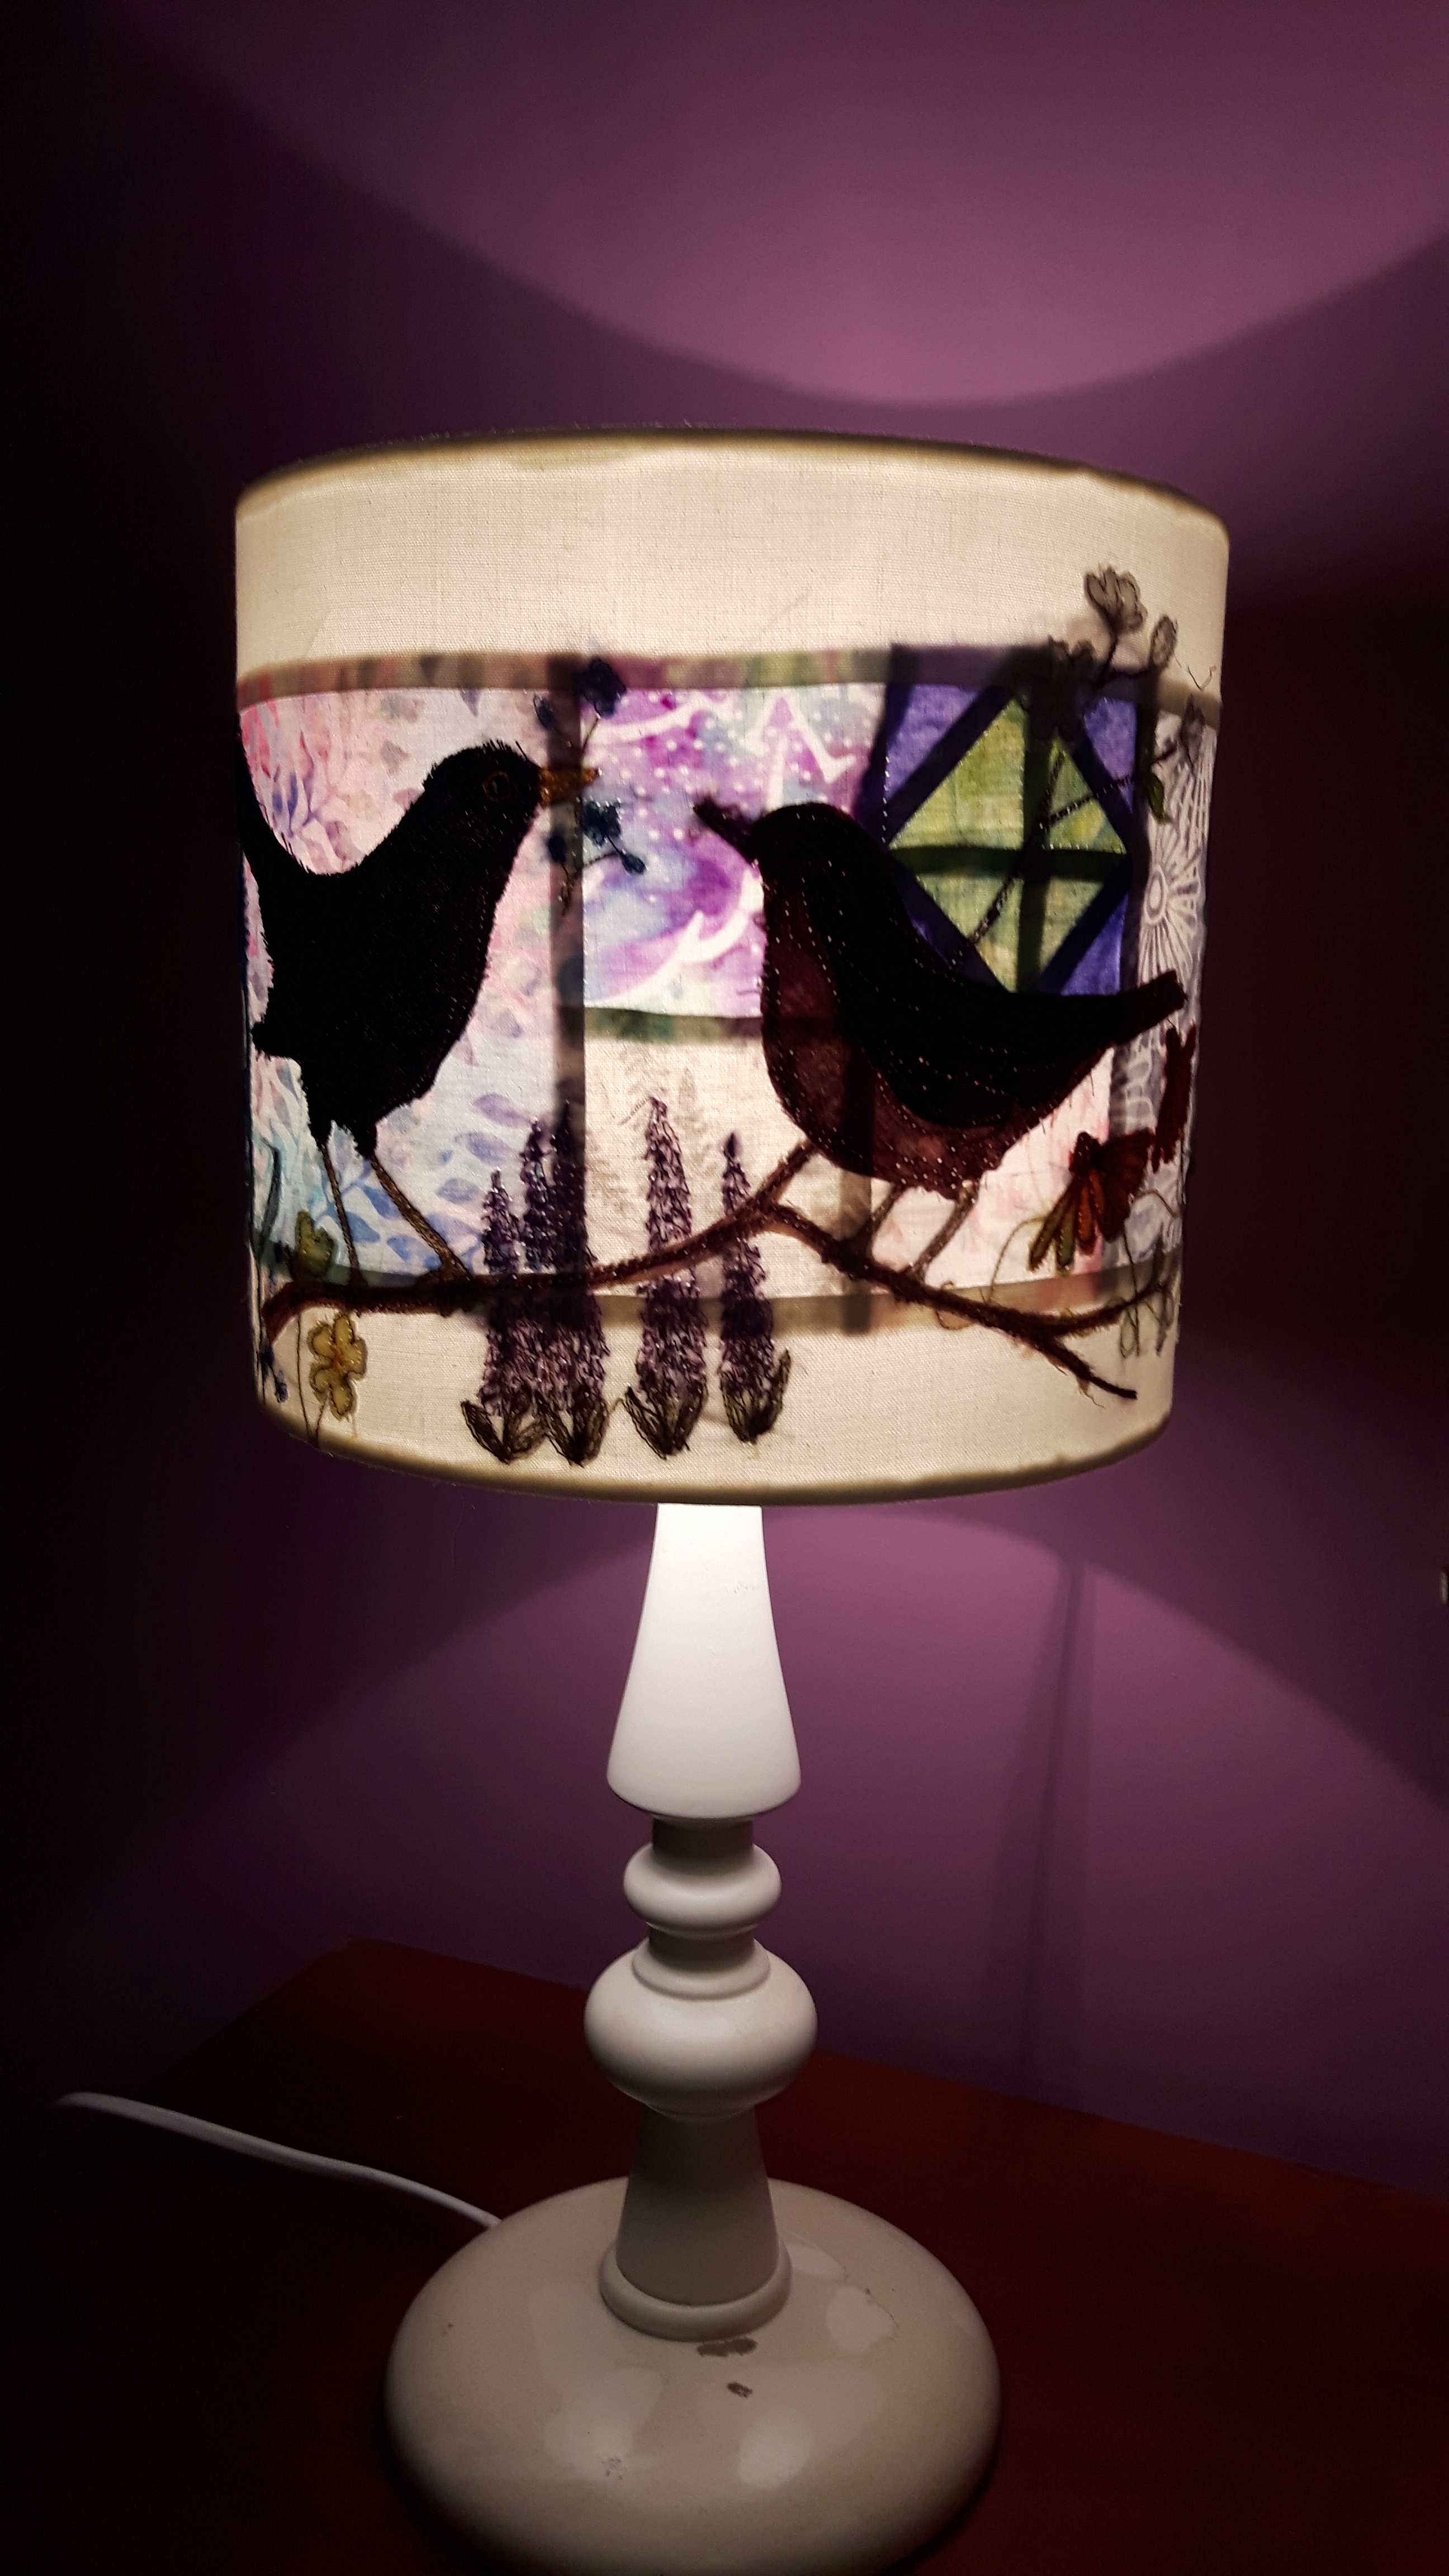
I’m trying to work my way through the multitude of kits I’ve bought from Andrea of Raggedy Ruff Designs, three weeks ago I’d just finished the machine embroidery of a lampshade kit giving the detail on the blackbirds and flowers.It’s still a bit scary doing the free motion embroidery but at least I remember to breathe these days!

All I had to do today was to make it into a lampshade. I bought one of those lampshade kits which are easily available on line, it’s a 20cm one. I’ve made a couple of lampshades at WI camps a few years ago, so I roughly knew how to do it. Unfortunately there aren’t any in progress photos as it really wasn’t a photogenic process!
My first job though was to remove any loose threads or long threads on the back and to remove as much of the paper stabiliser as I could. They would be particularly obvious when the light shines through.

The trickiest bit of assembly is right at the beginning; the embroidery is stuck to a large sheet of sticky back plastic. With the pieced background there was going to be no second chance as it would have totally frayed. To get the panel as straight and taut as possible I pinned it to my wool pressing mat, that worked really well. I took the backing off gradually, sticking it down as I went.

For the next stage I enlisted the help of my OH, he did look worried! I applied sticky back tape to both rings and then he watched to check I was going straight when I positioned the two rings on the very edge of the plastic backing and then rolled up the panel onto the rings. The lampshade was starting to look like a lampshade!
All I had to do the was to use a little car tool (which came in the pack) to tuck all the raw edges inside and behind the rings. Mine isn’t perfect on the inside but it’s good enough for me!
I’m pleased with this, I love the effect when it’s lit, but I think it looks just as pretty unlit.


Well done Margaret, that is a great achievement. I am still trying to get up the nerve to make my cushion cover and have a go at making some smalls. xx
LikeLiked by 1 person
It looks great both off and on – well done
LikeLiked by 1 person
Thanks Jane
LikeLike
I love those lampshade kits but, so far, have only made one in a single fabric – although I did put an edging on it. Well done you, it looks great.
LikeLiked by 1 person
My other two were single fabric ones, I did them at WI camps! It did give me the confidence to finish it 🙂
LikeLike
Looks great!
LikeLiked by 1 person
I take my hat off to you. Looks like it was a tricky business. But now you have a beautiful lampshade
LikeLiked by 1 person
Making it into a lampshade wasn’t actually tricky, you just need an extra pair of eyes when rolling it up 🙂
LikeLiked by 1 person
how brave ^^ and how lovely it looks, Margaret! When lit, it looks like a stain-glass window!!!
LikeLiked by 1 person
What a wonderful lampshade! I have had a picture of a hardanger lampshade for years, but never got around to planning it out. I may have to think about that, yours is so cool; I am inspired!
LikeLiked by 1 person
Looks great! Reminds me of dawn with the blackbirds singing in the dawn light.
LikeLiked by 1 person
I love listening to the blackbirds at dusk and dawn.
LikeLike
I love the blackbird lampshade,.
LikeLiked by 1 person
Reblogged this on sketchuniverse and commented:
💡✨ HI SUGARS ! TODAY WE HAVE THE PRIVILEGE OF BEING ABLE TO CONTEMPLATE THIS WONDERFUL LAMPSHADE.
LikeLike