
I’ve recently started following Textile Artist on facebook and they have just started their 2021 Community Challenge. Each week a different textile artist presents a workshop or talk to inspire you to stitch something. It’s all free and I find this sort of challenge good for pushing me out of my comfort zone and finding my own style. The first one was by Sue Stone and one comment she made was that everyone has their own unique style of embroidery.
Sue’s workshop was about choosing an image that you particularly like and make an embroidery inspired by it. She often uses paintings, but it could be a photo of a person, an item, nature…she showed us how to trace the image, transfer it onto tissue paper and then stitch through the tissue paper. this can then easily be removed without damaging the stitches.
I wasn’t sure about this one at first, I think partly because I wasn’t keen on the type of art she used and I found it difficult to think how I could translate it to something I did like. Then I saw a few embroideries on the facebook page as people started to share their work. There were quite a few from family photos and that sparked an idea.
One of my favourite photos of my children is from our last big family holiday. We usually did things like hiring a canal boat or a cottage somewhere, but this time we pushed the boat out and took the family to Australia where we have family and friends. This photo was taken on the last day as we enjoyed some time on one of the beaches just north of Sydney at Newport. James and Helen would be about 13 and 16 years old, they were just walking together along the beach, exploring the area. James as you can see was still following the fashion of having your trousers half way down your bottom so your pants show – who ever thought that was a good look!!!

I traced the outline of the children and then transferred it onto tissue paper. I decided to do more of a neat quilt background rather than raw edges etc. I found some sea and sand coloured fabrics and started to play with them. Initially I was trying to use the azure blue of the sea and sky, but I couldn’t get it to work with the lighter fabrics I wanted to use for the surf and the sand. It didn’t help that I haven’t many plainer fabrics to choose from. I eventually decided to concentrate more on the surf and sand which meant I could use just the softer batik fabrics I had found.
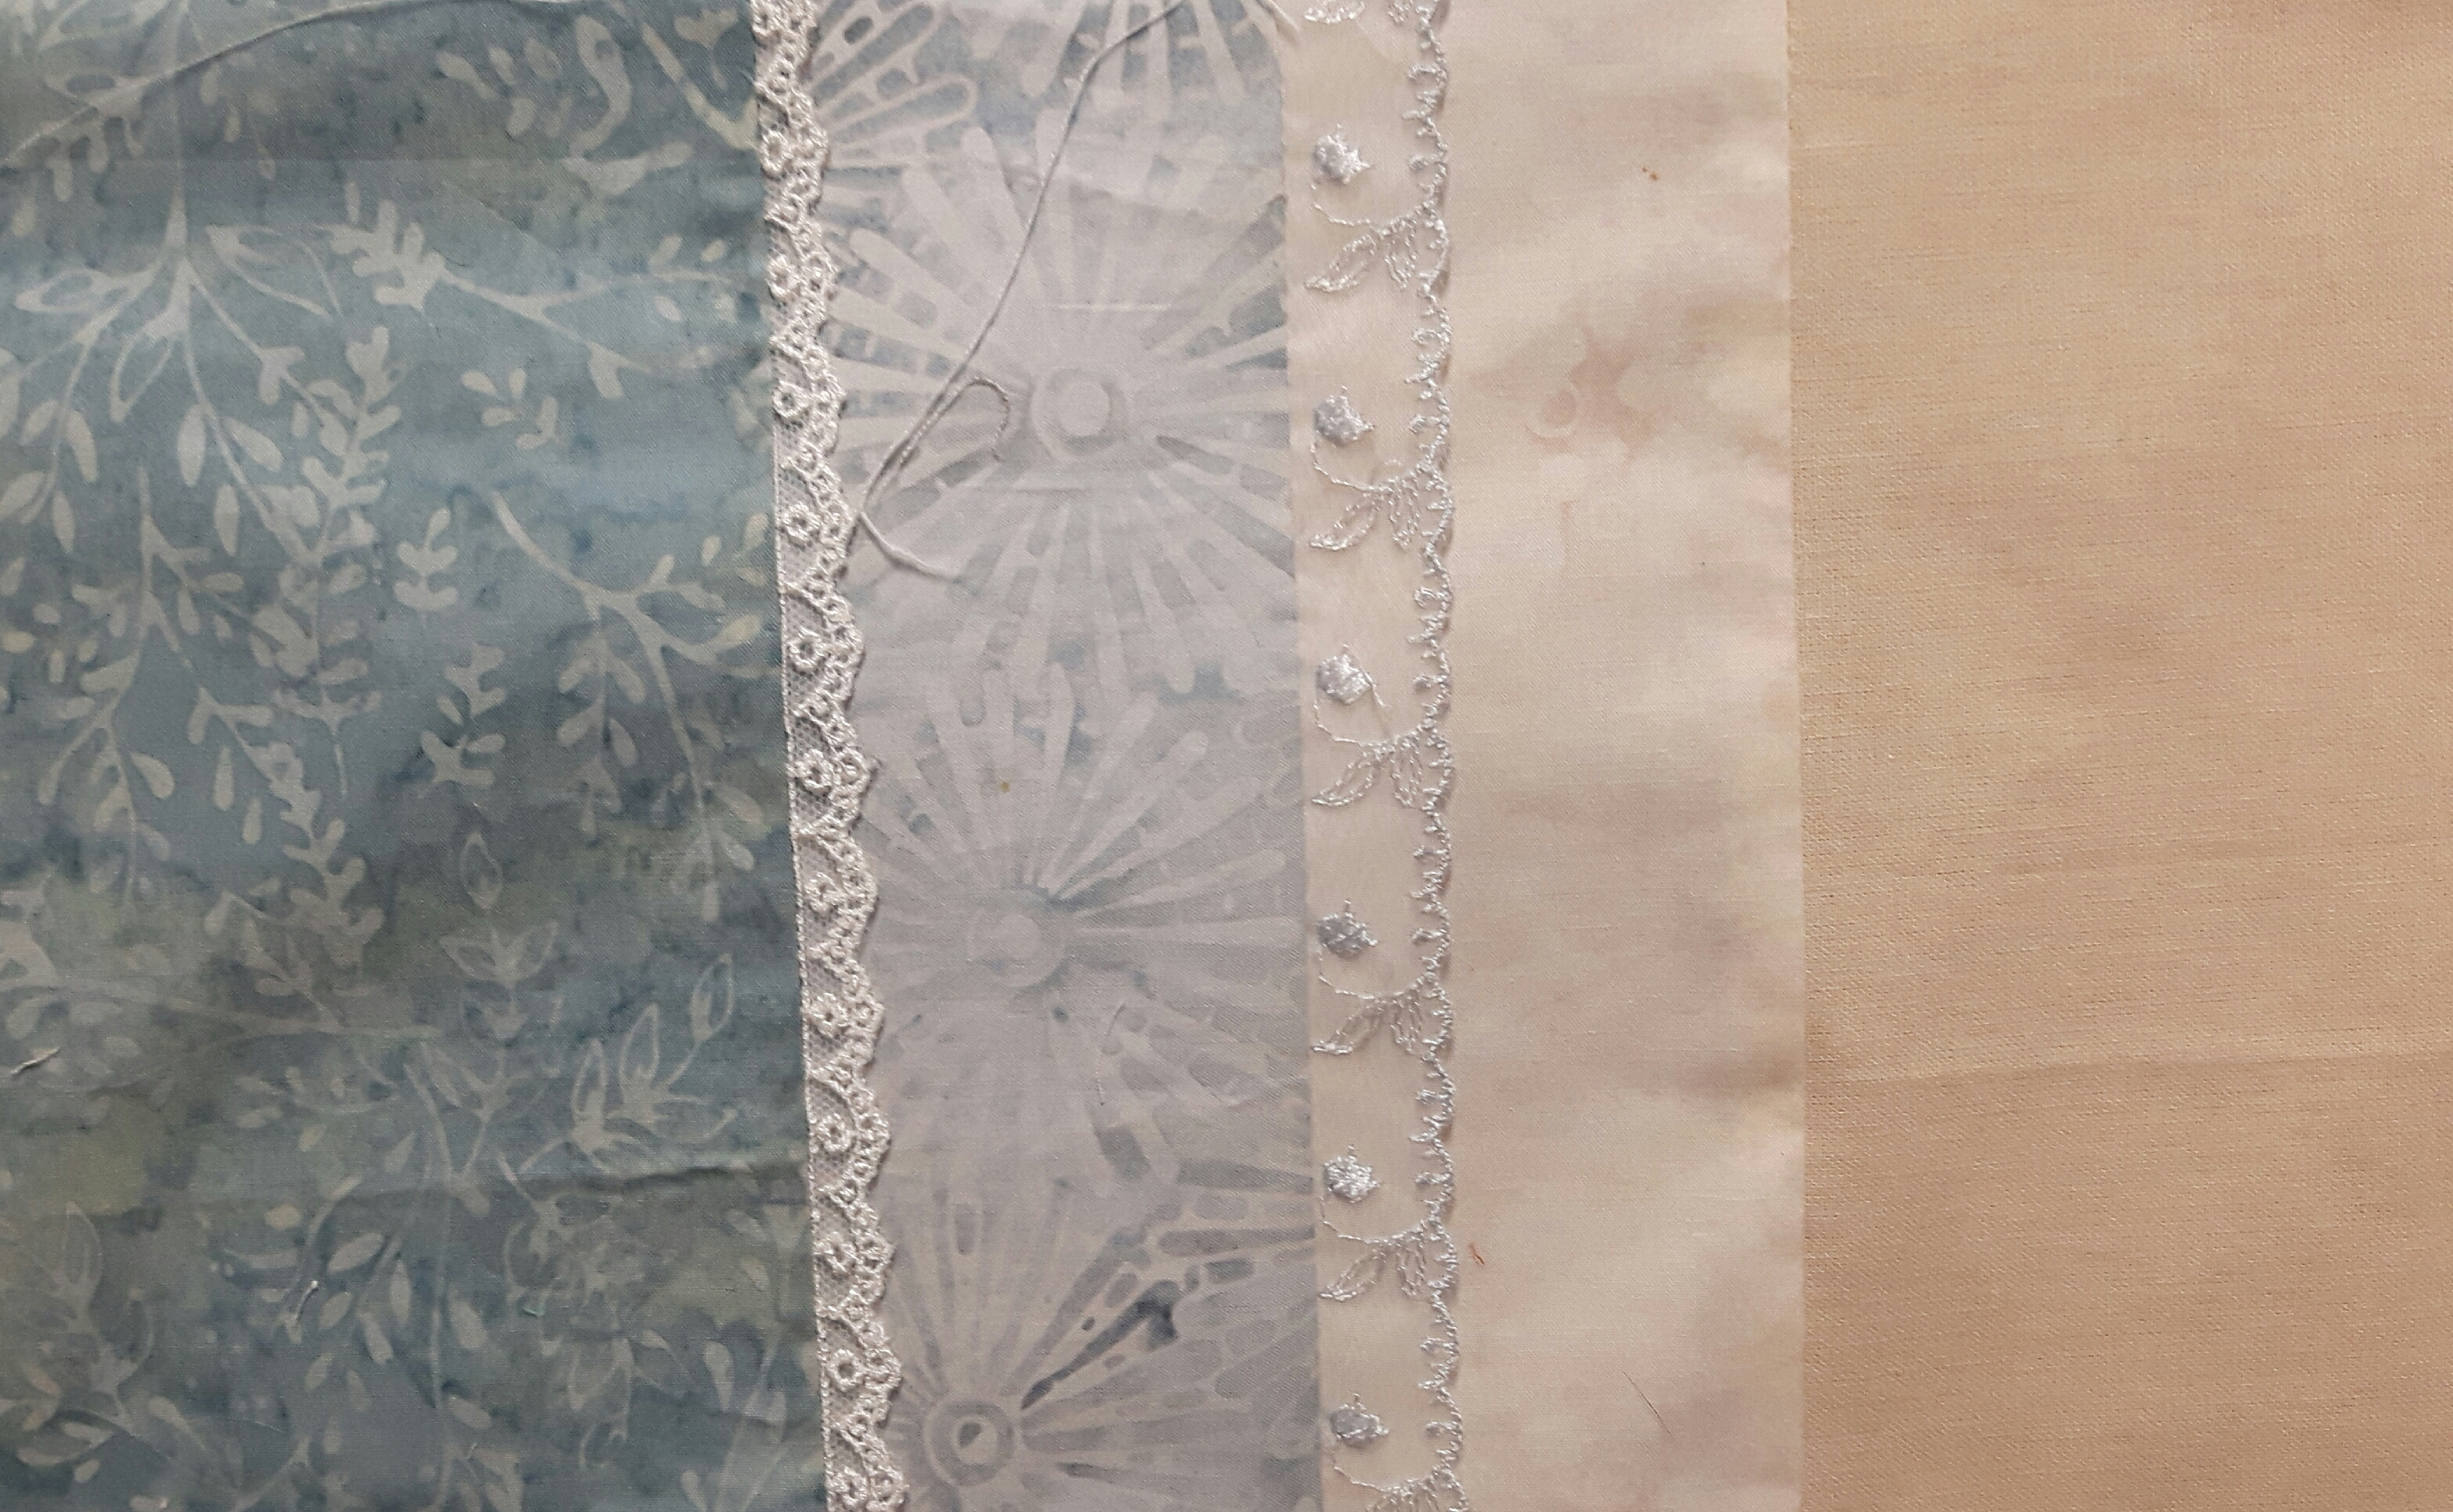
I added a pale blue tulle lace and some white lace in between the batiks whilst I stitched it on the machine. I decided to pick out the clothes in applique to add a spot of colour, I just used bondaweb to attach them and then tacked the tissue paper image in place over the applique.
At first I wasn’t so keen on stitching through the paper as it wasn’t easy to do a precise back-stitch but once I started to see the effect I quite liked it as it almost looks more sketched than it would with a perfect outline. I realised almost immediately that my applique clothes weren’t perfectly lined up so I took the decision to ignore the placement of the clothes and stitch the outline instead, so at times it just misses and I like that effect. I used a single thread of dark brown as it didn’t seem so harsh as black.
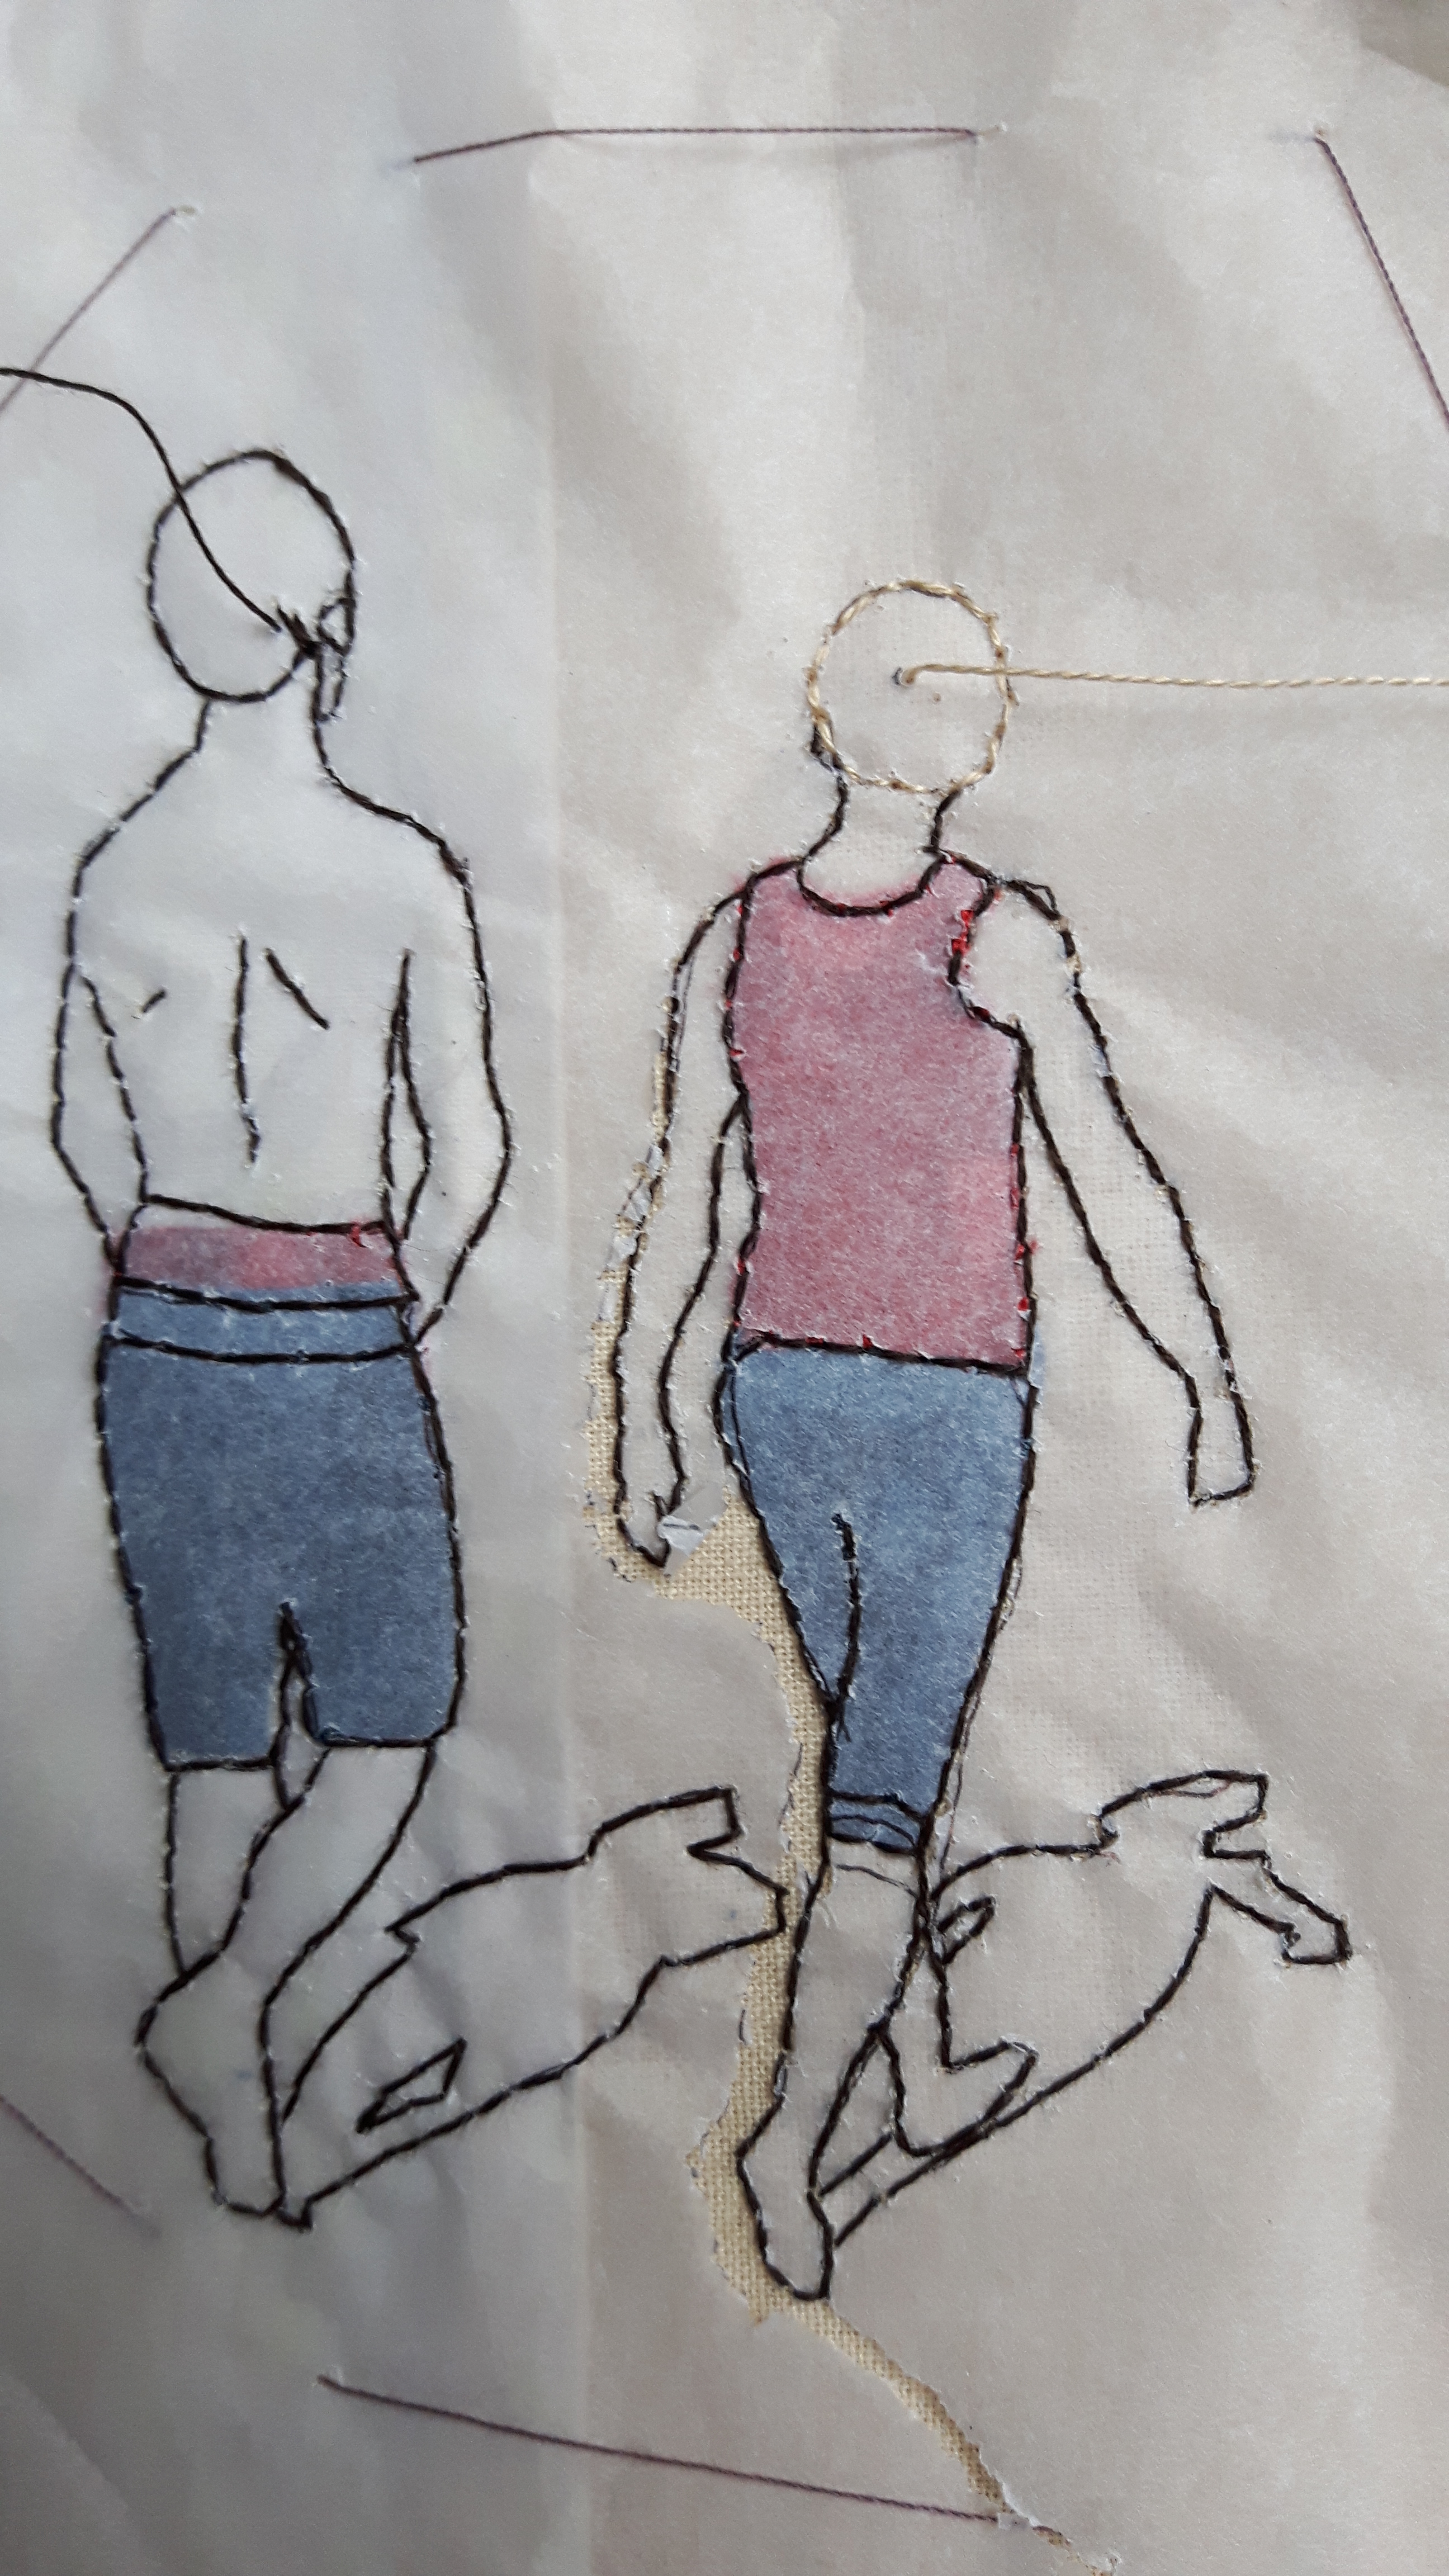
My next decision was how to do the hair. I’ve seen a few embroideries on pinterest which have say a pony tail coming out of the embroidery and I quite fancied doing something similar. I googled it but all the ones I found seemed to stitch the ‘hair’ round the edge and then gather it into the pony-tail. I felt that would give me too thick a ponytail. I decided to make it up as I went a long. I back-stitched round the hairline to give a neat, slightly raised finish, a bit like you do with satin stitch. I then stitched the pony tail by stitching into the cental point, leaving a tail before stitching from the edge to about half way in and then back out through the middle, leaving a big loop before stitching again.

This seemed to give just enough stability to the loose threads. I didn’t aim to cover the head at this point, just to get enough hair for the pony tail. Once I was happy I changed to a slightly darker thread and used a satin stitch into the centre until it was covered. All I had to do then was give her a hair cut! I’m pretty pleased with this.
James hair took a little more thinking as it’s just a typical short back and sides. In the end I used a lighter brown, chose where the crown was and stitched with short stitches or long and short radiating outwards until his head was covered.

I was really pleased with how the figures came out but I still had to work out what to stitch on the background, it needed something. Remembering how Sue Stone had divided her A4 design sheet into thirds and then added diagonal lines I decided to stitch diagonally across the the embroidery, approximately where the shoreline and sea foam was on the photo. First I tried blanket-stitch, thinking I might follow it with a wavy feather stitch, but the blanket-stitch didn’t look right, it was neither perfectly straight or curved enough to work. I undid it and decided to keep it simple with 1/4 inch rows of running stitch, starting at two diagonal corners. I used a variegated DMC floss and I like the rippled effect it gives.
I always find it hard with this sort of thing knowing when it’s finished, I could have done more stitching, maybe on the sand, but I decided I was happy with it. So here it is…

I’m well chuffed with how it’s come out,I like the figures and the background seems to work. I’ll probably use the tissue paper method again too.
If anyone fancies doing these challenges, just follow the link to the Textile Artists website, this weeks challenge is to use text in embroidery.


Oh my goodness – this is amazing! I love the ponytail!
LikeLiked by 1 person
I think that’s really lovely. Love the 3D ponytail!
LikeLiked by 1 person
So clever, it is a brilliant recreation of a great photo
LikeLiked by 1 person
This is absolutely amazing. What a clever way to recreate a photo in embroidery. Such a fabulous idea!
LikeLiked by 1 person
gosh! so much thought went into this piece and it was fascinating to read the process of making this absolutely gorgeous embroidery!
LikeLiked by 1 person
Creative and fun, Margaret! 🙂
LikeLiked by 1 person
WOWWWWW beautiful honestly !!
LikeLiked by 1 person
Really awesome project. I love the ponytail too
LikeLiked by 1 person
Love it. The hair is brilliant.
LikeLiked by 1 person
What a great idea. And such a lovely photo!
LikeLiked by 1 person
I have been following along with Sue as well. You have done a fabulous job with her prompt. I have done nothing with it. No inspiration came.
LikeLiked by 1 person
It is hard getting that idea to begin with. I struggled at first because she mainly used what I would call ‘modern art’, which isn’t my cup of tea. Once I saw some of the work come through on facebook I realised I could just use a favourite photo.
LikeLike
What a great idea. I really like how this came out!
LikeLiked by 1 person
Beautiful piece, I love how it came out!
LikeLiked by 1 person
Oh this is beautiful! You captured them well!
LikeLiked by 1 person
What a lovely piece! I really like your embroidery as well as how you finished it. I haven’t done Sue Stone’s workshop yet since I’m doing the regular Stitch Club. I did watch the video and have some great ideas…but not enough time, yet. Well done on your piece. It does help to see what other stitchers have done to get ideas. Take care.
LikeLiked by 1 person
Thanks Andree, I’m hoping to do the Stitch Club when they next open it up 🙂
LikeLike
You’ve done that really lovely. I used to follow Textile Artist but got fed up of the Sue Stone style being thrust at me as I don’t like it either. You’ve certainly made this one your one though.
LikeLiked by 1 person
I love this, so clever with the ponytail!
LikeLiked by 1 person