Last year I made my mum a cross-stitch small with a beautiful bumble bee on it. The pattern is still available on Etsy, I think it’s gorgeous! I found some cheerful quilting fabrics with sunflowers and bees on to titivate it. We used to keep bees when I was young so it seemed appropriate, she loved it…
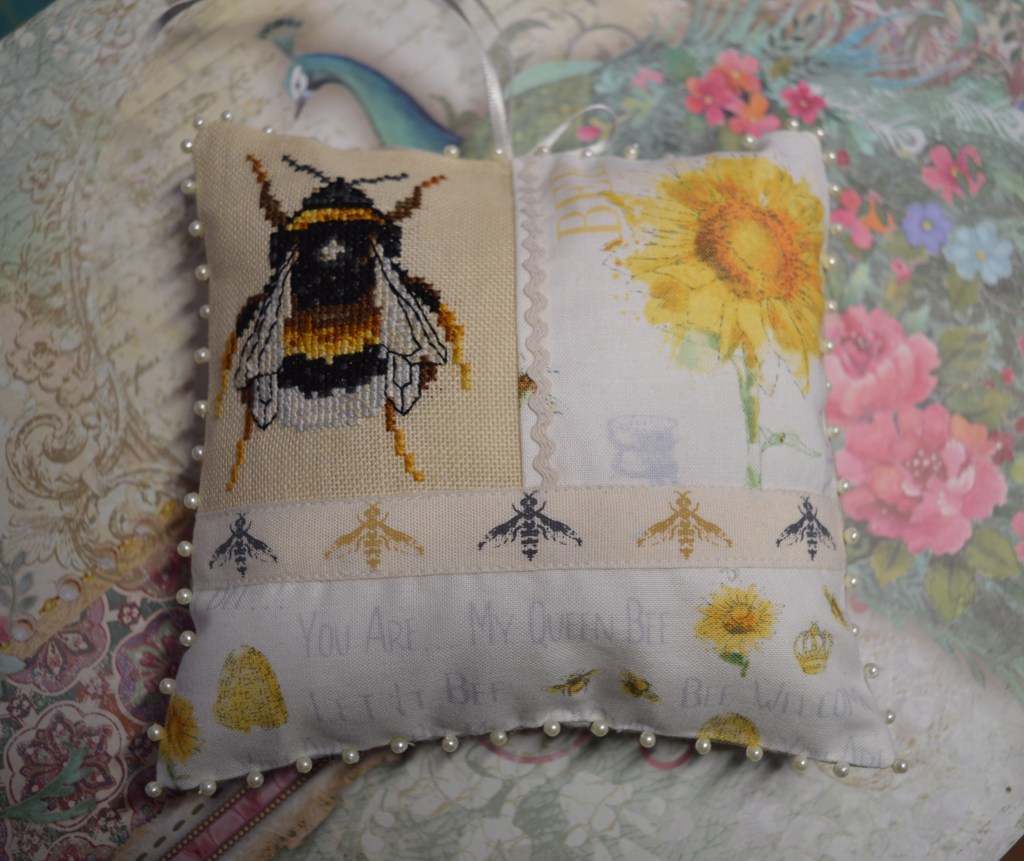
The cross-stitch was so beautiful I decided to make myself one too! This time I made it more oblong shaped with a subtle soft green fabric with bees on. I added some mini pompom trim with ric-rac and beads round the edge…

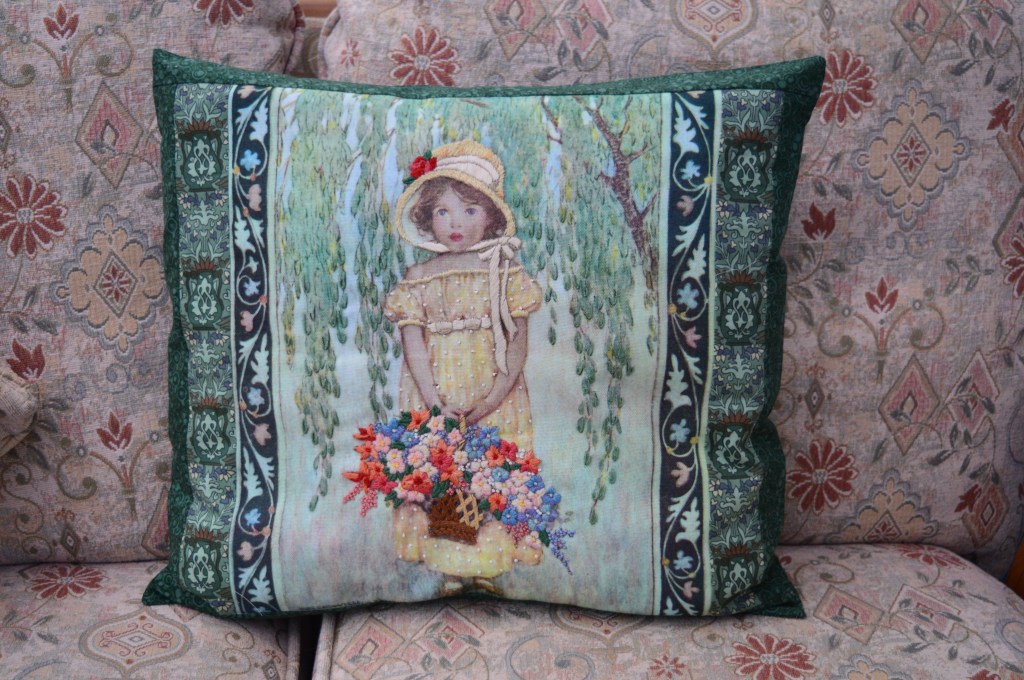
I posted it on facebook and a good friend asked if I would make her one too! Over Christmas I stitched the bumblebee and later sent her photos of three different options for making it up. She chose the pretty green fabric with bees amongst twines of leaves. It’s one of my favourite fabrics at the moment…

I rummaged through my trims drawer to see what would work, trying lace, pom-poms, ribbon – someone asked to see my drawer, well here it is!!!

As you can see I still haven’t worked out a way of sorting it! I tend to pick up lengths at shows or just when I see them. At first I found it quite hard as I didn’t know what I would use – I’m getting better!
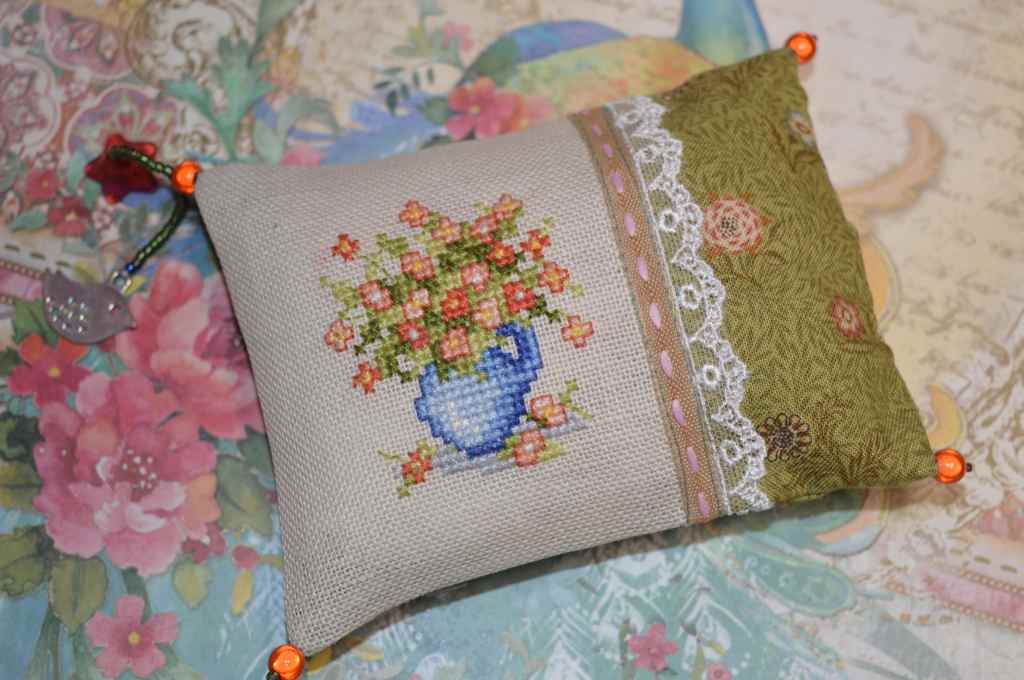
I stitched the basic oblong, added bee tape and a gorgeous variegated ricrac which co-ordinated perfectly with the blue of the buds on the fabric. I stitched on the backing and stuffed it. I still felt it needed a little more embellishment so I added some tiny soft gold beads next to the ric-rac – it’s just enough.

I wanted something round the edge, but the ric-rac would have been too much, so I chose three coordinating DMC threads and made some cord. I used two shades of blue and a soft yellow. Now I have a cord maker it’s a two minute job. I stitched it round, forming a loop at the top and a bow behind to finish off the back.

She loves it! I think it’s the first time I’ve stitched a pattern more than once – three times is definitely a record!