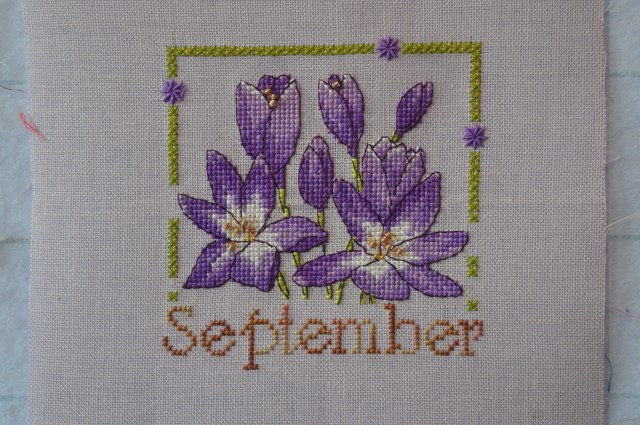
Last weekend I managed to stitch the wordplay for September to go with the autumn crocus design for the month. Once I get the design sorted it doesn’t usually take long to actually stitch as a lot of it is back-stitch.
I finally have a more positive month to share!
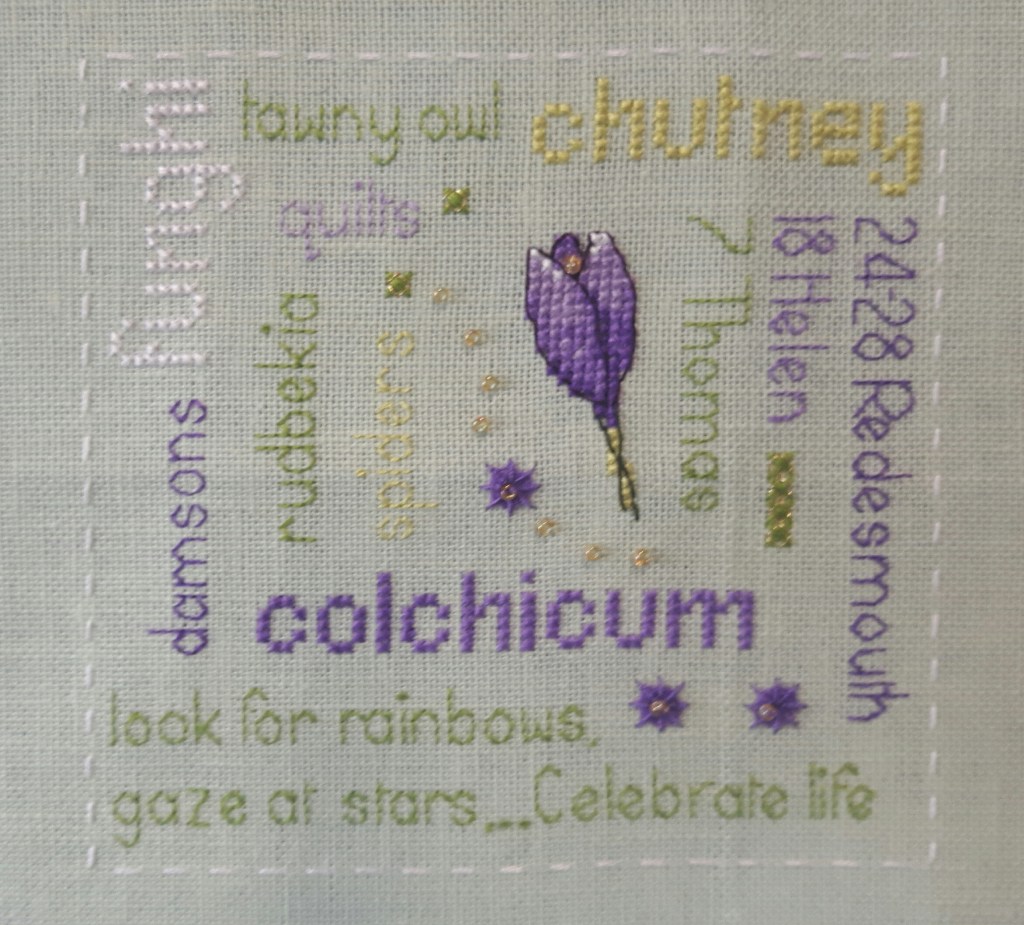
The latin name for an autumn crocus is colchicum, though I do like the common name of naked ladies! We actually saw some in flower in Hexham but I didn’t manage to get a photo
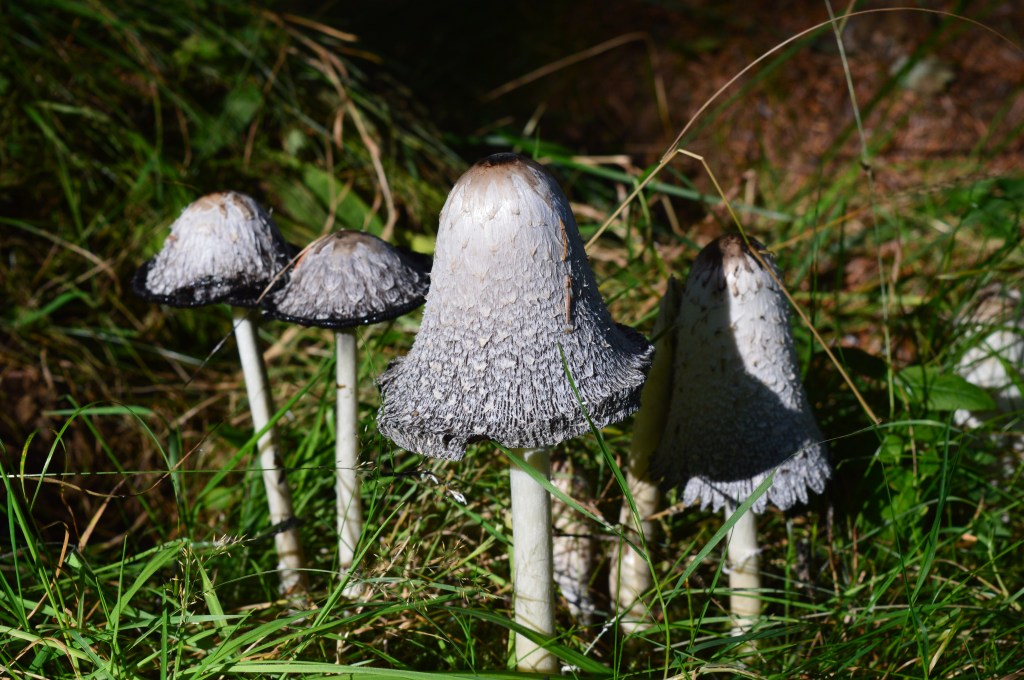
I did manage to get a photo of these amazing mushrooms, they were a gorgeous shade of lavender, I think it’s called a shaggy inkcap, or judges wig, but that’s only via google – I know very little about mushrooms, I certainly wouldn’t trust myself to eat a wild one. There’s lots of mushrooms and toadstools appearing at the moment.
I’ve felt quite domesticated making chutney, I used to make lots of jams and chutneys but then I got out of the habit, I think I had a couple of not so good batches which took forever to use up and it sort of put me off. I love the smell of chutney cooking – it certainly clears your nose! I made caramelised red onion chutney, red onions are usually more expensive than white here but at the moment they’re the same price for some reason, so I decided to take advantage and make some chutney. I bought a couple of pound of damsons too on the market – they’re only available usually for a pretty brief window, so I put them in the freezer ready to make some damson gin.
We hear the tawny owls a lot more in the autumn and winter. So far I’ve just heard a female, it’s lovely when you hear another one answering back. The calls always make me smile as the female says ‘Twit’ and the male answers ‘Woohoo’.
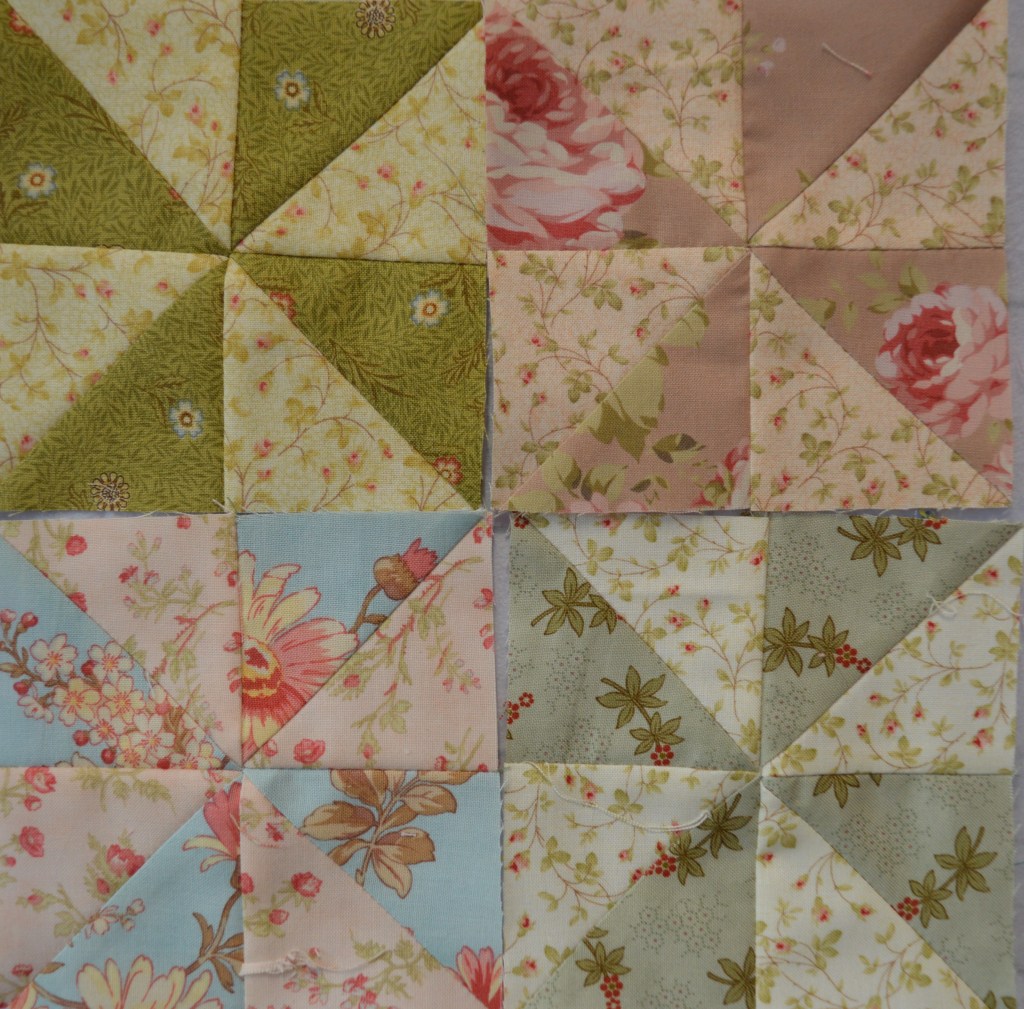
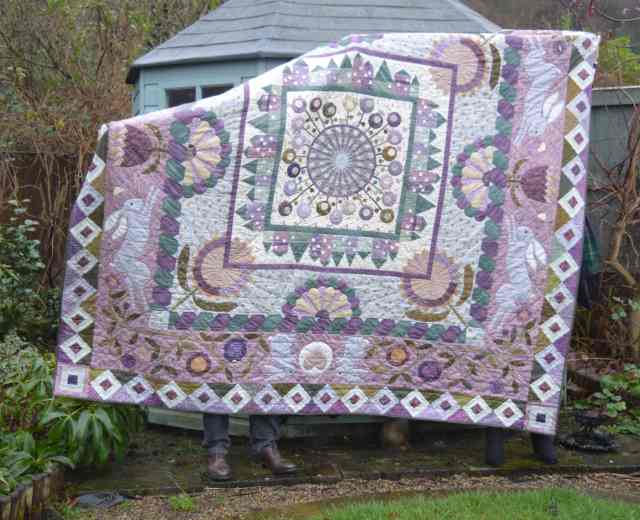
The big quilt went back on the bed in September, it’s the Down the Rabbit Hole’ one I made a couple of years ago (but didn’t finish quilting til last December!) it’s a lovely weight, makes us feel all snuggled. I wanted to include electric blanket on the wordplay but I didn’t quite have the space, we love the electric blanket once it gets cooler!! It was an extra Christmas present to my OH a few years ago and he always says it was the best present ever!!
The yellow rudbekia have been lovely in the garden over September, adding a welcome splash of colour…

We’ve had two family birthdays this month and a much needed week-end away in Redesmouth. Redesmouth is a tiny hamlet in Northumberland, it used to have a bustling station and we were staying in a lovely old railway cottage called Whistlestop. We booked it through AirB&B and it was perfect for what we needed. More photos in another post but this photo was about a five minute walk from the cottage…

Spiders! At this time of year the big spiders seem to move into the house. They may not be big to readers in far off climes, but they’re big to us! I don’t mind spiders, I usually give them a help if they are stuck in the bath, otherwise I just leave them be. We call the big spiders George in our house, I think it started as a way of stopping the kids from being scared of them, if it’s an extra big one then it’s a Grandad George!!
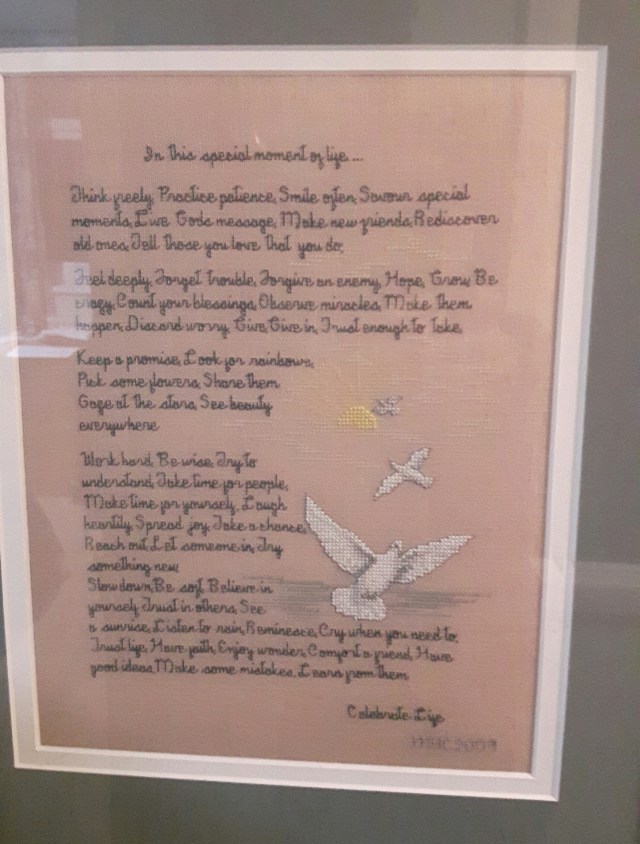
The quote this month is from one of my favourite poems (or is it prose??) I first saw it when I was about 19, a student nurse in London. I went to stay with a friend at Canterbury uni and she had it pinned to her board. I wrote it out and kept it safe. I love it, it’s sort of like my philosophy in life. This is the whole poem
In this special moment in life….
Think freely. Practice patience. Smile often. Savour special moments. Live God’s message. Make new friends. Rediscover old ones. Tell those you love that you do. Feel deeply. Forget trouble. Forgive an enemy. Hope. Grow. Be crazy. Count your blessings. Observe miracles. Make them happen. Discard worry. Give. Give in. Trust enough to take. Pick some flowers. Share them. Keep a promise. Look for rainbows. Gaze at stars. See beauty everywhere. Work hard. Be wise. Try to understand. Take time for people. Make time for yourself. Laugh heartily. Spread joy. Take a chance. Reach out. Let someone in. Try something new. Slow down. Be soft sometimes. Believe in yourself. Trust another. See a sunrise. Listen to rain. Reminisce. Cry when you need to. Trust life. Have faith. Enjoy wonder. Comfort a friend. Have good ideas. Make some mistakes. Learn from them…
Celebrate Life
Jan Michelson
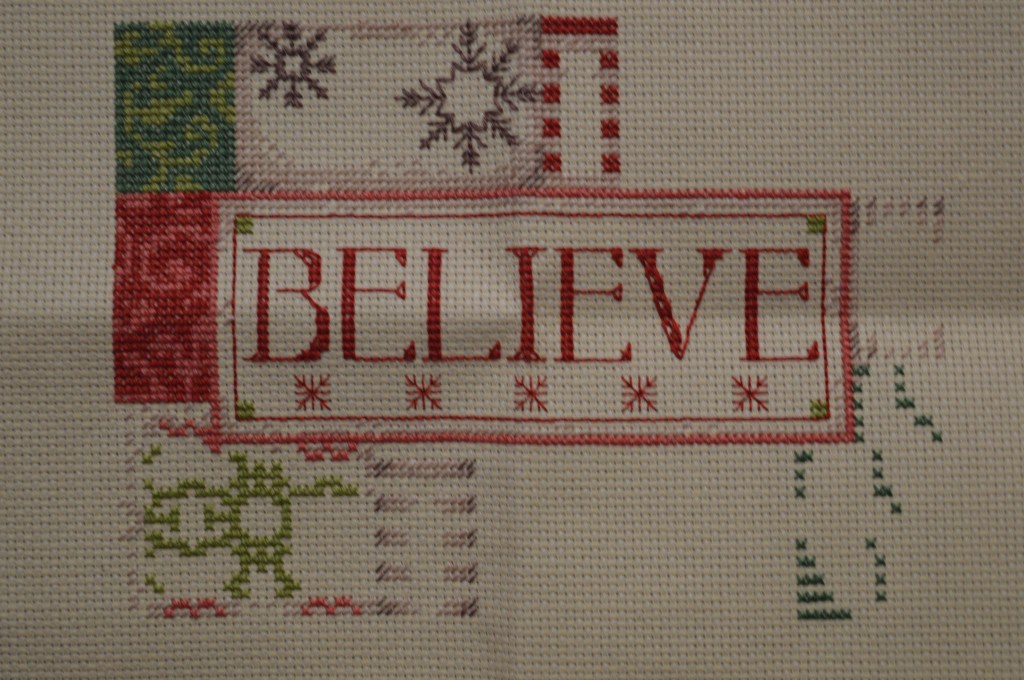
I love it enough to stitch the whole poem, I made this several years ago…
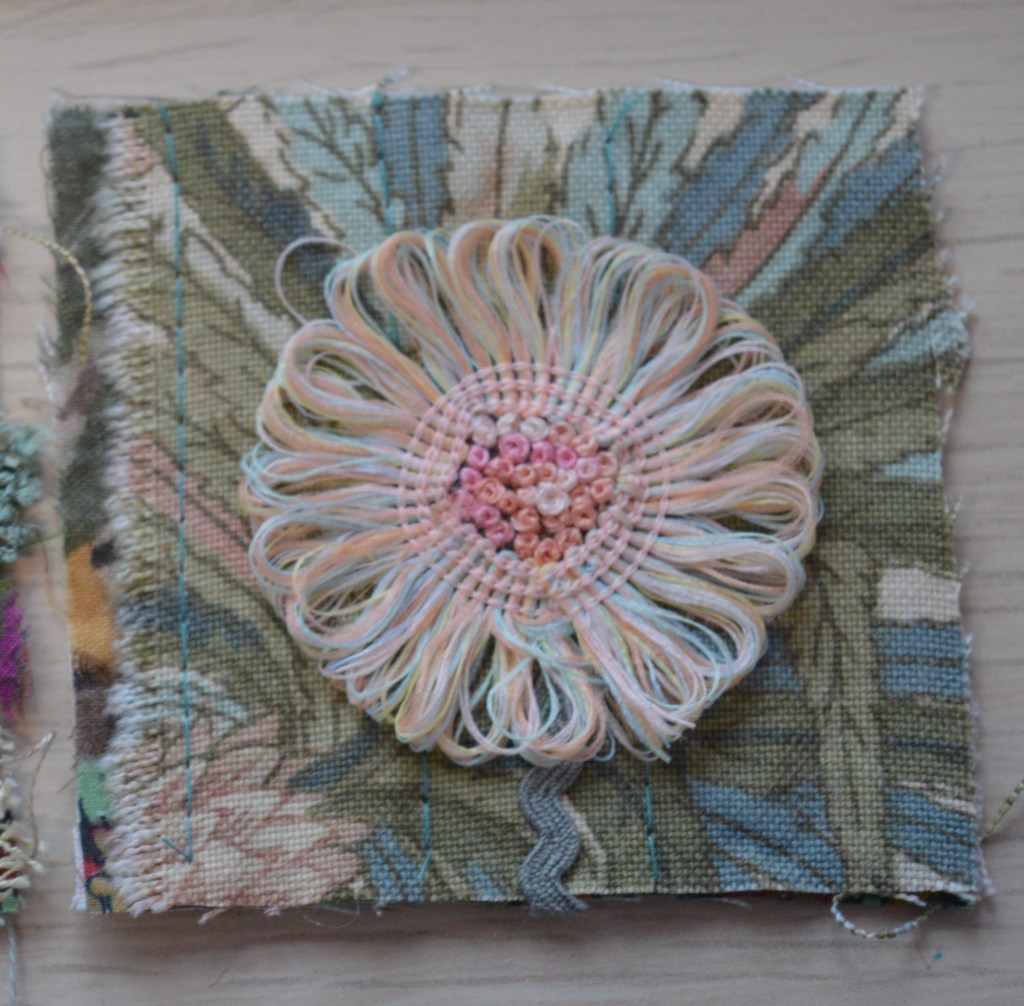
Having stitched the crocus in amongst the words, I had a bit of a gap, so I added the spiders web stitch and a few beads to fill it out – right next to the word spider!! I’m pretty pleased with this one, sometimes they just come together more easily. Here it is next to it’s flower page.

Faby has just released this months design in the Anthea Calendar SAL, it’s gorgeous! Deep pink cyclamens!