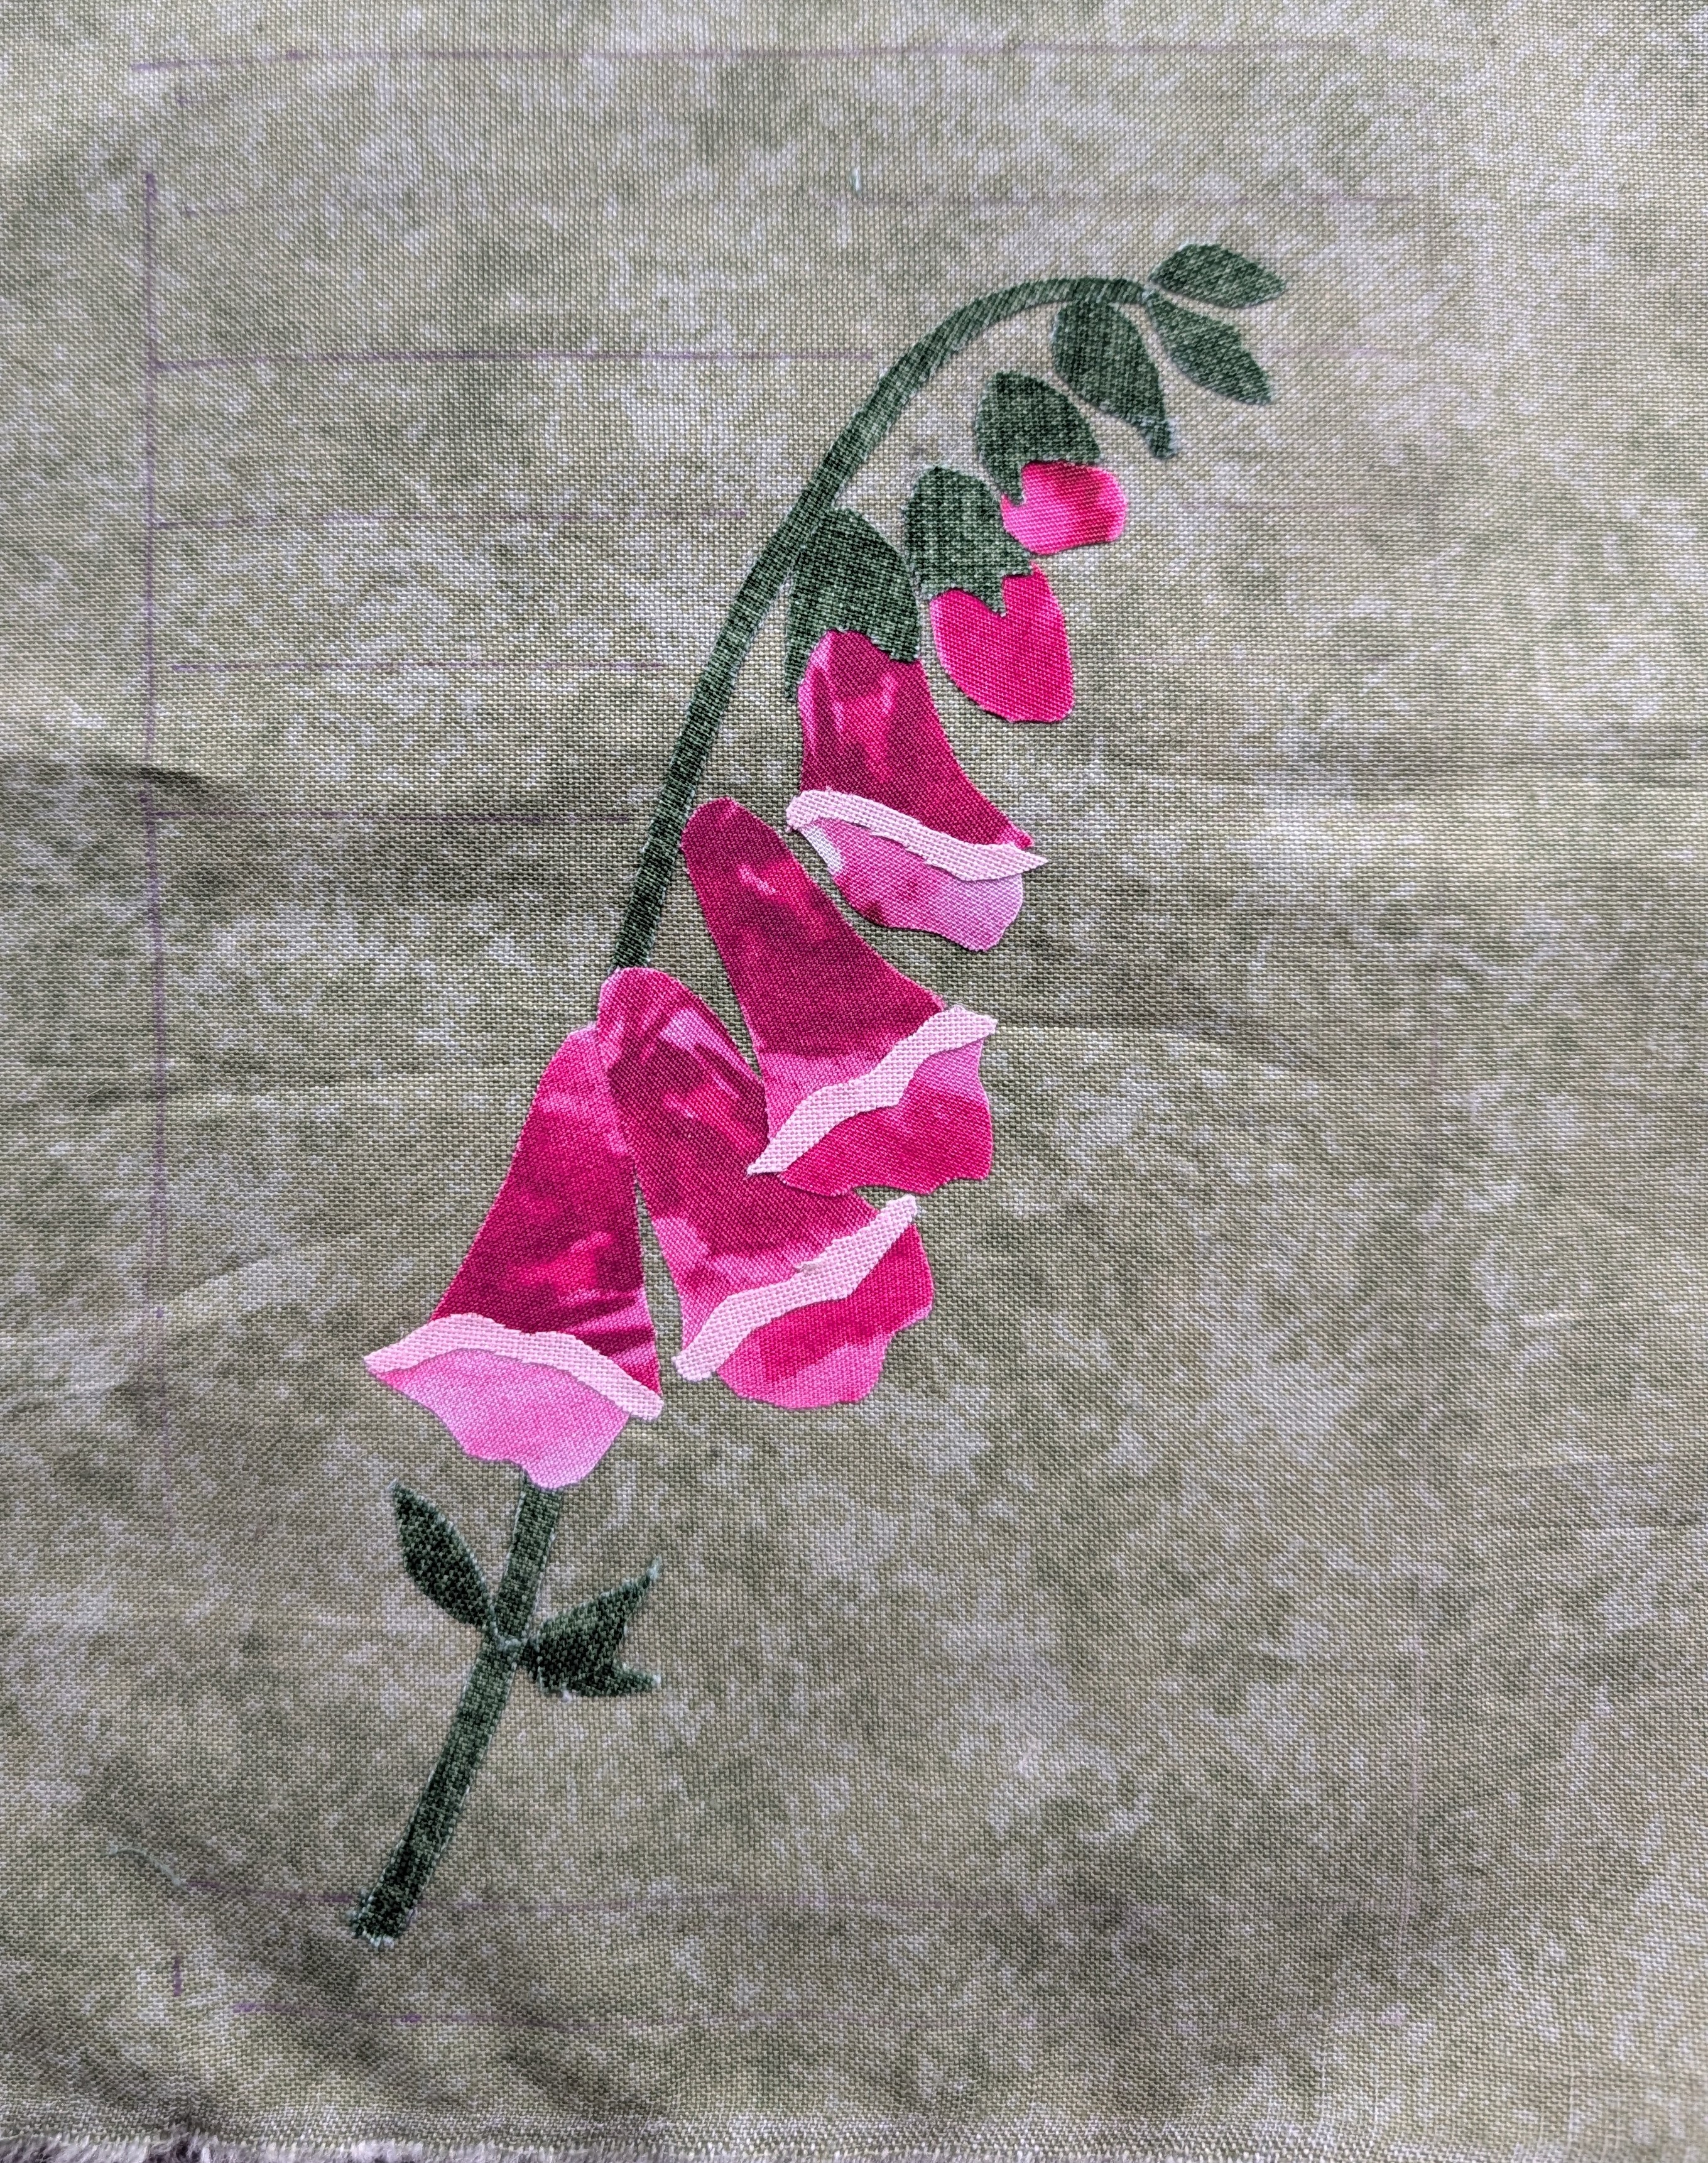
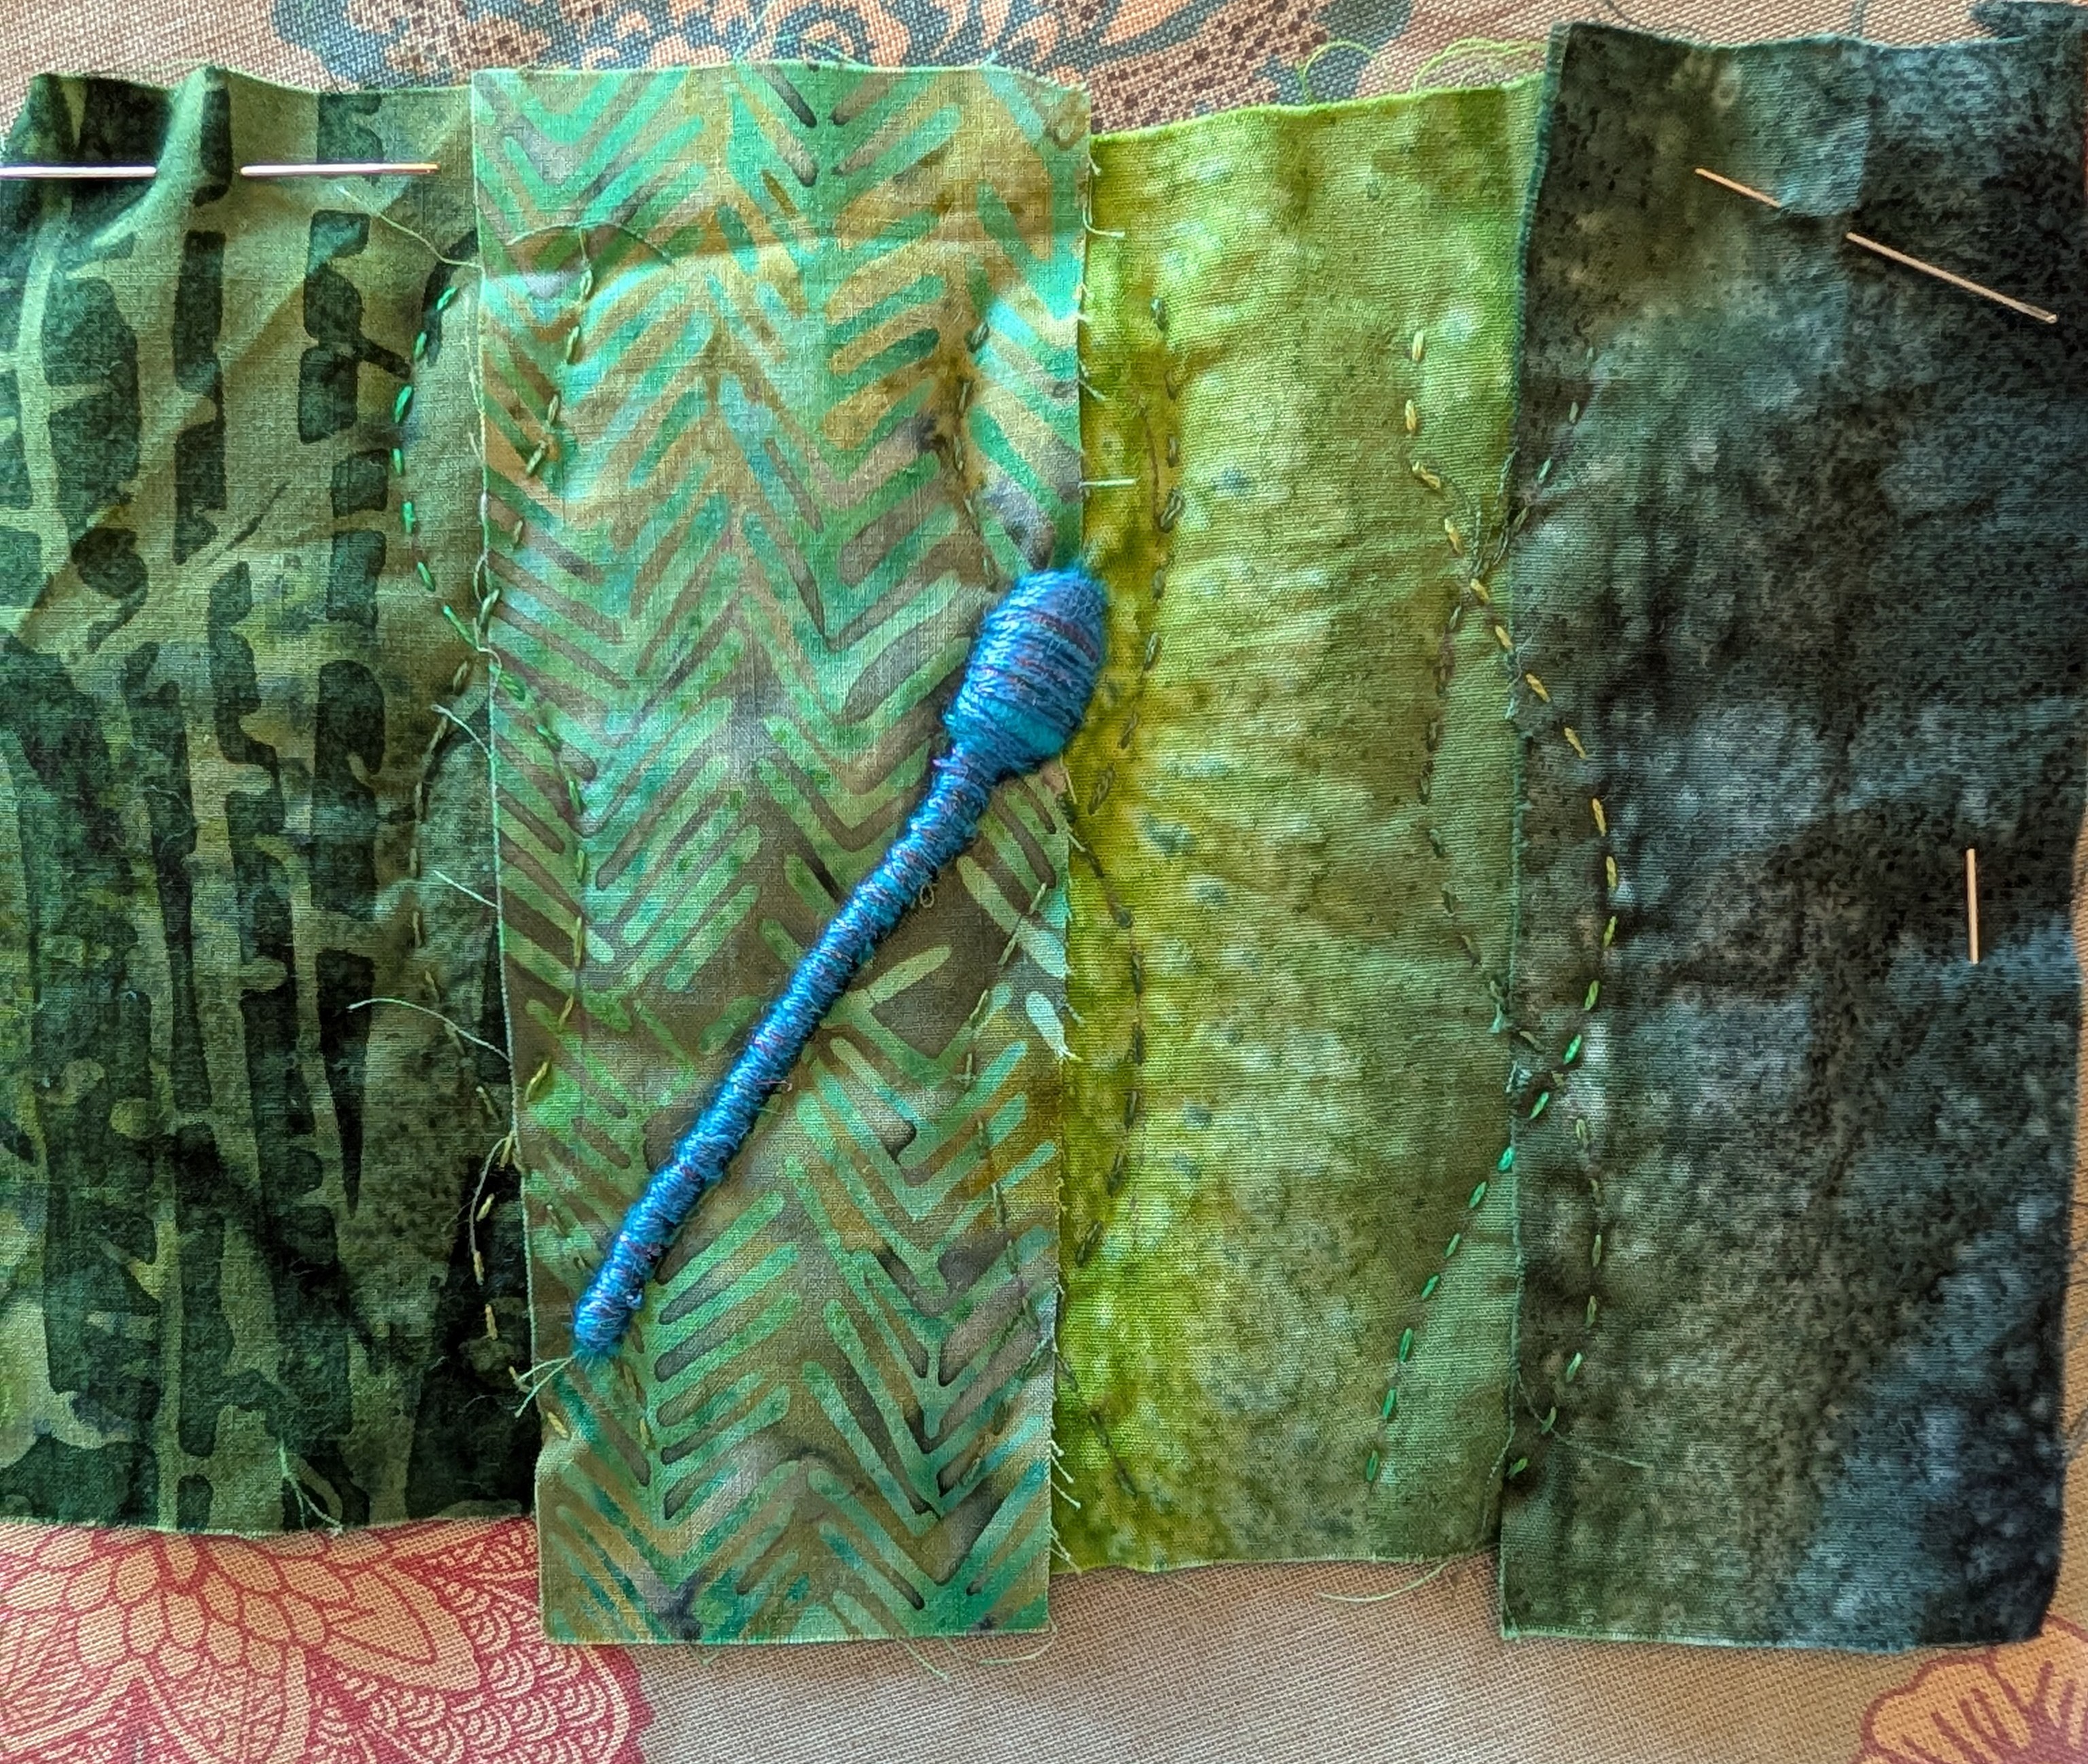
I’ve just finished another postcard, these are designs by Rebecca of Featherstitch House, they’re lovely designs with a video suggesting stitches and threads. Three weeks ago I had just arranged the base fabrics of the foxglove postcard, using bondaweb to keep everything in place whilst I stitched it…

The following day I had my Skipton Stitchers meeting so I took it along to work on.
The background has rows of running stitch to add some texture, I’m always a bit hesitant about doing this kind of stitching as it’s random, I don’t find random easy! I used a fine variegated green perle which I bought in Singapore last month, mixed with a DMC variegated which has the pink and green tones. I’m amazed how well it’s come out, I really like it.
The petals are stitched with straight stitches which are woven together to give a bit of shading. For the leaves I used fly stitches to make the veins. By the time I came home my foxgloves looked like this…

The foxgloves then sat in my workbox for two weeks, partly because the design called for some lettering, Rebecca had used some of those mini printing sets, I looked for some at the knit and stitch show without success, my local Hobbycraft only sold the large alphabet set so I started to think of alternatives.
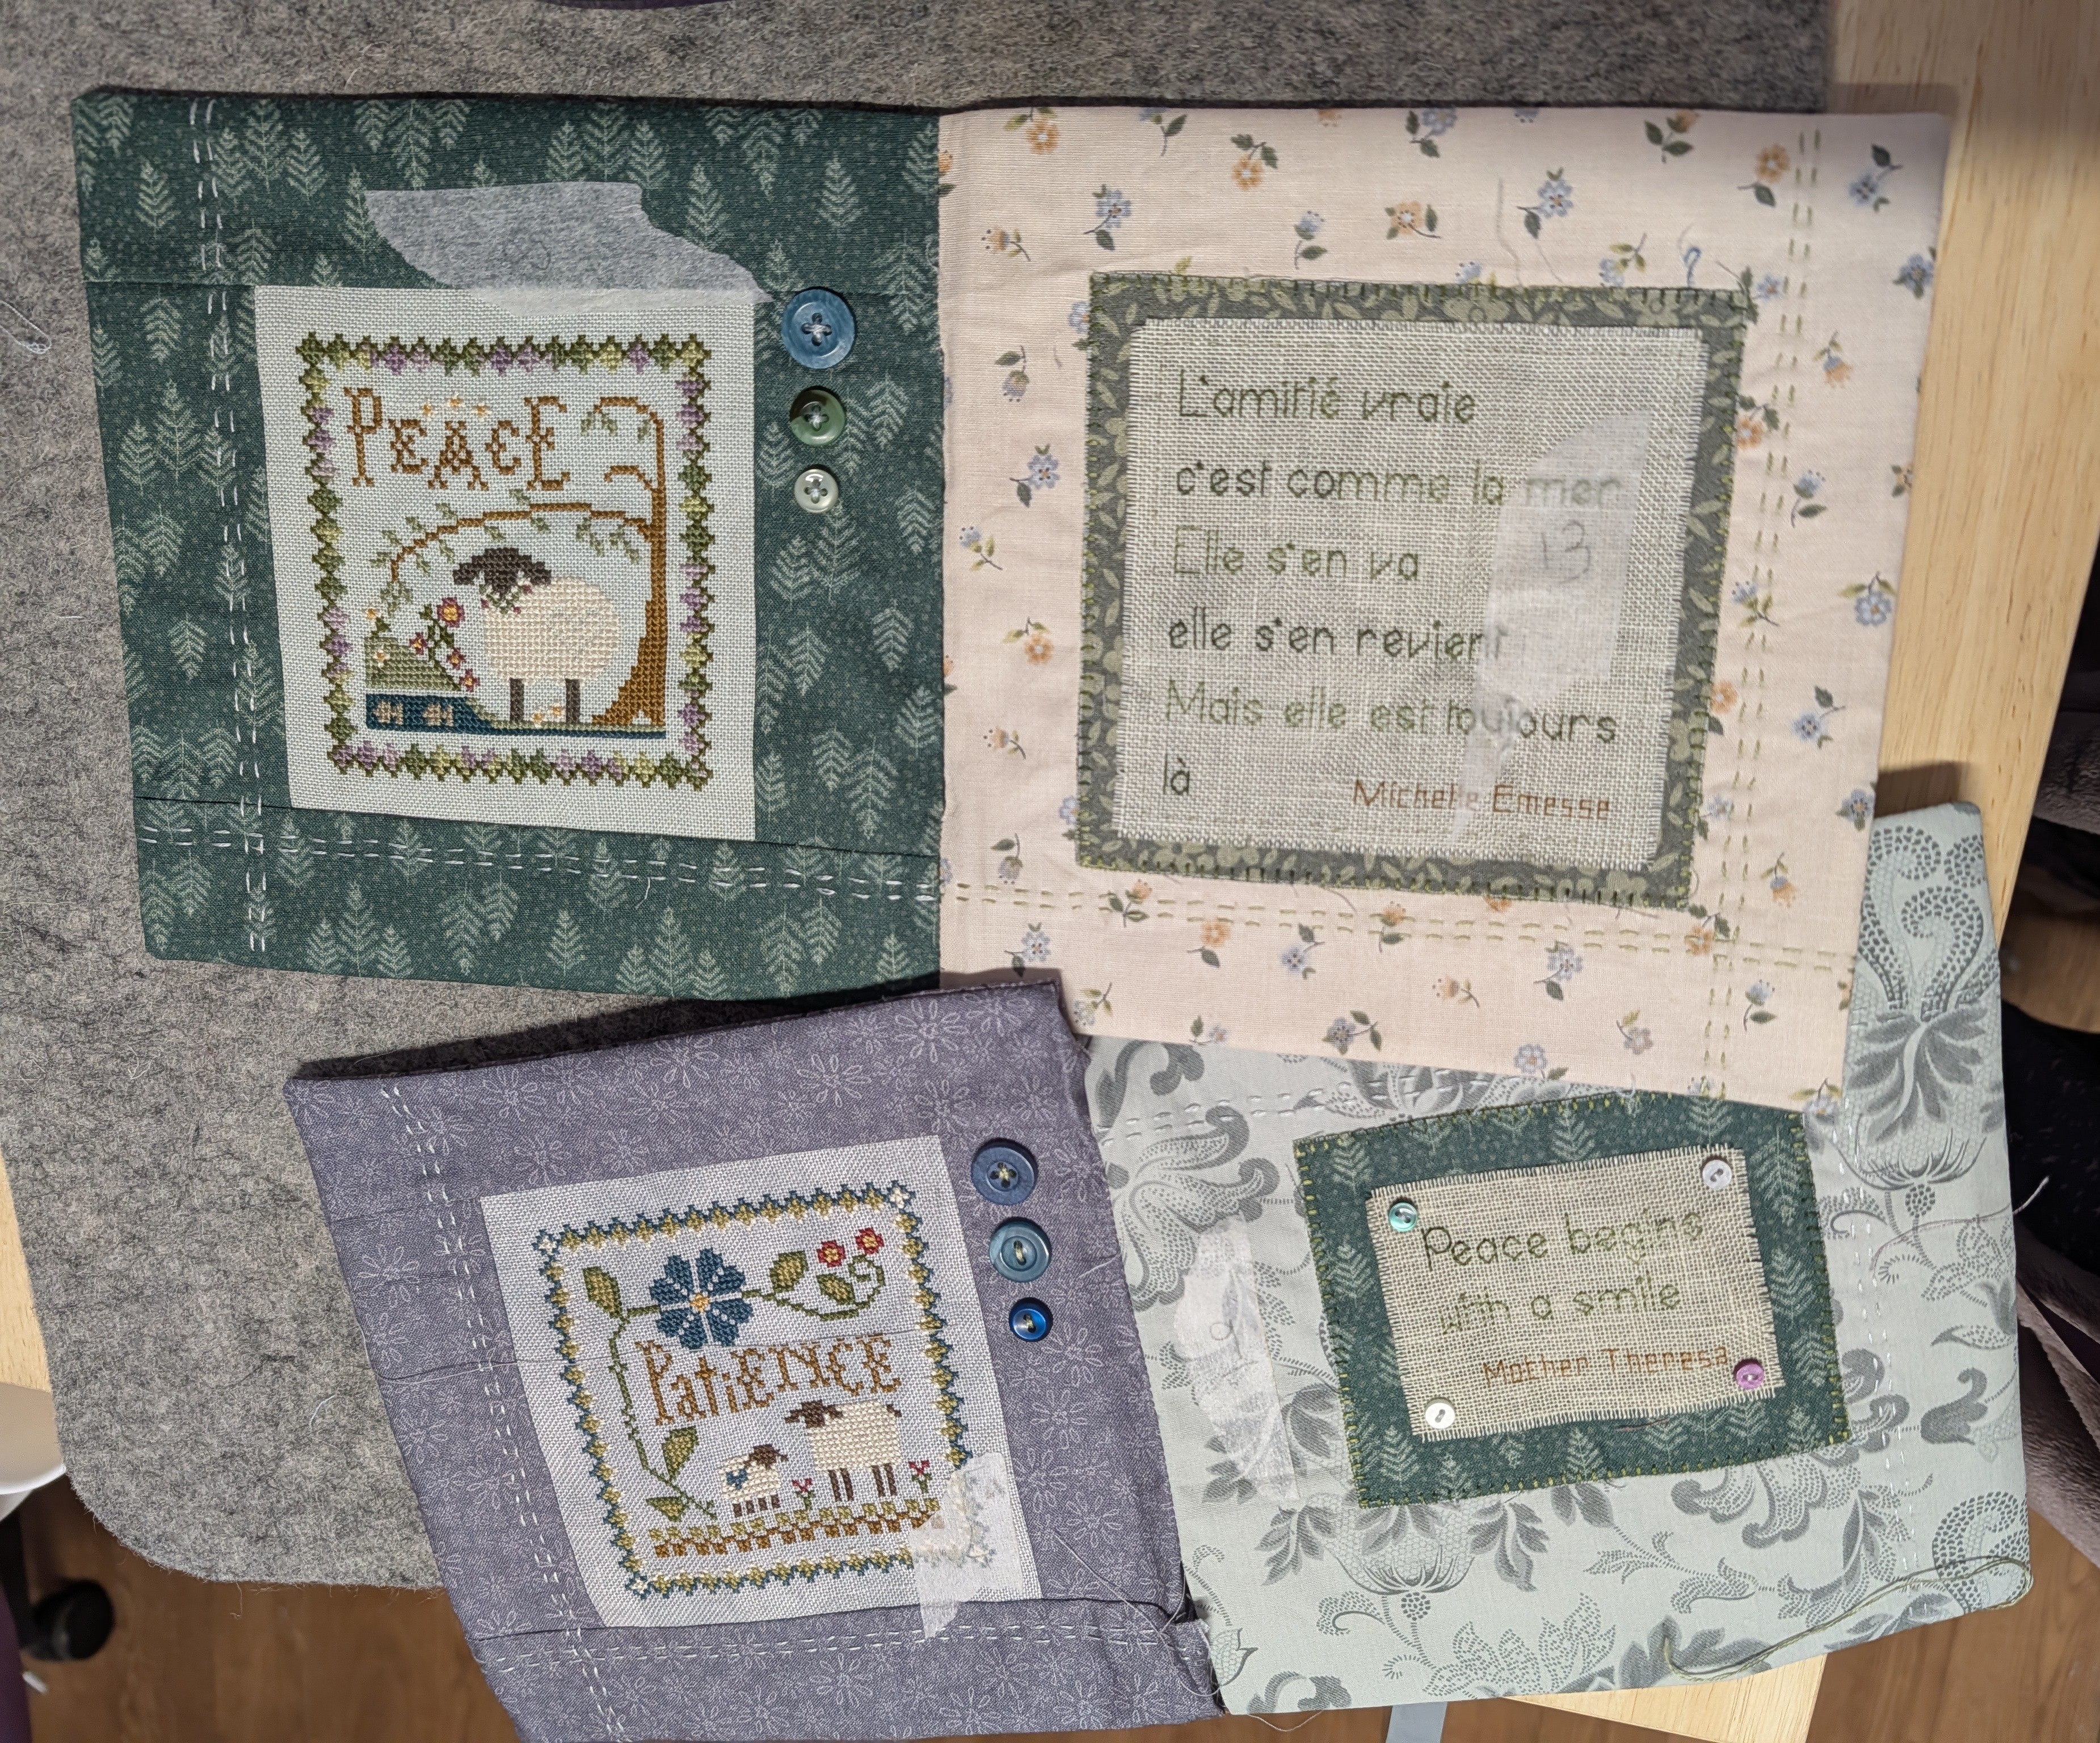
I wondered about embroidering straight onto the green background but decided it would probably be lost amongst the running stitches, I could do hand written labels on cotton, embroider them…but I decided eventually to use evenweave linen with simple back-stitch lettering using the variegated DMC thread. I stitched them on with back-stitch, they are straighter than they look in the photo!

I can’t take credit for choosing the apt quote, that was Rebecca. Digitalis is the Latin name for foxgloves and digoxin is a heart drug made from foxgloves. It is used to slow the heart rate down.
The foxglove flowers were finished with chain stitch along the front of the ‘frill’ and blanket stitch along the inside edge. I started doing the lines and spots inside the trumpet with pistil stitch, but in the end I found separate French knots and straight stitches worked better.
I’m really pleased with this postcard and thoroughly enjoying stitching them all. This afternoon I think I’ll prepare another one as I’ve got another Skipton Stitchers meeting tomorrow.
Please visit the other blogs that are also taking part in this SAL. There are so many different projects to enjoy. The participants live all over the world so you may need to allow for time differences. We’re posting today at local time. Click the links to their blogs below and see what they’re up to.
Avis, Claire, Kathy, Sunny, Megan, Deborah, Sharon, Daisy, Cathie,
Linda, MaryMargaret, Cindy, Helen