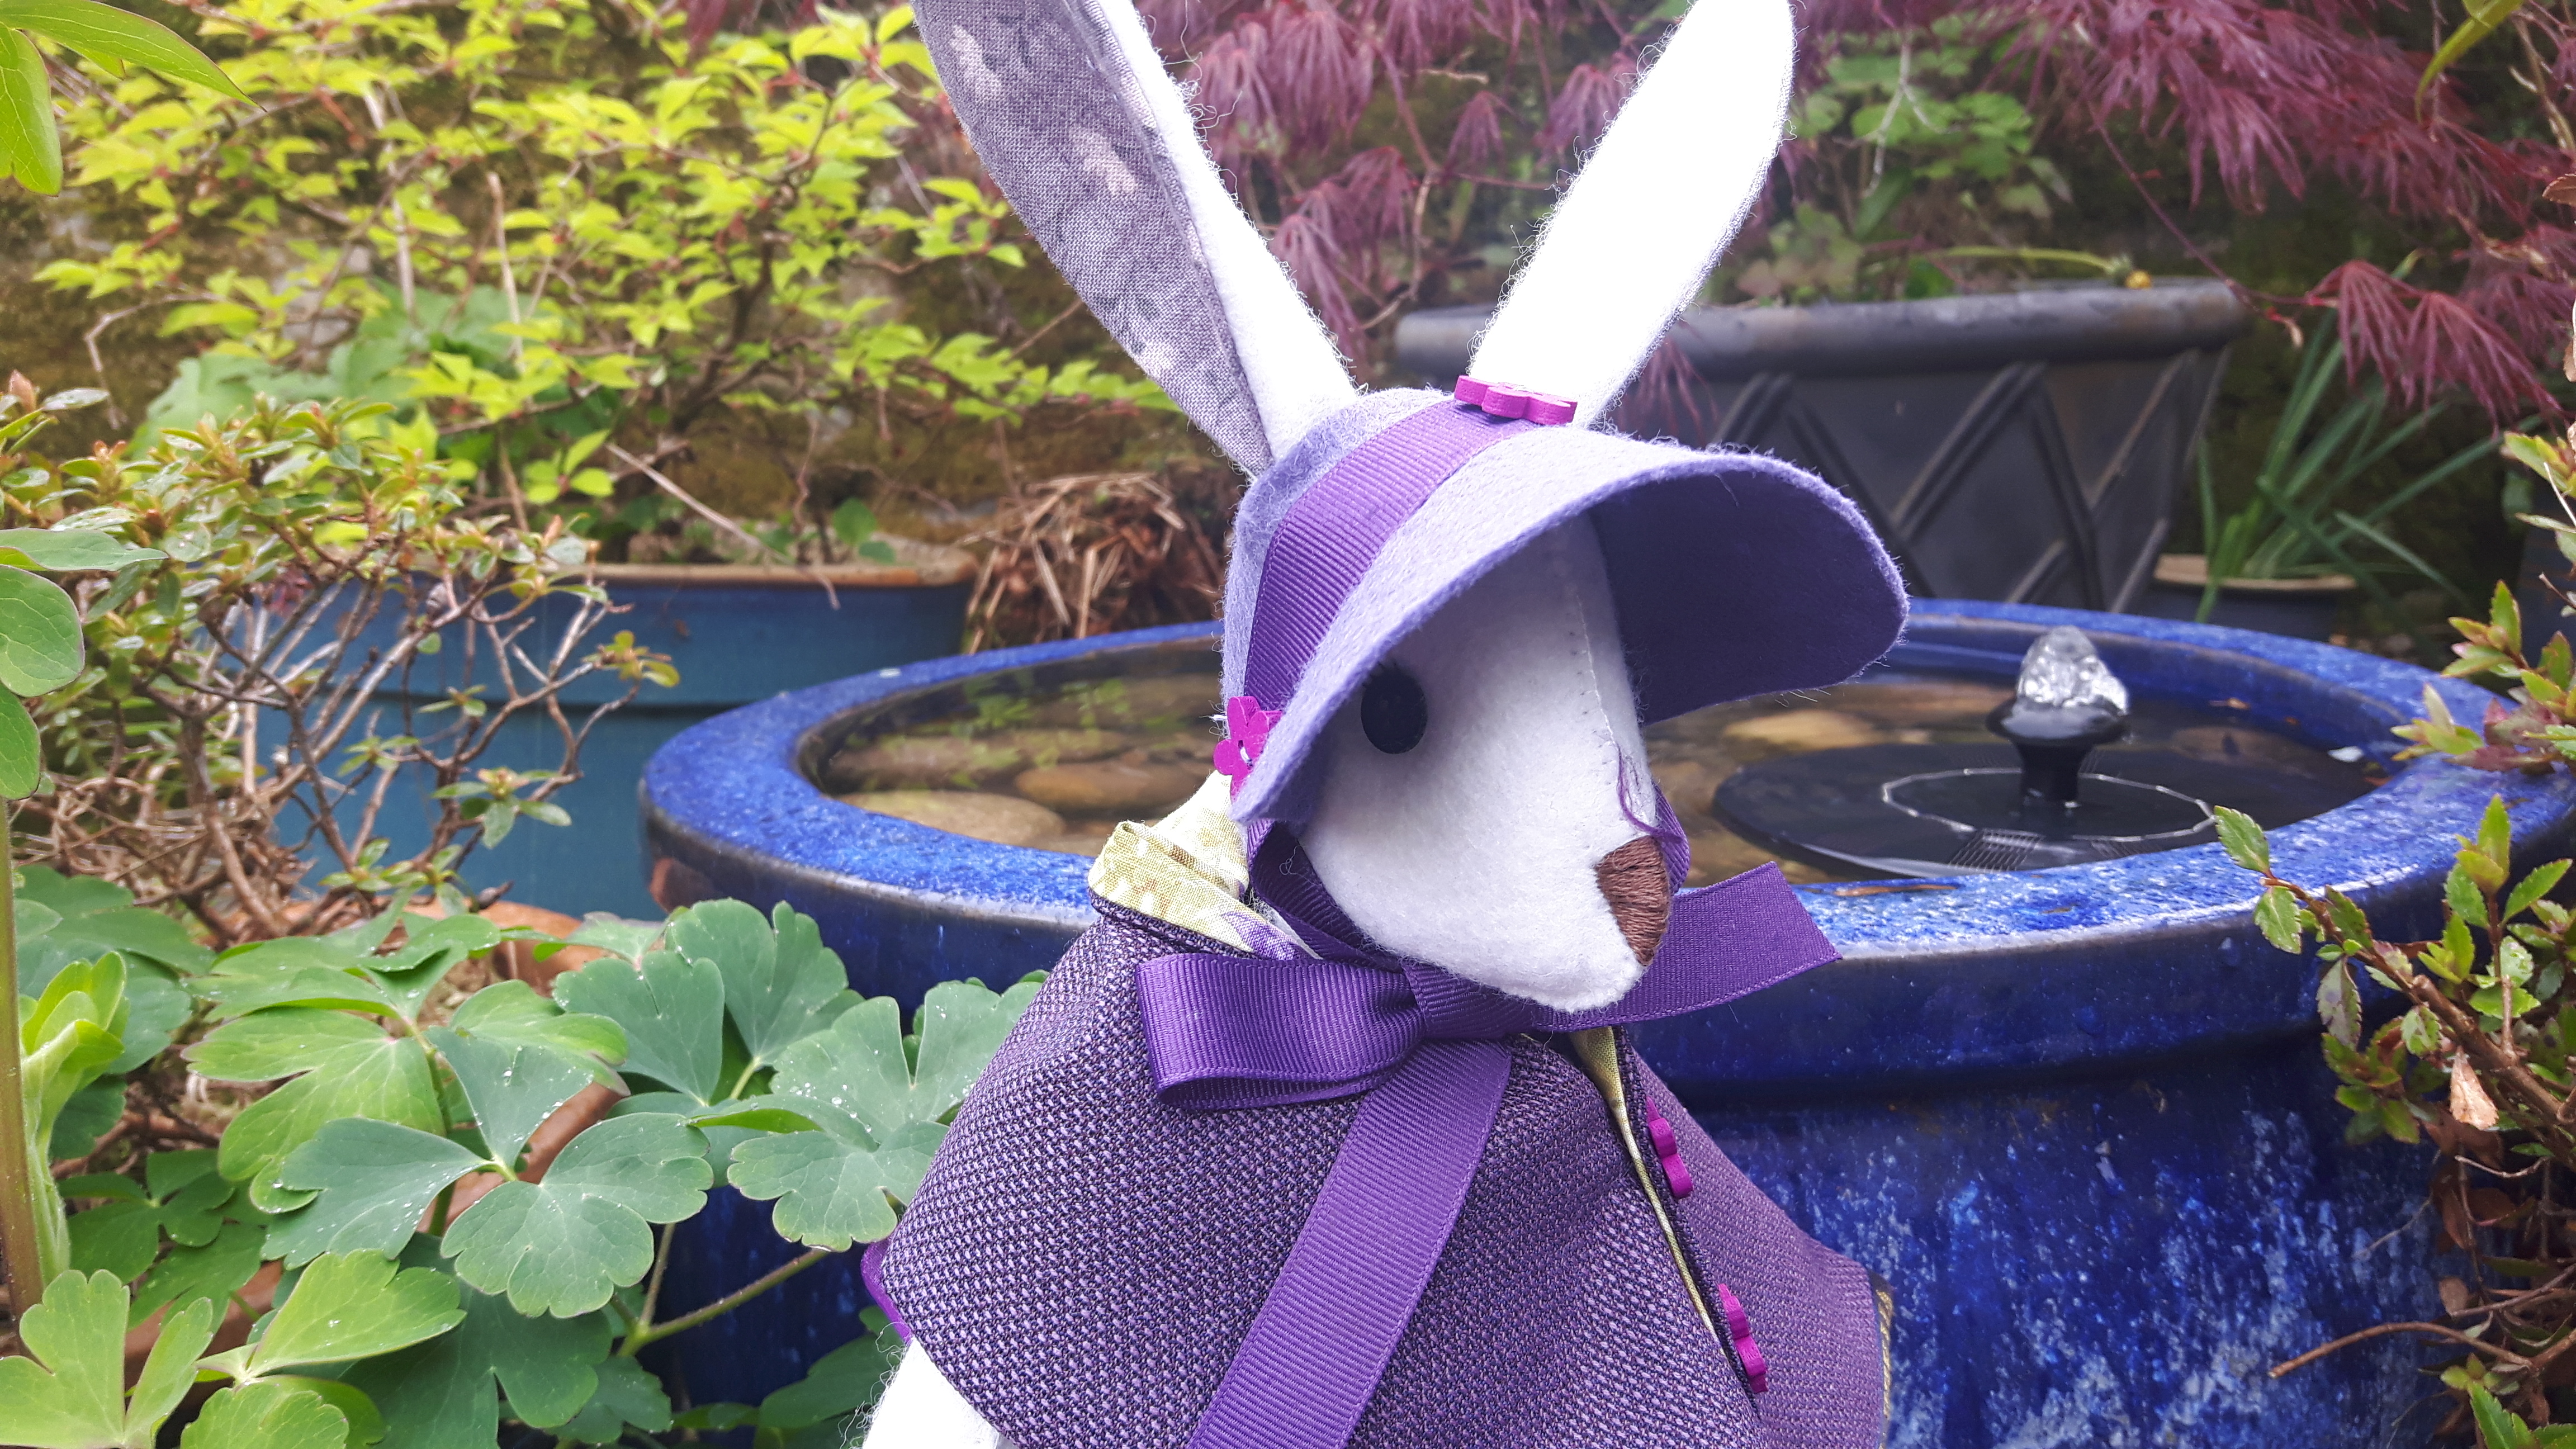
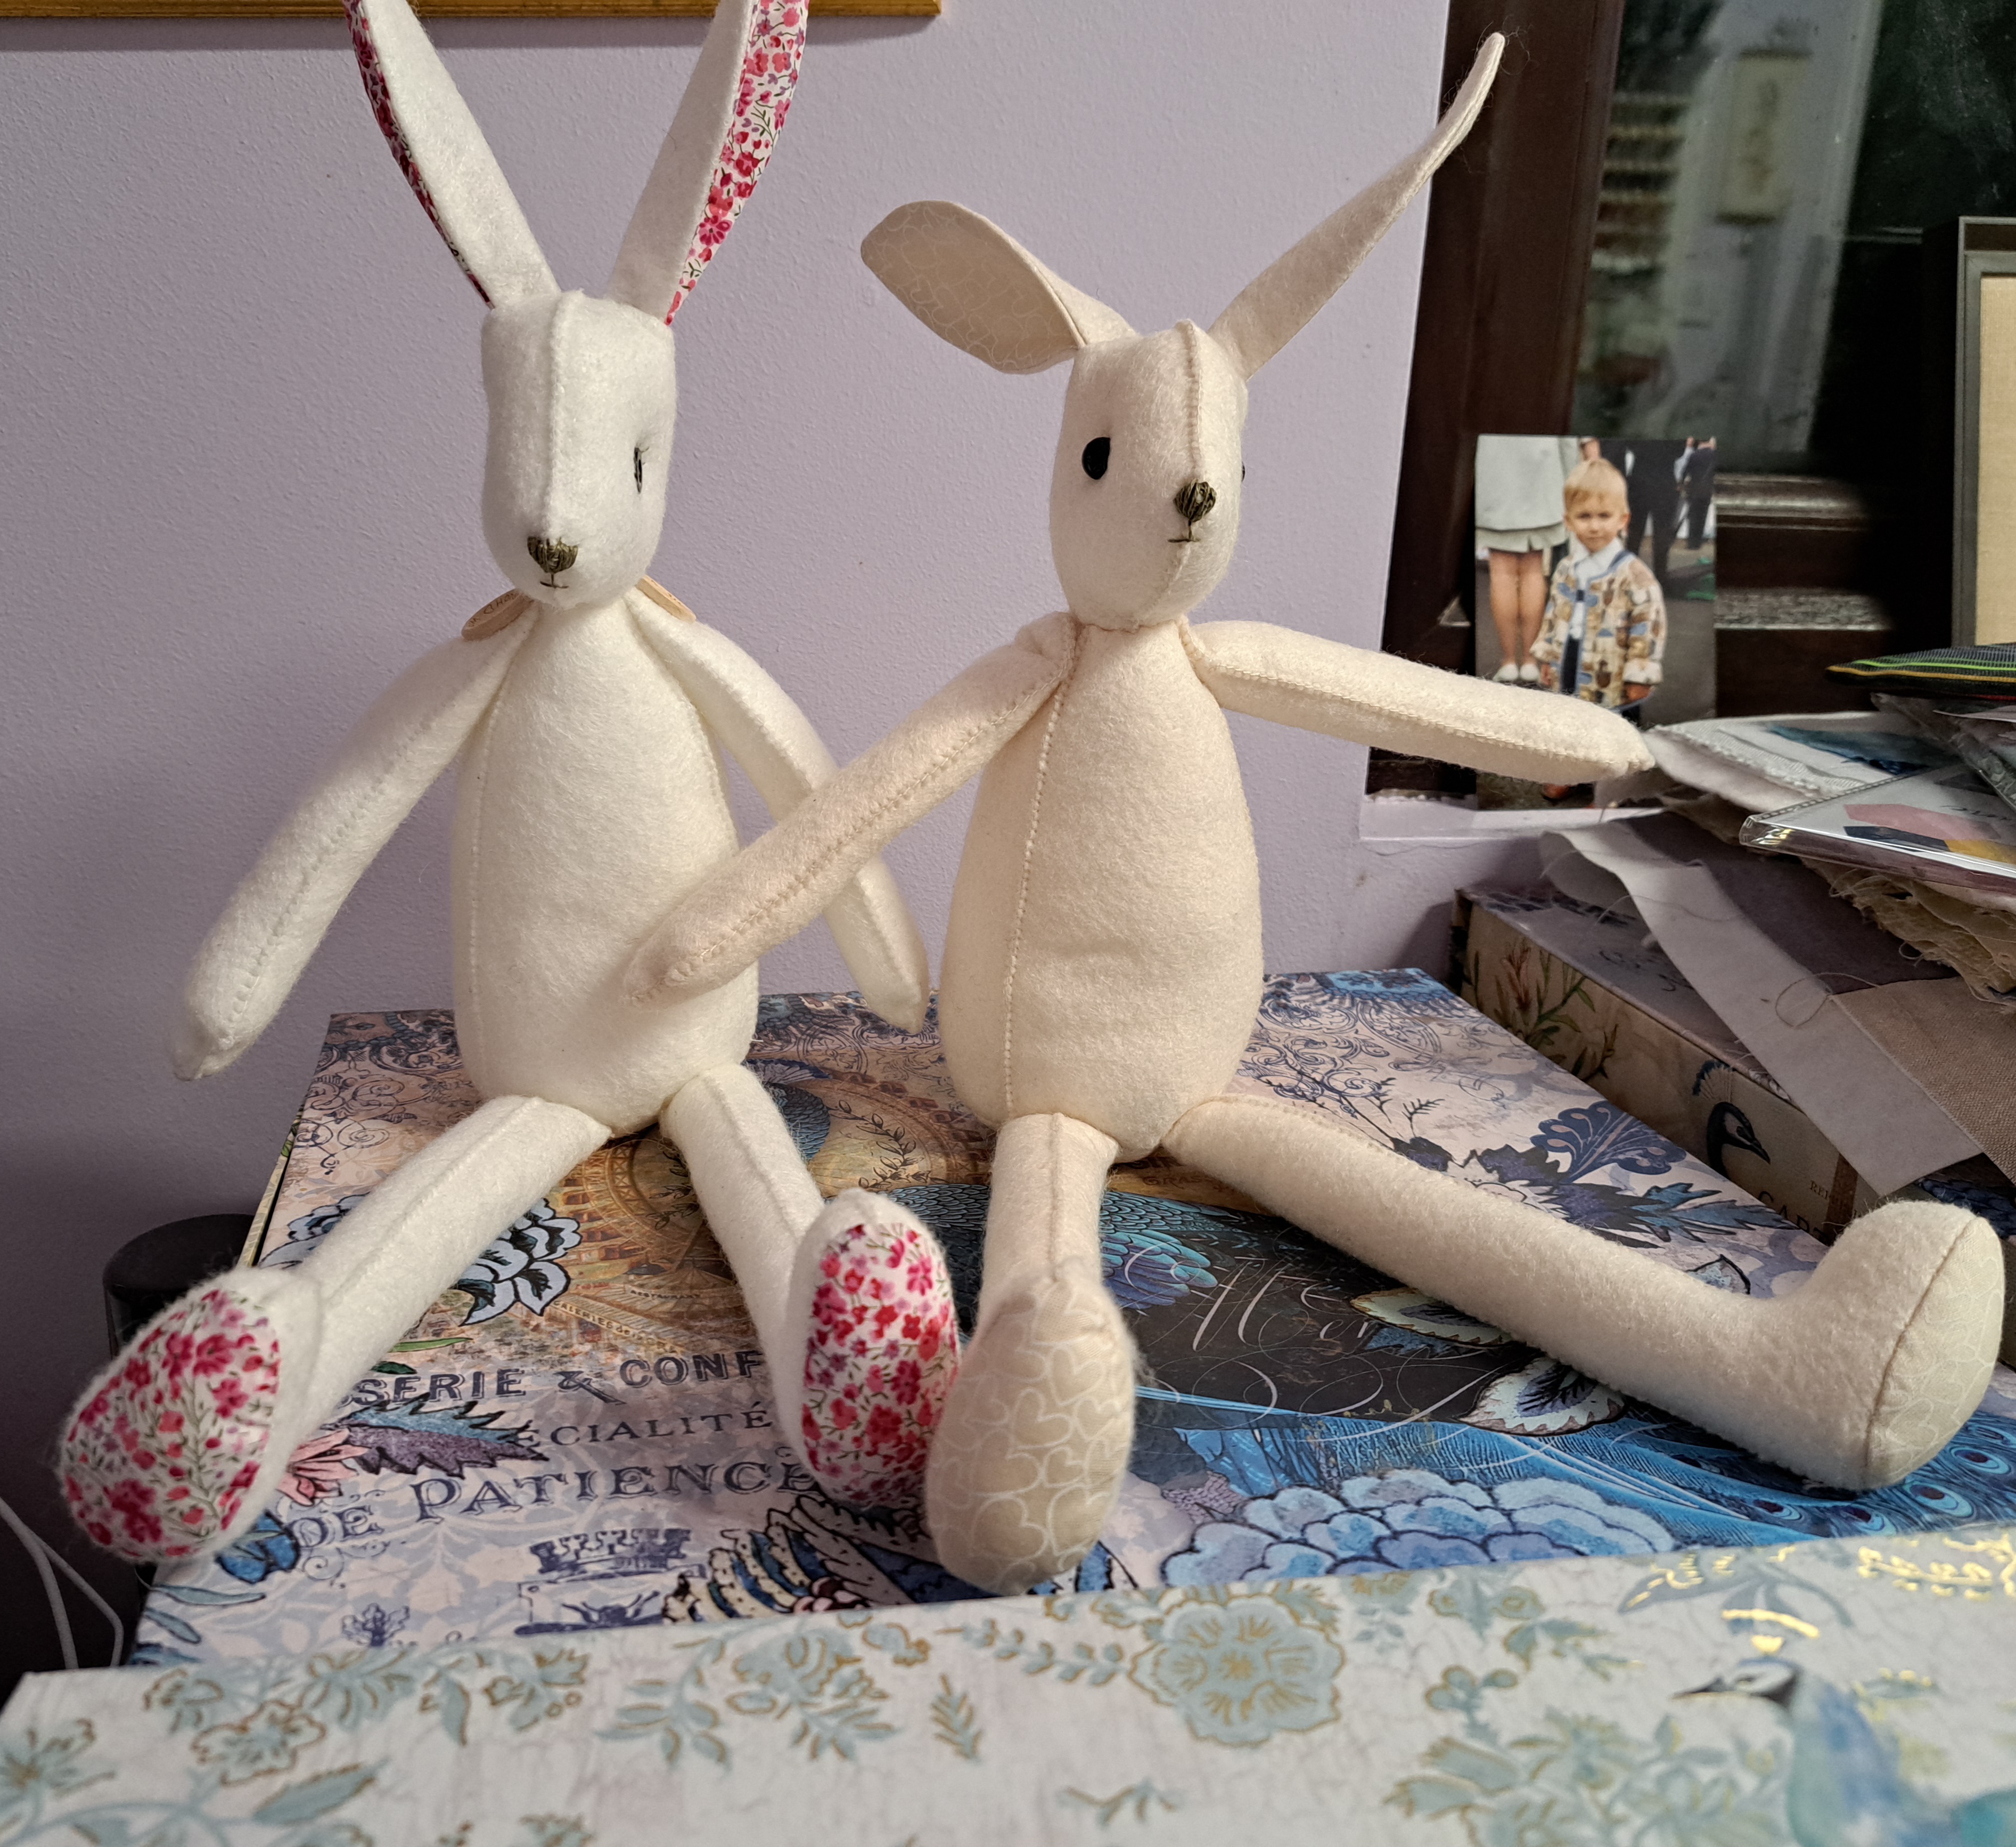
I’m making two rabbits for Christmas, Luna Lapin rabbits from Cool Crafting in Kendal. One is for my daughter Helen, one for my new grandson Hugo. Over the weekend I cracked on and made some clothes for Hugo’s.
The patterns for these clothes are all in the original Luna Lapin book (I think the author, Sarah Peel, is now on her forth or fifth book.) One thing I love about these clothes patterns is the amount of detail in them, they’re made just like a miniature version of adult clothing, within reason!
I made a shirt, complete with a lined yoke, collar, placket effect on the sleeve and working buttonholes…
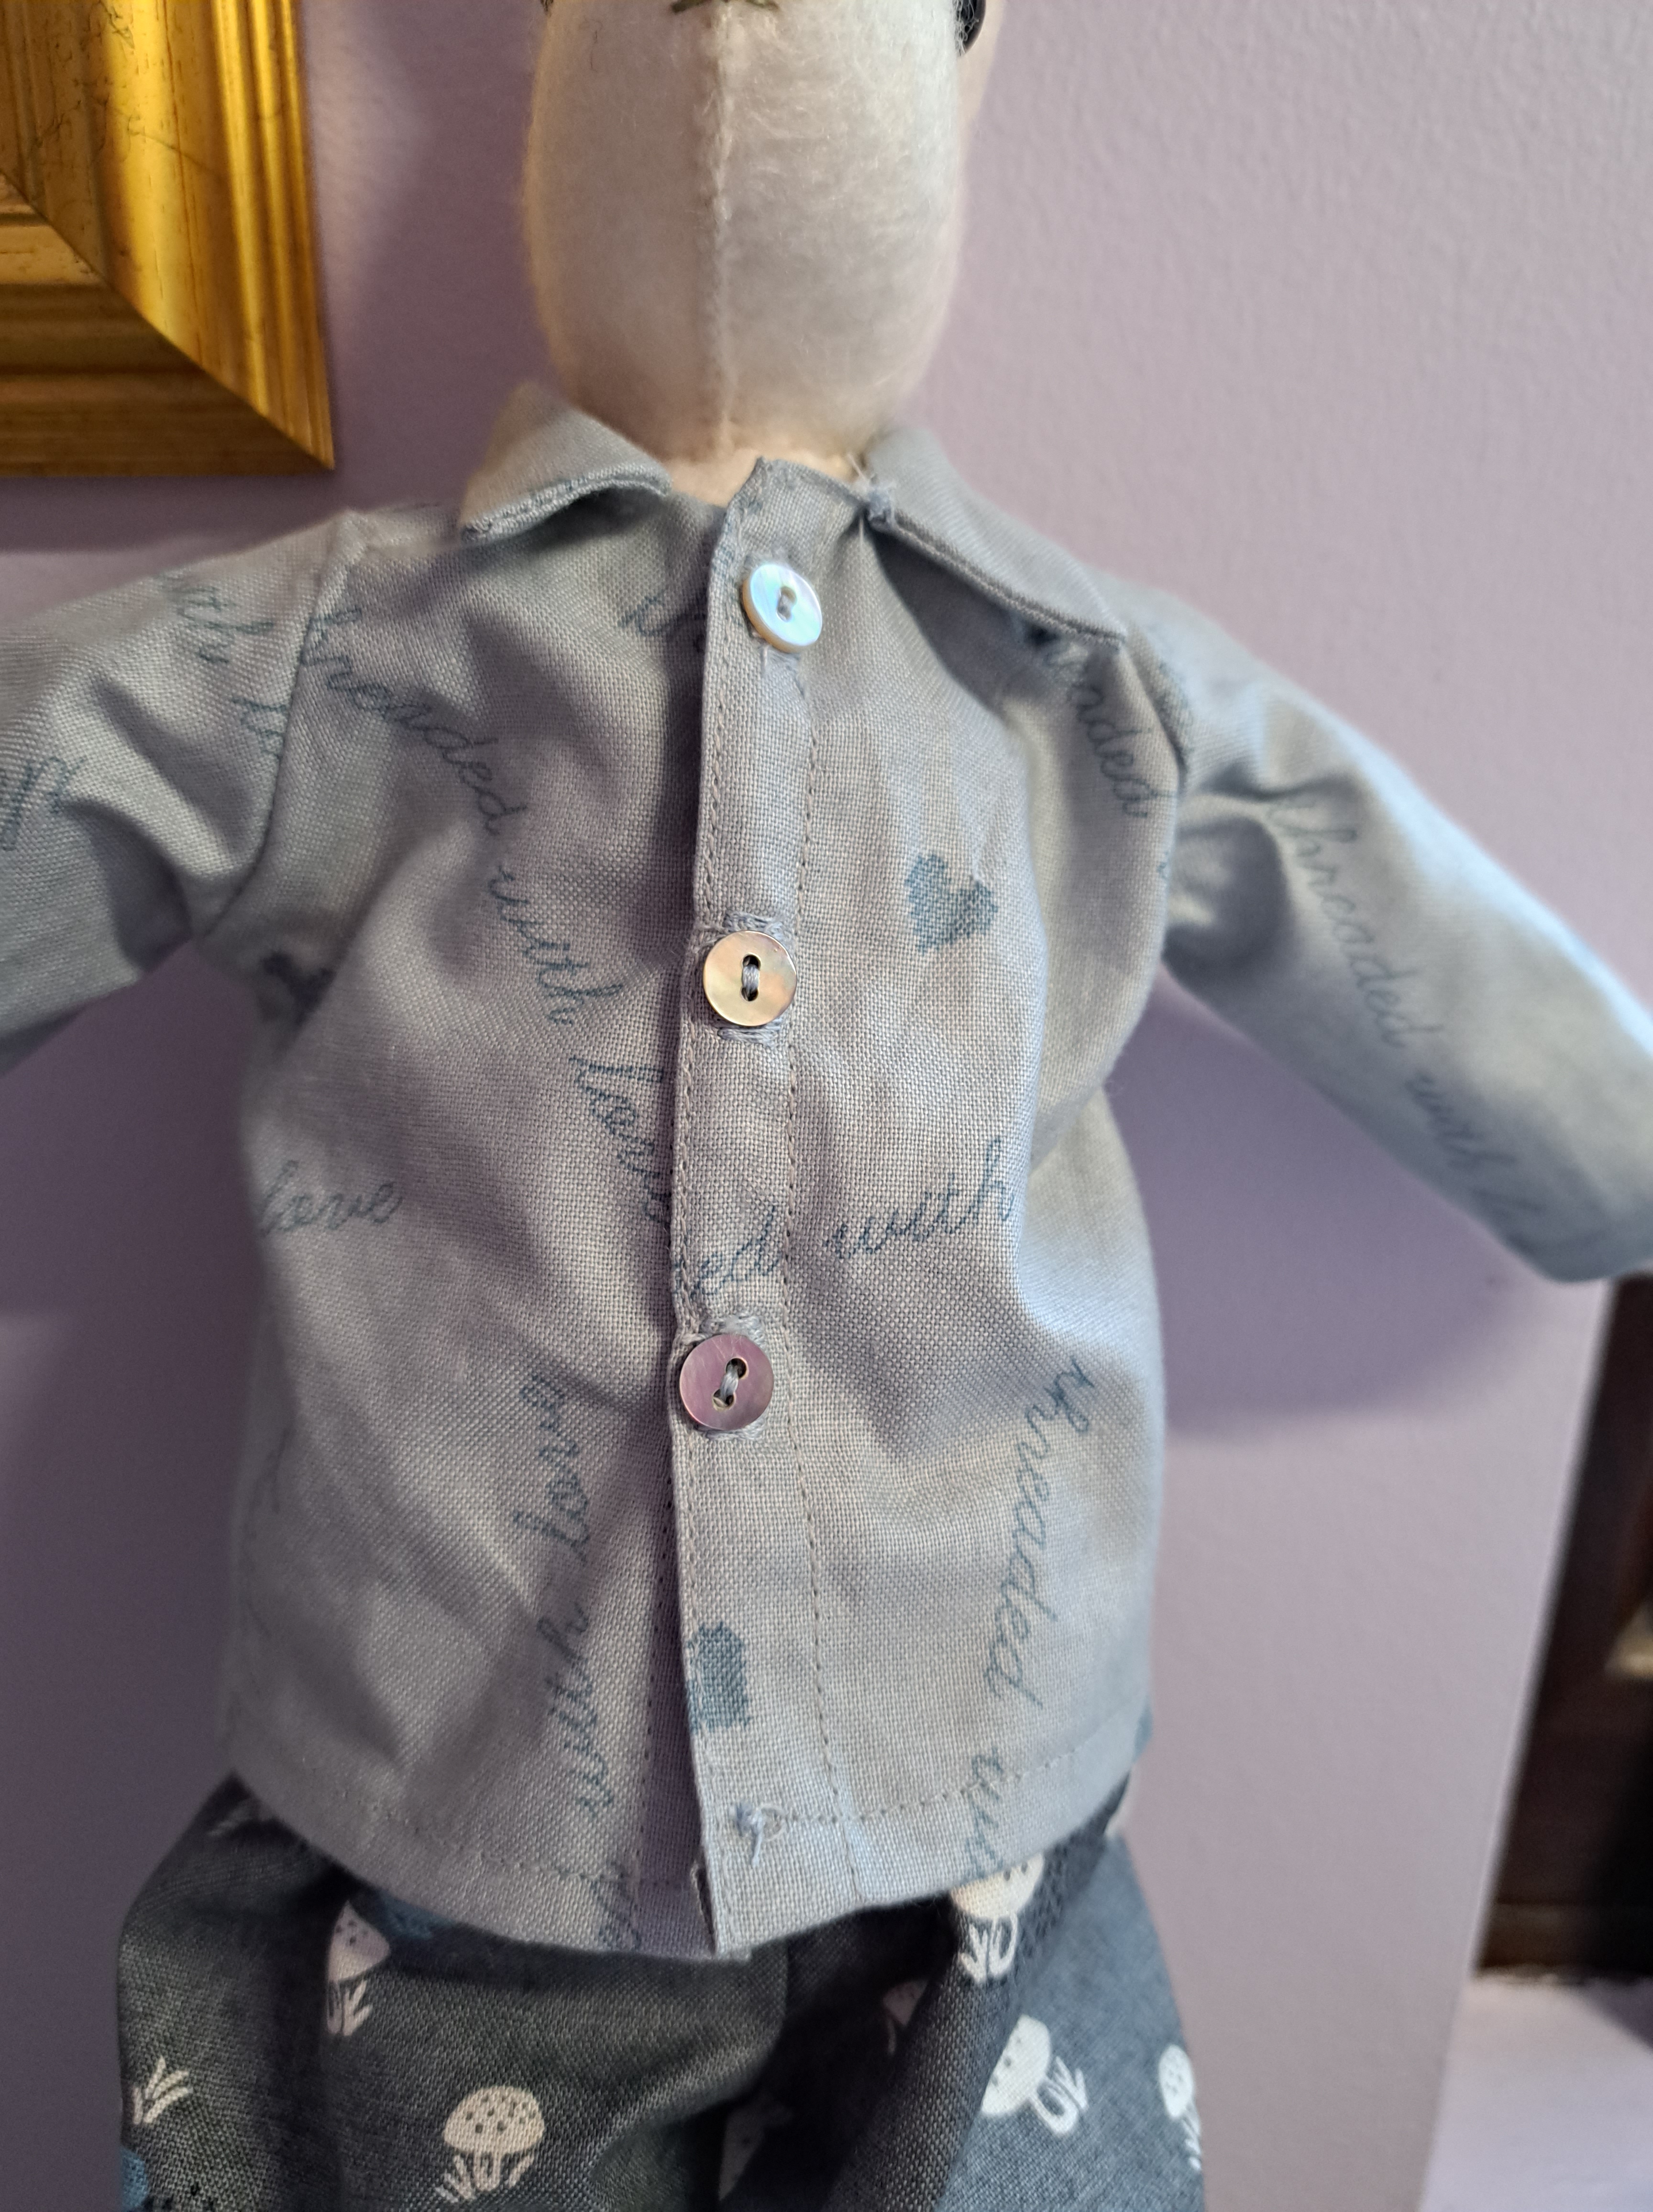
… yes those buttons are just 6mm across so I just put my buttonhole foot on the smallest size and it worked! The buttons on the sleeve are even smaller but they’re just decorative. I thought the fabric was perfect, with ‘threaded with love’ all over it
Young Master Rabbit has now got a fluffy tail too, I think officially they’re called a scut.

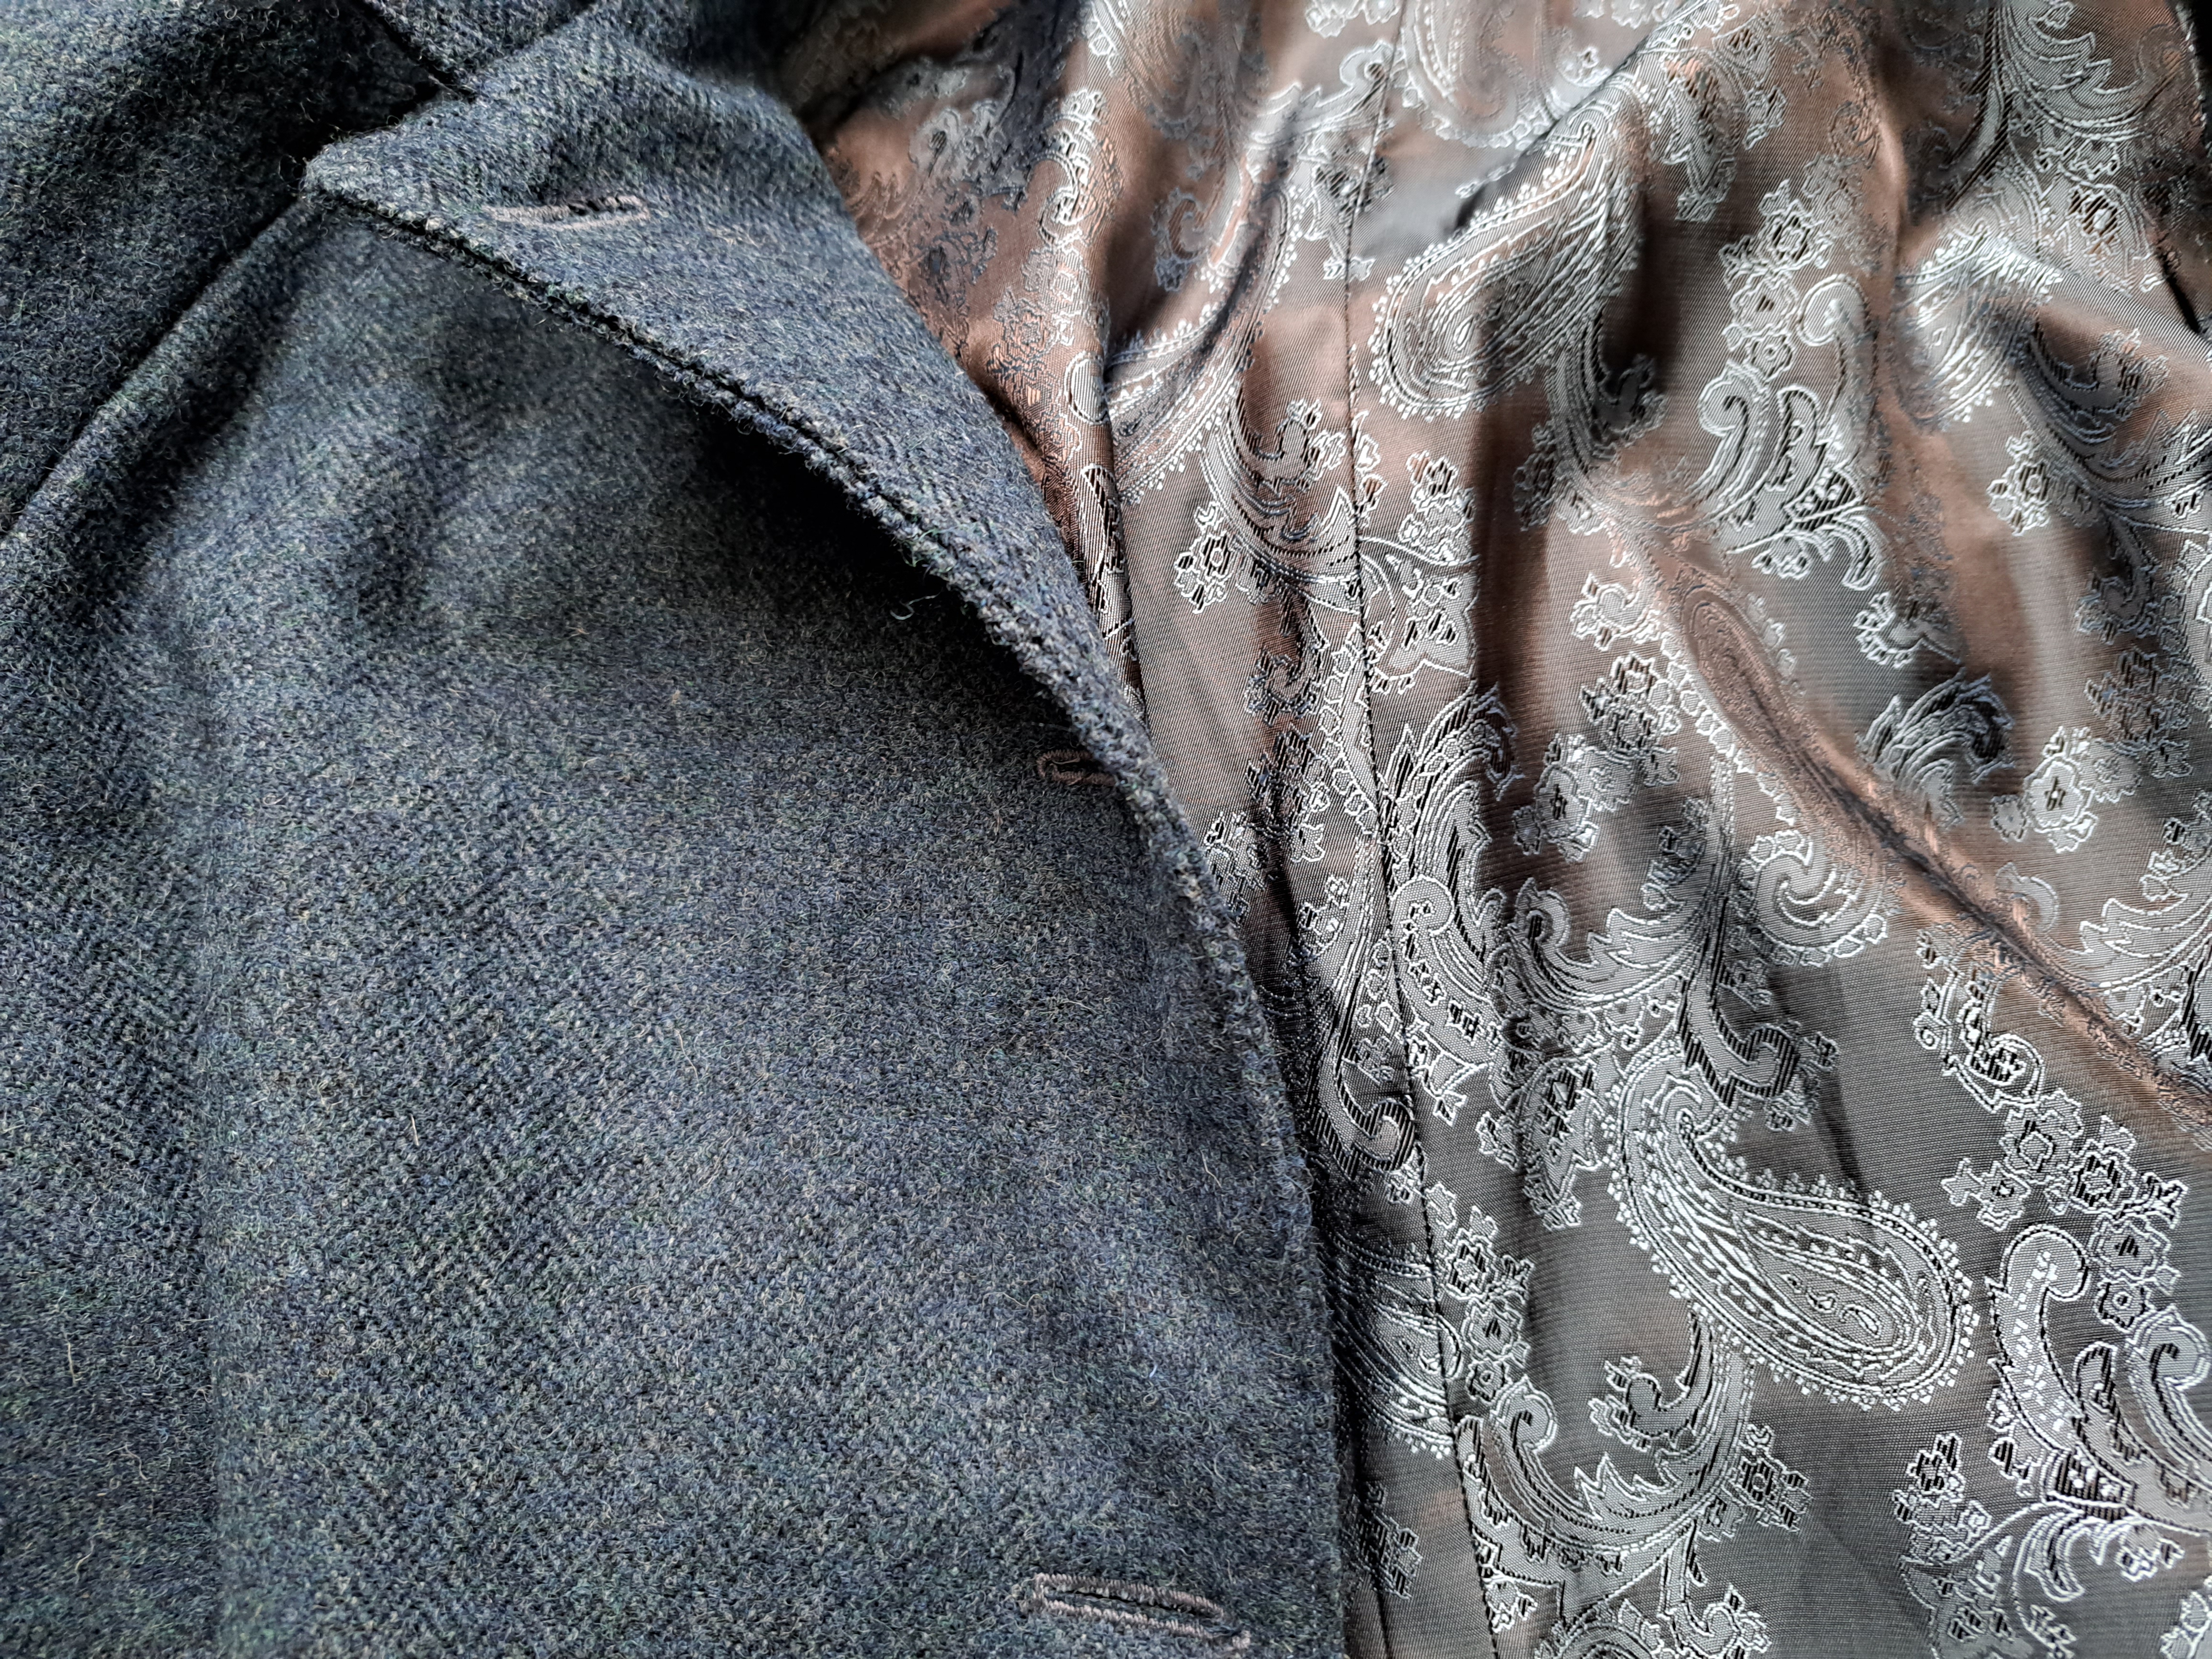
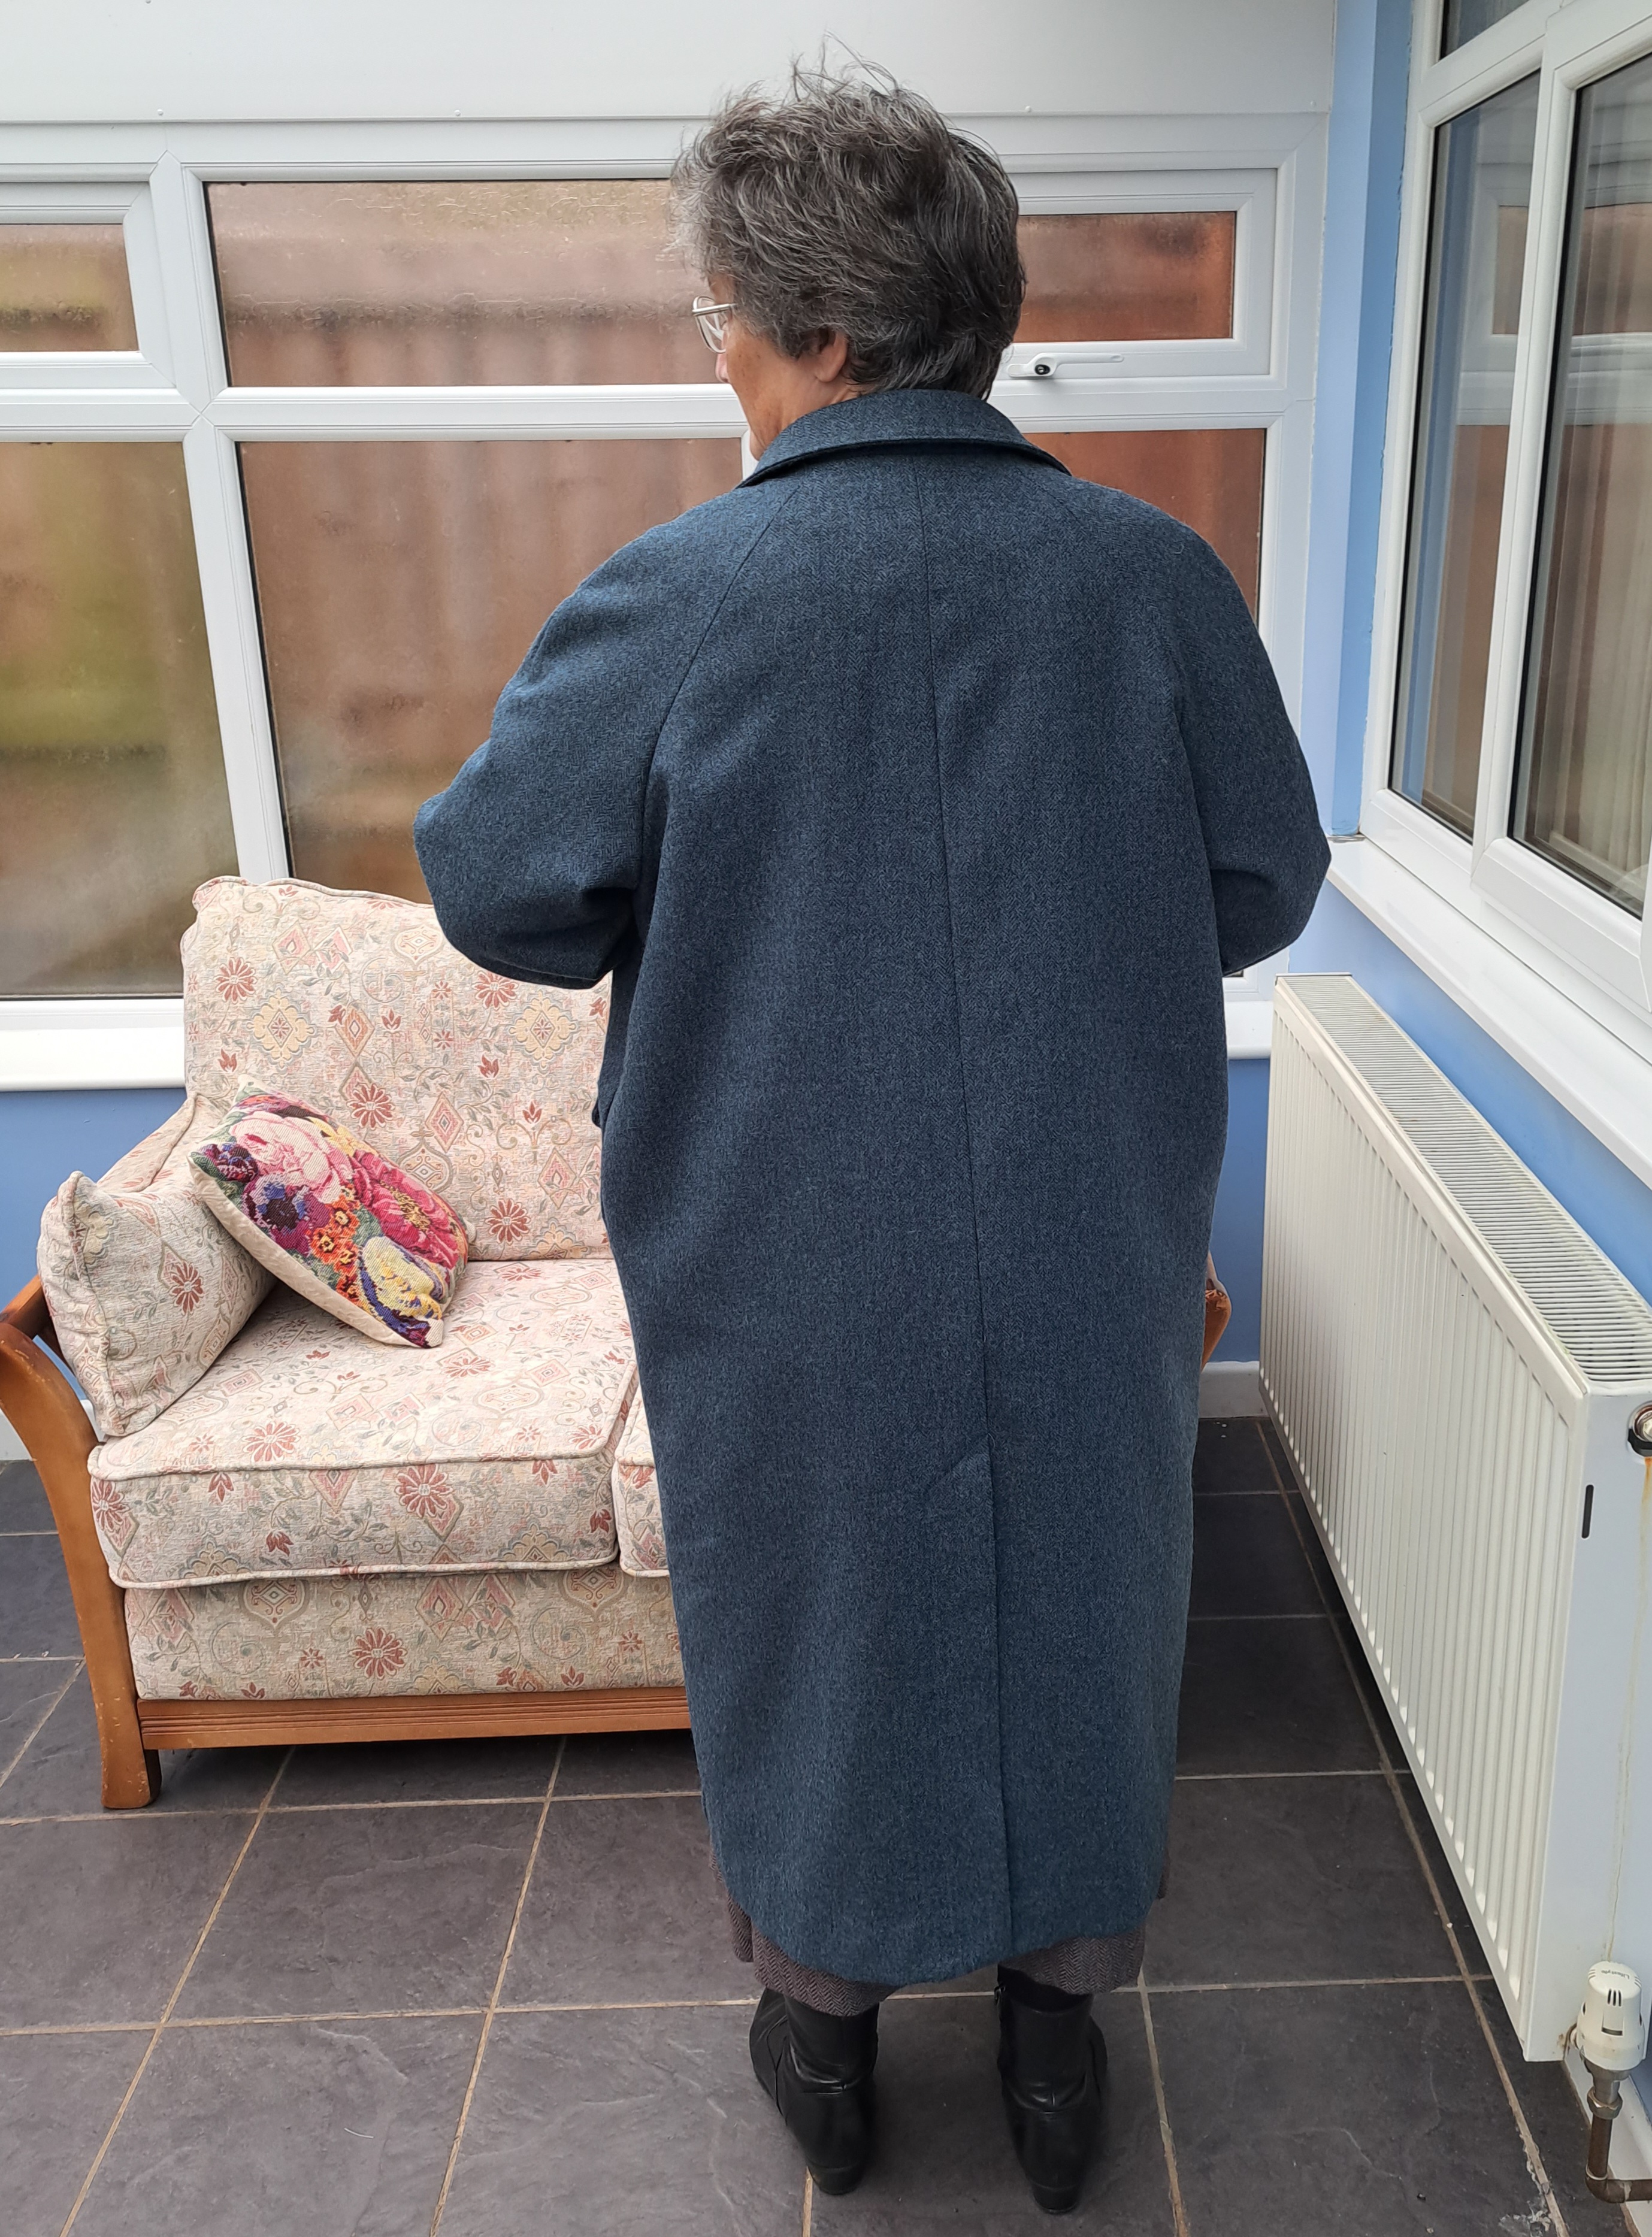
His dapper little waistcoat is made from a scrap left from making my coat, so he’s a very posh rabbit having a waistcoat made from wool woven just down the road. Those buttons are just decorative!
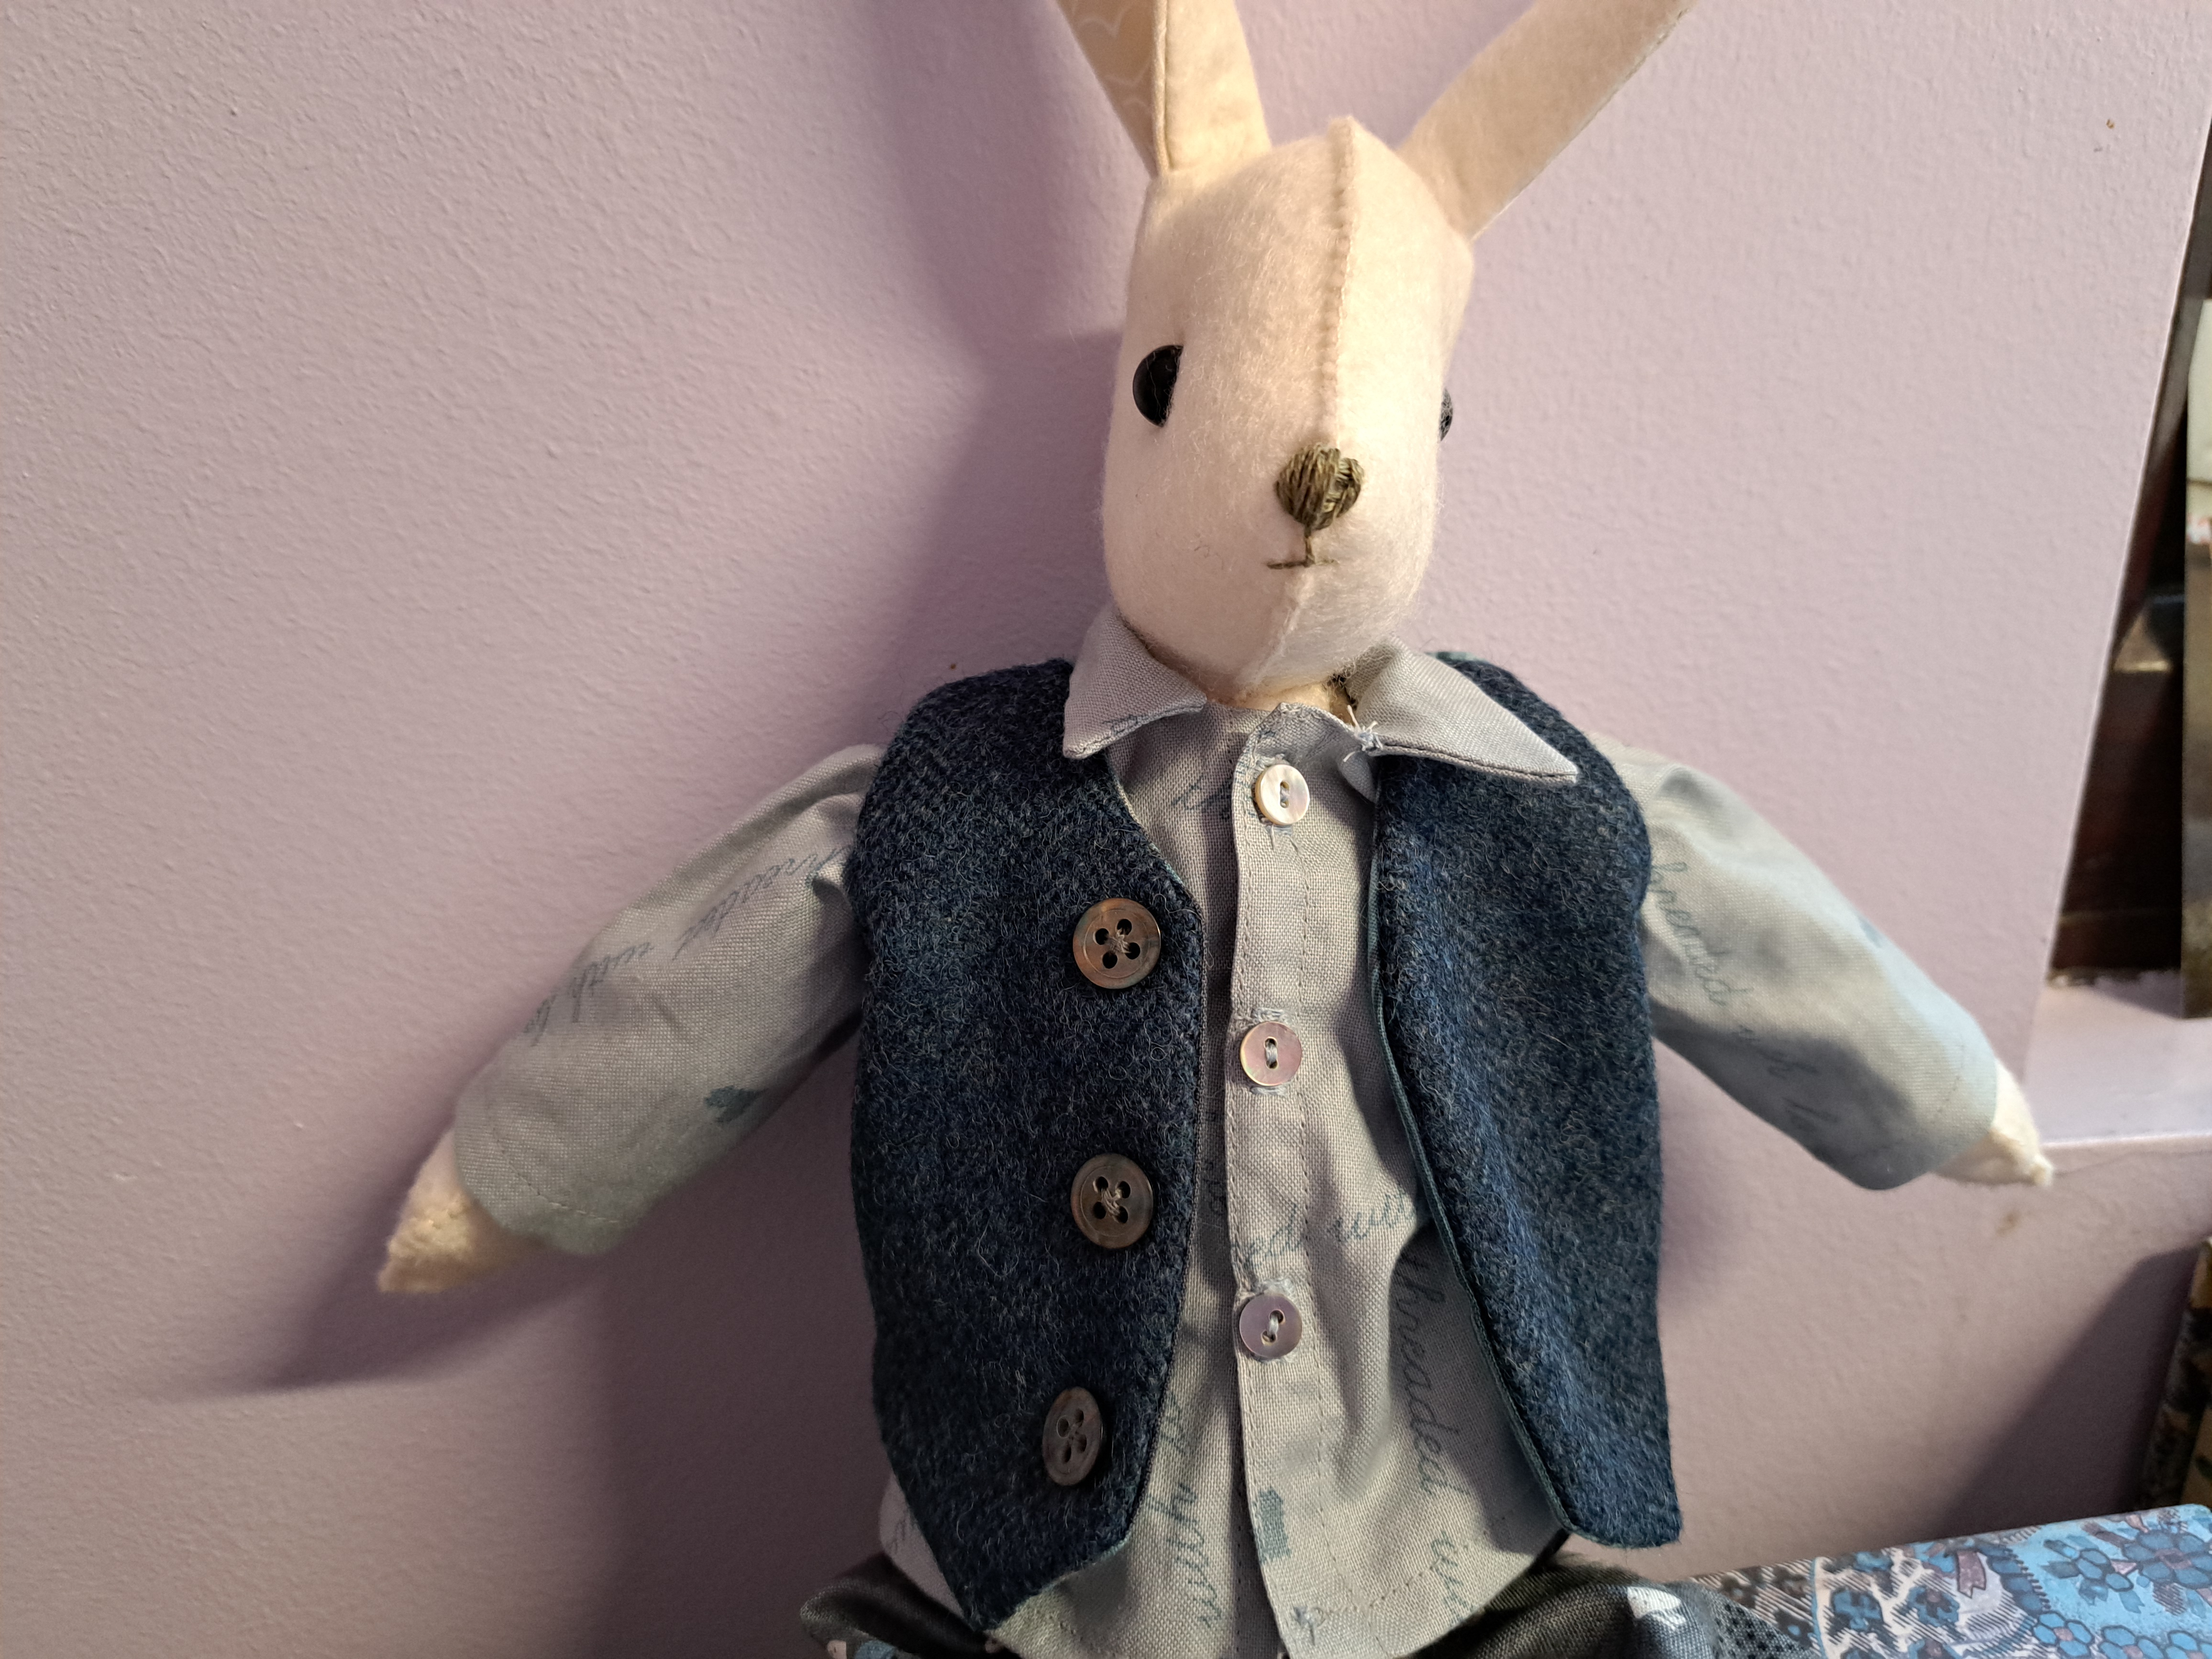
His trousers are made from a fat quarter of quilting cotton I found in my stash, it’s got rabbits and hedgehogs on. I even managed to fussycut his back pockets so he has a motif on each one,
Although this young rabbit is for my grandson I haven’t made the clothes little child safe. The actual rabbit has safety eyes and no buttons where his arms are stitched on. When I looked at the clothes patterns it would have been difficult to make them without buttons. I have decided to tell his mum and dad that as soon as he shows any interest in actually playing with him I’ll make a new set of child friendly clothes.

That’s another present ticked off 🙂