Last year I decided to make my granddaughters a quilt each, it was going to be for Christmas but I ran out of time so I decided to aim for birthdays instead, this also nicely spread out the delivery dates to January and May. I made Pip’s in time for her New Year birthday but May came and went but I was determined to make it my priority after my walking holiday at the end of May.
My youngest granddaughter is 9, she somehow gained the nickname of Moo when she was a baby and it has stuck. When I asked about colours for Moo’s quilt, it was dusky pink. I envisaged a pretty chandelier quilt in pink batiks. At the quilt show last year I had looked for suitable fabrics, but it was difficult to decide what was dusky pink, some looked dusky, but then peachy too! When we went fabric shopping for a skirt I took them into the quilt fabric department to show me what they meant by dusky pink…big mistake…they fell for a Barbie fabric and a pink sparkly one!!!
I’ve decided I’m not very good at making quilts for others when I’m not very keen on the choice of fabric. I had pointed out that quilts were meant to be a long term thing and maybe when she was a teenager she wouldn’t be so keen on Barbie, but they were adamant that she would still love her Barbie quilt…I’m resigned to making another more grown up one in a few years!
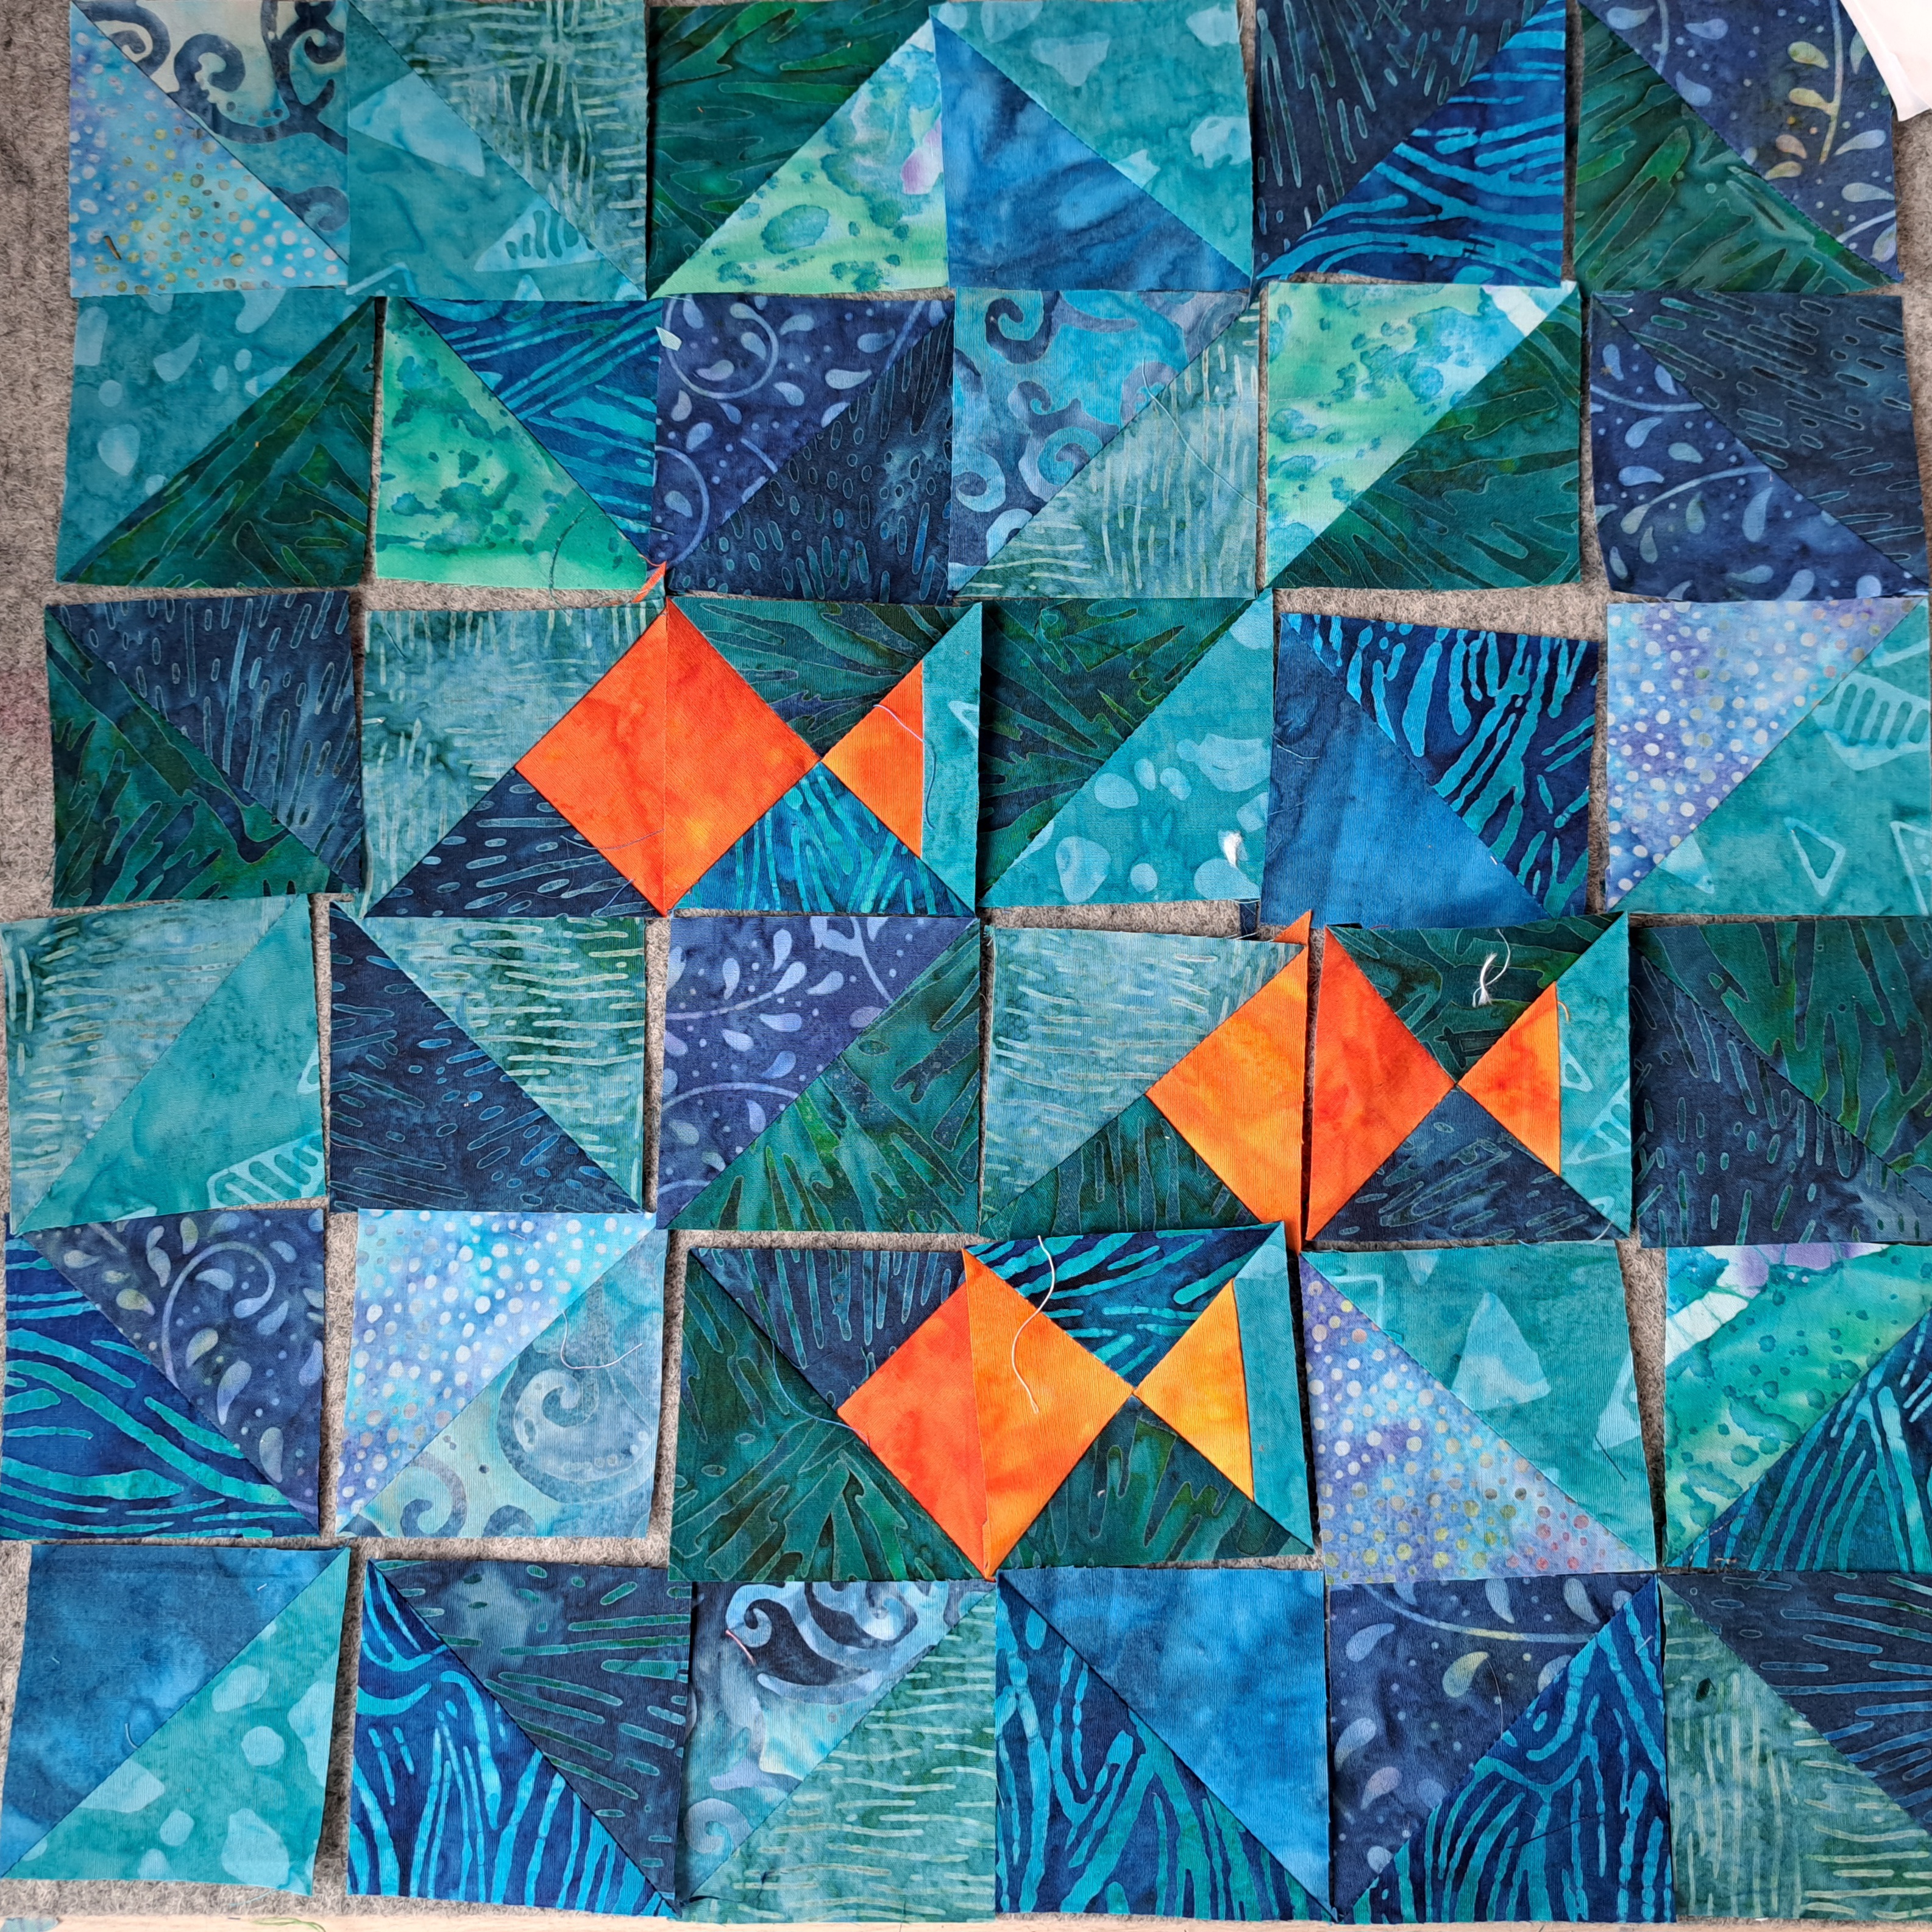
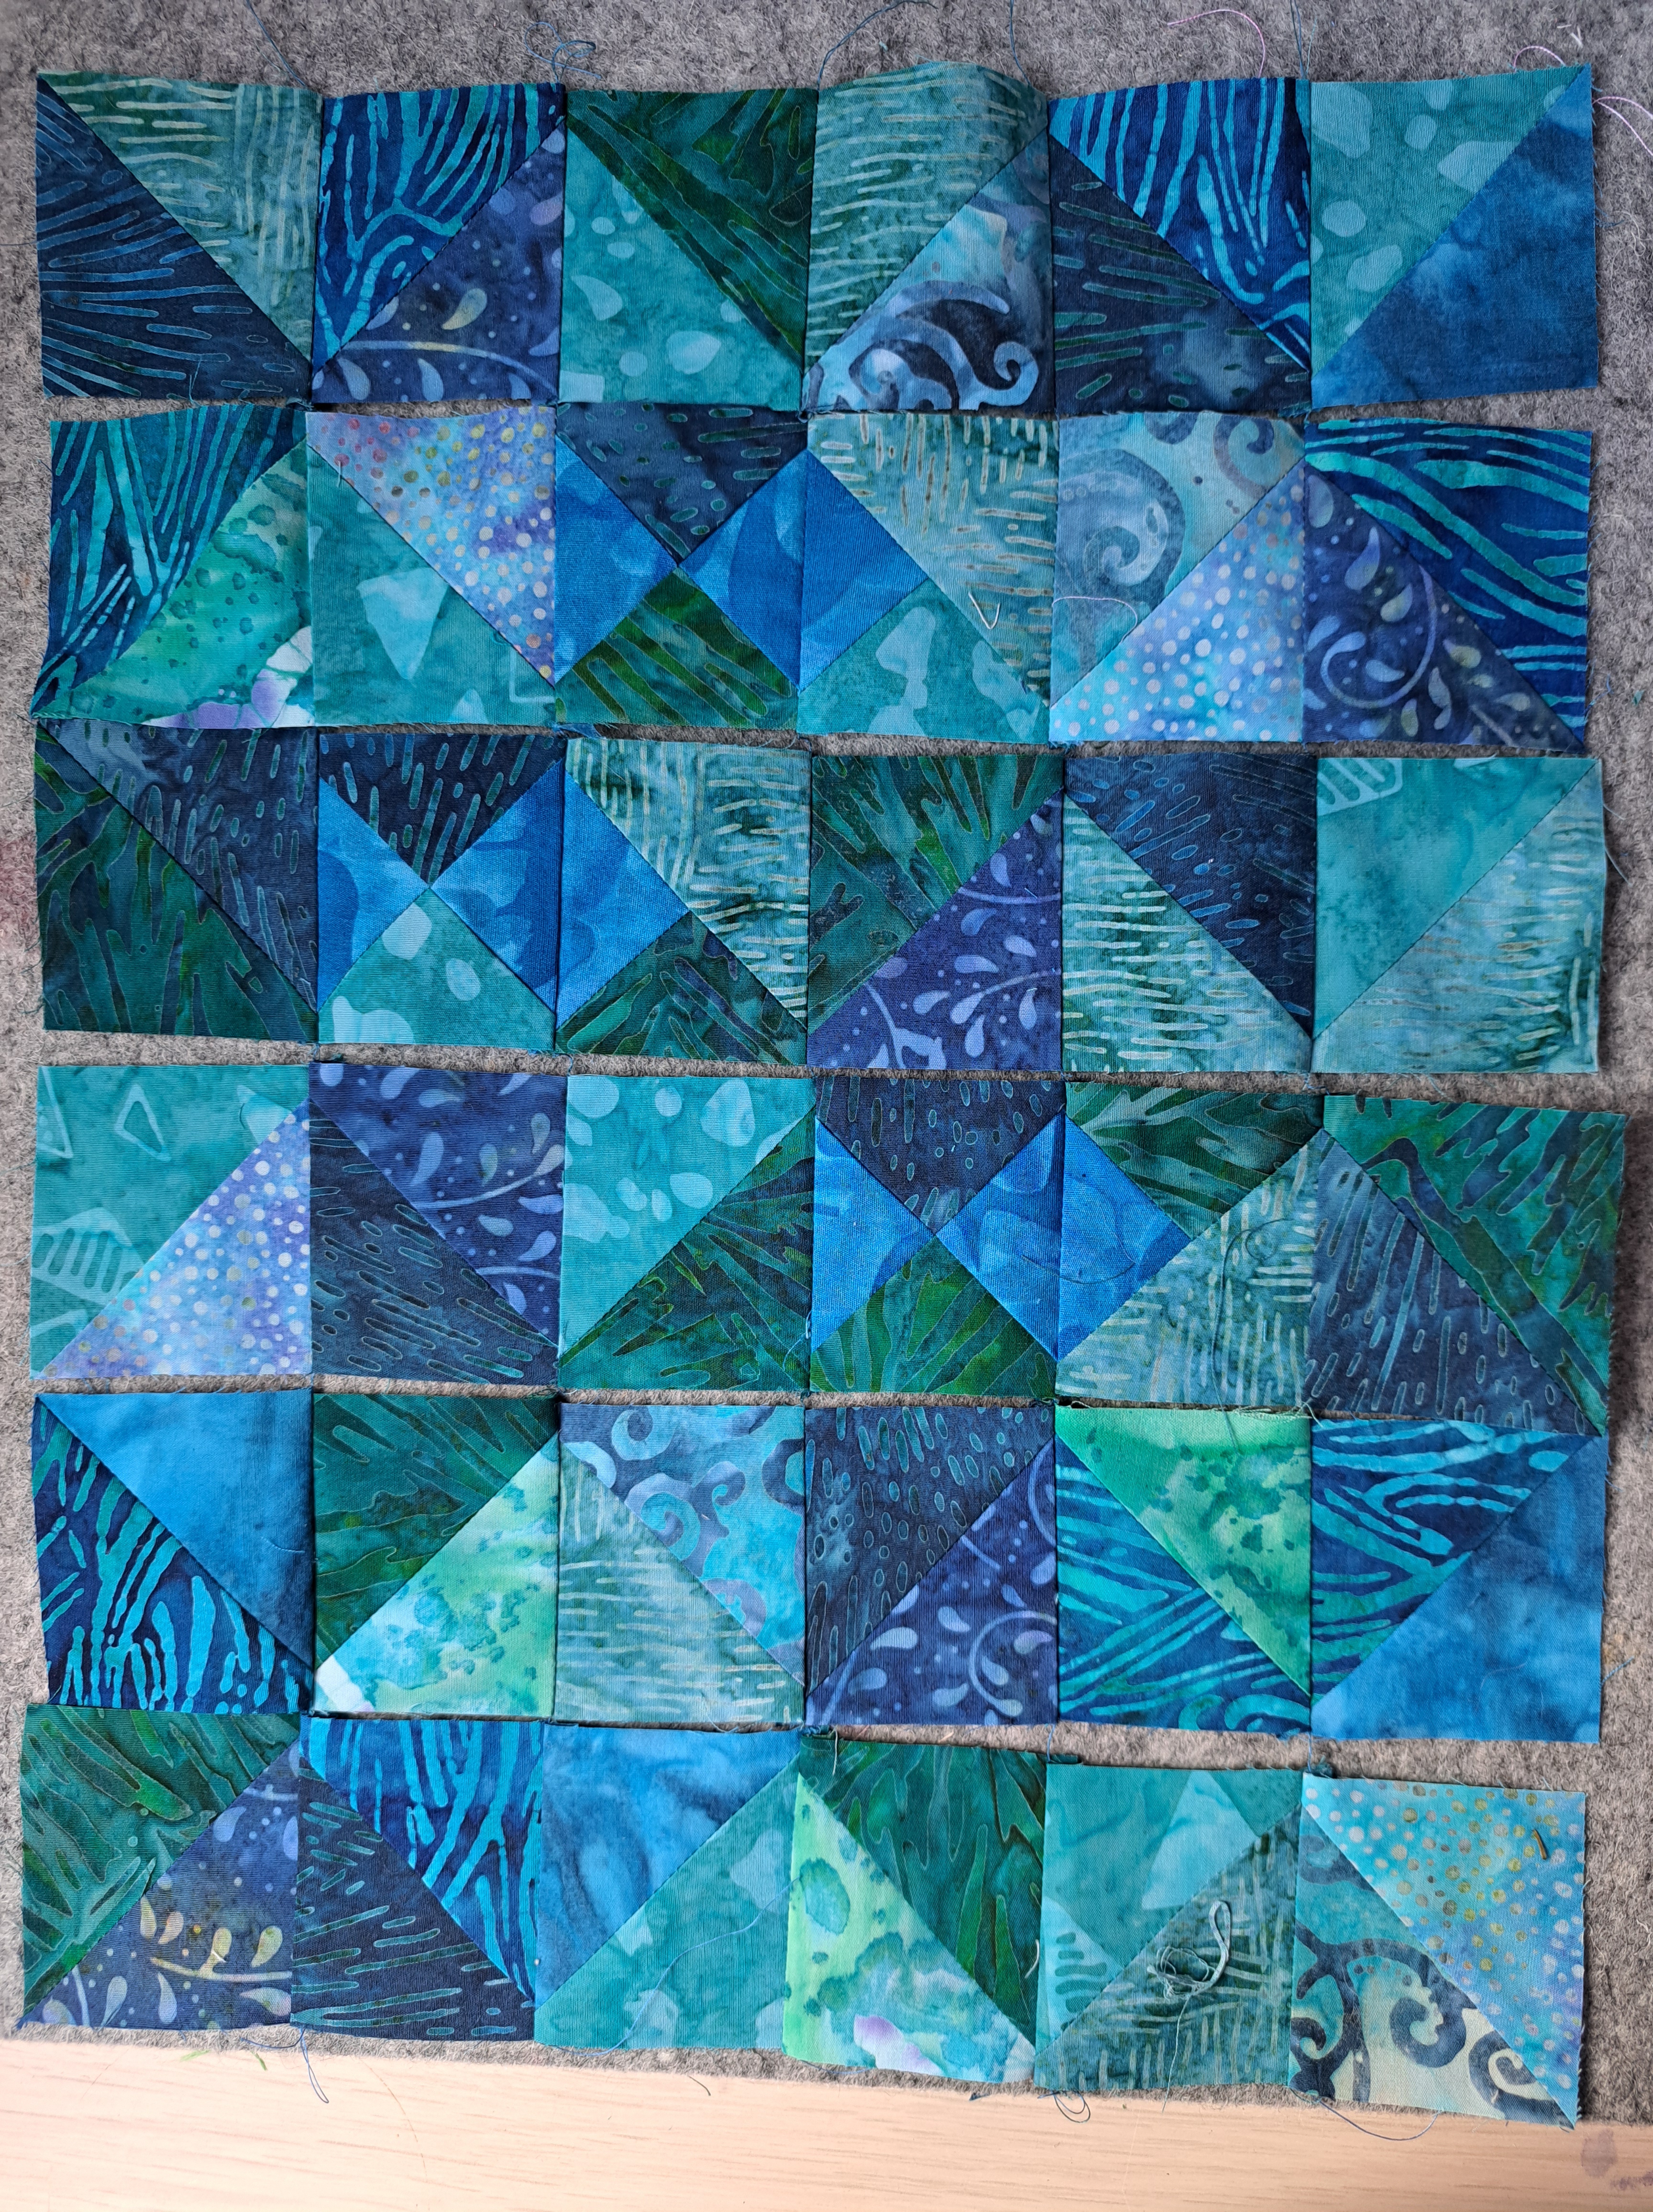
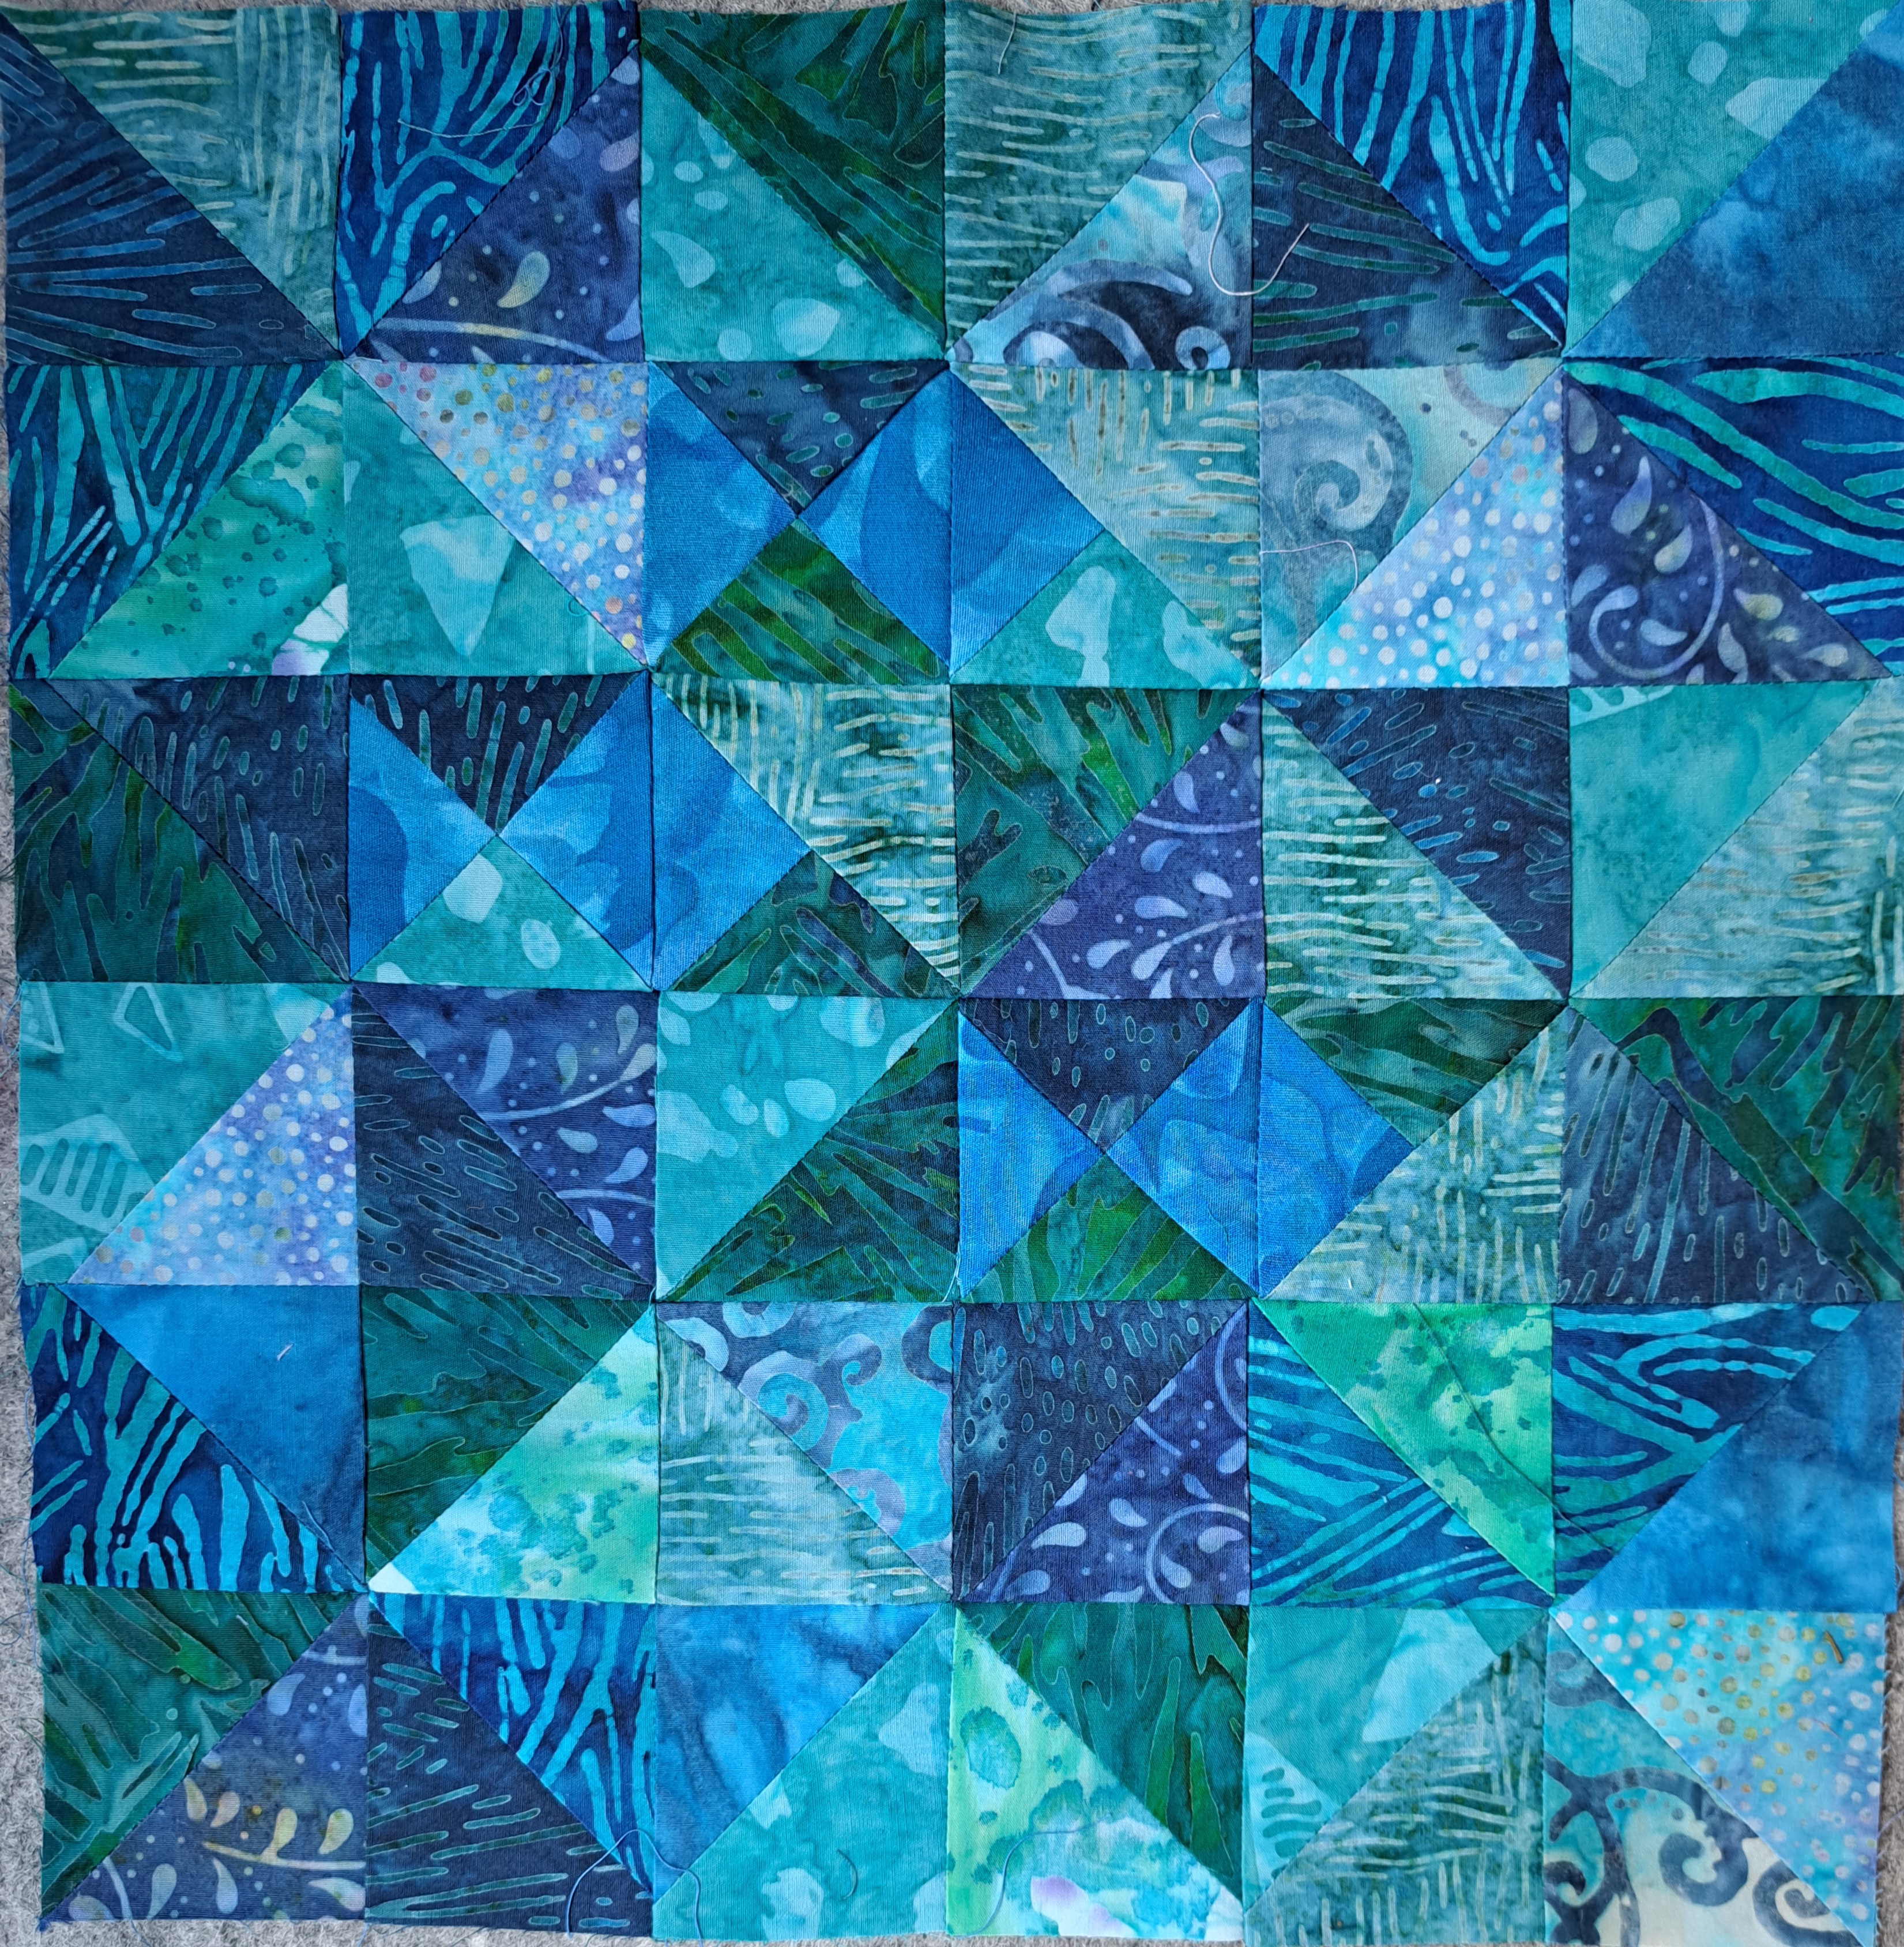
I’ve also realised that Barbie pink is patented, so unless you buy the actual Disney fabric, you can’t get the same shade of pink, so it took me ages to get a reasonable range of pinks that worked together. I decided to do a disappearing nine patch, which is where you make a block of 3 x 3 squares, then cut it into four, rearrange and stitch back together. I did my calculations wrong and ended up with lots more blocks than I needed! I decided as the blocks ended up 16″ square, with a sashing in between, nine blocks in total would be enough. I arranged them on the floor, I really wasn’t sure about this quilt, it was very…pink!
I played with doing the sashing in white, but it did look better with yet more pink!
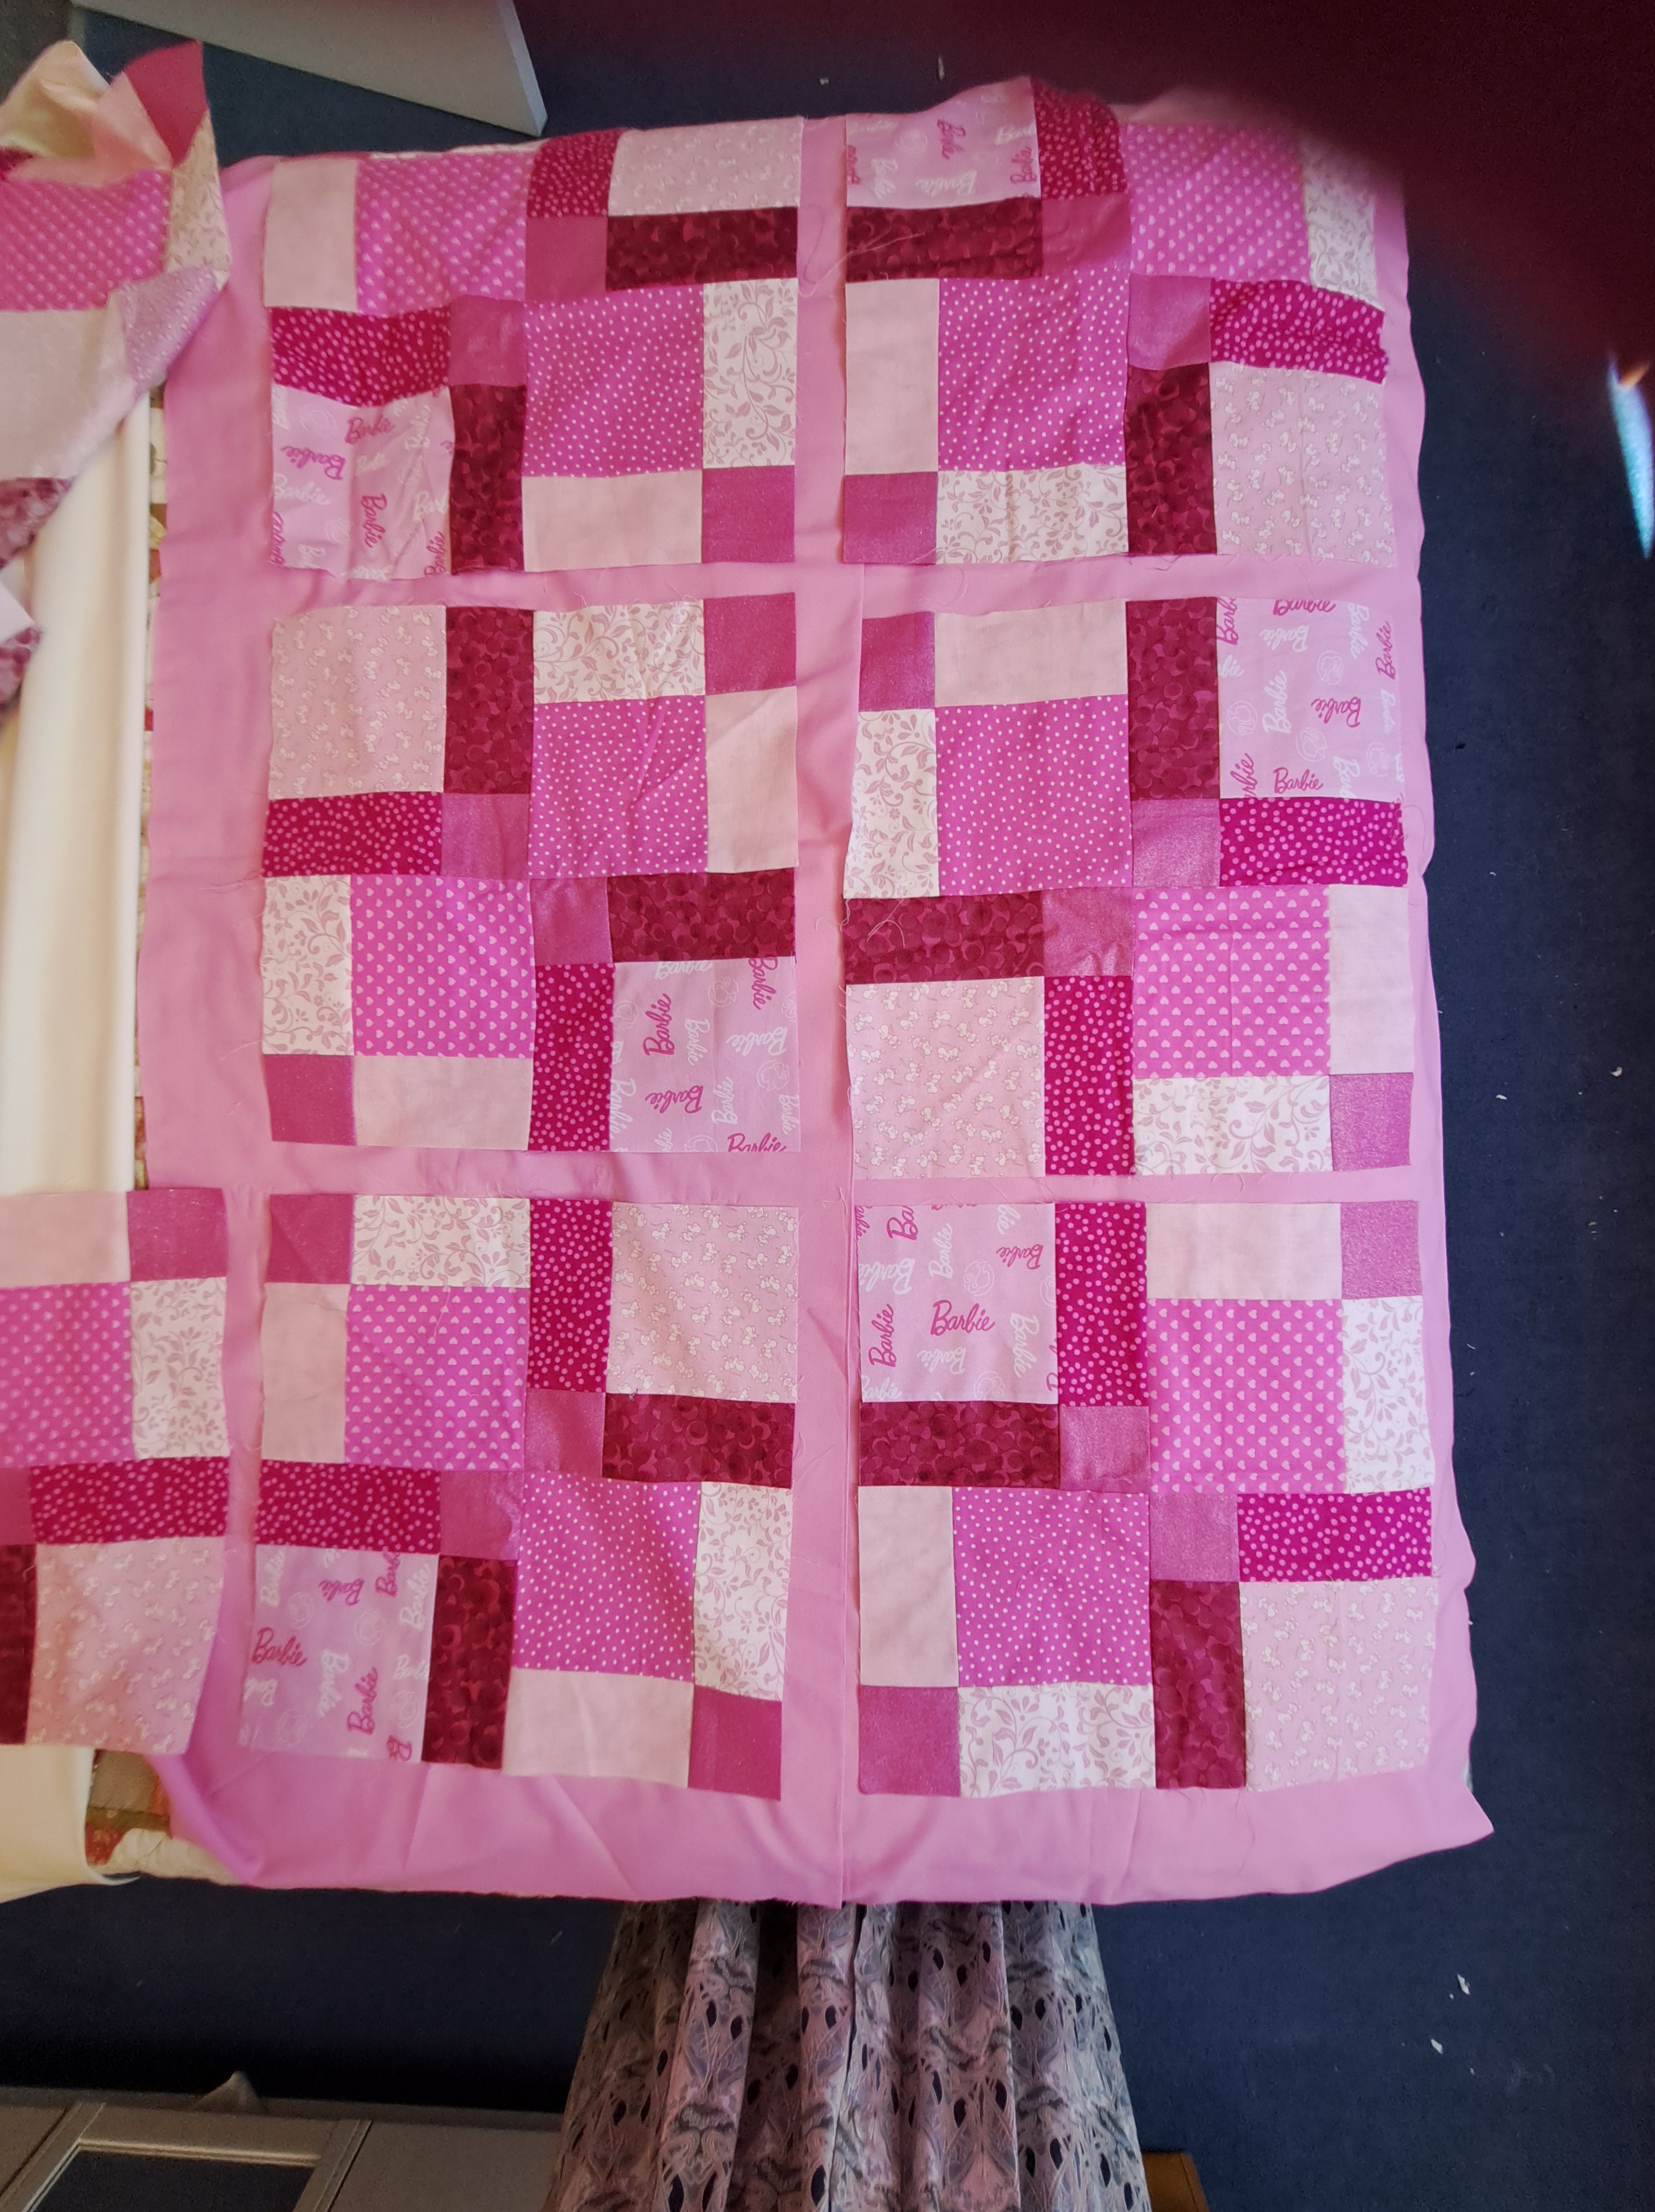
As I said, it’s very pink! I really wasn’t very keen and found it quite difficult to make decisions because I didn’t really like the fabrics.
This weekend I had five days off work as Bella was being speyed on Thursday so I wanted to be around for her recovery. I was determined to finish this quilt.
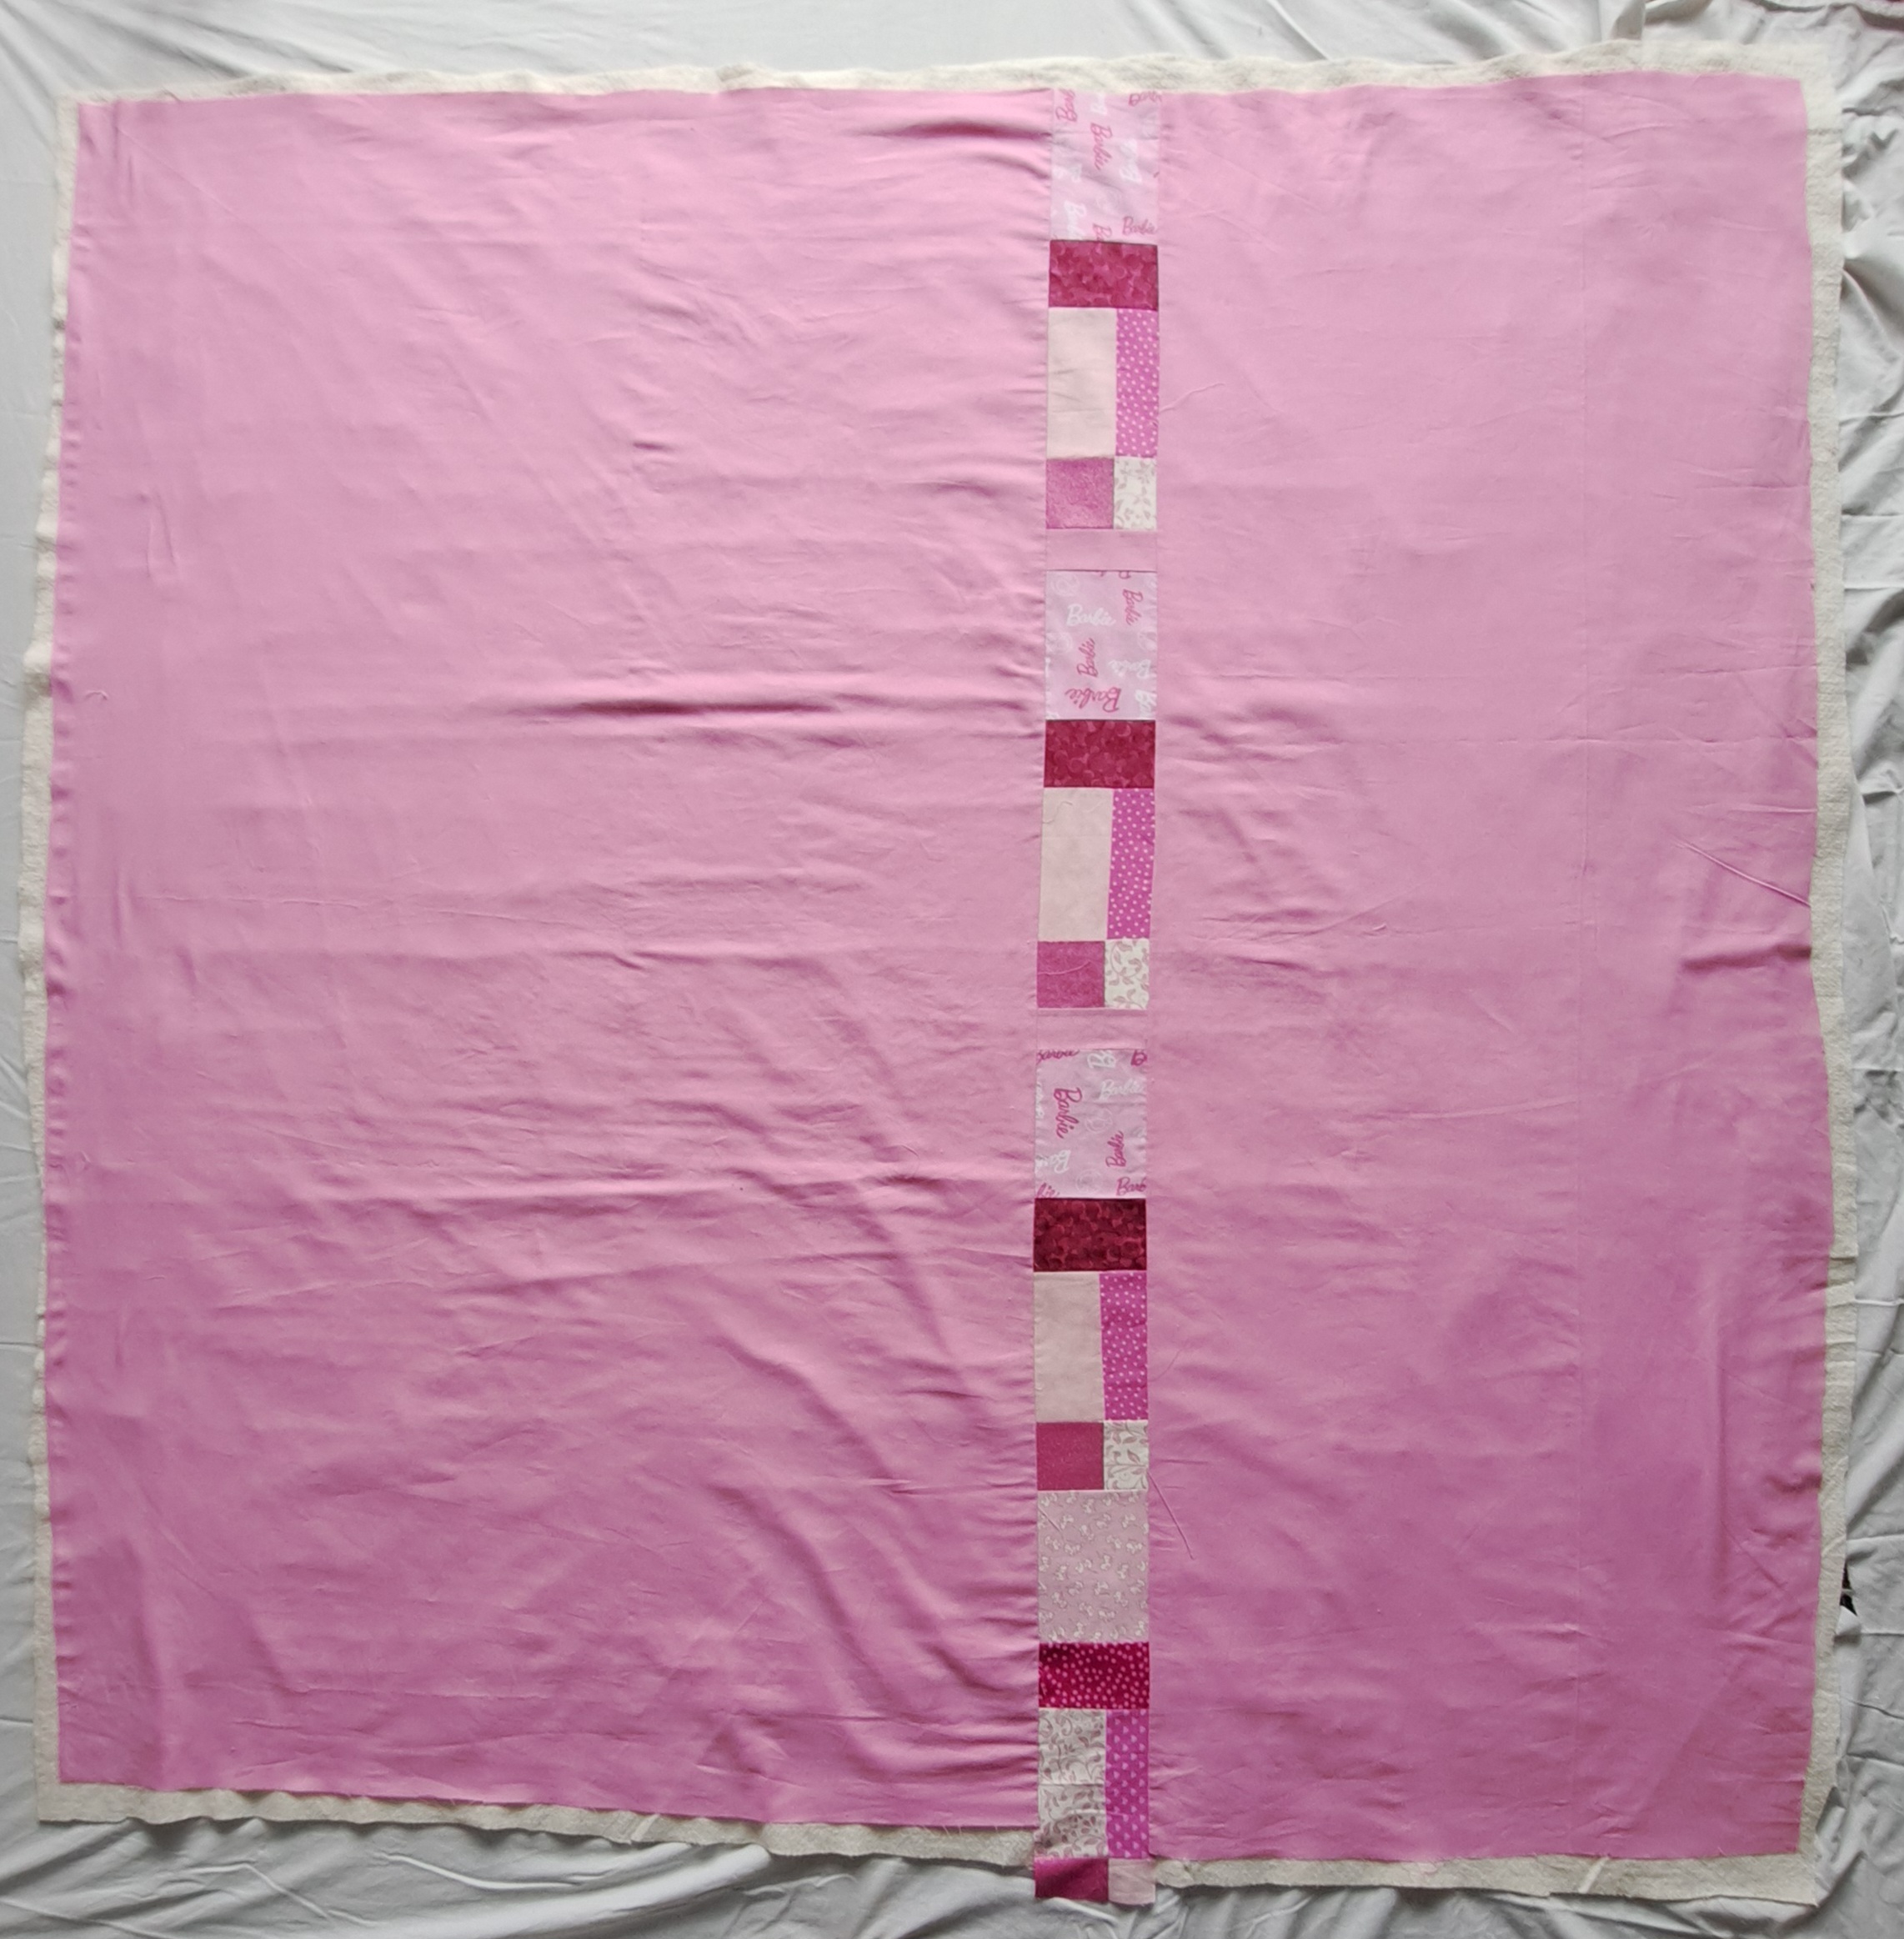
Having finally pieced it together I wanted a bit of a border so I used some of the blocks I’d already stitched together to make a narrow border.
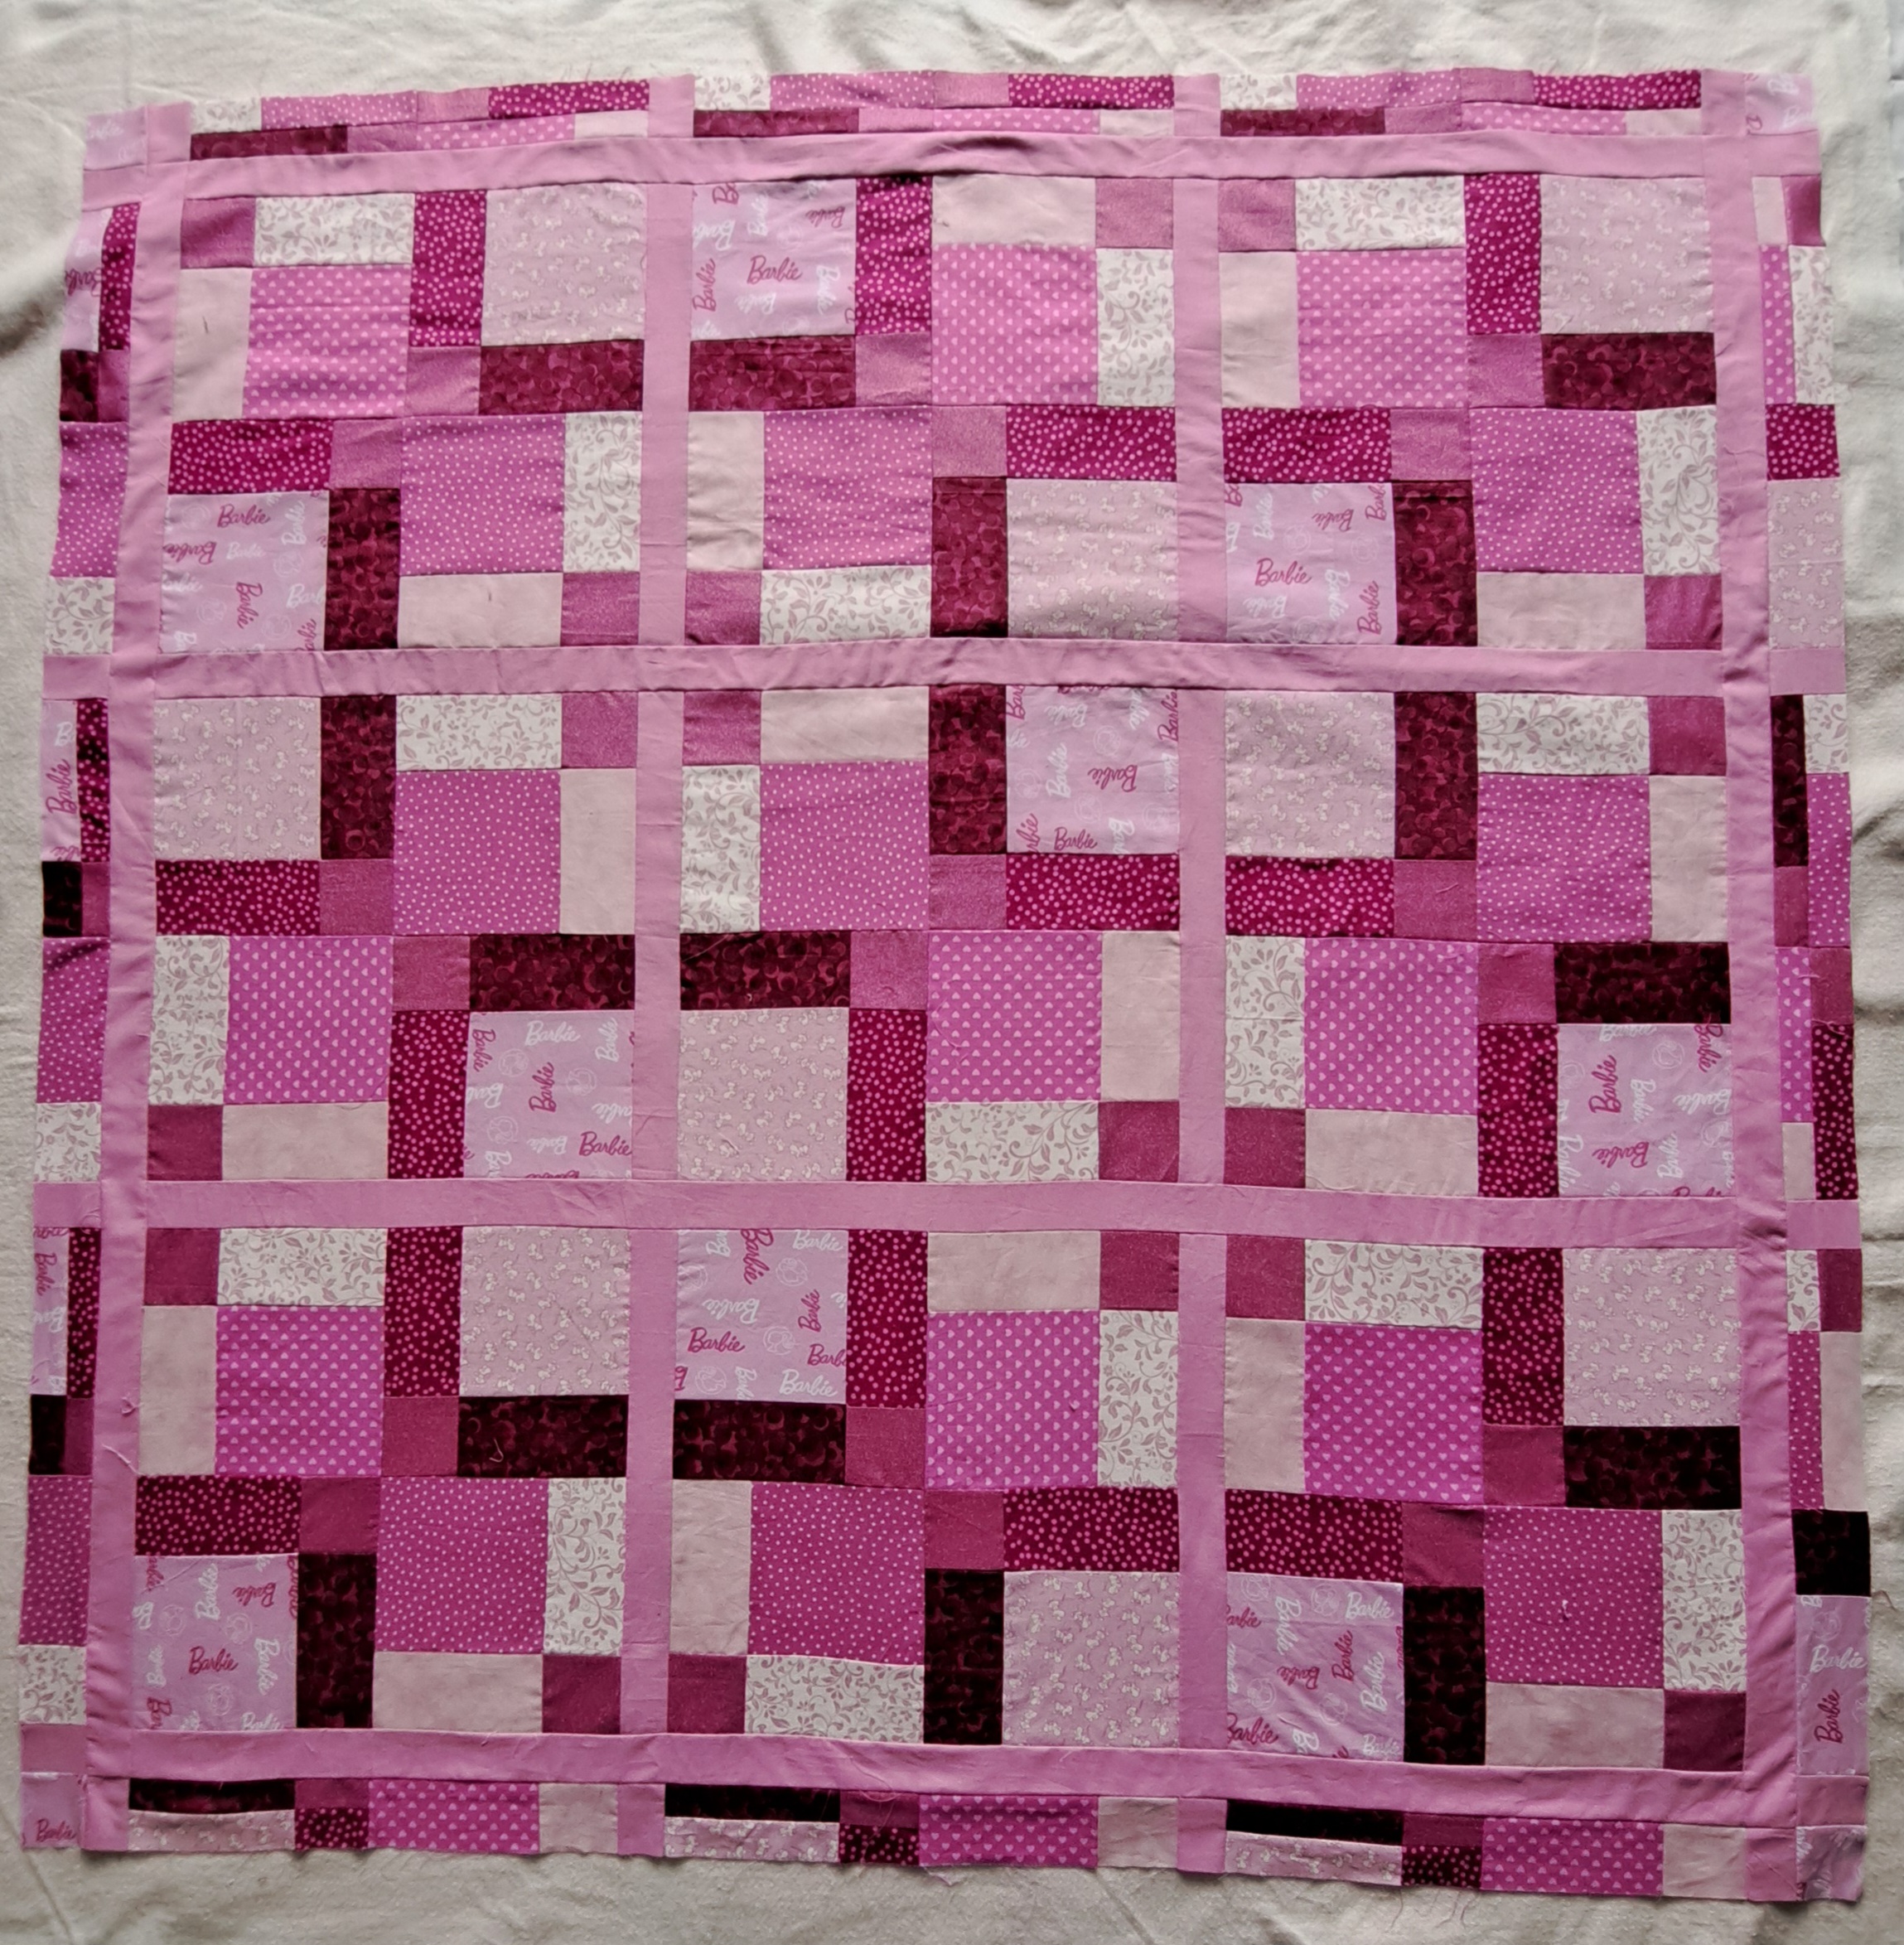
I also used some to make a strip down the seam in the backing fabric. I sandwiched it on the lounge floor. At this stage I was still having so many doubts about it I sent photos of it to Mum saying please show it to Moo, does she actually like it, please be honest…and apparently Miss Barbie loved it!
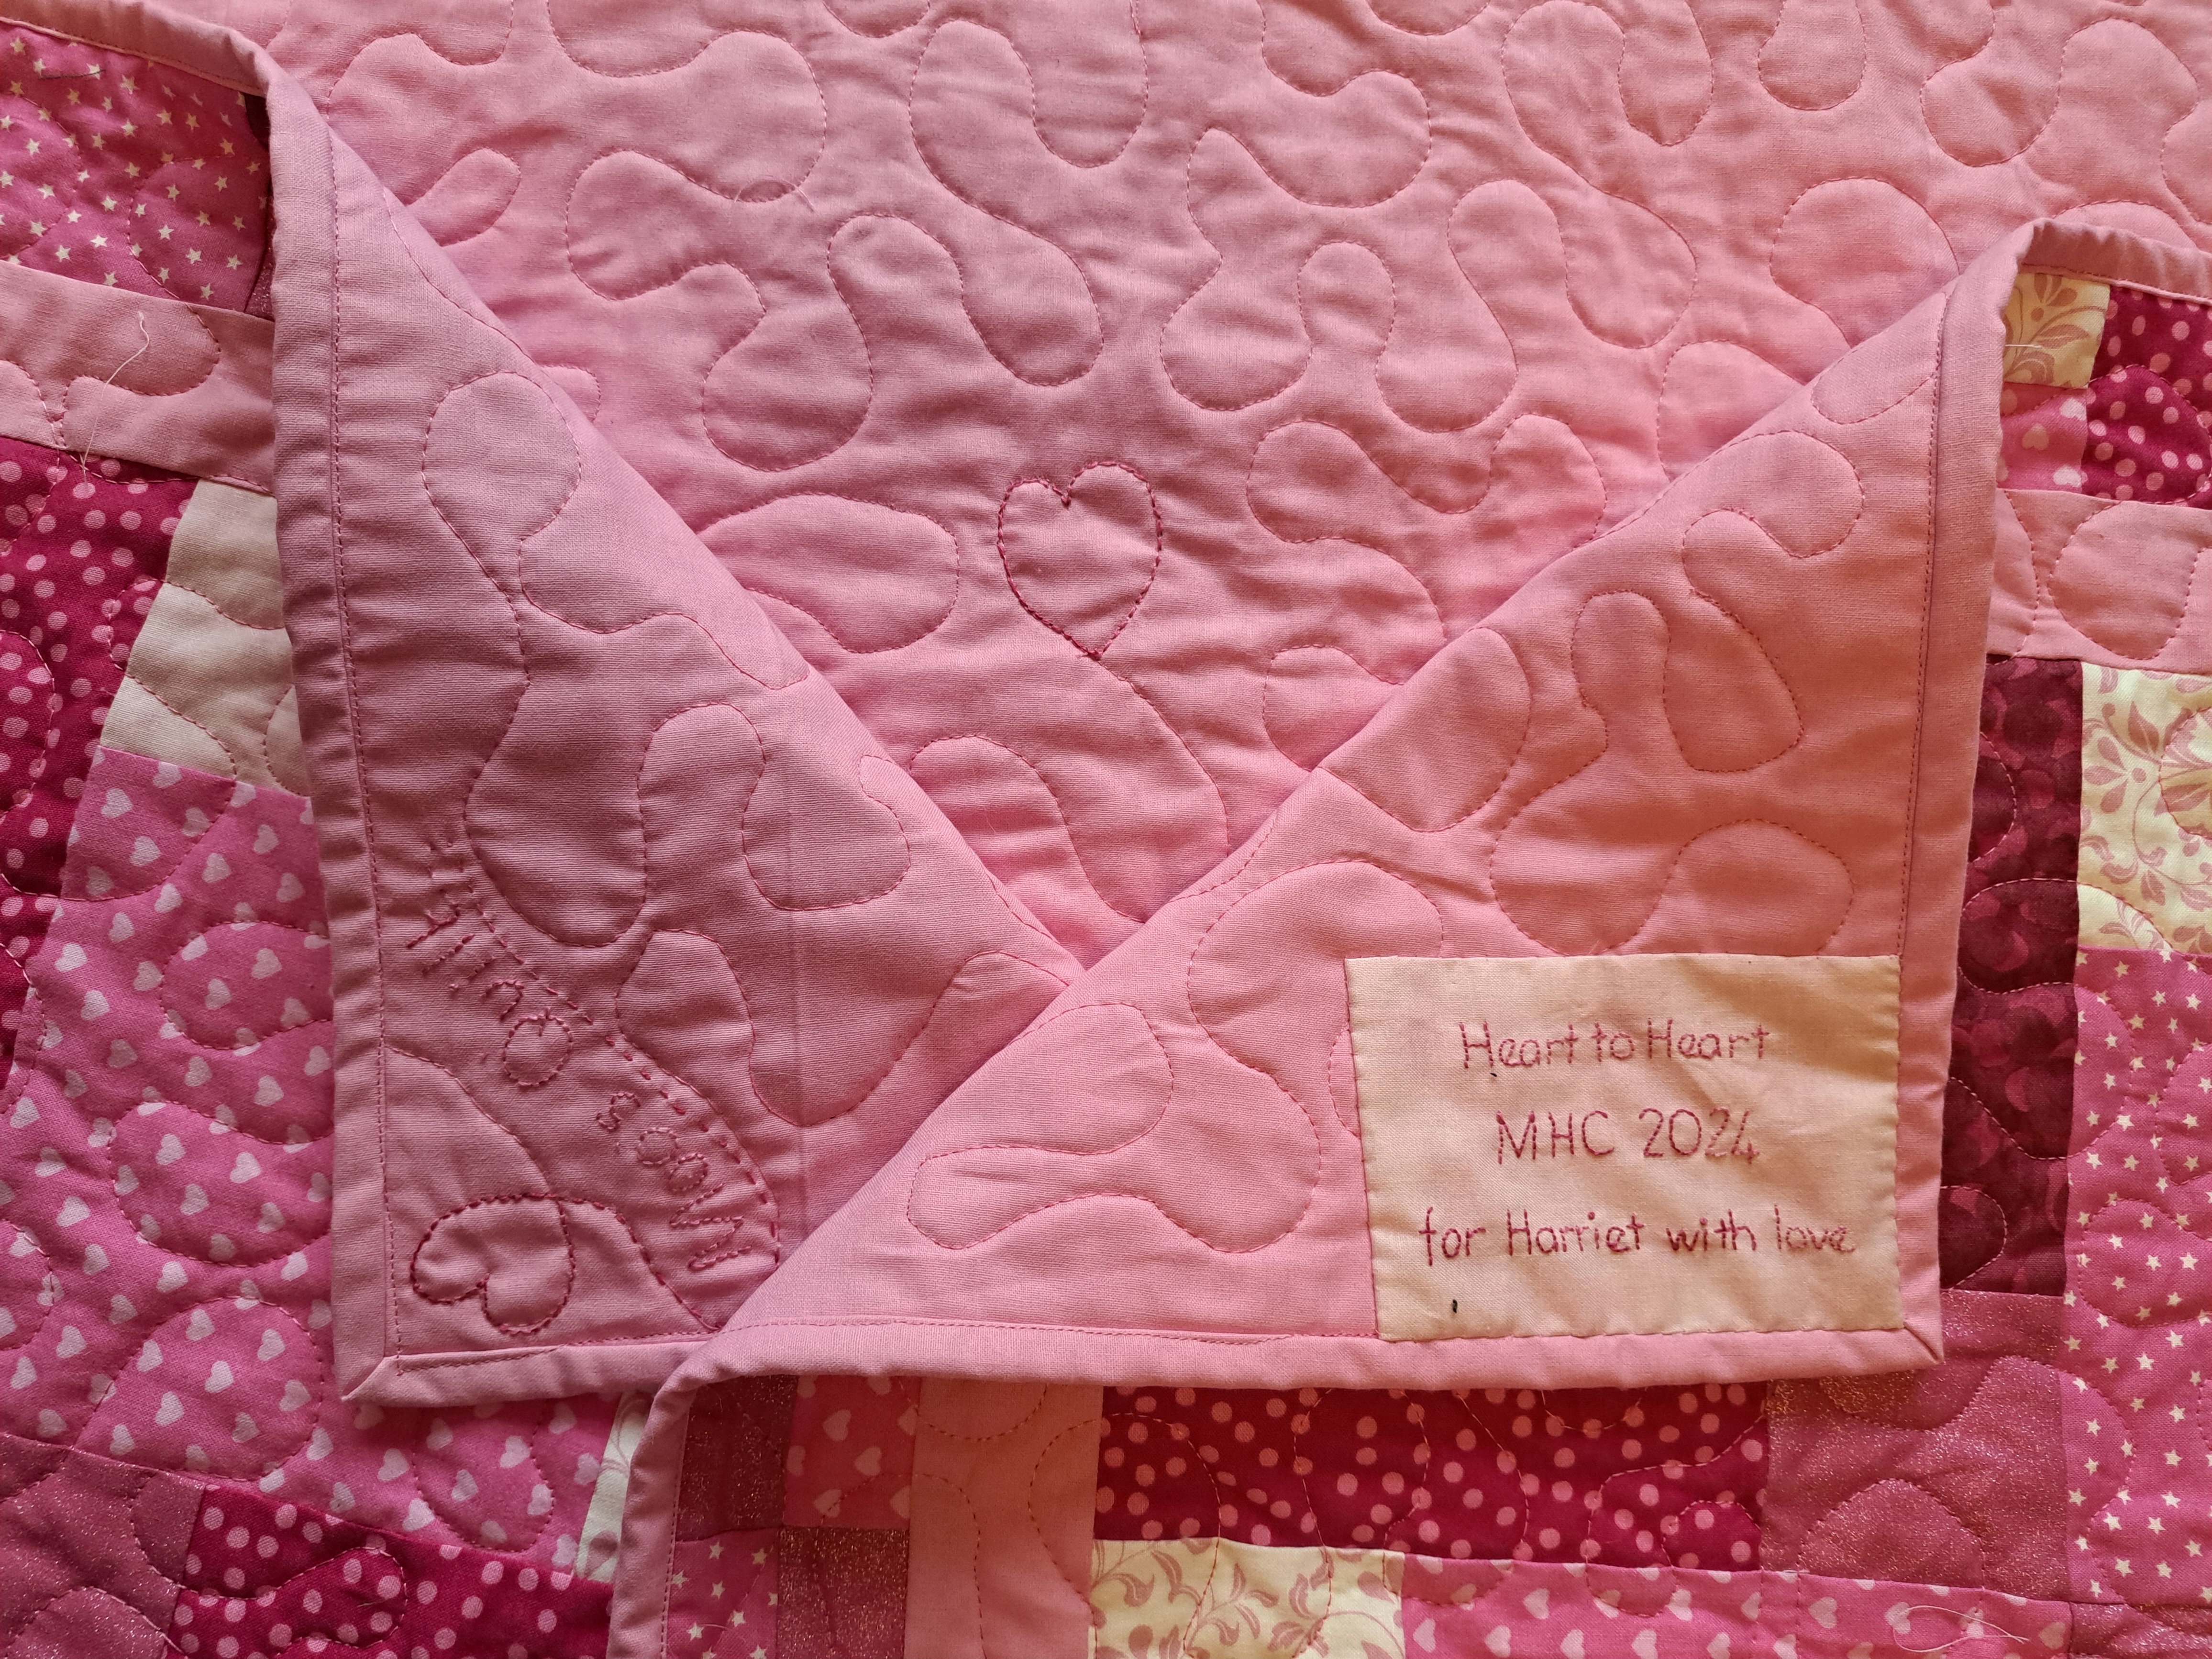
I found some pink thread with a slight sheen in my stash, it was a perfect colour match for the quilting. I decided to do a meander to try and break up the strong shapes a bit. I started with a heart in the centre and for once I managed to do the whole quilt in a continuous meander…so I finished with a heart in one corner and called it Heart to Heart!
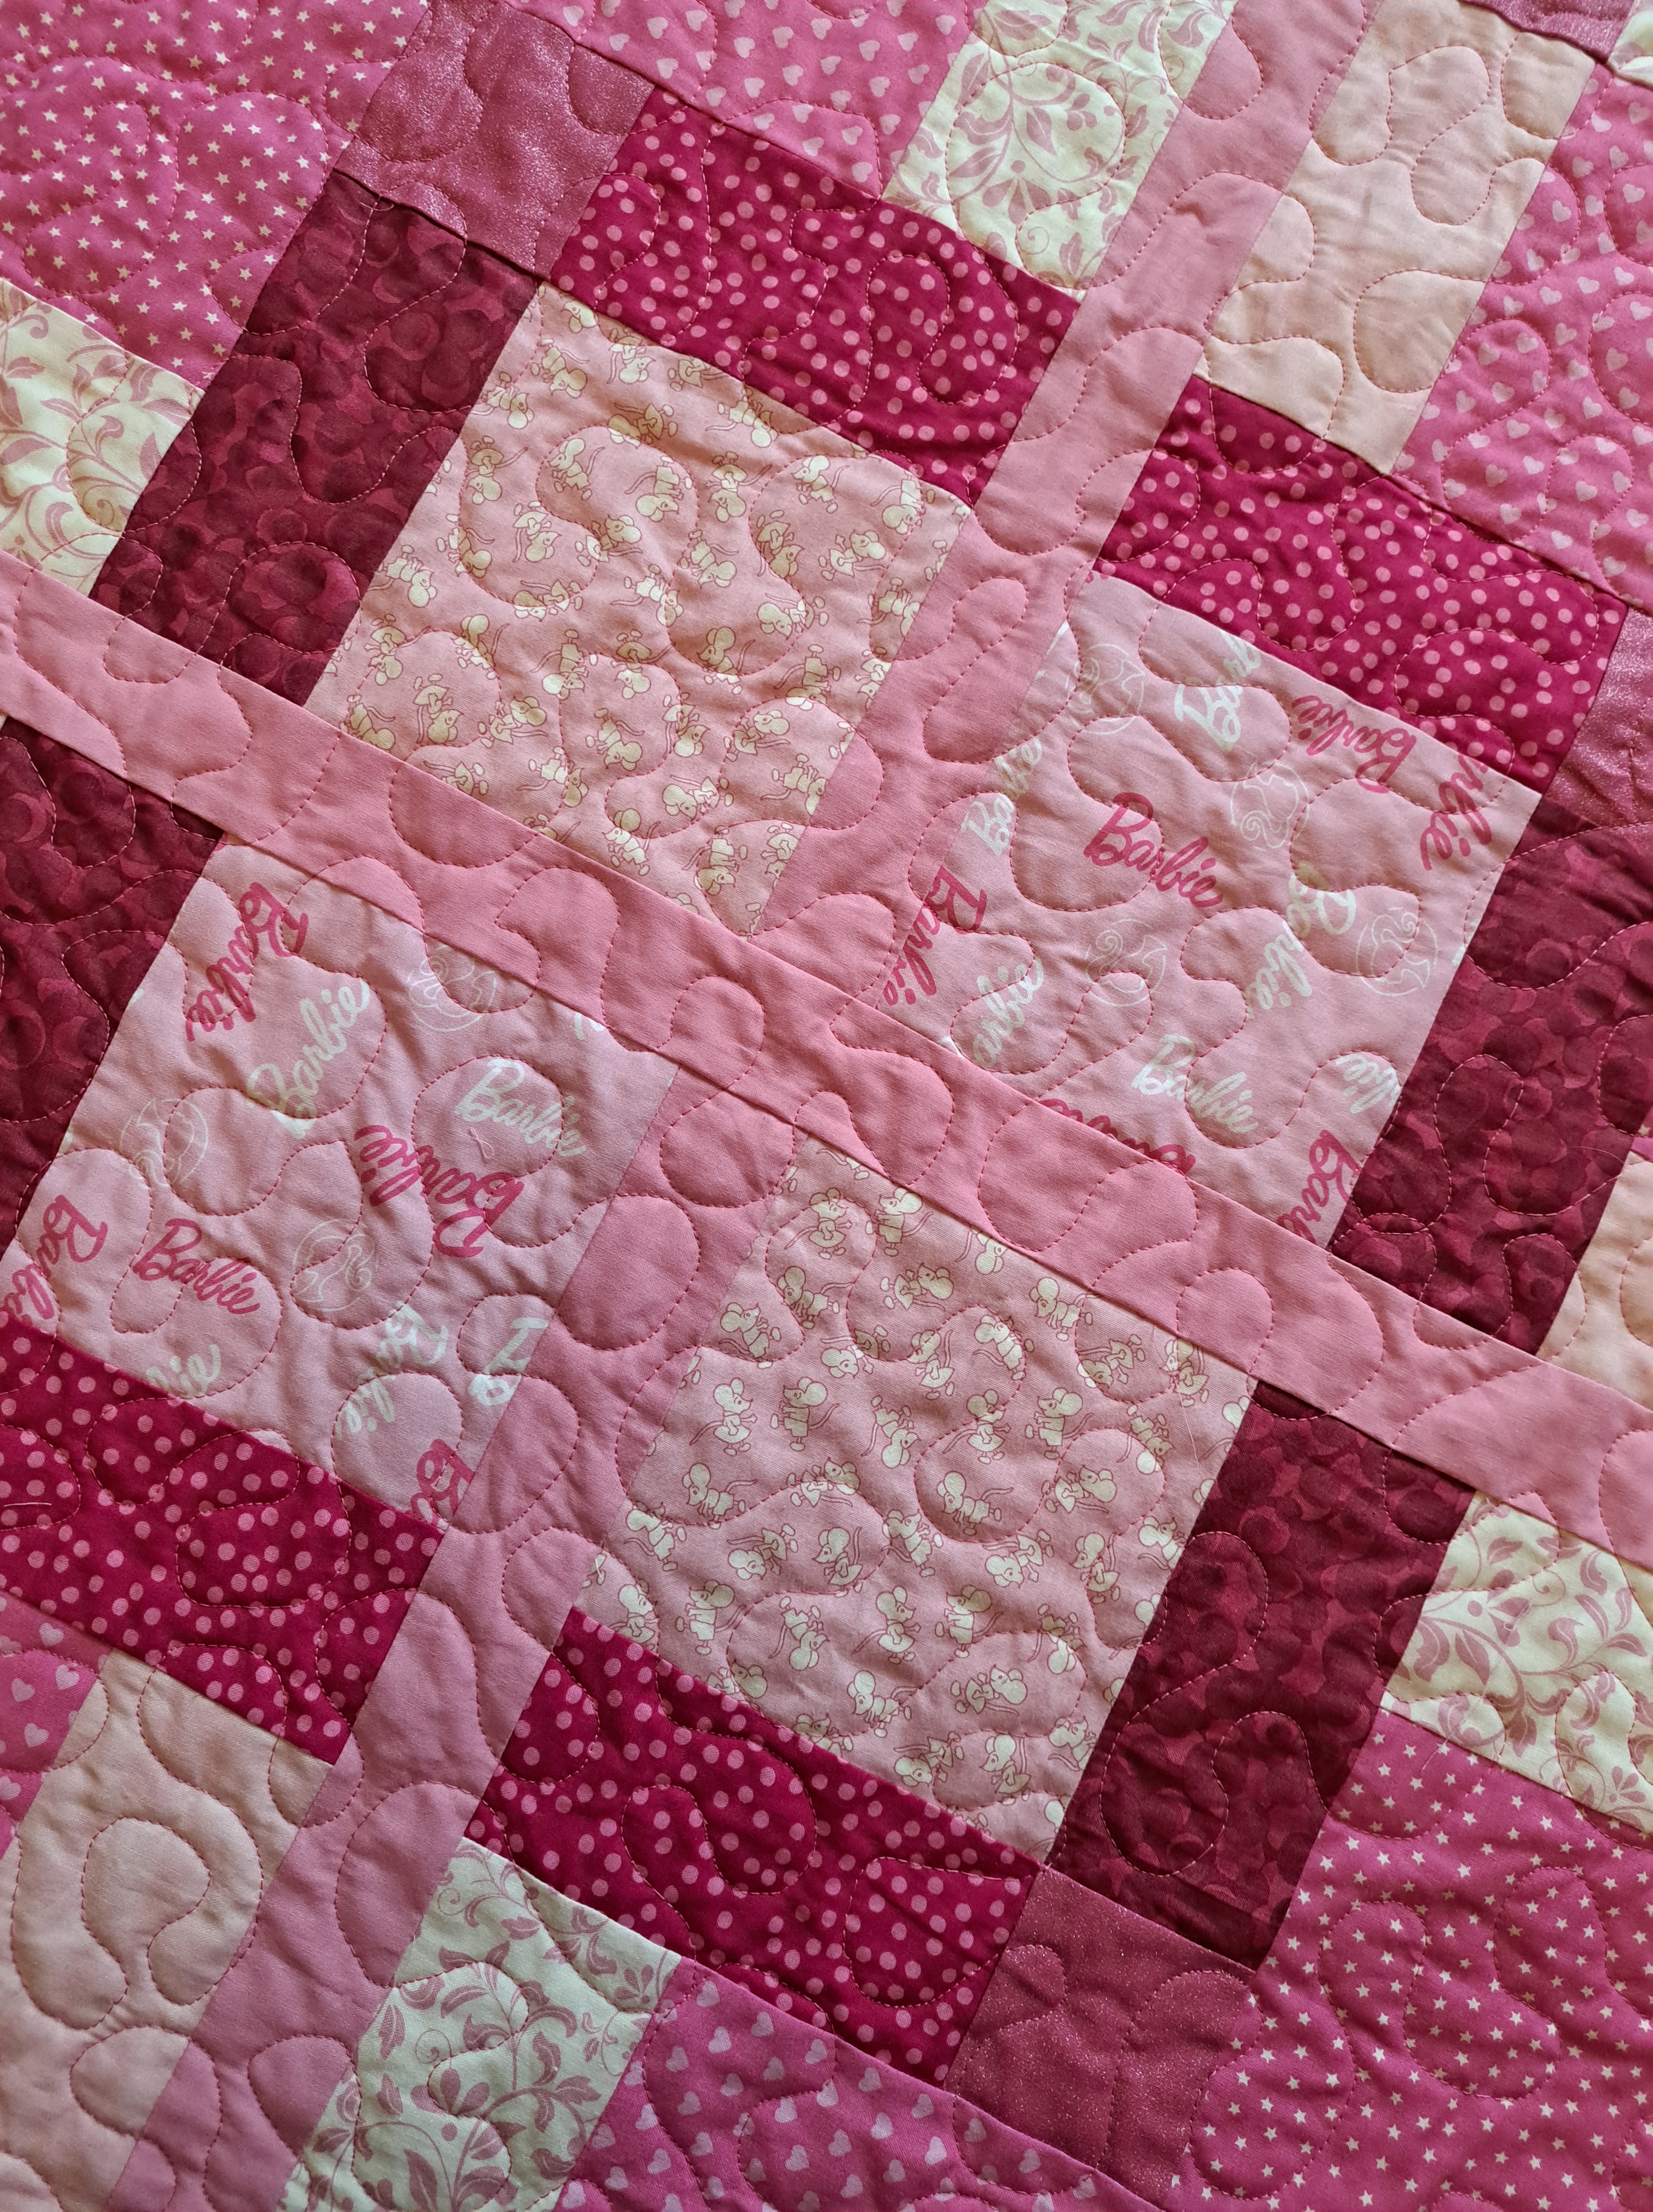
I’m pretty pleased with my meanderings, there’s a few wobbles and a couple of cross-overs, but really not too bad!
I bound it on my machine with the same pink as the sashing, then I just had the label to do. I sent a message to Mum asking if Moo would like her nickname or her proper name on it. I got impatient before the answer came in and embroidered Harriet…and of course the answer came back ‘Moo’! So I decided to embroider that in the corner with the heart, I embroidered round the heart on the back and also round the centre one.
So it’s another finish for the weekend – I rather like having five day week-ends! The quilt has grown on me a little since quilting – it does seem to have brought it together a bit, it’s still not what I’d choose but I’m assured she will love it and that’s what is important!