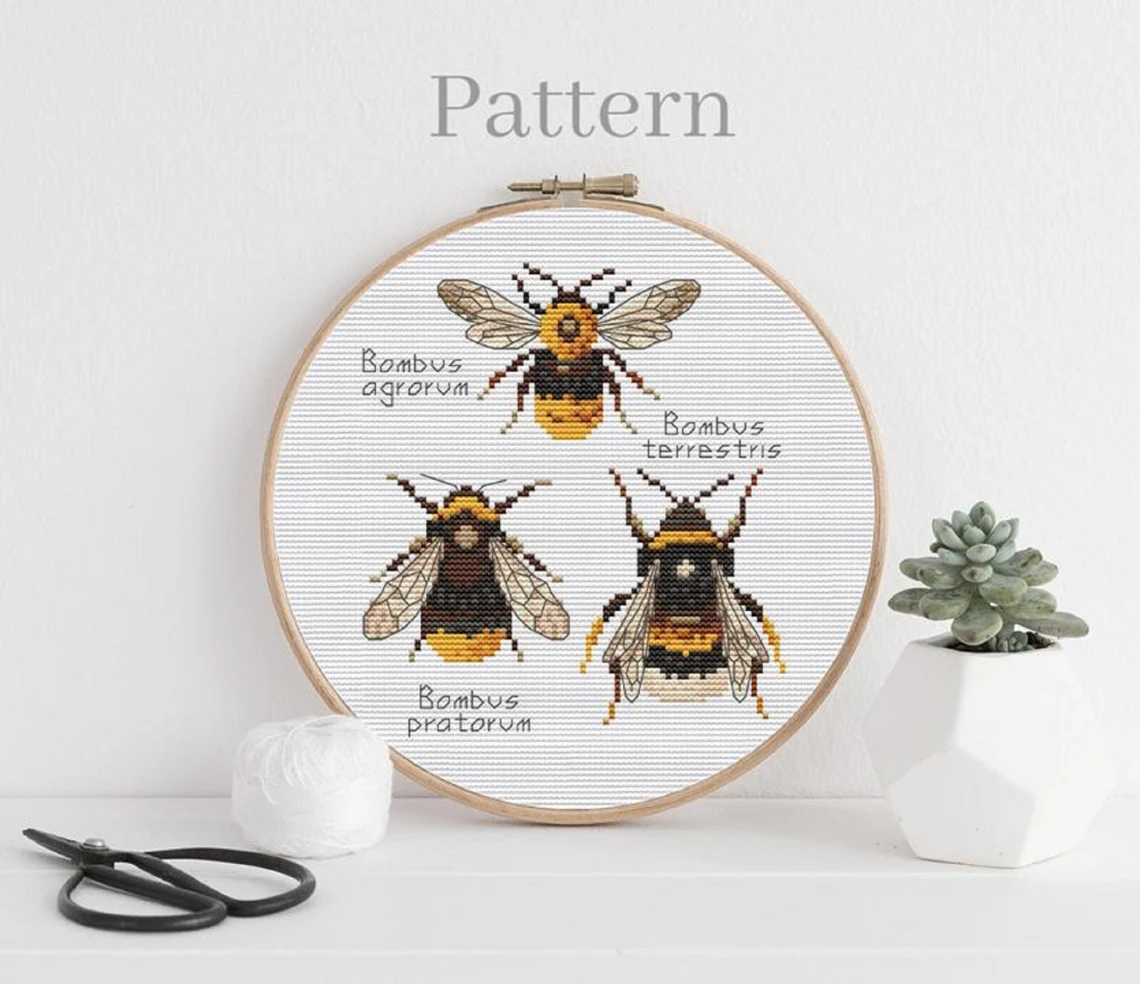
I’ve been a busy bee over the last three weeks! I’ve been working on the embroideries to go in my bee book most days. Last time I shared my progress I was working on the first bumblebee of a cross-stitch depicting three different ones…

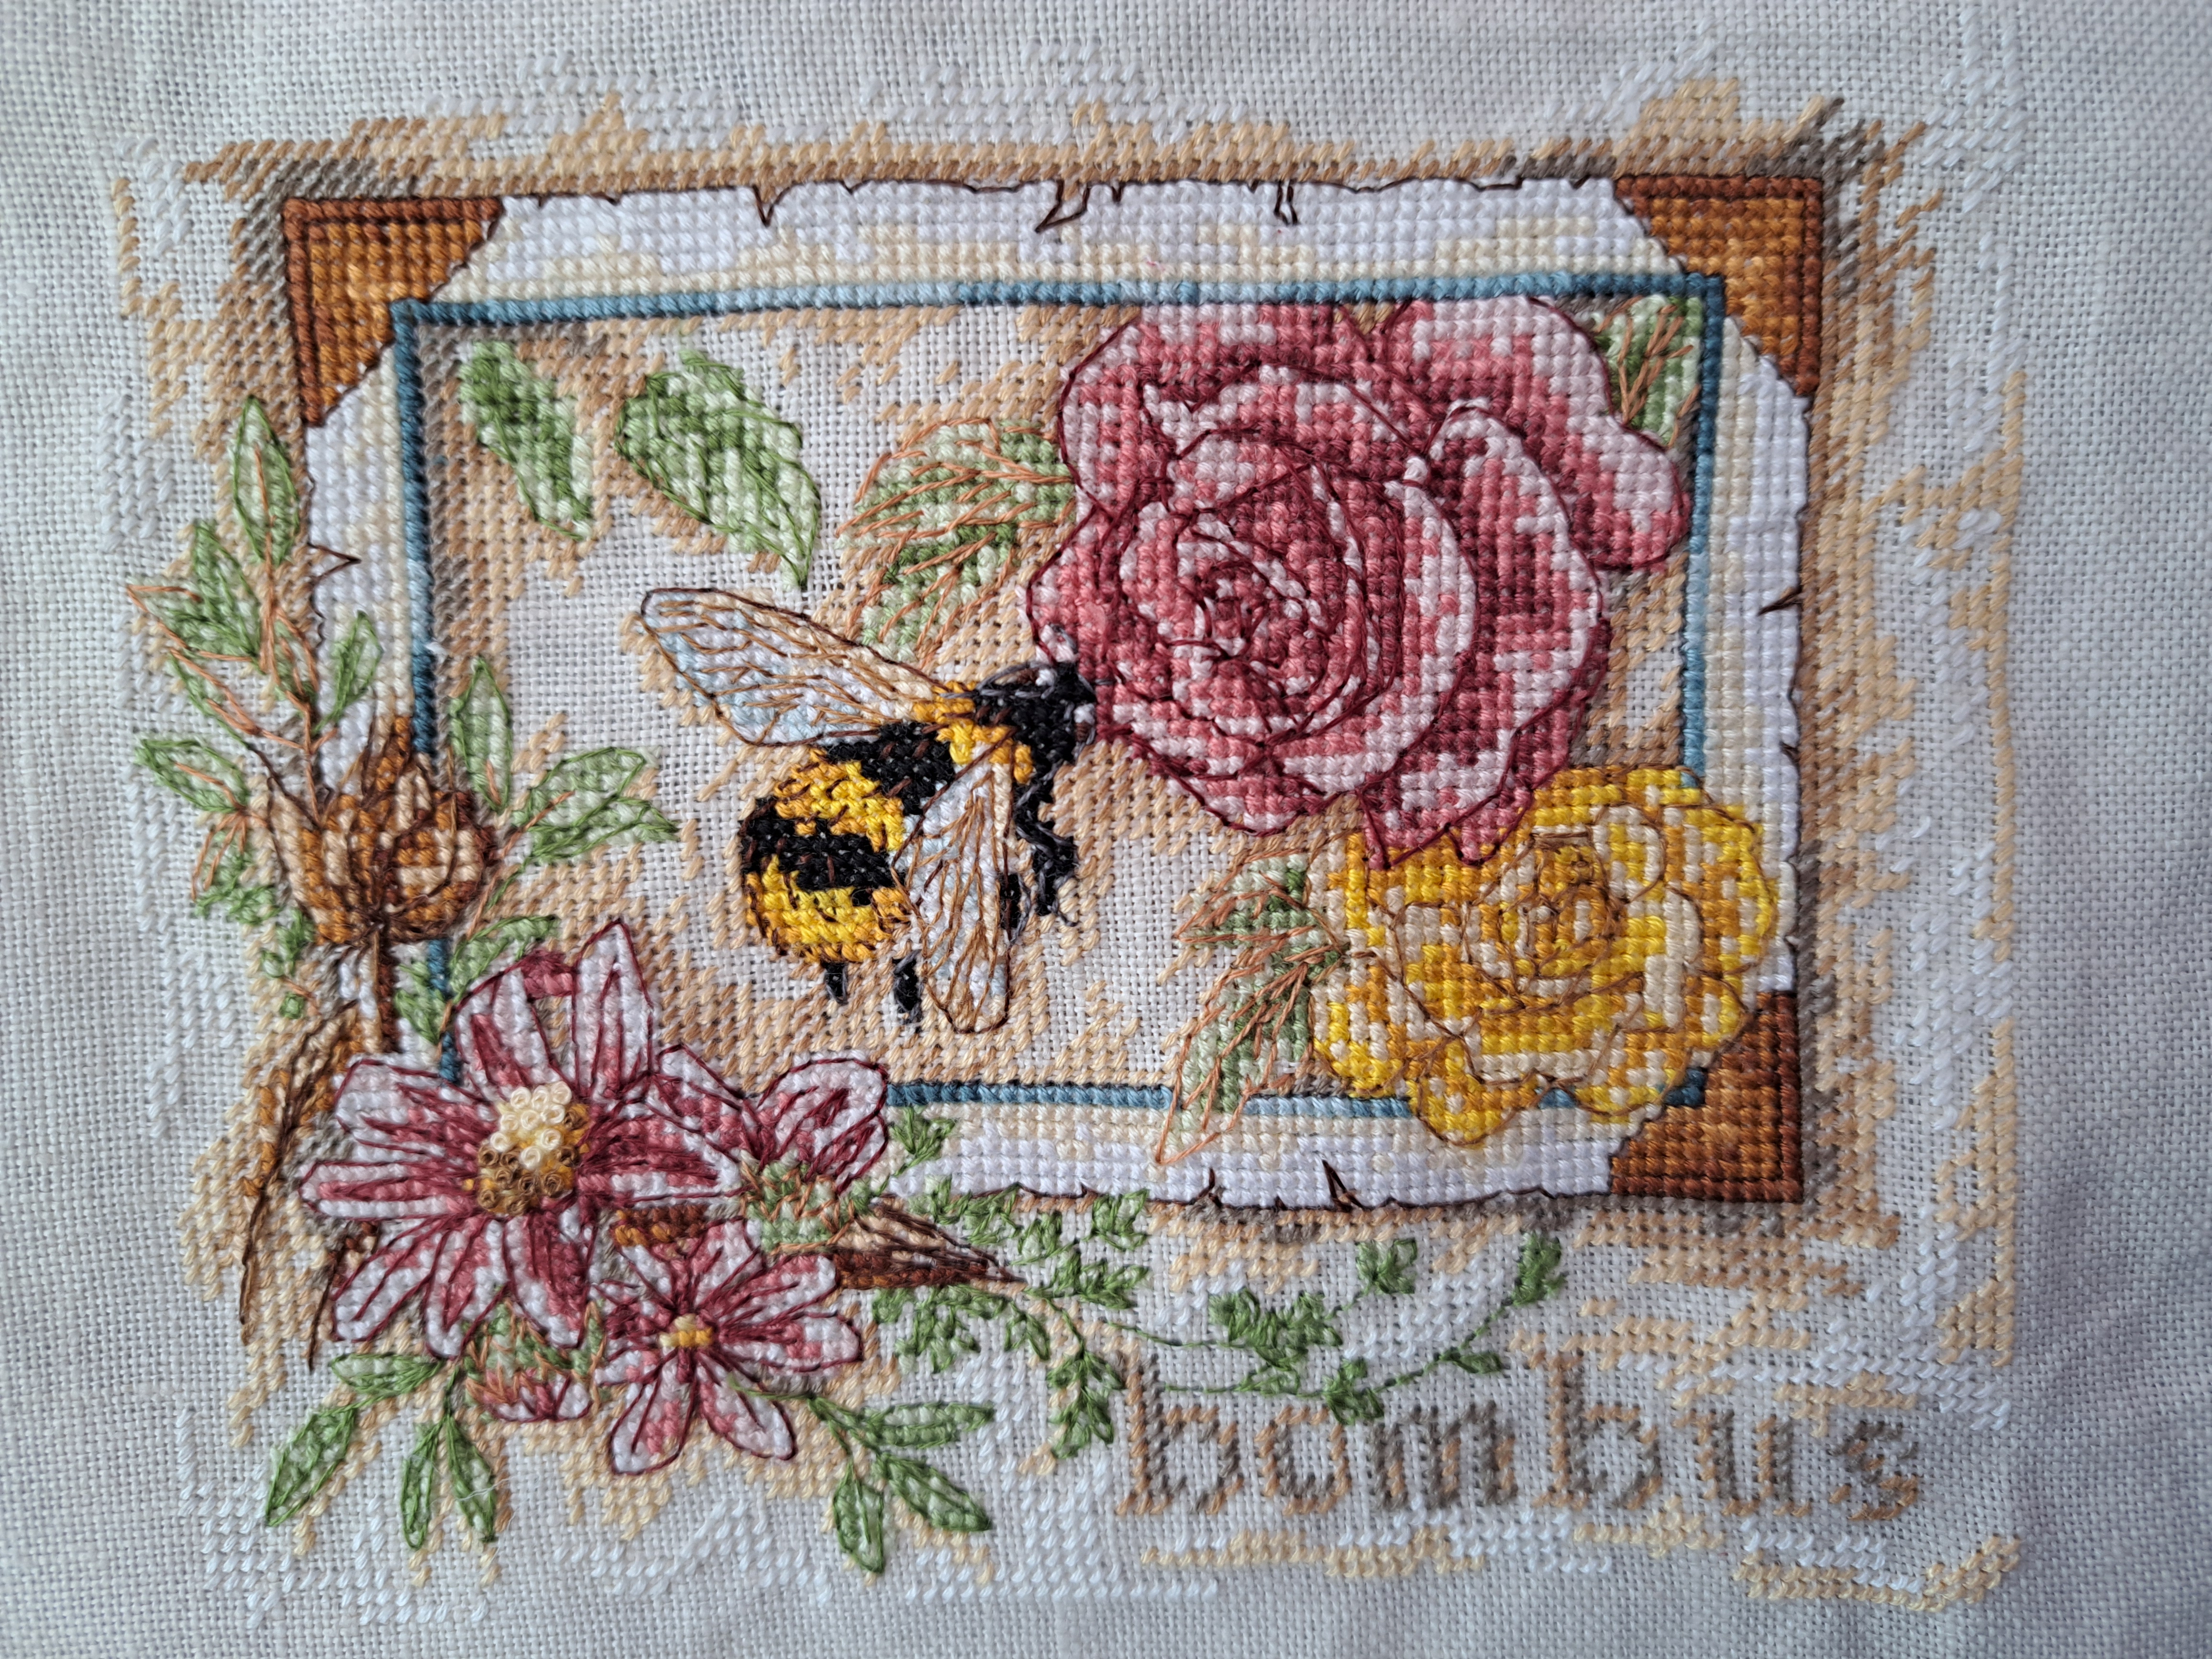
I’d just realised this particular bee is one I’ve stitched several times before, using it on pincushions for various people. This one is bombus terrestris, more commonly called the buff-tailed bumble bee.
I had to move the second and third bumblebees a little on the design as it was meant to be oblong whereas I needed it to finish more square shaped, so the top bee was moved five squares along and three down and then the third one moved along a bit to even it out. It took ages to work that out!! I think it still looks balanced.
It’s interesting seeing the different shapes of the bees, the top one, bombus agrorum, from the limited information I can find on Google, is the same as bombus thoracombus, or the common carder bee. The left one is the early bumble bee. The wing positions of these three are each very different.
Here’s the finished cross-stitch…

I do like this one, I like the way it’s laid out like specimens in an old-fashioned natural history museum.
Next I decided to stitch one of the Sarah Homfray designs I bought. She has a blackwork bee and a whitework bee and as I don’t want this book to be all cross-stitch, I bought them both. I decided to do the blackwork one first.
The pattern wasn’t quite what I expected. I thought I’d have a chart with the whole design on, a bit like a cross-stitch chart. Instead there was an outline to trace and instructions on how to fill each section in, this was a bit daunting at first. I packed it up to start at my Skipton Stitchers group on Monday, thinking there would be someone there to help if I needed it. In the end, once I started it was pretty straight forward and actually makes it a lot more adaptable.
I chose a honey coloured linen as a base, with hind sight I’d have been better with an evenweave which doesn’t have the fine irregularities of linen as sometimes the linen thread was too fine really to have any impact with the stitch pattern. Rather than black thread I used DMC 4000 which you don’t often see for sale here in the UK which is a shame as it’s really useful. It’s a variegated thread of dark brown and dark grey. I think it worked really well for this piece.
The actual design is pretty small, less than 2″ high, but there was also an outline for the stitch plan which was slightly bigger, so I used that size instead. My bee is still less than 2.5″ though, so it didn’t take long to do.
The outline was traced onto the fabric and then each area was filled with a different stitch. The outline and the legs or antennae were the last to be stitched. I kept the body symmetrical but kept a little variation with the legs etc. It didn’t take long to do at all really…

And now for something completely different…
This is a design I found on Etsy, I discounted it at first but it grew on me, my eye kept being drawn to it. It’s called the wildflower bee, designed by Doodle and Stitch Company. I’m really enjoying stitching it. The instructions are good, my only beef is that the stitch and colour charts are just colour based, not clear with a black and white printer! I used a vintage French metis fabric which I got in a mixed pack from SookieSoos on Instagram. It’s a lovely textured linen/cotton mix, though the little slubs could be tricky to get a needle through in places.
Last night I finished the body, the flowers and leaves are created with a mixture of stitches, fishbone (my favourite for leaves), lazy daisy, satin, woven wheels, French knots. The only ones I’m not too keen on are the lazy daisy leaf fronds, I might still unpick those and either use a different stitch or just use one thread…or leave them!
I’ve just started the legs, which cleverly look like stamens. The legs are made with brick-stitch with a satin stitch top. Here’s my progress so far…

The wings are meant to be in stem stitch, though I am tempted to use a fine chain stitch instead as I find it easy to get a neat curve with it.
I’ll hopefully finish this in the next few days, then I’ve the whitework one to do and I also want to do one like Laura Edgar’s bee, she is the textile artist who did the seascape workshop and she stitched a gorgeous bumble bee too. There’s another embroidered bee on Etsy too, the only thing that’s making me hesitate is that the only options are to get the pdf of the chart only, or the full kit. My issue is that there are no instructions with the chart only option. At some point I need to start making the little embroideries into pages.
This stitch-a-long is organised by Avis from Stitching by the Sea, we post our progress on our chosen project every three weeks, it does help to keep the motivation going! Please follow the links to see what everyone else has been stitching.
Avis, Claire, Gun, Christina, Kathy, Jackie,Sunny, Megan, Deborah, Sharon, Daisy, Cathie,Linda,