
This week I finished my concertina book. Last time I posted about it I had finished the strip of pages, I just had to work out how to do a cover…
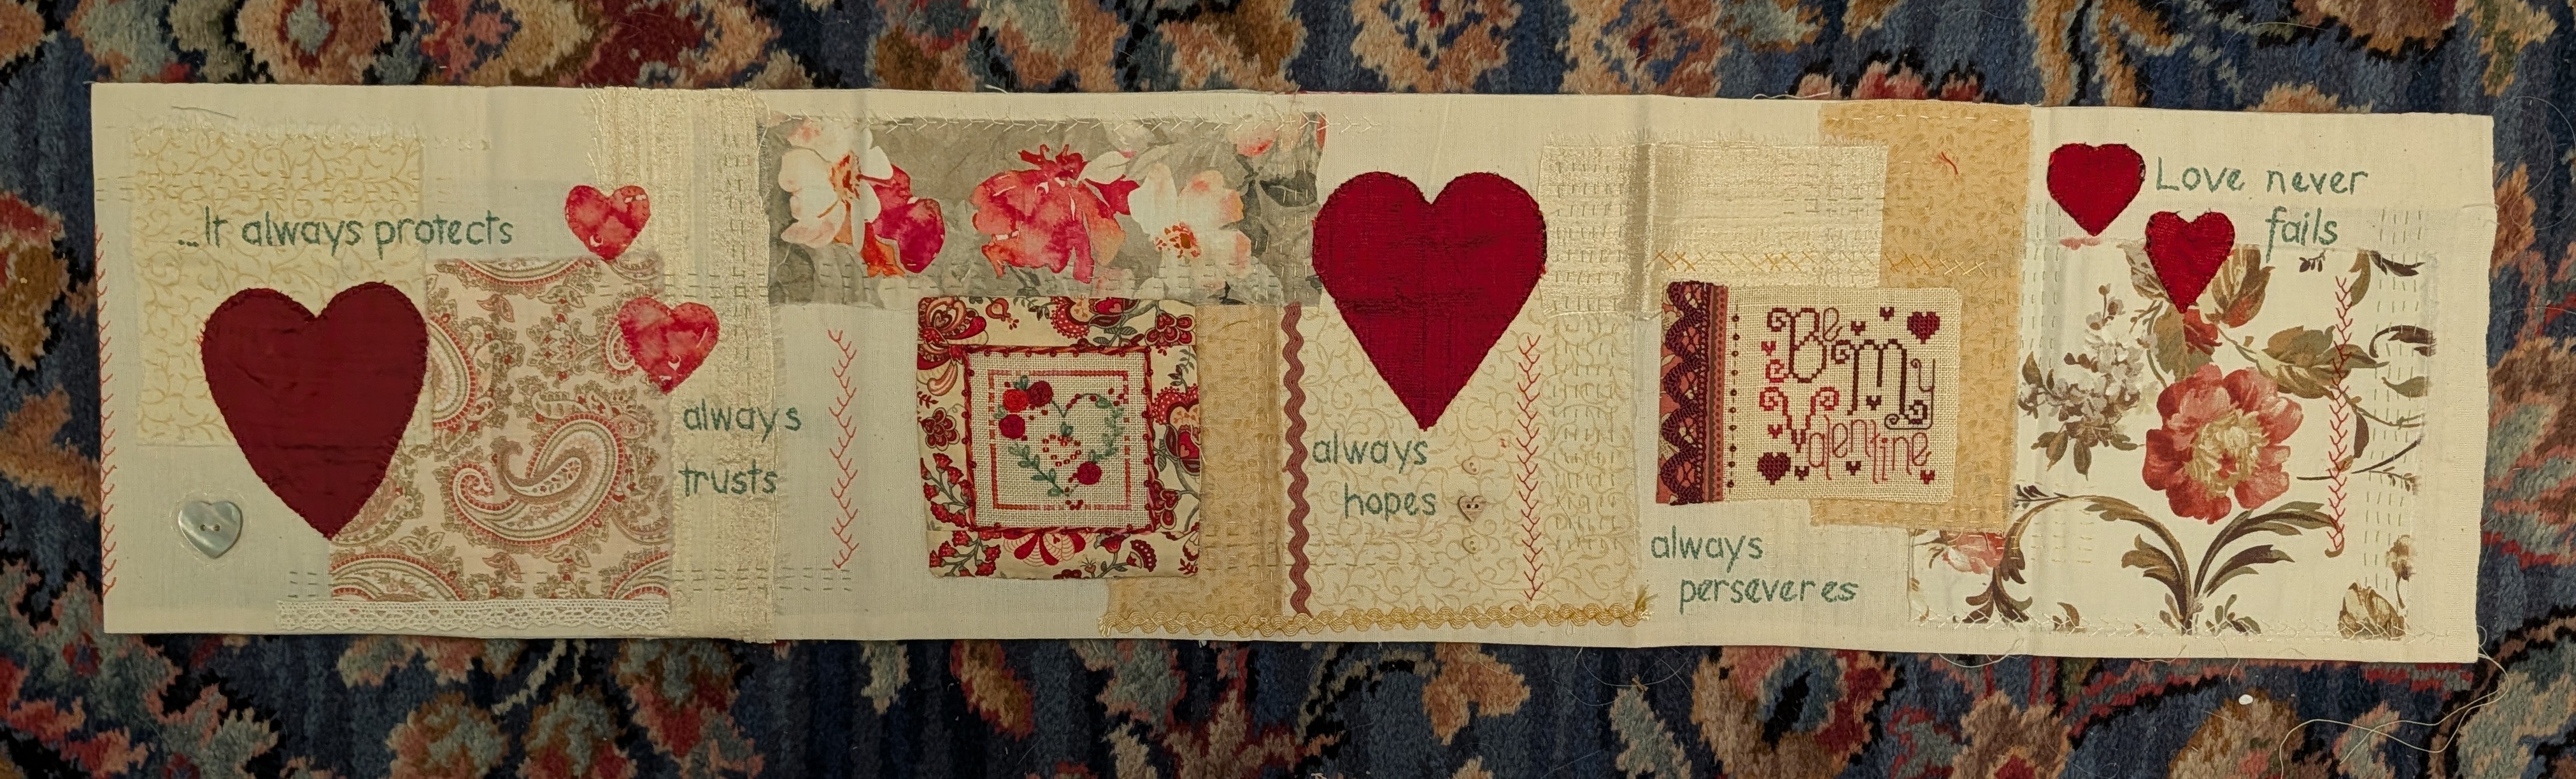
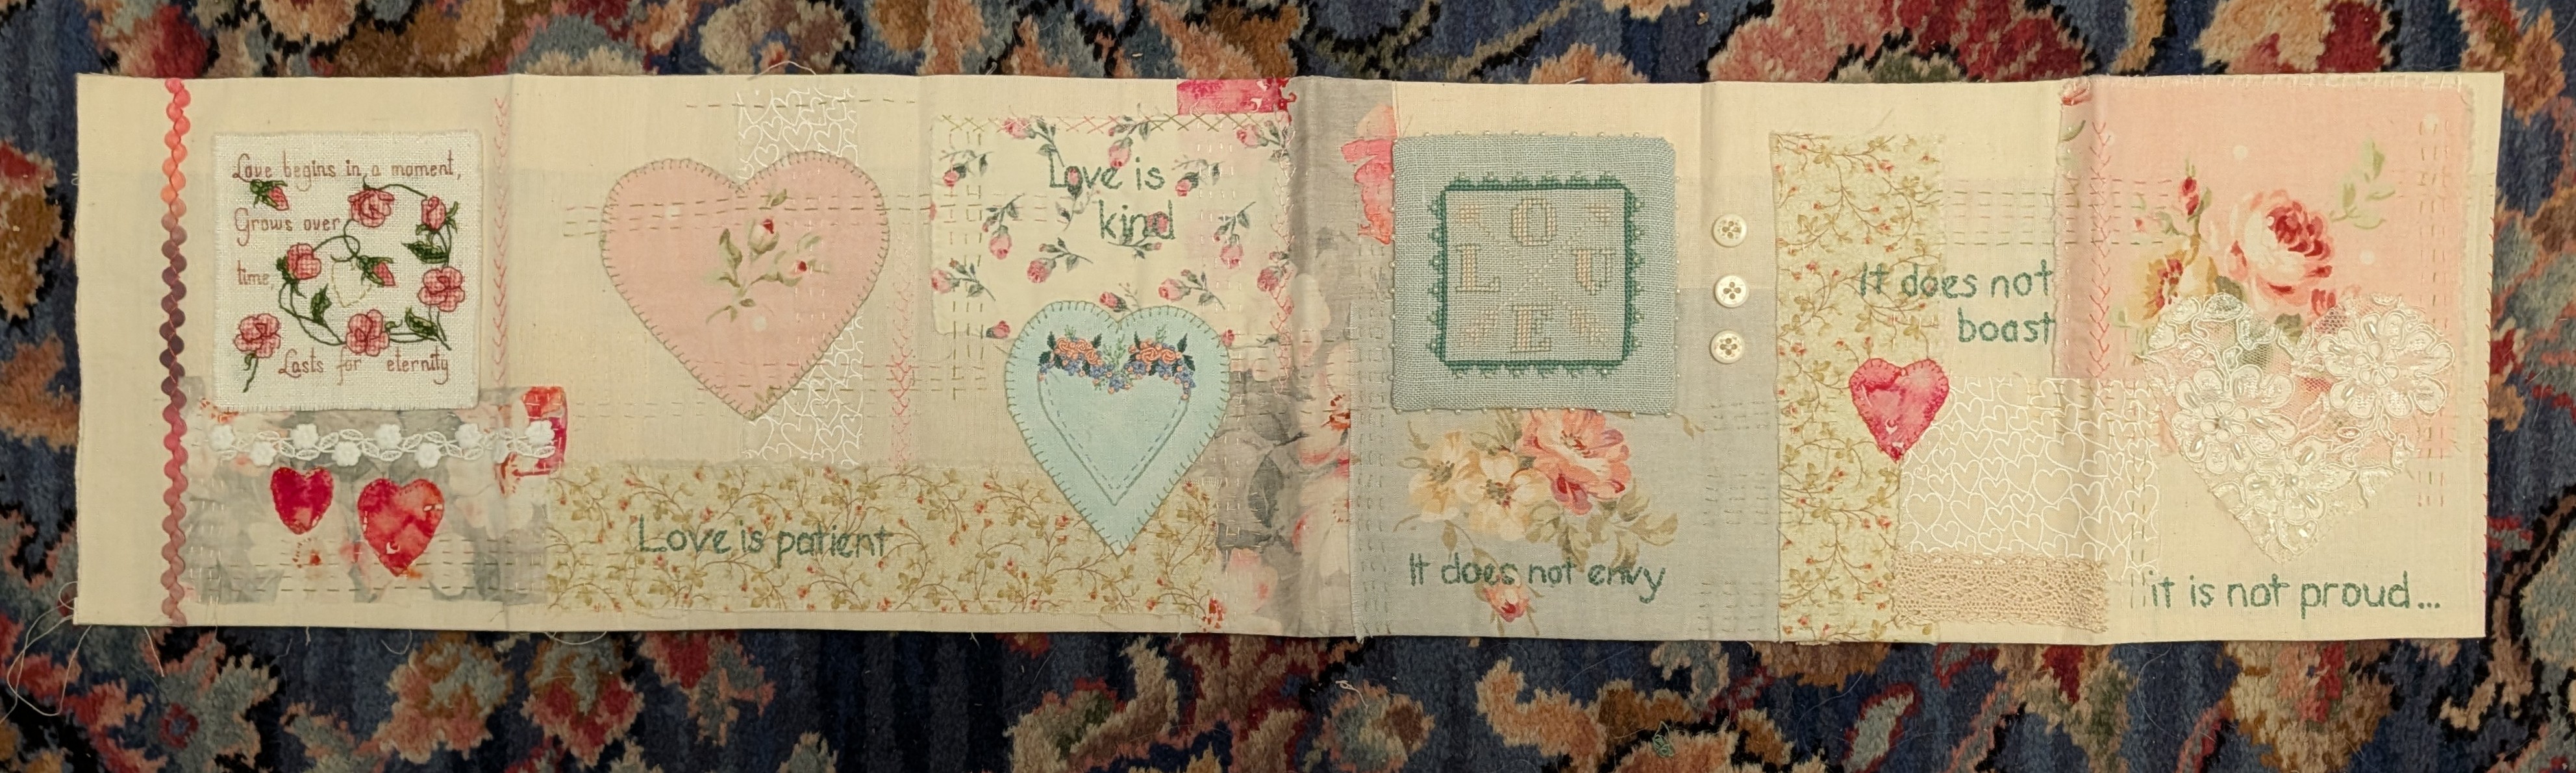
These strips can be left to have the front and back pages as the cover, but I wanted a cover to protect it and keep it neat. I’d left one end of the strip open so I could easily stitch it into a cover. I folded the book and measured it, adding a quarter inch to the edges for a slight overhang.
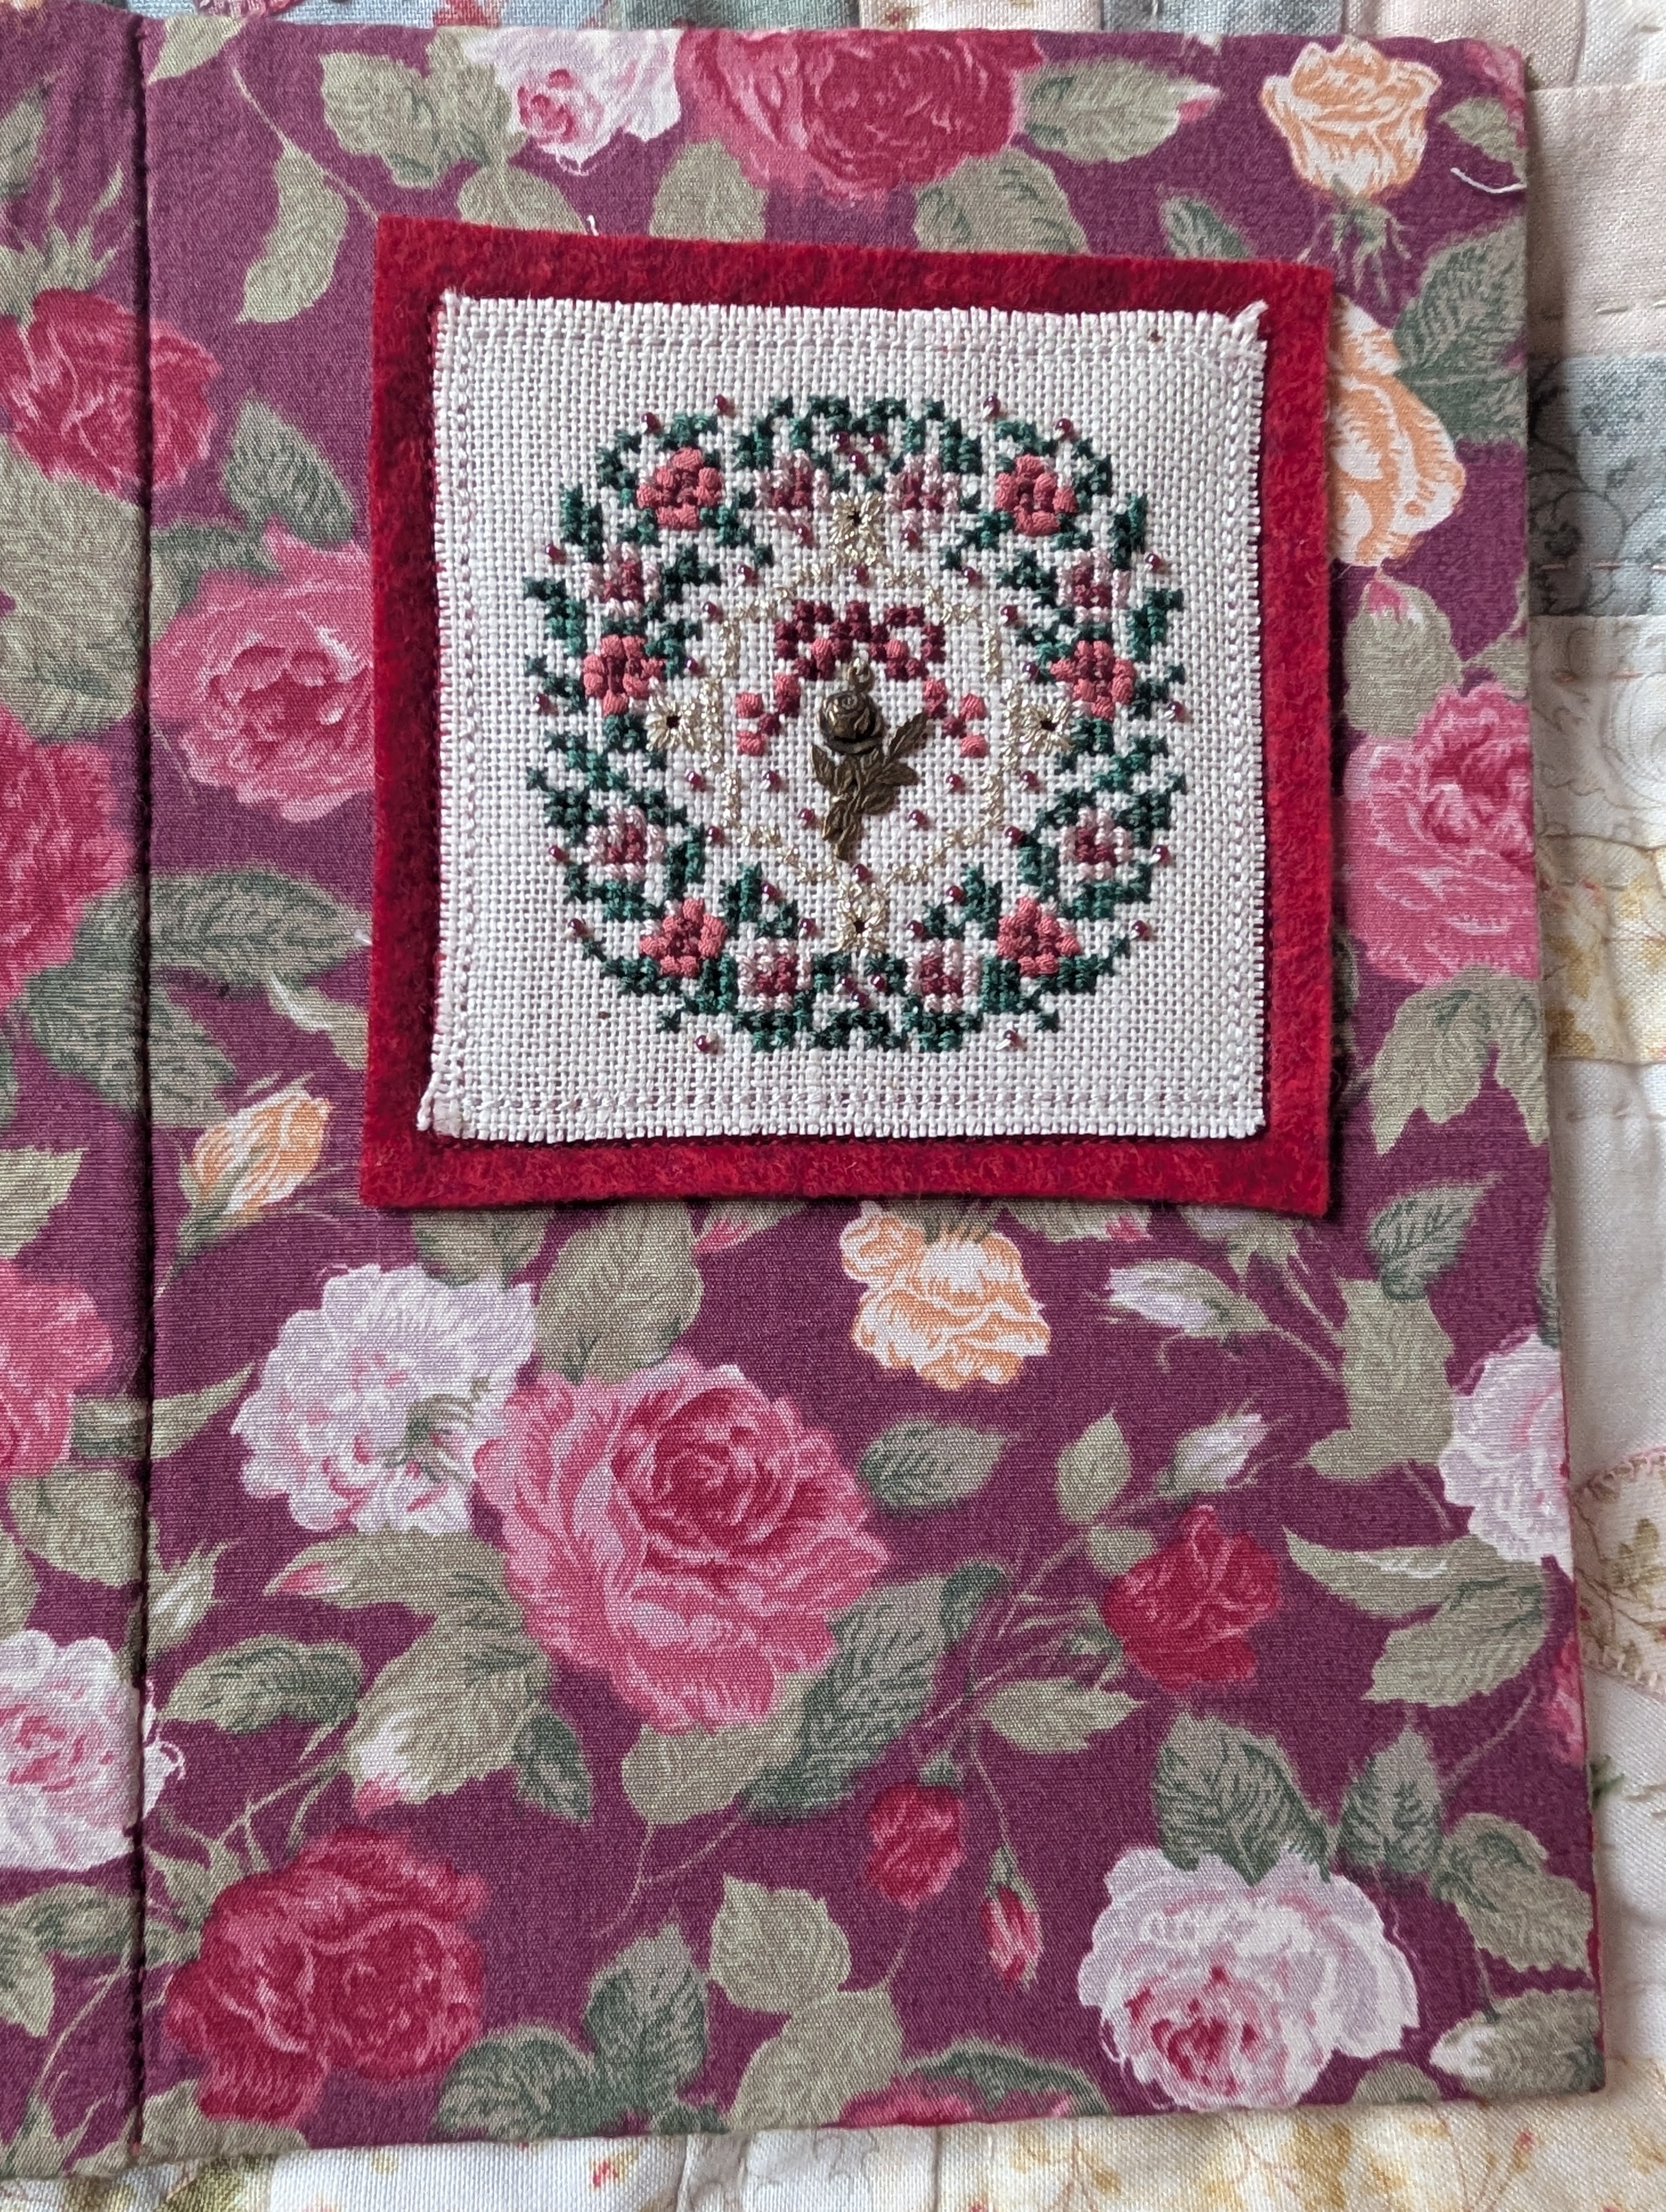
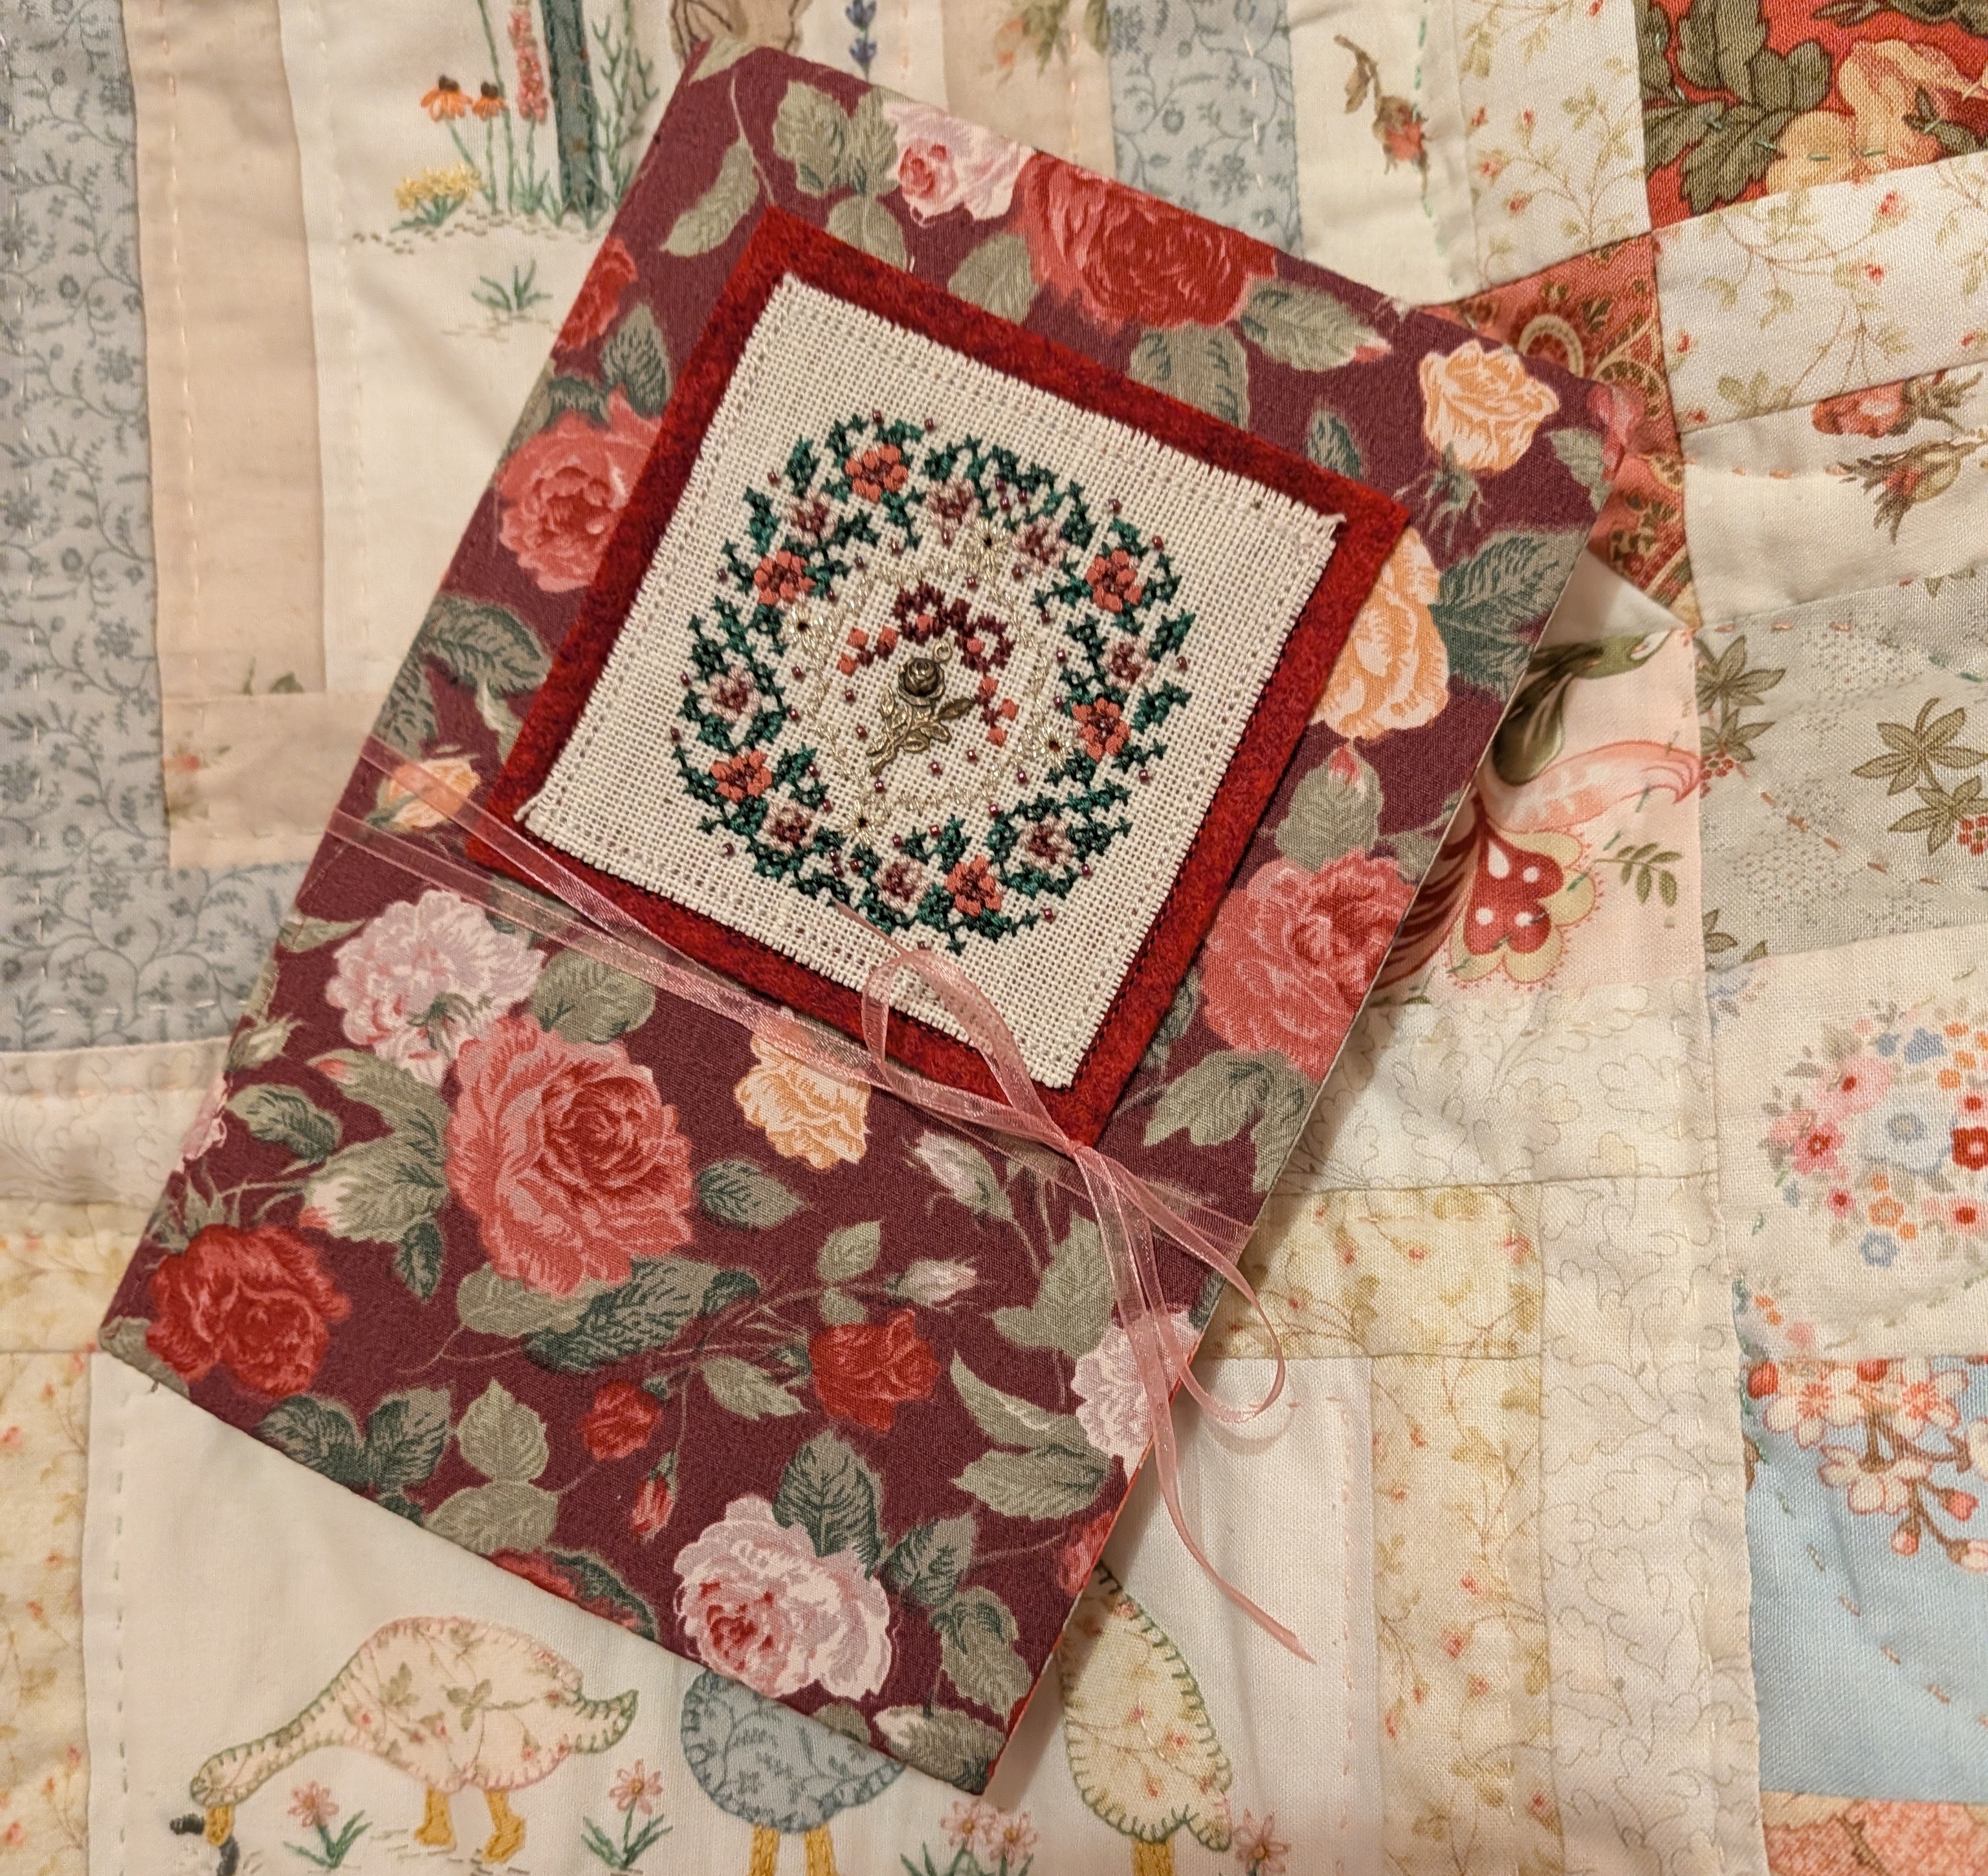
I had a darker floral quilting cotton which actually went pretty well with the strip and also went well with the cross-stitch I wanted to put on the front. This little piece was one I made for my mum years ago, as I had one myself too I decided this one could adorn the front of the book. I used pellon to stiffen the cover, I’ve used pellon a few times as its reasonably stiff, it has some body to it and it creases OK for the spine. The main disadvantage is that it’s a so and so to hand-stitch! I stitched the cross-stitch onto some red felt, drew round the square onto the background with a frixion pen and then used my sewing machine to stitch close to the linen. I use a frixion pen to mark the edge rather than pinning it as I find they tend to move with just pins and for a front cover I need it as straight as possible.
The strip was going to be stitched to the cover just in front of the spine. I used a dress-making cotton for the lining which ideally could have done with being a bit heavier but it went really well and I’d used it a few times on the strip. I cut one piece long enough to generously cover the back and spine and another for the front. I machine stitched the outer edges and then slip-stitched the upper and lower edges of the back. I positioned the strip inside and machine-stitched down the fold of the front fold of the spine.

With the pages in place I could then stitch down the front lining, covering the machine stitching with the folded edge of the lining. The basic cover was complete.
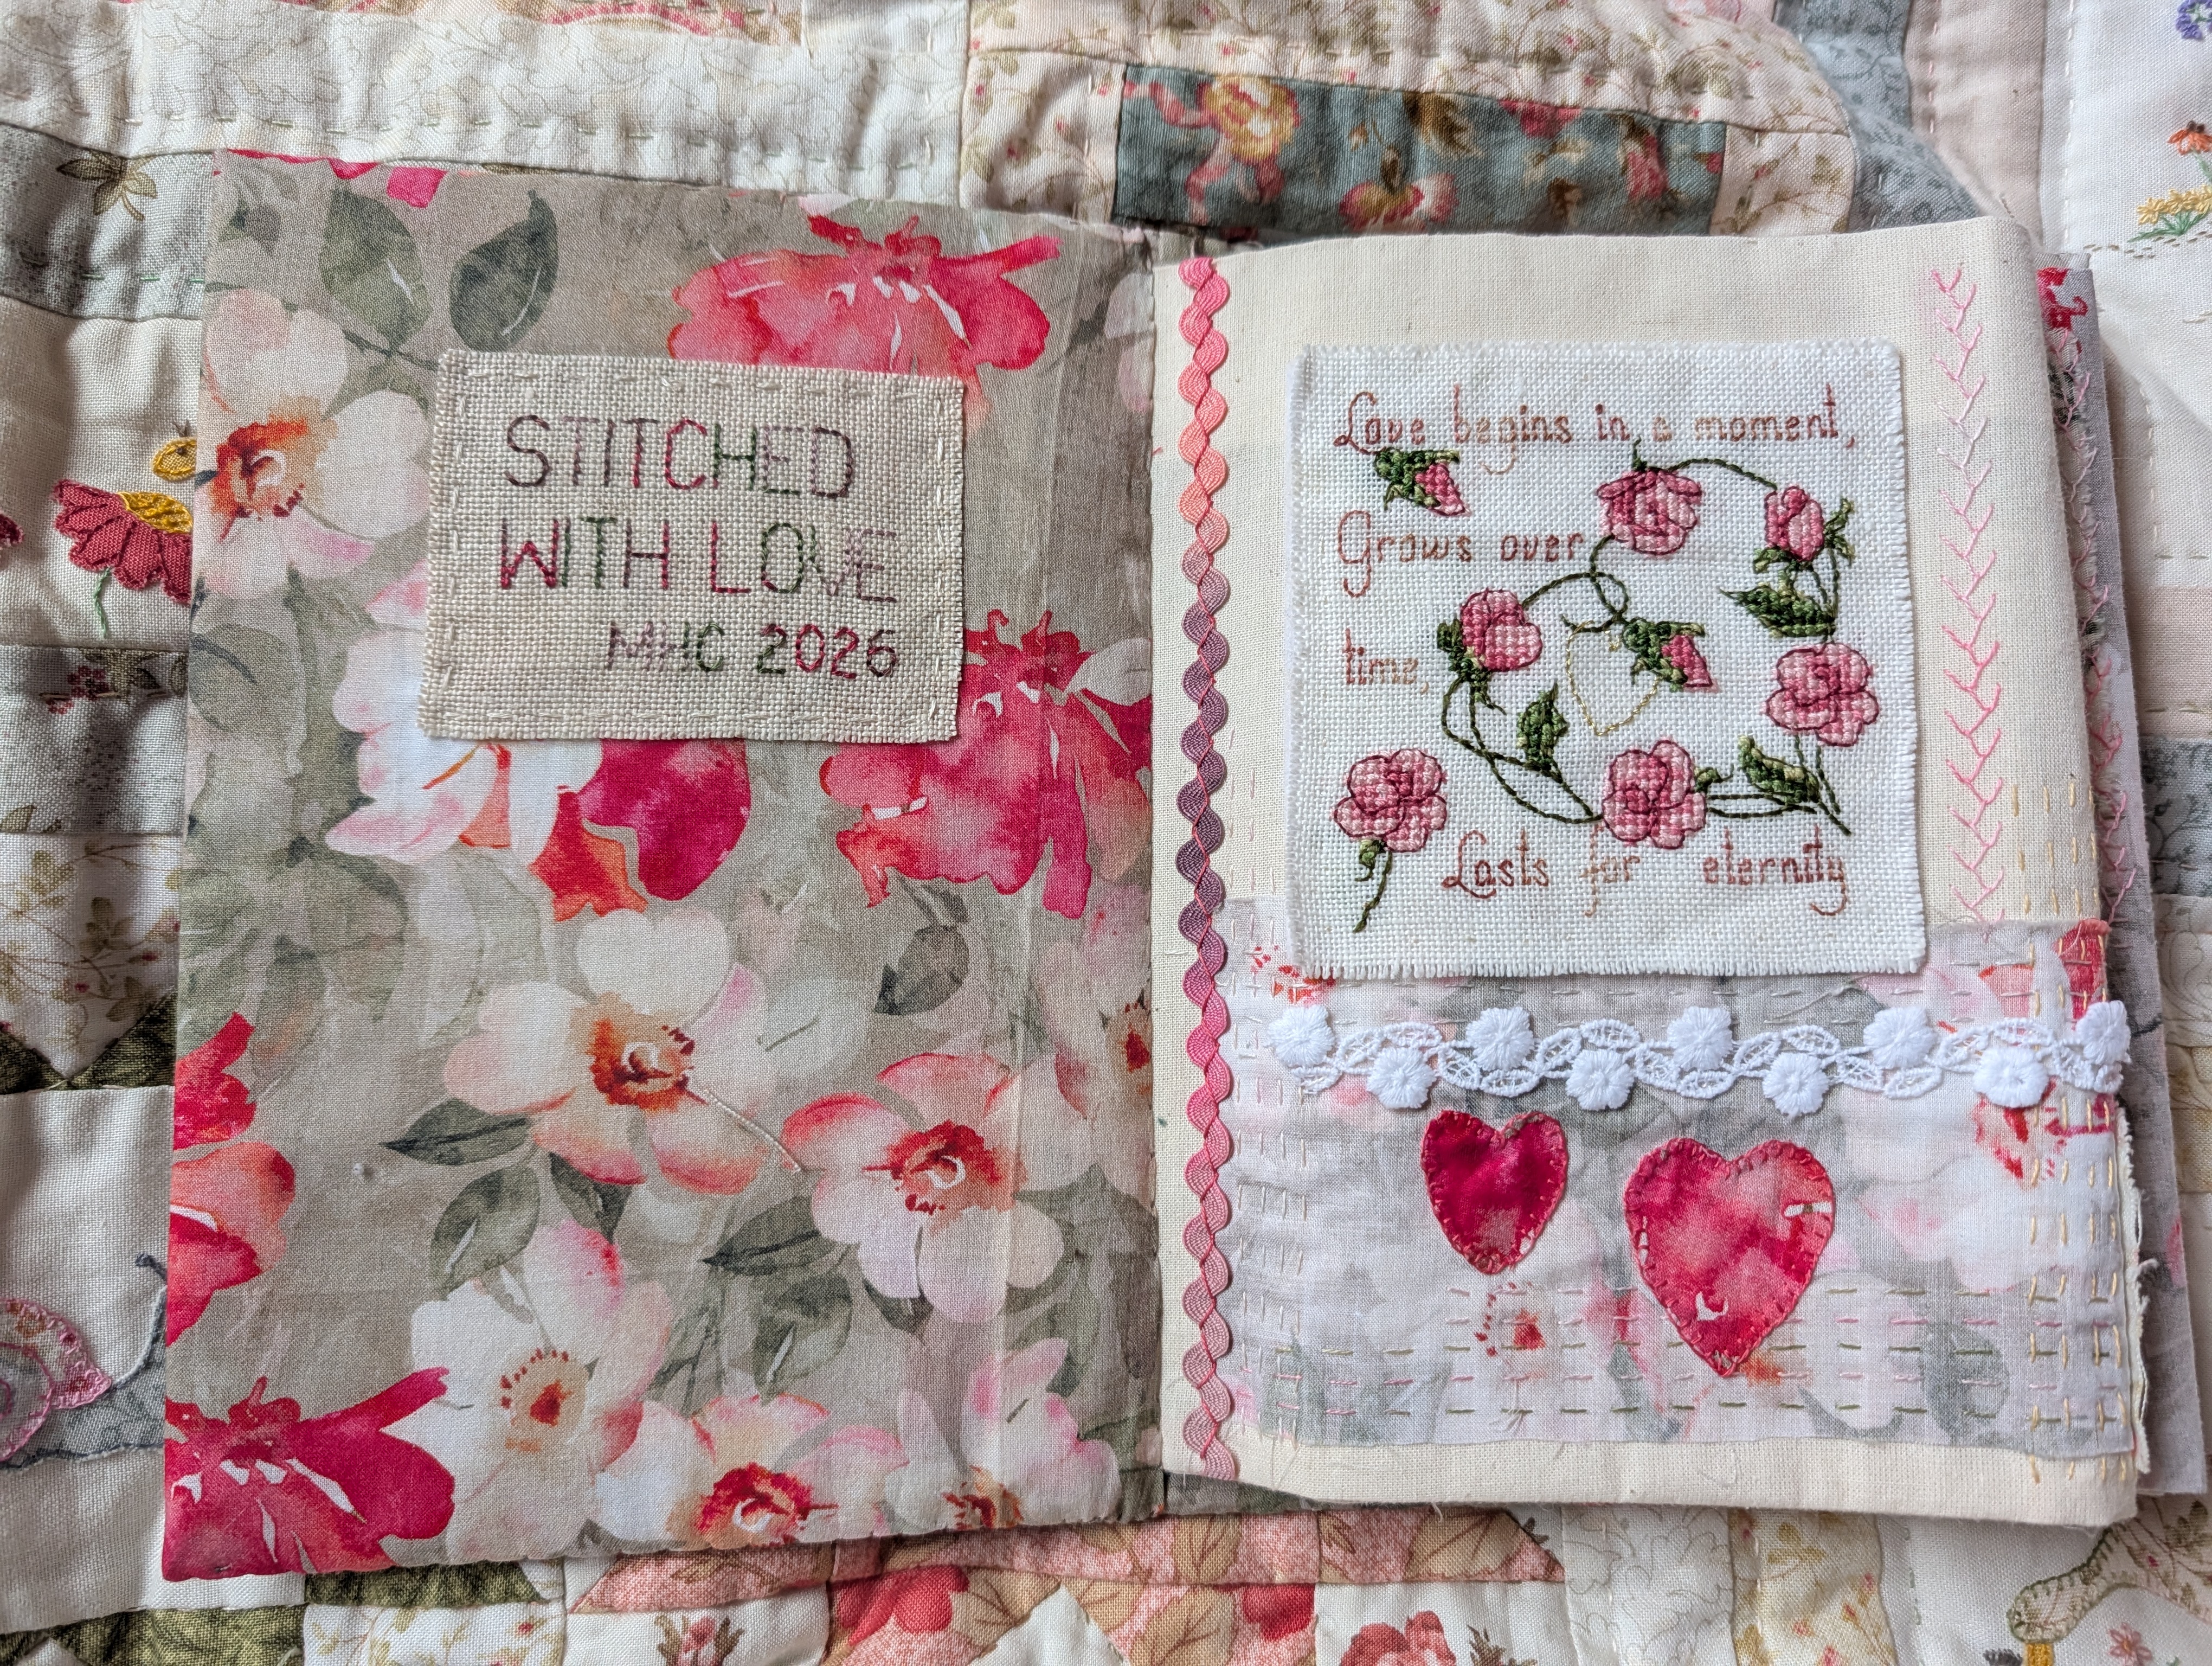
I still hadn’t stitched a title or my details in the book. I decided to call it Stitched with Love as there’s a mixture of cross-stitches made for wedding anniversaries, mothers day etc. I stitched it on a piece of linen and I added my initials and the date. I could then just stitch it to the inside cover with a running stitch.
I often have a ribbon round my fabric books, partly because I think it looks nice. With this book I also wanted a ribbon to keep it all neatly folded inside. I usually put a button on the front to wrap the ribbon round, but with the front cross-stitch going below the centre line, it didn’t look right. Whilst tidying my ribbons drawer as part of the 2026 Declutter Challenge, I found a length of narrow pink organza ribbon. It was inobtrusive enough to sit at the bottom of the cross-stitch. I decided to just tie it round with a pretty bow.
I’m pleased with this book, it’s actually a pretty quick make for me too! It feels nice with all the stitching on it and I like that you can either open it out into a strip to look at it as a whole, or leaf through the folded pages one by one. It’s given me ideas for another strip book I want to stitch during a BIG trip in May too.


Beautiful!
LikeLike