
Over the last week I’ve been making a stitch-book. It’s not one that will have different types of stitches in, it’s an empty book for pieces of embroidery I’m not sure what to do with. I’ve a few pieces that I’ve done at work-shops, I’m pleased with them, I like them too much to throw them, but not enough to have them framed to hang on the wall! At the moment they’re heaped in a box.
You may have seen Stitch-books on Etsy or on the Stitchbook Studio, they consist of folded pages on rings. The idea is that you can open out the page, stitch on it, and then no one can see the back once it’s folded. They sell the pages ready made or you can buy the pattern. OK if I’d seen one in the flesh I could have worked the pattern out but when someone has gone to the effort of designing a product and writing a pattern, I think they deserve the business.
The actual sleeve is easy enough to make, I made it slightly more fiddly by adding pelmet interfacing to the edges so the pages would stand up better. The hardest bit in my opinion was inserting the eyelets! I had bought a tool to insert them, a bit like a pair of pliers, as I thought that would be easier than a hammer, which it was. I just never twigged that you also need a hole punch! I used to have one that belonged to my mother but it was totally blunt so I binned it.
At the knitting and stitching show I thought I’d see a hole punch, none to be found! I did see a Prym plastic set that included a hole punch, it was only £3 so I thought it was worth a punt. The instructions were very poor, a video didn’t help, so in the end I ordered a beast of a pair from Screwfix, what sold it for me was a review from a lady who’d used it on denim for bag-making.
They worked! I still didn’t find it easy squeezing the eyelets in place, they either went first time or they were a nightmare! Anyway, they’re all on, six on each page, four pages complete.

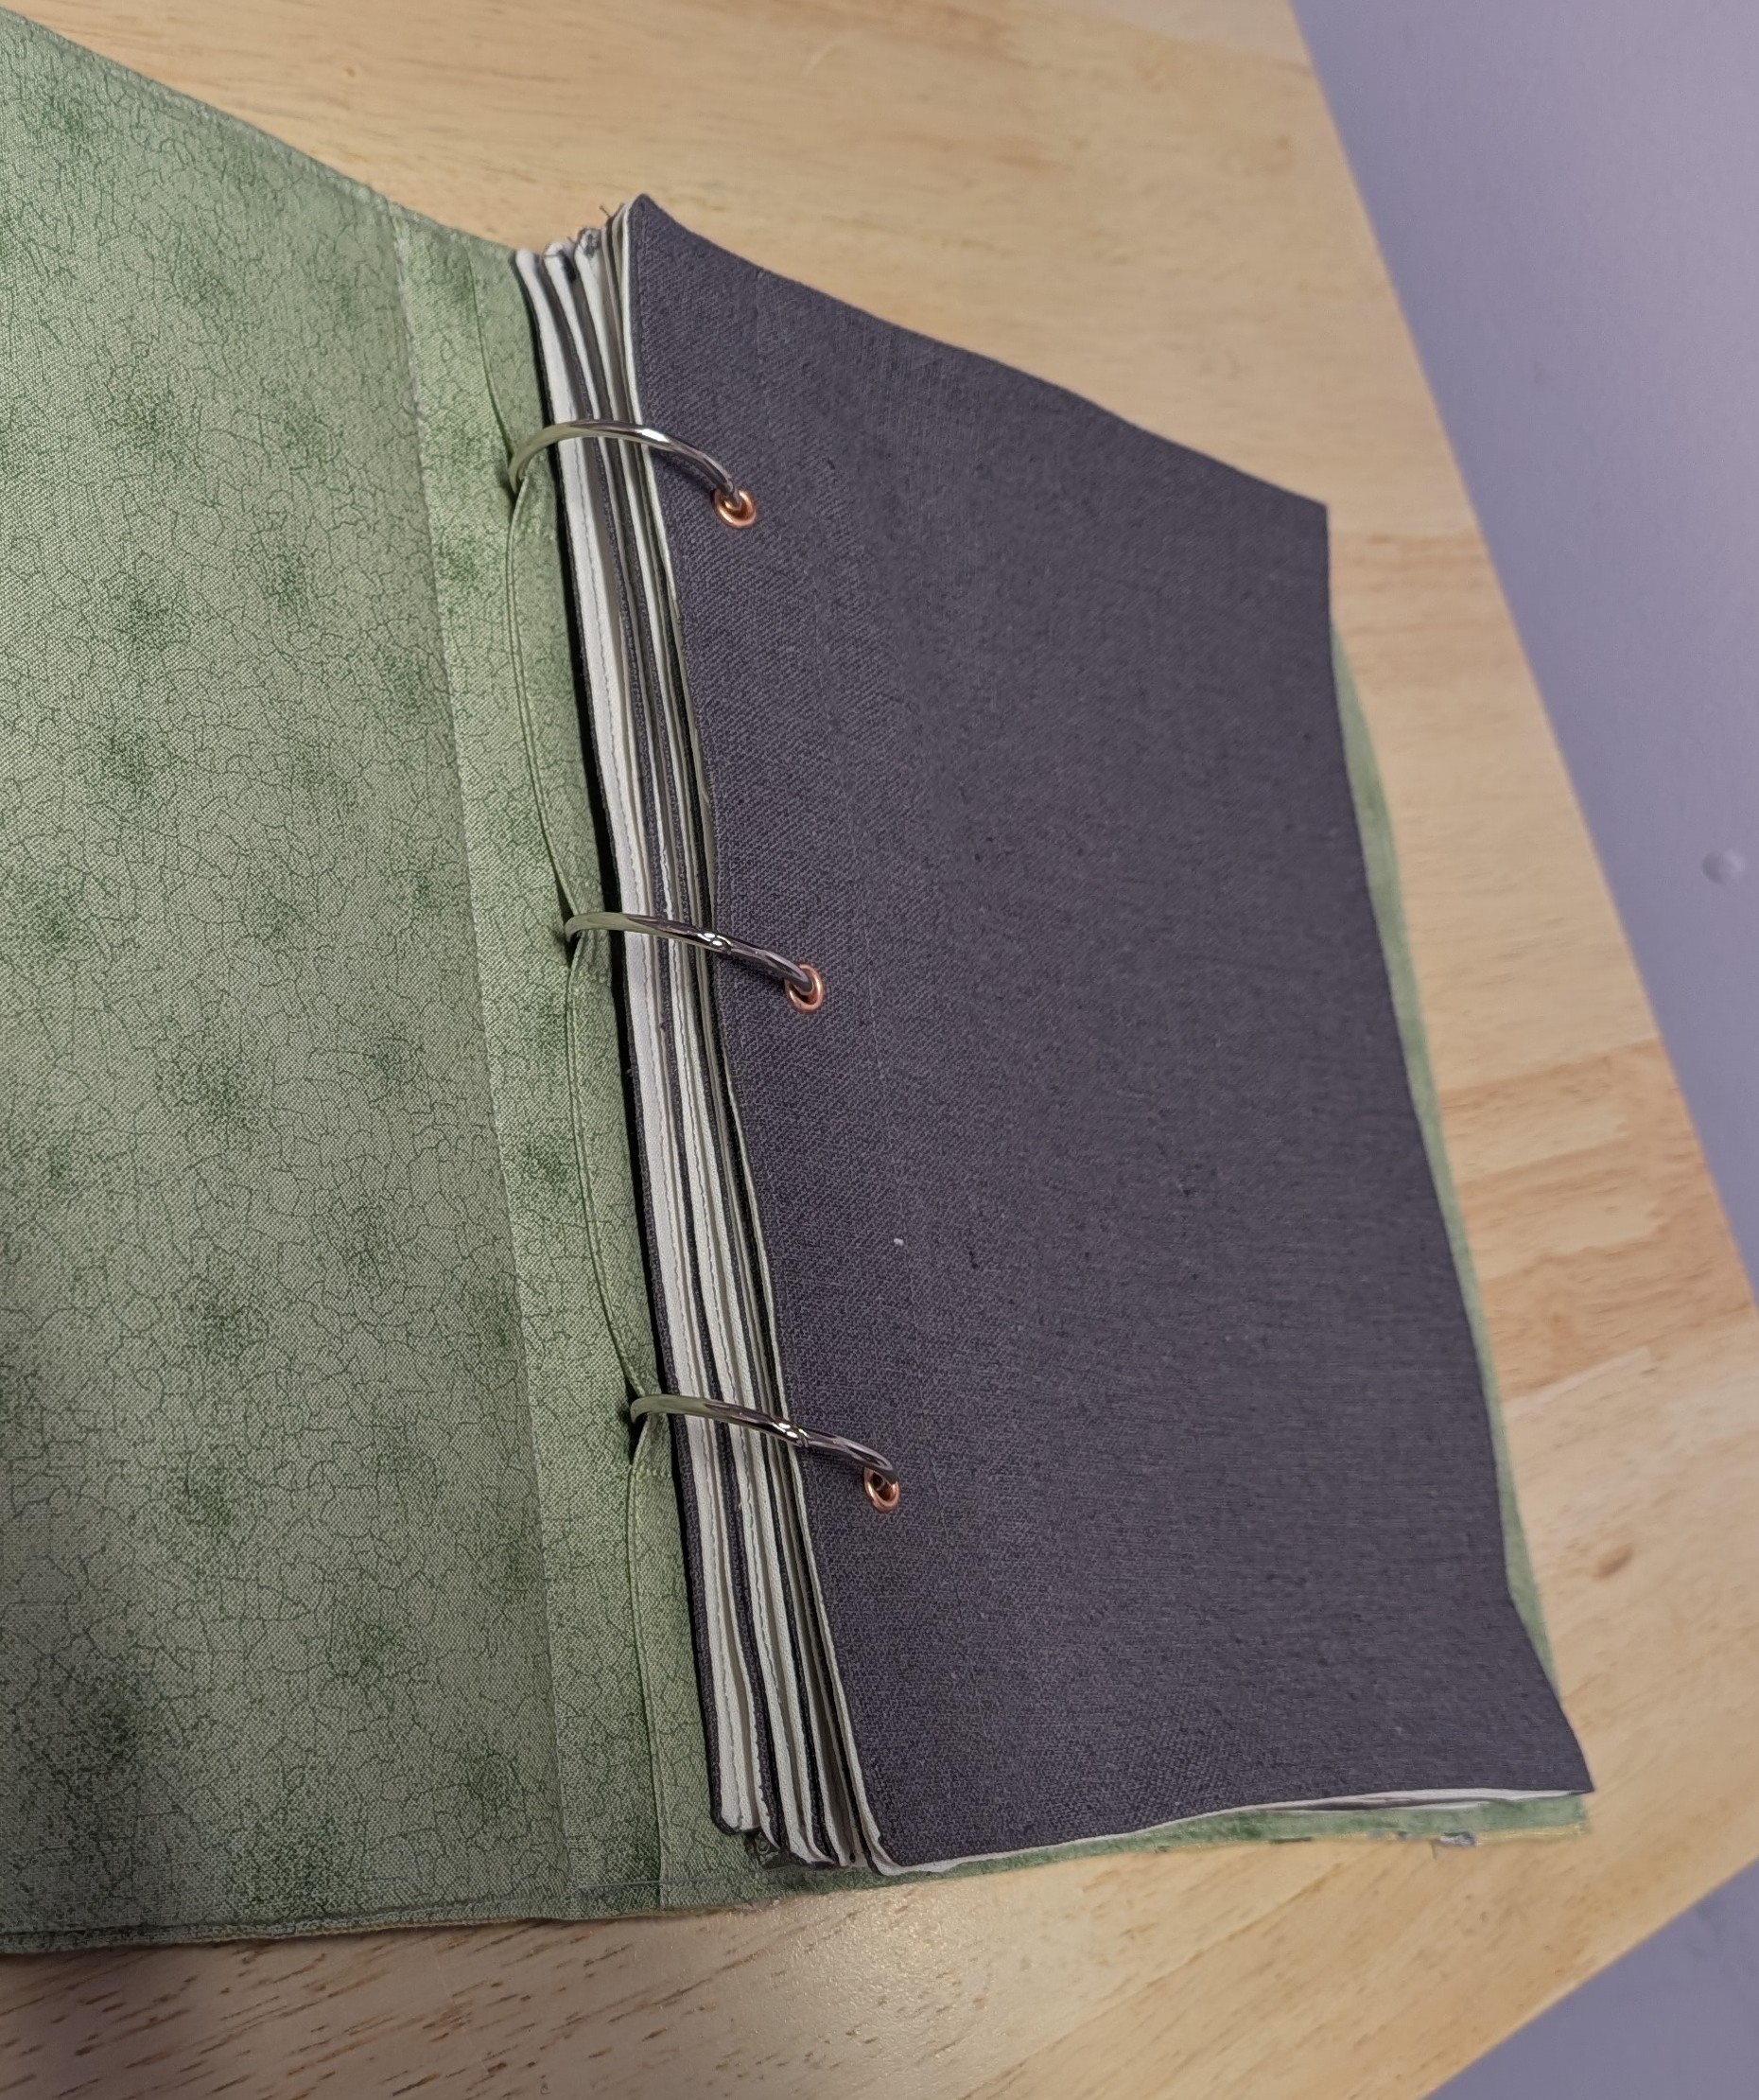
Having made the pages, I decided I wanted a cover of some kind. I could have just made a square to go on the front and back, maybe with a tie to hold it shut but I felt that would still be quite flimsy. I decided to make a folder, using the rings like a file.
The cover is definitely an example of measure twice, cut once! Ideally it would have been better a little wider and a little longer. I used samples from one of those sample books you see in curtain shops. It seemed quite apt for a book of samples! Of course the samples weren’t quite big enough, I had two squares so I needed a seam down the middle. As the patterns didn’t match it was quite obvious so I decided to stitch a spine over the seam. I had a co-ordinating fabric which worked very well but with hind-sight this being a bit wider than I had planned meant the front and back were a smidge short.

To fasten the rings to the folder I stitched a tube of the lining cotton fabric, ironed it flat so it as about 5/8″ wide. I stitched it down the centre but left gaps where the rings would be, stitching across at each ring too. The rings slot in quite nicely.
All I need to do now is start stitching pieces in. I’ll probably make a couple more pages then see how it goes.


What a fabulous idea. I have thought about doing a bit more embroidery but wouldn’t know what to do with all the pieces. This would store them nicely.
LikeLike
That is going to be a lovely book/great reference 🙂
LikeLike
It’s a great idea but quite a lot of work!
LikeLike